Tuesday, January 29, 2019

PTU Beautiful Love


This tut was written Jan 29th, 2019 for those with a basic knowledge of psp.
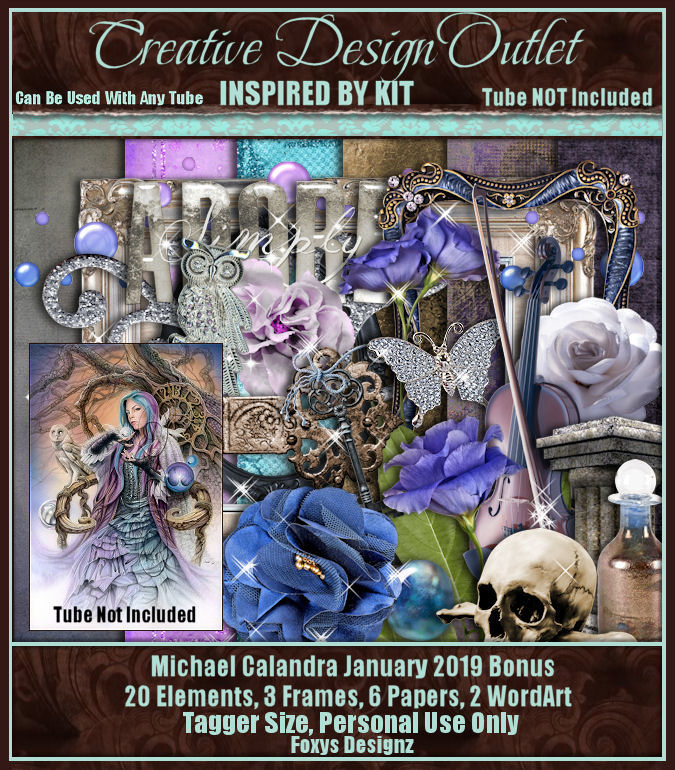
I am using the awesome artwork of  "Fiodorova Maria"
Tube is called "Allegra"
You need a license to use this tube, do not use without a license.
You can find this tube at PFD  HERE

I used PSPX...but any of them should work.
PTU kit "Beautiful Love by Foxy's Designz  HERE
Dragonflyspsp Mask 0030 HERE
Check out the rest of the blog HERE
Filters
Murs Meister Copies-Encircle

Font of choice,  I used Be My Valentine

Drop shadow is usually V-2 H-2 Black, 50, 5, use what you prefer.

Let's get started
*Remember to add your drop shadow as you go along*

Open a new image 800 x 800
Select all, add a new layer, paste paper 4 into selections, apply your mask, 
delete, merge group.

Resize element 4 to 50%, apply Mura Meister Copies-Encircle, the first
number on 20, paste on the mask layer.

Resize frame 6 to 80%, paste on the flower circle, add noise at 30 or what
you prefer. 
Click inside with your magic wand, expand by 5, paste paper 10,
adjust how you like, invert, delete, select none.
Resize frame 4 to 60%, paste on the white frame.

Resize your tube to 30%, paste to the left above the frames.

Resize element 36 to 25%, paste at the bottom above the tube by her knees.
Resize element 30 to 30%, paste below the tube to the right.

Resize element 8 to 30%, paste on the metal frame with the jewels on the right, 
duplicate about 5 times and move around on the frame between the jewels.
Resize element 27 to 35%, paste at the bottom being on the top layer.

Resize element 45 to 50%, paste on the mask layer at the upper right, duplicate,
mirror, duplicate, flip, duplicate, mirror.
Resize element 9 to 25%, paste on the lower right below the cupcake papers.
Resize element 7 to 25%, paste on the left below the tube layer, duplicate,
move to the right of the tube on the envelope.
Resize element 3 to 25%, paste at the bottom below the strawberries to 
cover the stem some.

Resize element 33 to 20%, free rotate to the left at 15 degrees, paste at the lower
left below the flower.
Resize element 2 to 35%, paste at the lower right under the top flower, duplicate,
move to the left under the flower behind the tube.

Resize element 39 to 25%, free rotate to the left at 90 degrees, paste at the 
lower left below the strawberries.
Resize wordart 2 to 60%, add a fat white gradient glow, paste to the
right how you like.

Paste element 31 at the bottom below the other elements just above the
frame layer.
Resize element 19 to 25%, paste at the bottom below the strawberries layer.

Add any other elements that you would like, make it your own.
Always adjust everything before you merge your tag.

Once happy, close off any background you had.
 Crop your tag to get rid of any stray edges, merge visible.
Resize, sharpen, add your Copyright and name.

That's it
Hope you enjoyed doing my tut.

PTU Adore Simply


This tut was written Jan 28th, 2019 for those with a basic knowledge of psp.
I am using the awesome artwork of  "Michael Calandra-2019"
This tube is the January Bonus tube and the kit was Inspired by this tube.
You need to spend $10.00 to get this bonus tube.
The tube is NOT included with the kit.
You need a license to use this tube, do not use without a license.
You can find this tube and kit at CDO  HERE

I used PSPX...but any of them should work.
PTU kit "ScrapFoxy_IB-Michael Calandra-Jan2019-bt"  HERE
Dragonflyspsp Mask 0038  HERE
Check out the rest of the blog HERE

Font of choice,  I used Thrones

Drop shadow is usually V-2 H-2 Black, 50, 5, use what you prefer.

Let's get started
*Remember to add your drop shadow as you go along*

Open a new image 800 x 800
Select all, add a new layer, paste paper 5 into selections, apply your mask, 
delete, merge group.
Then do the same with paper 1, apply the same mask, delete, merge group.

Resize frame 1 to 85%, paste, move to the right more,click inside with your 
magic wand, expand by 5, paste paper 1, invert, delete, keep selected.

Paste your close up tube on the right how you like, delete, select none.
Duplicate the tube, go to Adjust, Blur, Gaussian blur, number on 4, change the
blend mode to Hard light, merge down.

Resize your tube to 75%, paste on the frame on the left.

Paste element 12 on the mask layer on the left, adjust to your liking.
Paste element 11 on the right on the mask layer about center of the frame, duplicate,
resize to 75%, moving it on top of the first one.

Resize element 10 to 90%, paste on the frame on the right.
Resize element 13 to 25%, paste below the violin to the left, duplicate, move how 
you like.
Resize element 7 to 35%, paste below the violin layer to the left.

Resize element 16 to 30%, paste at the bottom above the flowers.
Resize element 15 to 15%, paste at the bottom being on the top layer to the
left of the skull.
Resize wordart 2 to 50%, paste on the left, add a medium light purple gradient,
then add your drop shadow.

Resize element 1 to 50%, paste below the wordart, erase the stem showing at
the bottom, duplicate, flip, move to the bottom of the wordart and to the right more.
Resize element 17 to 50%, paste on the bottom part of the wordart.

Resize element 6 to 75%, paste at the bottom just above the mask layer so just a
couple of the swirls shows, duplicate, mirror, duplicate once, more
move to the top center so a little shows above the frame.
Resize element 5 to 25%, free rotate to the right at 90%, paste behind the
violin.
Resize element 14 to 40%, paste on the right behind the violin.

Add any other elements that you would like, make it your own.
Always adjust everything before you merge your tag.

Once happy, close off any background you had.
 Crop your tag to get rid of any stray edges, merge visible.
Resize, sharpen, add your Copyright and name.

That's it
Hope you enjoyed doing my tut.

Monday, January 28, 2019

PTU We Go Together


This tut was written Jan 28th, 2019 for those with a basic knowledge of psp.
I am using the awesome artwork of   ©Ismael Rac
Tube is called "Forbidden"
You need a license to use this tube, do not use without a license.
When I bought mine he still had his store.
You can find this tube at S&CO  HERE

I used PSPX...but any of them should work.
PTU kit We Go Together by All Dolled Up  HERE HERE, HERE
"We go together", admit it, you were singing it in your head!
With 145 elements and 20 papers, this kit will have you romancing the day away.
WSL_Mask 535  HERE

Font of choice,  I used Bigdey

Drop shadow is usually V-2 H-2 Black, 50, 5, use what you prefer.

Let's get started
*Remember to add your drop shadow as you go along*

Open a new image 800 x 800
Paste paper 10, apply your mask, delete, merge group.

Duplicate the mask, take your Pick tool, hold the shift key 
and drag down one of the top squares on one side, then the other until
flat as you like move to the bottom, duplicate and move up a bit.

Paste element 101 on the flatten mask.

Resize element 28 to 95%, paste, go to Adjust Hue and Saturation, Colorize, 
change the numbers to  Hue 37-Saturation 255.
Click inside with your magic wand, expand by 5, paste paper 7, invert, delete,
keep selected, paste your tube on the right, delete, select none.
Change the blend mode to Screen.

Resize your tube to 35%, paste on the car where you like.

Resize element 86 to 50%, free rotate to the right at 90 degrees, paste on the frame
at the lower left behind the car, duplicate, mirror.
Resize element 11 to 30%, free rotate to the right at 15 degrees, paste above the car
at the right.
Resize element 30 to 15%, paste at the bottom by the corset.
Resize element 46 to 12%, paste by the perfume.
Resize element 70 to 15%, paste at the bottom to the left of the tube.
Resize element 47 to 13%, paste by the cup to the left.

Flip element 48, paste on the frame at the top.
Resize element 44 to 40%, paste on the left above the hand of the tube.
Resize element 2 to 40%, paste at the top on one side below the vine, duplicate, mirror,
duplicate, free rotate to the right at 90 degrees, move down on the right some,
duplicate, mirror.

Resize element 12 to 30%, paste at the lower left above the car.
Resize element 43 to 15%, paste at the lower right below the corset, duplicate,
resize to 75%, paste above the corset, duplicate, mirror, adjust behind the bear.
Resize element 110 to 10%, paste at the bottom above the bear.

Resize element 102 to 15%, free rotate to the left at 15 degrees, paste where you 
like, duplicate a couple of times and move around.
Resize element 9 to 30%, paste on the right below the greenery, duplicate, mirror,
move up a little.
Paste element 16 on the left below the tube layer.
Resize element 107 to 13%, paste on the car.

Add any other elements that you would like, make it your own.
Always adjust everything before you merge your tag.

Once happy, close off any background you had.
 Crop your tag to get rid of any stray edges, merge visible.
Resize, sharpen, add your Copyright and name.

That's it
Hope you enjoyed doing my tut.

PTU Sweetest Day


This tut was written Jan 27th, 2019 for those with a basic knowledge of psp.
I am using the awesome artwork of  Fiodorova Maria
The tube is  "Aurora
You need a license to use this tube, do not use without a license.
You can find this art at PFD Store  HERE

I used PSPX...but any of them should work.
PTU The Sweetest Day by Irish Princess Designs HERE or HERE or HERE
WSL Mask 105   HERE

Font of choice,  I used Yessy font

Drop shadow is usually V-2 H-2 Black, 50, 5, use what you prefer.
Let's get started
*Remember to add your drop shadow as you go along*

Open a new layer 800 x 800
Select all, add a new layer, paste paper 26, into selection, apply your mask, 
delete, merge group, select none.

Resize element 34 to 60%, paste, click inside with the magic wand, expand by 5,
paste paper 19, invert, delete, select none.

Resize your tube to 35%, paste at the bottom above the frame.

Resize element 52 to 60%, paste behind the tube at the top.
Resize element 5 to 45%, paste on the left behind the tube and up some.

Resize element 2 to 30%, paste at the bottom being on the top layer.
Resize element 24 to 30%, paste below the tube, and up on the white square of the
stamp, duplicate, move to the right and down some.

Resize element 44 to 35%, paste below the tube at the lower left.
Resize element 67 to 30%, paste at the lower left above the tube.
Resize element 78 to 25%, paste at the lower right.
Resize element 30 to 50%, paste at the bottom above the calendar.
Resize element 27 to 20%, paste at the lower right being on the top layer.

Resize element 135 to 50%, paste below the tube on the left, duplicate, mirror,
adjust on the right how you like.
Resize element 43 to 15%, paste at the bottom being on the top layer by the calendar.
(Optional) If you want the hand to show, duplicate the tube, move above the clock, erase
all but the hand over the clock.

Resize element 48 to 15%, paste at the lower left to cover the string of the hearts, 
duplicate, move up to the top on the white stamps.

Resize element 104 to 15%, paste on the right below the tube, duplicate, free rotate to
the left at 90 degrees, move below the tube at the bottom behind the phone and clock.
Resize element 25 to 40%, paste above the white stamps behind the tube how you like.

Add any other elements that you like, make your own.
Adjust all the elements before merging your tag.

Once happy, close off any background you had.
 Crop your tag to get rid of any stray edges, merge visible.
Resize, sharpen, add your Copyright and name.

That's it
Hope you enjoyed doing my tut.