
This tut was written March 4th, 2019 for those with a basic knowledge of psp.
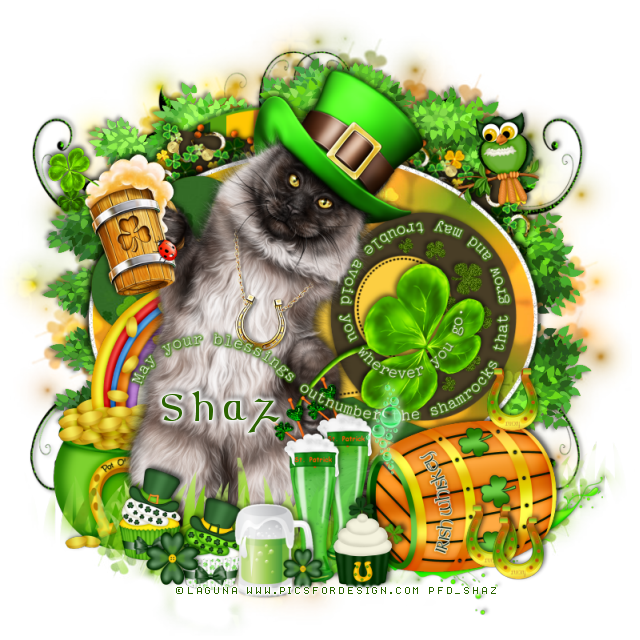
I am using the awesome artwork of Laguna
The tube is "Leprechaun Cat with Beer"
You need a license to use this tube, do not use without a license.
You can find this tube at PFD store HERE
Filters
EyeCandy 4000-Gradient glow
EyeCandy 4000-Gradient glow
Font of choice, I used Celtic
Drop shadow is usually V-2 H-2 Black, 50, 5, use what you prefer.
Let's get started
*Remember to add your drop shadow as you go along*
Open the template, hold the shift key and hit the letter d to duplicate, close
the original, delete the credits.
Resize to 85%, all layers checked, then go to Image, Canvas size, 800 x 800.
the original, delete the credits.
Resize to 85%, all layers checked, then go to Image, Canvas size, 800 x 800.
Paste paper 7, apply your mask, delete, merge group, resize larger to 125%.
Starting at the bottom of the template layers, skip the green circle and select
the yellow circle, select all, float, defloat, paste paper 19, invert, delete, and delete the
template layer also.
Add a fat gradient glow with EyeCandy 4000, using this color #56a110 or color
of choice.
Brown square just add a drop shadow.
Next select the gold oval, select all, float, defloat, paste paper 7, invert, delete.
Delete the template layer too.
The clover layer you can leave as is or paste paper 3 like I used.
Brown strips I just added a drop shadow.
I left the rest of the layers on the template at is, just added a drop shadow.
Except the small clovers I added noise at 30%.
Resize your tube to 32%, paste to the left below the wordart.
On the wordart add a medium gradient glow using #56a110.
Paste element 135 on the mask layer at the top, duplicate, flip, adjust.
Resize leafy swirl 9 to 95%, paste below the tree at the top, duplicate, flip.
Resize element 10 to 30%, paste at the lower right.
Resize element 49 to 70%, free rotate to the right at 10 degrees, paste on the brown
square on the right, duplicate, mirror, duplicate again, free rotate to the left at 78 degrees
move to the top of the brown square.
Resize element 25 to 50%, paste at the bottom to the left of the barrel being
on the top layer, duplicate, move over a little and up.
Paste element 79 above the tube layer at the bottom, now apply your mask that
you used for your paper layer to begin with, delete, merge group, move to the
left more, duplicate, move to the right below the barrel.
Take your erase and erase a little at the bottom on the one above the tube layer.
Resize element 55 to 50%, paste on the left below the cat tube, erase any part showing
to the right of the cat.
Resize element 22 to 20%, paste by the glass at the bottom.
Resize element 16 to 30%, paste by the barrel.
Resize element 23 to 15%, paste at the bottom.
Resize element 35 to 15%, paste by the other cupcake.
Resize element 46 to 15%, paste on the barrel at the lower right, duplicate it
twice, move one over and down a little and move the other on top of the barrel.
Resize element 36 to 10%, paste by the cupcake.
Resize element 12 to 30%, paste at the bottom by the other glass.
Duplicate the little green flower at the bottom, resize to 75%, move over by the beer mug.
Resize element 44 to 40%, mirror, paste at the bottom right below the barrel.
Resize element 106 to 15%, paste at the upper right on the tree where you like.
Add any other elements that you would like, make it your own.
Always readjust your elements how you like them before you merge your tag.
Once happy with your tag, close off any background used,
crop your tag to make sure no shadows or anything on the edges, merge visible.
Resize your tag first, then add your copyright and name.
That's it
Hope you enjoyed doing my tut.
No comments:
Post a Comment