
This tut was written March 18th, 2019 for those with a basic knowledge of psp.
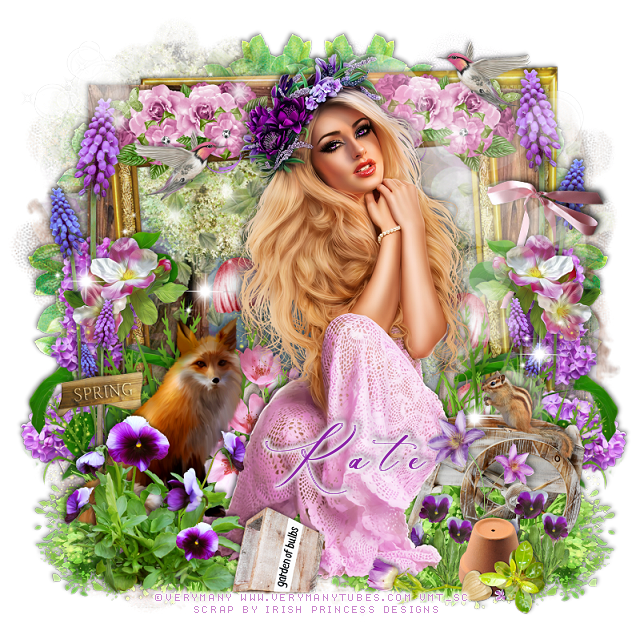
I am using the awesome artwork of Verymany
The tube is "Violetta"
You need a license to use this tube, do not use without a license.
You can find this art at Verymany Store HERE
Drop shadow is usually V-2 H-2 Black, 50, 5, use what you prefer.
Let's get started
*Remember to add your drop shadow as you go along*
Open a new layer 800 x 800
Select all, add a new layer, paste paper 1, into selection, apply your mask,
delete, merge group.
Resize your tube to 55%, paste about center.
Resize element 107 to 50%, paste behind the tube on the bottom left,
duplicate, mirror.
Resize element 34 to 85%, paste on the mask layer.
Resize element 122 to 30%, paste behind the tube on the left.
Resize element 35 to 30%, paste at the lower left above the tube layer.
Resize element 112 to 35%, paste below the violet flowers on the left.
Resize element 62 to 35%, paste on the right below the grass layer, duplicate, mirror.
Resize element 105 to 35%, paste below the grass behind the tube to the
right a little, duplicate, mirror.
Paste element 20 below the mask, adjust to the left and up how you like,
erase any part showing at the bottom, duplicate, mirror.
Resize element 27 to 45%, mirror, paste below the tube to the right.
Resize element 40 to 15%, paste at the bottom being on the top layer.
Resize element 50 to 50%, paste on the frame layer on one side, duplicate, mirror,
duplicate again, resize to 50%, move below the fox layer on the left, duplicate,
mirror, move below the wagon.
Resize element 101 to 15%, paste at the lower right above the wagon.
Resize element 47 to 25%, paste below the clay pot at the bottom.
Resize element 109 to 15%, mirror, paste on the wagon.
Resize element 36 to 15%, paste below the tube at the lower right, duplicate,
move more to the right behind the clay pot.
Resize element 58 to 30%, paste on the frame behind the tube on one side,
duplicate, mirror.
Resize element 19 to 20%, paste on the tall flower stem on the right.
Resize element 17 to 15%, mirror, paste at the upper left where you like,
duplicate, mirror, place on the right where you like.
Resize element 48 to 20%, paste at the lower right being above the tube layer.
Resize element 75 to 30%, paste on the left below the fox layer.
Resize element 142 to 90%, paste below the tube.
Resize element 76 to 40%, paste on the frame layer on the right, duplicate, mirror,
adjust to your liking.
Add any other elements that you like, make your own.
Remember to always adjust all the elements how you like on your tag,
then resize your mask if needed before merging your tag.
then resize your mask if needed before merging your tag.
Once happy, close off any background you had.
Crop your tag to get rid of any stray edges, merge visible.
Resize, sharpen, add your Copyright and name.
That's it
Hope you enjoyed doing my tut.
No comments:
Post a Comment