Saturday, October 10, 2026

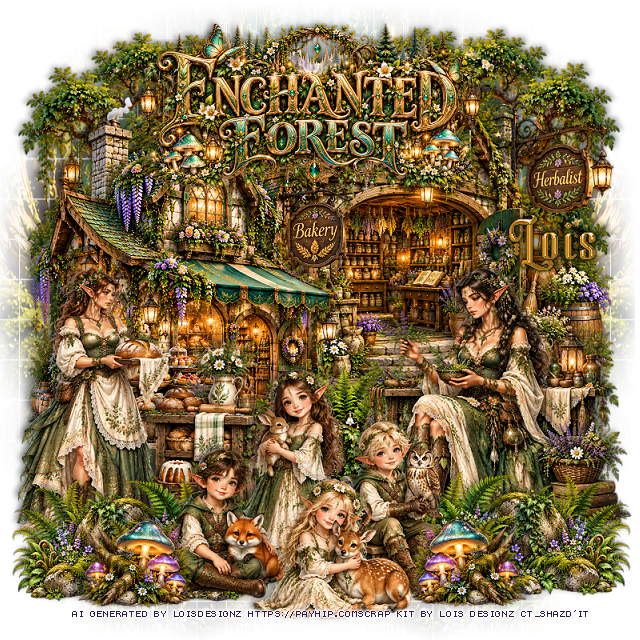
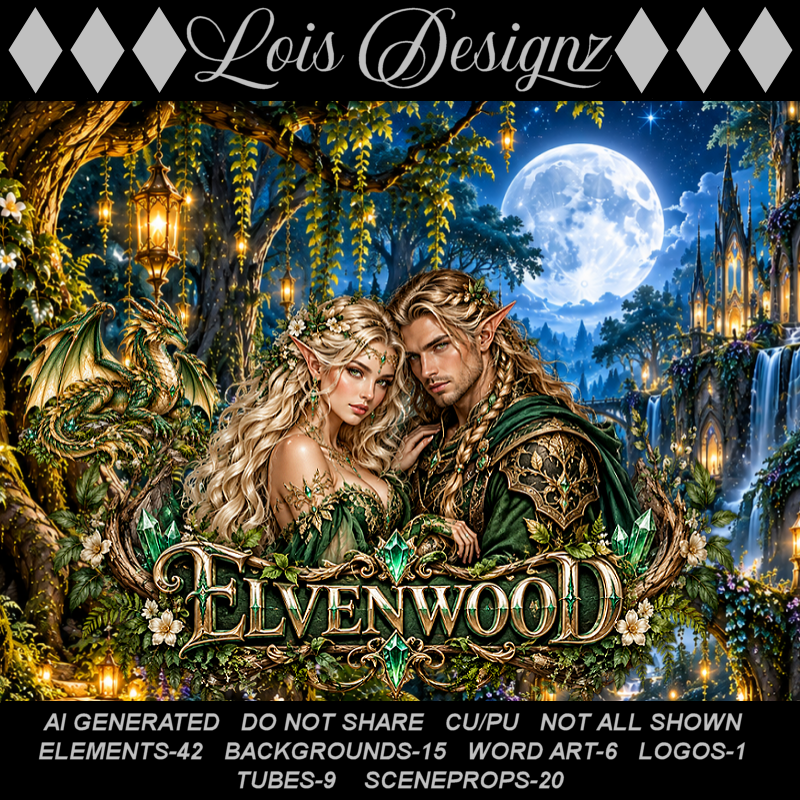
PTU Elven Wood

  This tut was written October 10th, 2026 for those with a basic knowledge of psp. 

I am using the Awesome Al kit/Tubes by Lois Designz
Everything used is included in the kit
Please read the TOU on how to credit your tags

I used PSP2020...but any of them should work.
PTU Scrap Elven Wood by Lois Designz  HERE
Check her store out to see all her other kits HERE
DBV Mask 72 HERE
Check the blog HERE

Font of choice, I used Yulltan

Drop shadow as you go is V -2 H 4, 50, 10, or use what you prefer.
Let's get started
*Remember to add your drop shadow as you go along*

Open a new image 800 x 800, paste paper 1, apply your mask,
duplicate, merge down, duplicate, mirror, adjust.

Resize scene prop 7 to 40%, paste on the upper right.
Resize scene prop 11 to 50%, paste on the left.
Resize 25 to 65%, paste at the upper left below the buildings, duplicate,
move to the right, erase the bottom parts of the trees.

Resize tube 28 to 40%, mirror, paste at the bottom right.
Resize tube 26 to 40%, paste on the bottom left.
Resize tube 29 to 40%, paste at the bottom center above the tubes.

Resize 5 to 50%, paste below the tubes, center.
Resize 1 to 50%, paste on the bottom right below the kids, duplicate, mirror.
Resize 23 to 25%, paste at the bottom left above the kids, duplicate, mirror.
Resize wordart 4 to 25%, paste at the top.

Add any other elements that you would like, make it your own.
Always readjust your mask and elements how you like them before you
 merge your tag, resize, sharpen.
Crop your tag to be sure no shadows or lines are on the edges.
 Then add your copyright and name.
That's it

Hope you enjoyed doing my tut.     
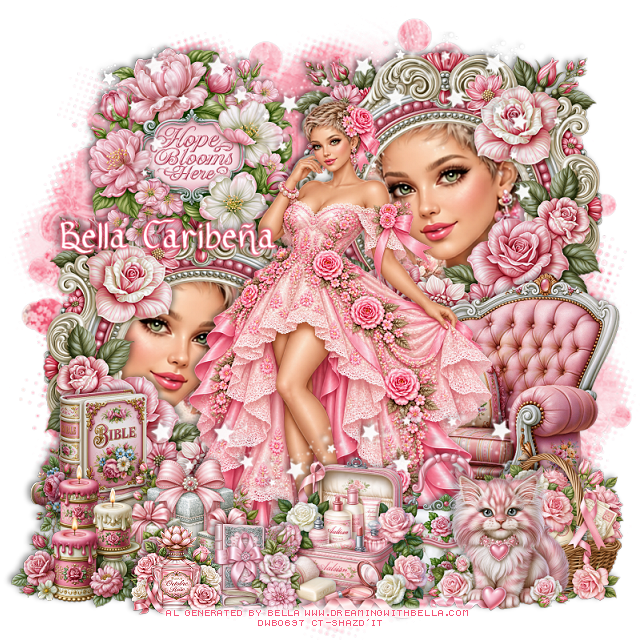
PTU BCA 2026


 This tut was written October 10th, 2026,  for those with a basic knowledge of psp. 

Awesome Al kit and tubes by Bella Caribeña
Everything is included in the kit
Read the TOU on how to credit tags

I used PSP2020...but any of them should work.
PTU Scrap BCA 2026 by Bella Caribeña  HERE
BCA Theme
Kit contains 4 Al tubes, 146 elements, 17 papers and 3 masks
You can check out the rest of her store HERE 

Font of choice I used Ribbon of Hope

 Drop shadow as you go is V -2 H 4, 40, 10, or use what you prefer.
Let's get started
*Remember to add your drop shadow as you go along*

Open a new image 800 x 800, paste mask 3, resize to fit,
change the color to #f78fa5, lower the opacity to 70%.

Resize tube Pink Rose Gown Portrait to 30%, mirror, paste.
Resize 84 to 65%, paste at the upper right below the tube, duplicate, mirror, 
move down on the left, click inside the frames.
Resize tube Pink Rose Gown Portrait to 85%, paste in the bottom left frame, 
duplicate, mirror, move up in the right frame, delete both tubes,
keep selected, add paper 8 below the tubes, delete, select none.

Resize 47 to 60%, paste on the bottom right below the tube.
Resize 97 to 45%, paste on the upper left above the frames.
Resize 83 to 38%, paste at the bottom above the tube.
Resize 66 to 35%, paste at the bottom to the right and below the case.
Resize 78 to 30%, paste at the bottom right.
Resize 54 to 30%, paste at the bottom left.
Resize 52 to 30%, paste on the bottom left.
Resize 85 to 30%, paste at the bottom left below the candles.
Resize 98 to 30%, paste at the bottom right.
Resize 57 and 91 to 20%, paste at the bottom to the left.
Paste 9 below the tube at the top, erase the parts on the face in
the frame, duplicate, move down above the tube.

Add any other elements you would like, resize.
Crop your tag to be sure no shadows or lines are on the edges.
 Then add your copyright and name.
That's it

            Hope you enjoyed doing my tut        

Friday, October 9, 2026

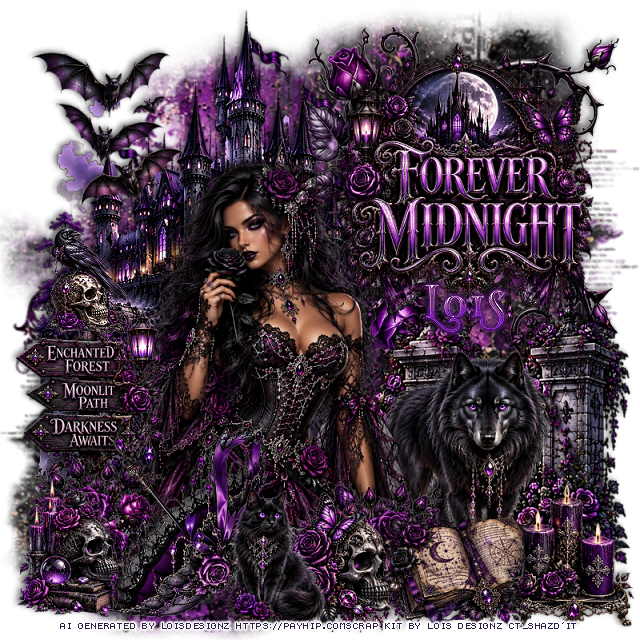
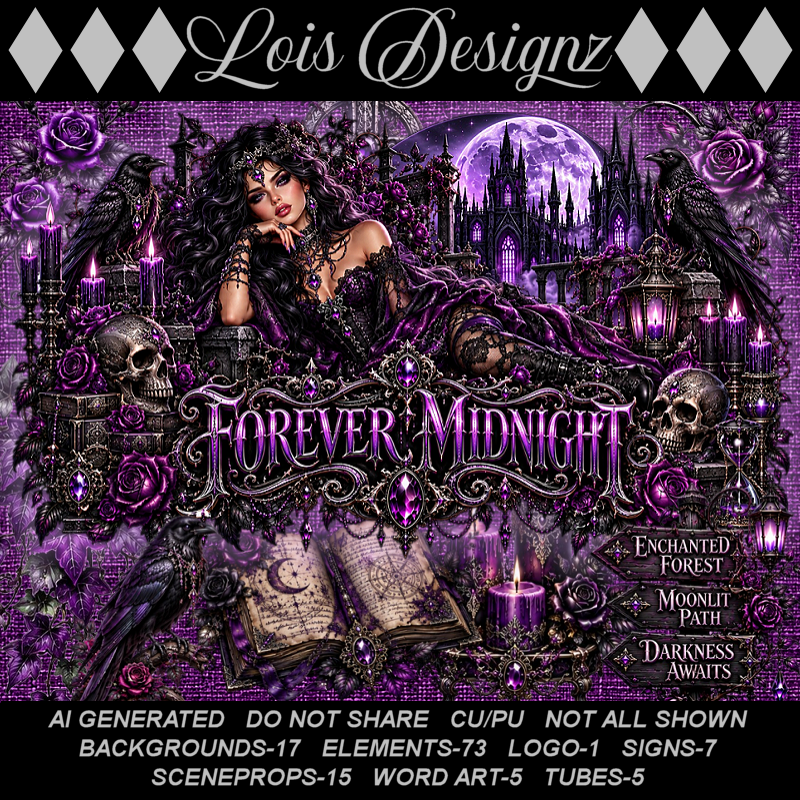
PTU Forever Midnight

 This tut was written October 9th, 2026 for those with a basic knowledge of psp. 

I am using the Awesome Al kit/Tubes by Lois Designz
Everything used is included in the kit
Please read the TOU on how to credit your tags

I used PSP2020...but any of them should work.
PTU Scrap Forever Midnight by Lois Designz  HERE
Check her store out to see all her other kits HERE
Vivienne's Digital Tagging Mask 12 HERE
Check the rest of the blog HERE

Font of choice, I used Misteri Caps

Drop shadow as you go is V -2 H 4, 50, 10, or use what you prefer.
Let's get started
*Remember to add your drop shadow as you go along*

Open a new image 800 x 800, paste paper 3, apply your mask,
mirror, resize to fit your tag.

Resize scene prop 7 to 75%, mirror, paste at the bottom, move
to the right as needed.
Resize scene prop 2 to 75%, paste on the left.
Resize wordart 2 to 40%, paste at the upper right.
Paste 55 below the fence behind the wordart.

Resize tube 5 to 45%, paste on the left of the wordart.

Resize 28 to 60%, paste at the bottom right below the tube.
Resize 24 to 45%, paste at the upper left.
Resize 71 to 55%, paste at the bottom left above the tube, duplicate,
mirror, move to the left of the wolf.
Resize sign 5 to 50%, paste on the left below the flower.
Resize 23 to 30%, paste on the left on top of the sign.
Resize 20 to 50%, flip, paste at the bottom to the left above the flower.
Resize 7 to 40%, paste on the bottom left.

Resize 5 to 40%, paste at the bottom.
Resize 35 to 35%, paste on the bottom right.
Resize 42 to 45%, paste on the bottom right.
Resize 29 to 35%, paste at the bottom.

Add any other elements that you would like, make it your own.
Always readjust your mask and elements how you like them before you
 merge your tag, resize, sharpen.
Crop your tag to be sure no shadows or lines are on the edges.
 Then add your copyright and name.
That's it

Hope you enjoyed doing my tut.     
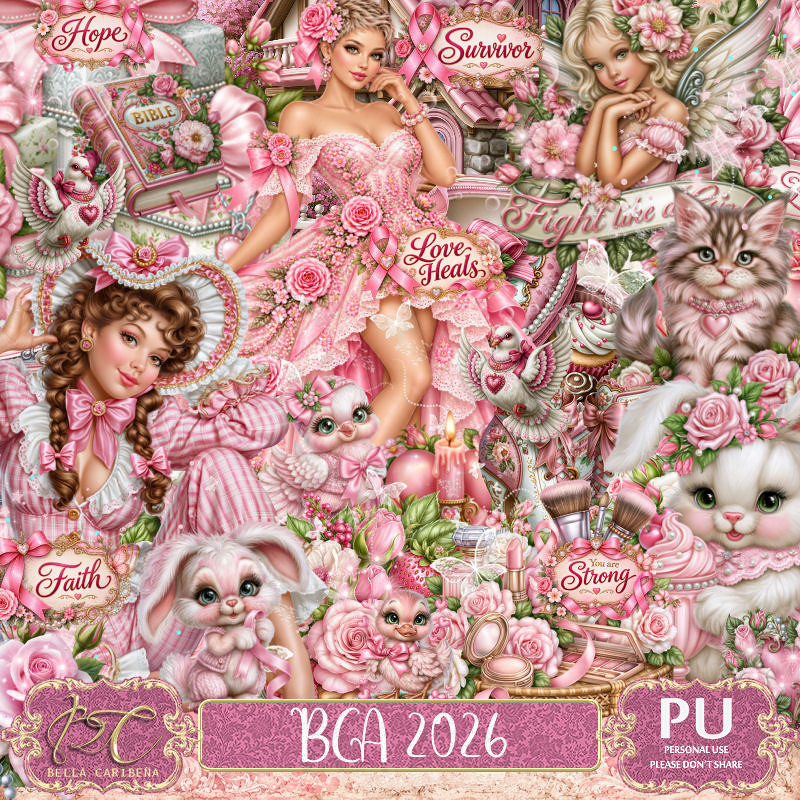
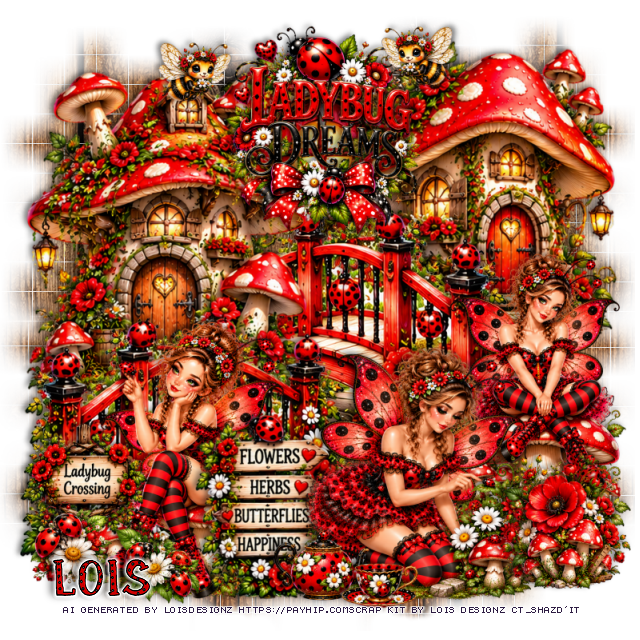
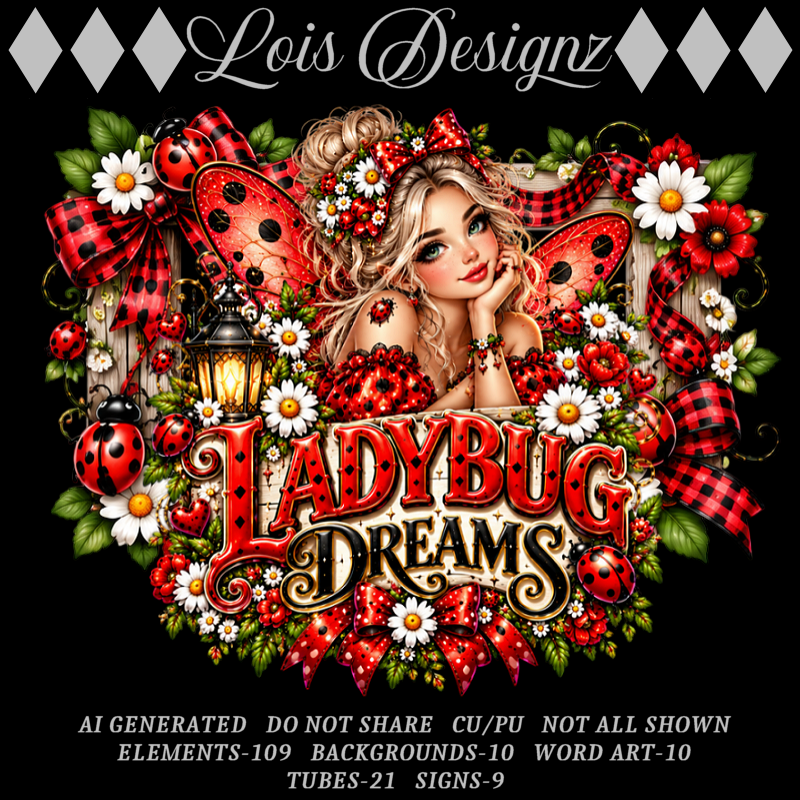
PTU Ladybug Dreams


This tut was written October 9th, 2026 for those with a basic knowledge of psp. 

I am using the Awesome Al kit/Tubes by Lois Designz
Everything used is included in the kit
Please read the TOU on how to credit your tags

I used PSP2020...but any of them should work.
PTU Scrap Ladybug Dreams  by Lois Designz  HERE
Check her store out to see all her other kits HERE
Weescotlass Creation Mask 84 (link is no longer available) use mask of choice

Font of choice, I used Polkadot

Drop shadow as you go is V -2 H 4, 50, 10, or use what you prefer.
Let's get started
*Remember to add your drop shadow as you go along*

Open a new image 800 x 800, paste paper 8, apply your mask,
move to the left, duplicate, mirror, duplicate both, move to the bottom.

Resize 8 to 85%, paste at the upper right.
Resize 7 to 85%, paste on the left.
Paste 56 at the top below the houses.
Paste 16 at the bottom left above the house, duplicate, mirror, move 
between the houses on the right and up.

Resize tube 20 to 38%, paste at the bottom left above the bridge.
Resize tube 8 to 35%, paste on the right by the bridge.
Resize tube 11 to 35%, paste at the bottom.

Resize S8 to 75%, paste between the fairy.
Resize 45 to 40%, paste on the bottom right.
Resize S3 to 55%, paste at the bottom left.
Resize 84 to 30%, paste at the bottom left.
Resize 95 to 35%, paste at the bottom.
Resize 94 to 30%, paste at the bottom.
Resize 80 to 35%, paste at the bottom by the fairy on the left.
Resize wordart 4 to 30%, paste at the top.
Resize 104 to 25%, paste at the upper left by the wordart, duplicate, mirror.

Add any other elements that you would like, make it your own.
Always readjust your mask and elements how you like them before you
 merge your tag, resize, sharpen.
Crop your tag to be sure no shadows or lines are on the edges.
 Then add your copyright and name.
That's it

Hope you enjoyed doing my tut.     
Thursday, October 8, 2026

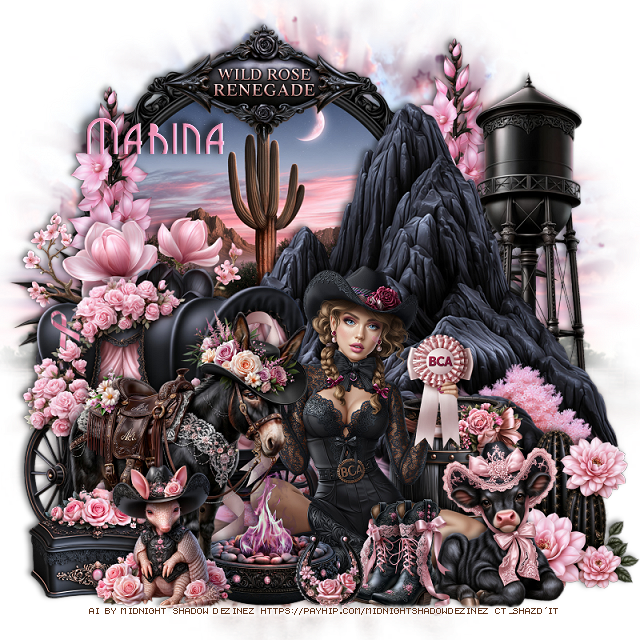
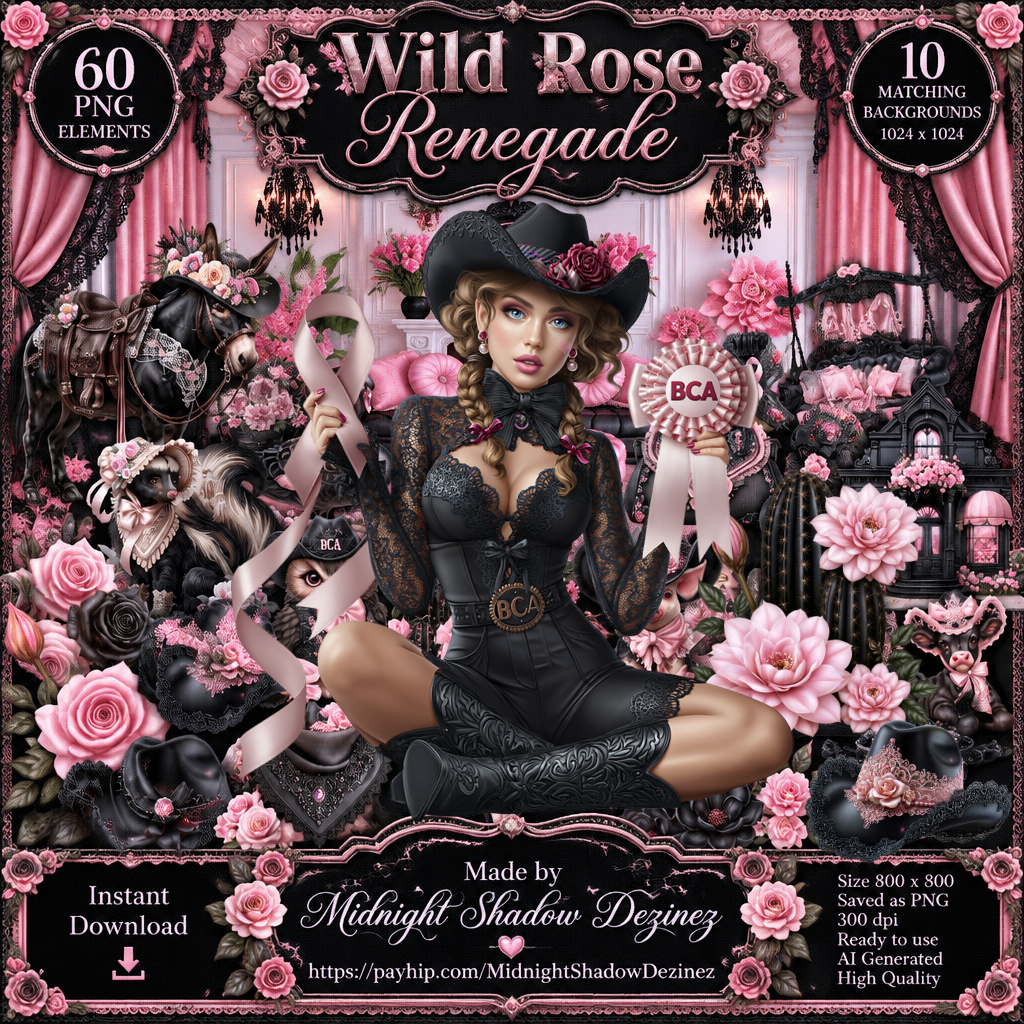
PTU Wild Rose Renegade


 This tut was written October 8th, 2026 for those with a basic knowledge of psp. 

Awesome AI kit and tube by Midnight Shadow Dezinez

Everything is included in the kit

Read the TOU on how to credit your tags


I used PSP2020...but any of them should work.
PTU Scrap Wild Rose Renegade by Midnight Shadow Dezinez  HERE
You can find all Midnight Shadow Dezinez kits HERE
Miz Teeques Mask 81 HERE
Check the blog HERE

Font of choice, I used GrenadierNF

Drop shadow as you go is V -2 H -4, 50, 10, or use what you prefer.
Let's get started
*Remember to add your drop shadow as you go along*

Open a new image 800 x 800, paste paper 8, apply your mask.

Resize 47 to 60%, paste on the upper left.
Resize 29 to 75%, paste on the right.
Resize 13 to 60%, paste on the bottom left.
Resize 24 to 40%, paste on the left below the wagon.
Resize 46 to 45%, paste on the left below the flowers, duplicate, 
move to the right above the circle scene.

Resize 19 to 50%, paste at the bottom.

Resize 6 to 45%, paste on the bottom left above the tube.
Resize 1 to 255, paste at the bottom below the donkey.
Resize 56 to 60%, paste on the right below the rock.
Resize 55 to 30%, mirror, paste below the tube on the right.
Resize 18 to 28%, paste on the bottom right above the tube.
Resize 35 to 30%, paste at the bottom right.
Resize 45 to 25%, paste on the bottom left above the donkey.
Resize 3 to 25%, paste at the bottom left above the box.
Resize 42 to 35%, paste at the top.
Resize 4 to 20%, paste at the bottom by the cow.
Resize 49 to 15%, paste at the bottom.

Add any other elements that you would like, make it your own.
Always readjust your mask and elements how you like them before you
 merge your tag, resize, sharpen.

Crop your tag to be sure no shadows or lines are on the edges.
 Then add your copyright and name.
That's it

                 Hope you enjoyed doing my tut       

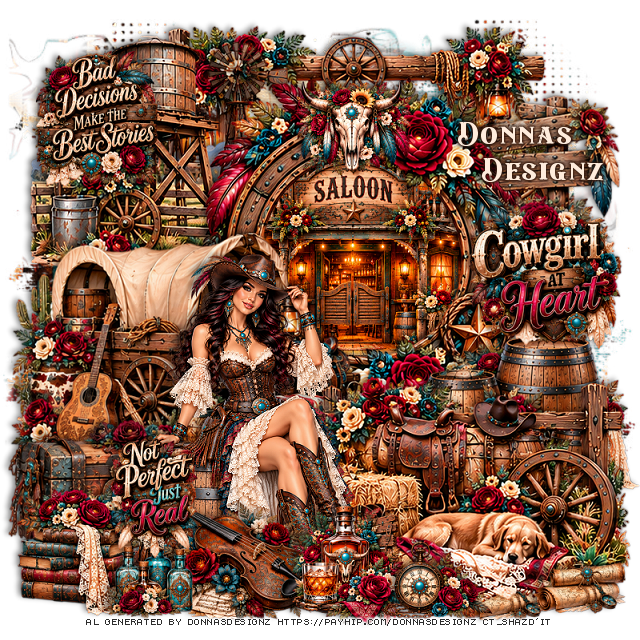
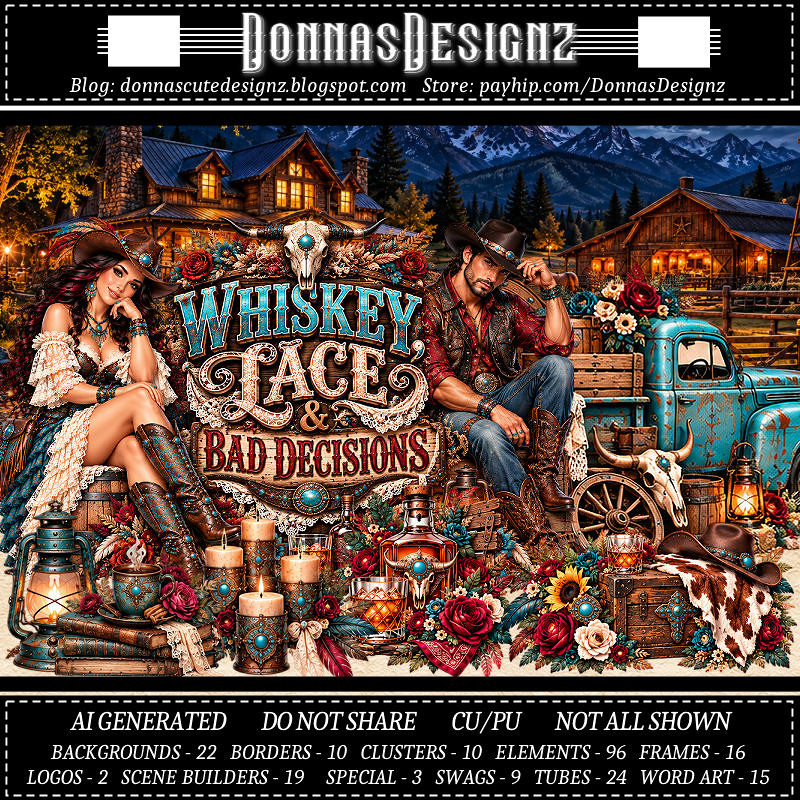
PTU Whiskey Lace and Bad Decisions


This tut was written October 8th, 2026 for those with a basic knowledge of psp. 

I am using the Awesome Al kit/Tubes by Donna Designz
Everything used is included in the kit
Please read the TOU on how to credit your tags

I used PSP2020...but any of them should work.
PTU Scrap Whiskey Lace and Bad Decisions  by Donnas Designz  HERE
Check her store out to see all her other kits and tubes HERE
Miz Teeques Mask 125 HERE
Check the blog HERE

Font of choice, I used Eastwood

Drop shadow as you go is V -2 H 4, 50, 10, or use what you prefer.
Let's get started
*Remember to add your drop shadow as you go along*

Open a new image 800 x 800, paste paper 13, apply your mask.

Mirror frame 7, paste toward the top, click inside, resize spec 1 to 40%, paste,
invert, delete.
Paste SB 14 at the upper left below the frame.
Resize SB 8 to 90%, paste on the left above the frame. 
Paste SB 16 at the top below the windmill.

Resize tube 2 to 30%, paste above the wagon, sharpen.

Resize 69 to 60%, paste on the right below the tube.
Paste SB 11 on the bottom right below the tube.
Resize 29 to 65%, paste on the bottom left below the tube.
Resize clus 7 and 92 to 40%, paste at the bottom above the tube.
Resize clus 9 to 35%, paste at the top on the frame.
Resize 66 to 50%, paste on the bottom left.
Resize 78 to 40%, paste on the bottom by the dog.
Resize 74 to 75%, paste on the right below the barrels.
Resize 52 to 35%, paste on the bottom left.
Resize 41 to 30%, paste at the bottom right, duplicate, move to the left a 
little and below the dog.
Resize wordart 14 to 65%, paste on the right above the sign post, raise
the sign up more.
Resize wordart 4 to 55%, paste at the upper left.
Resize wordart 6 to 50%, paste by the tube.

Add any other elements that you would like, make it your own.
Always readjust your mask and elements how you like them before you
 merge your tag, resize, sharpen.
Crop your tag to be sure no shadows or lines are on the edges.
 Then add your copyright and name.
That's it

Hope you enjoyed doing my tut.      
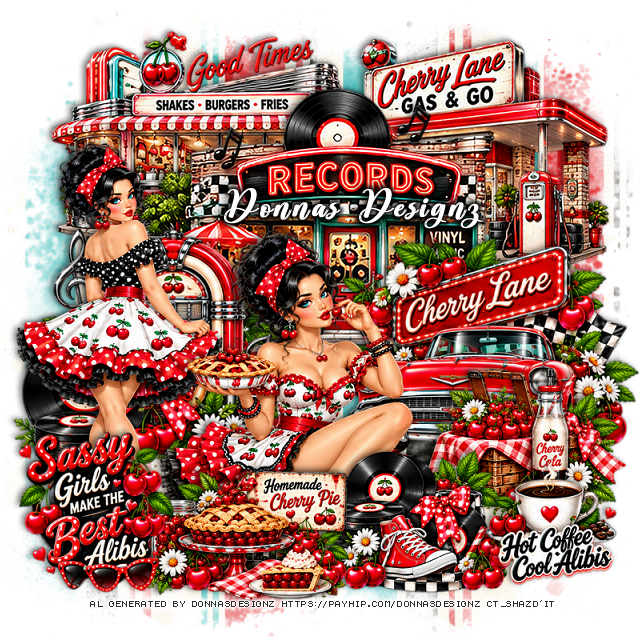
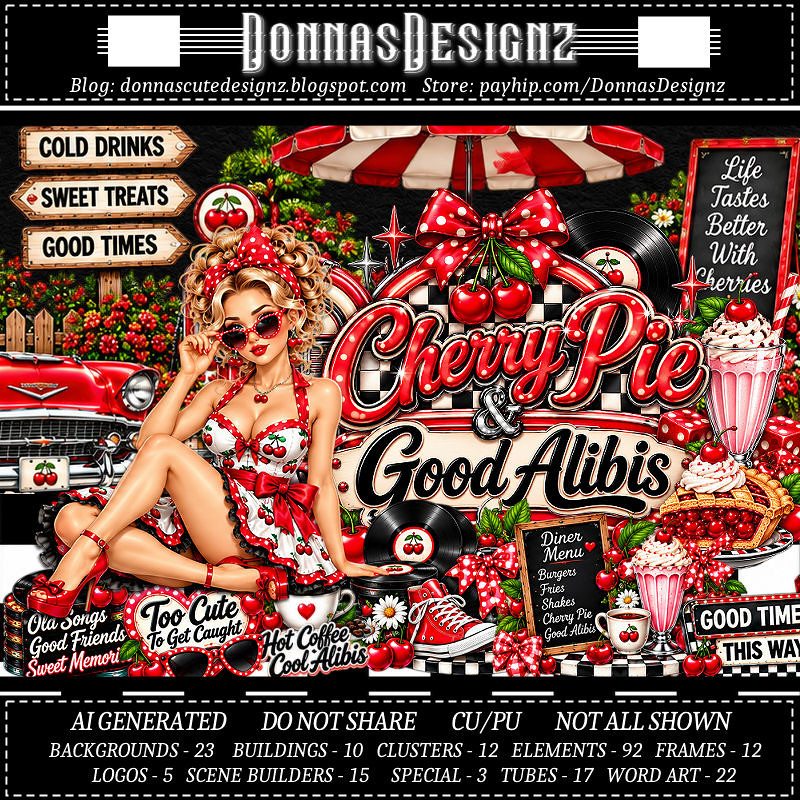
PTU Cherry Pie and Good Alibis

This tut was written October 8th, 2026 for those with a basic knowledge of psp. 

I am using the Awesome Al kit/Tubes by Donna Designz
Everything used is included in the kit
Please read the TOU on how to credit your tags

I used PSP2020...but any of them should work.
PTU Scrap Cherry Pie and Good Alibis  by Donnas Designz  HERE
Check her store out to see all her other kits and tubes HERE
RD Mask 756 Here
Check the rest of the blog HERE

Font of choice, I used Another Day

Drop shadow as you go is V -2 H 4, 50, 10, or use what you prefer.
Let's get started
*Remember to add your drop shadow as you go along*

Open a new image 800 x 800, paste paper 15, apply your mask.

Paste buil 9 at the top.
Resize buil 8 to 75%, paste at the upper left below the record store.
Resize buil 3 to 75%, paste on the upper right below the record store.
Resize clus 10 to 85%, paste on the right above the record store.

Resize tube 15 to 60%, paste above the car.

Resize clu 3 to 90%, paste on the left below the tube.
Resize tube 16 to 60%, paste on the left above the jukebox.
Resize wordart 18 to 75%, paste on the bottom left above the tube.
Resize clus 7 to 60%, paste at the bottom above the tube.
Resize clus 6 to 60%, paste at the bottom to the right above the tube.
Resize clus 5 to 65%, paste on the right below the tube.
Resize wordart 6 to 75%, paste on the bottom right.

Add any other elements that you would like, make it your own.
Always readjust your mask and elements how you like them before you
 merge your tag, resize, sharpen.
Crop your tag to be sure no shadows or lines are on the edges.
 Then add your copyright and name.
That's it

Hope you enjoyed doing my tut.     
Wednesday, October 7, 2026

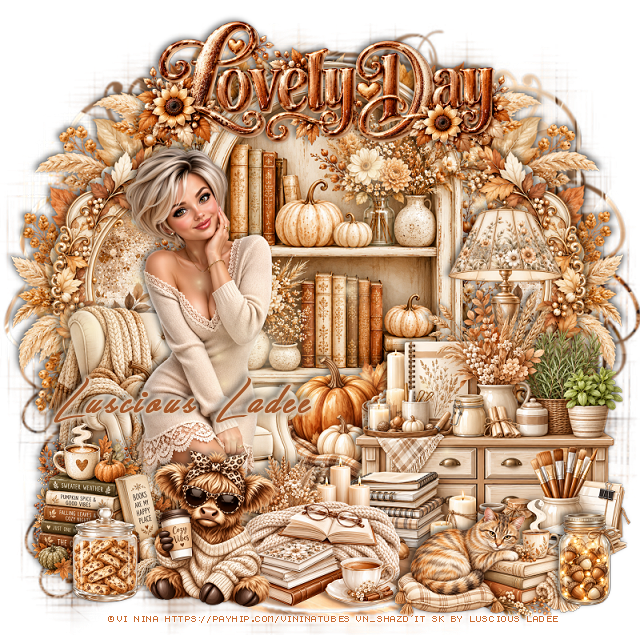
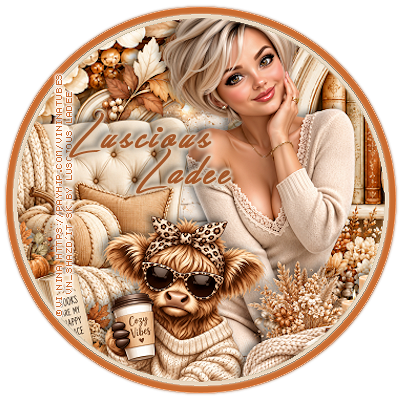
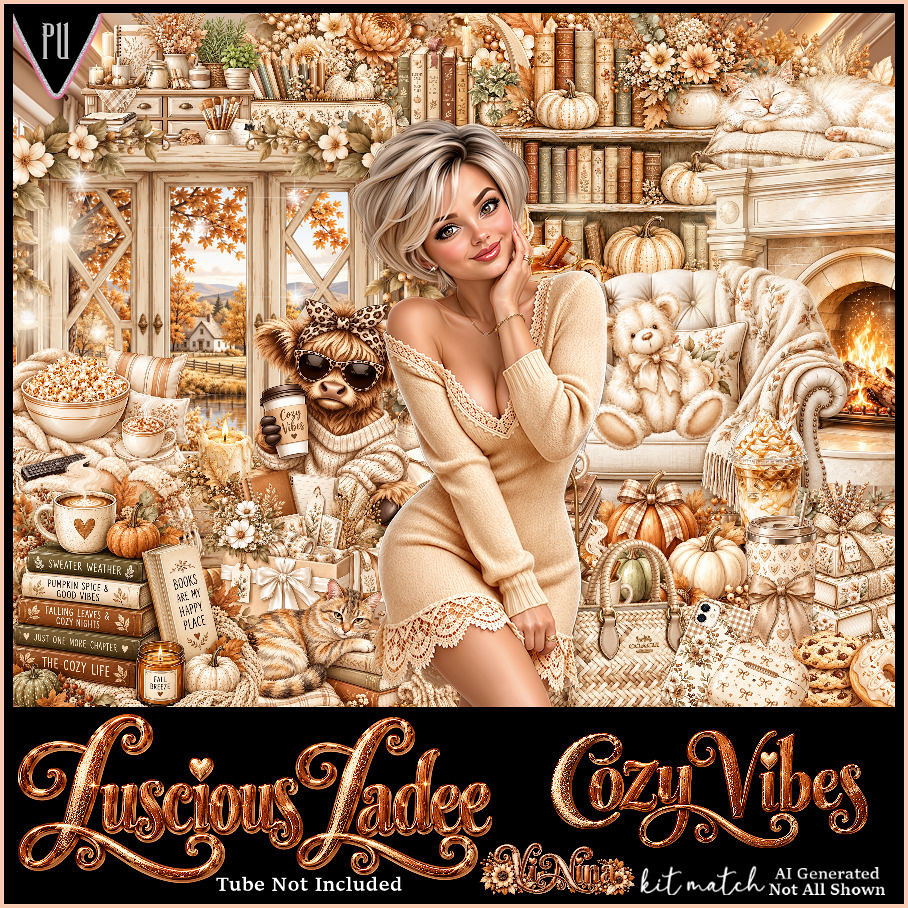
PTU Cozy Vibes


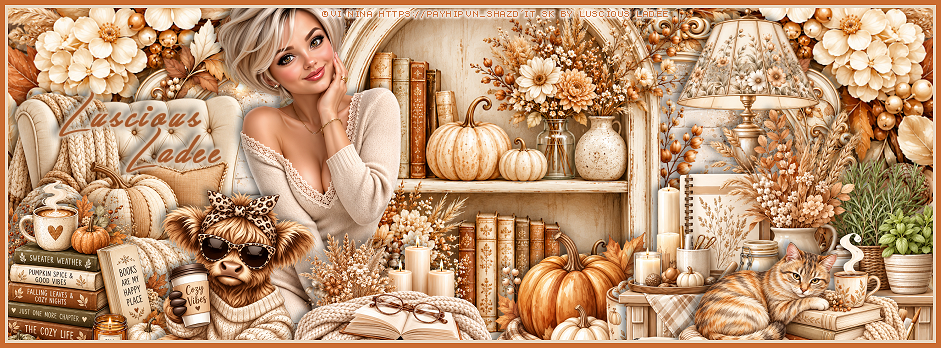
Timeline and Ava no tutorial


  This tut was written October 7th, 2026 for those with a basic knowledge of psp. 

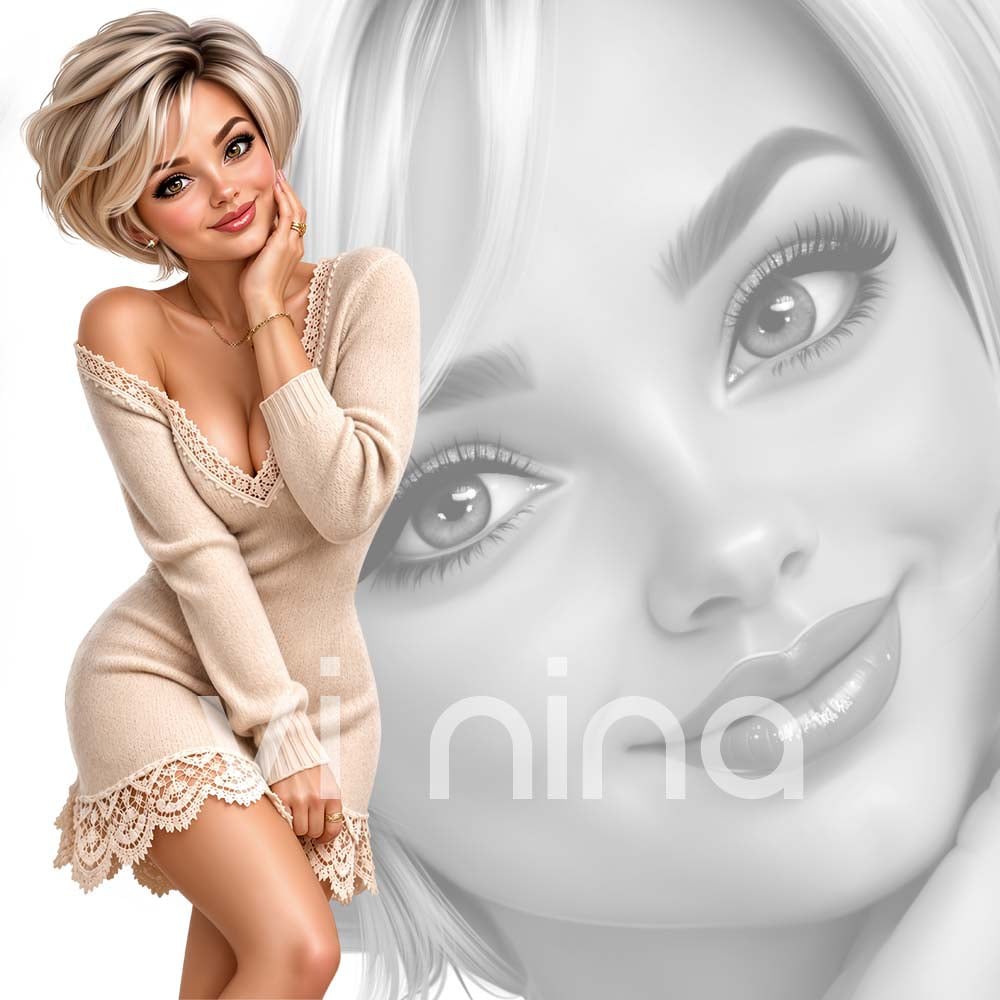
I am using the Beautiful tube ©Vi Nina
The tube is called Lovely Day
Comes in several colors
The tube is "NOT" included
You need a license to use this tube, please do not use without a license
You can find the tube at Vi Nina Store HERE

I used PSP2020...but any of them should work.
PTU Scrap Cozy Vibes by Lusicous Ladee HERE
Check her store out to see all her other kits and tubes HERE

Font of choice, I used Great Day

Drop shadow as you go is V -2 H 4, 40, 10, or use what you prefer.
Let's get started
*Remember to add your drop shadow as you go along*

Open a new image 800 x 800, paste mask 5, adjust.

Resize 29 to 55%, paste.
Resize frame 3 to 45%, paste on the left below the shelf, duplicate, mirror,
click inside, resize paper 9 to 50%, paste in each frame, invert, delete.
Resize 90 to 35%, paste on the bottom left.
Resize 96 to 75%, paste below the frame on the left, duplicate, mirror.

Resize the tube to 35%, paste on the left above the chair.

Resize 12 to 25%, paste at the bottom above the tube.
Resize 43 to 25%, paste at the bottom left.
Resize 42 to 25%, paste below the cow on the left.

Resize 66 to 25%, paste on the right below the chair.
Resize 75 to 45%, paste on the bottom right.
Resize 91 to 20%, paste at the bottom right.
Resize 73 to 25%, paste on the right below the cabinet.
Resize 30 to 15%, paste on the bottom left.
Resize 1 to 13%, paste on the bottom right.
Paste sparkle 5.
Resize wordart 4 to 35%, paste at the top.

Add any other elements that you would like, make it your own.
Always readjust your mask and elements how you like them before you
 merge your tag, resize, sharpen.
Crop your tag to be sure no shadows or lines are on the edges.
 Then add your copyright and name.
That's it

Hope you enjoyed doing my tut.       
Tag for Nina