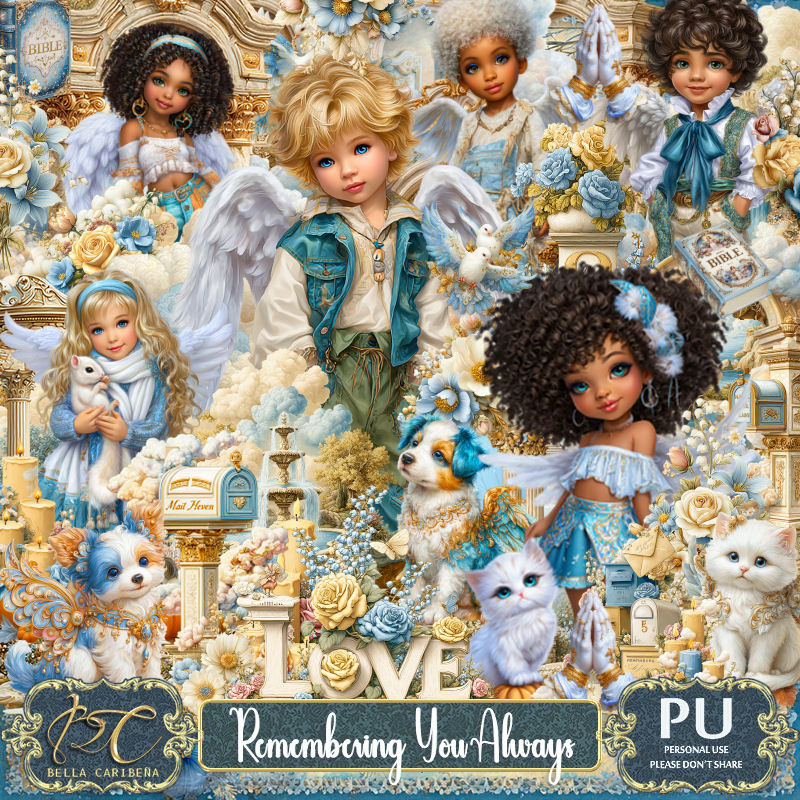
This tut was written August 31st, 2025, for those with a basic knowledge of psp.
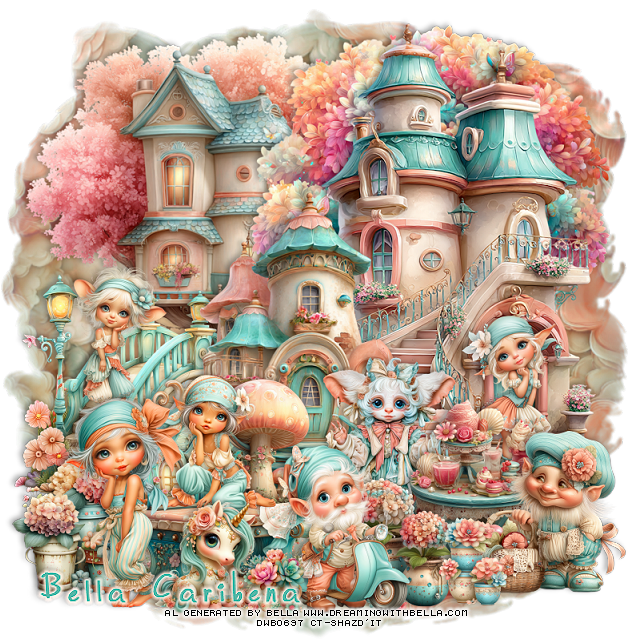
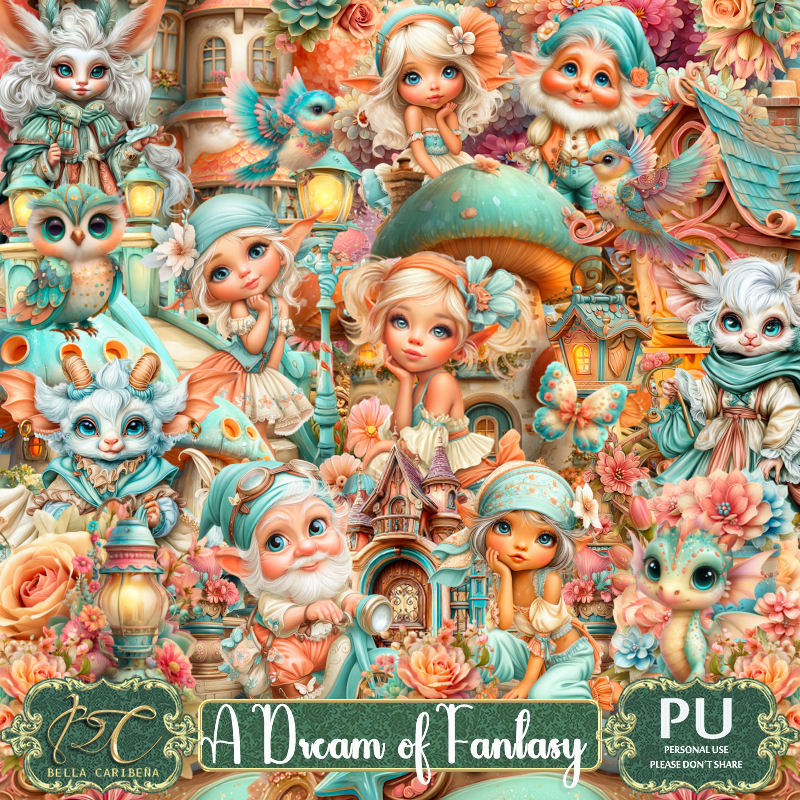
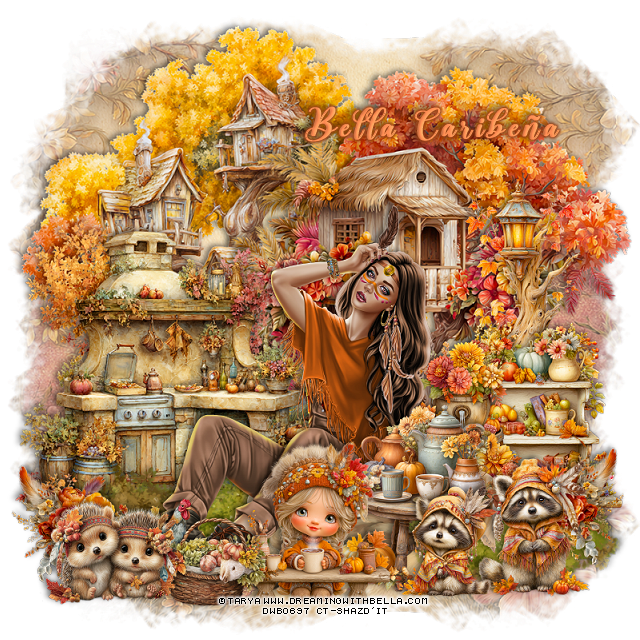
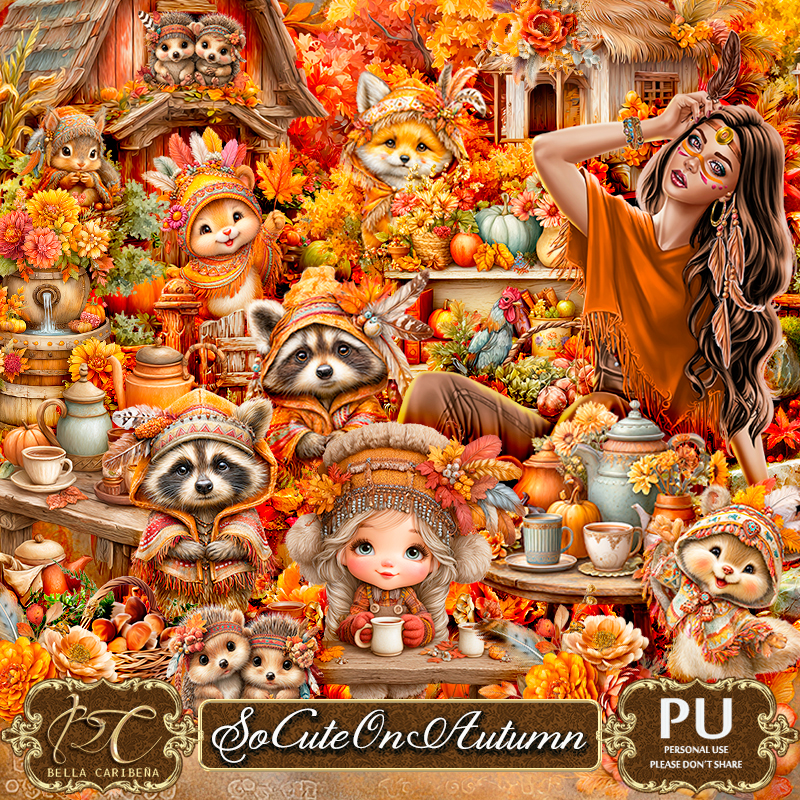
I am using Awesome Al tubes and kit by Bella Caribeña
Tubes are included
Read the TOU on how to credit your tags
I used PSP2020...but any of them should work.
Let's get started
*Remember to add your drop shadow as you go along*
Open a new image 800 x 800, paste element 54, duplicate, merge down.
Paste element 19 at the top.
Resize element 22 to 80%, paste.
Resize element 20 to 65%, paste below the door on the right,
duplicate, mirror.
Resize element 83 to 65%, paste on the upper right below the tree,
duplicate, mirror.
Resize element 96 to 55%, paste at the upper left above the tree.
Paste element 55 above the globes, duplicate, mirror.
Resize element 84 to 75%, paste on the upper right above the tree.
Resize element 85 to 50%, paste at the bottom left above the door.
Resize doll 9 to 20%, paste by the door to the left.
Resize doll 3 to 27%, paste to the right.
Resize element 111 to 50%, paste on the right below the boy.
Resize element 23 to 40%, paste at the bottom right above the mailbox.
Resize element 90 to 40%, paste at the bottom right by the mailbox.
Resize element 74 to 35%, paste below the girl, duplicate, move over behind
the boy.
Resize element 89 to 35%, paste at the bottom above the boy.
Resize element 78 to 30%, mirror, paste at the bottom right.
Resize element 6 to 20%, paste at the bottom left below the love word.
Resize element 2 to 23%, paste at the bottom left.
Resize element 13 to 25%, paste on the door.
Resize element 64 to 25%, paste at the top right, duplicate, move
to the left and down.
Resize element 79 to 25%, paste at the bottom left.
Paste element 33 on the door, lower the opacity to 50.
Add any other elements you would like, resize.
Crop your tag to be sure no shadows or lines are on the edges.
Then add your copyright and name.
That's it
Hope you enjoyed doing my tut