Thursday, May 14, 2020

PTU USA Celebration


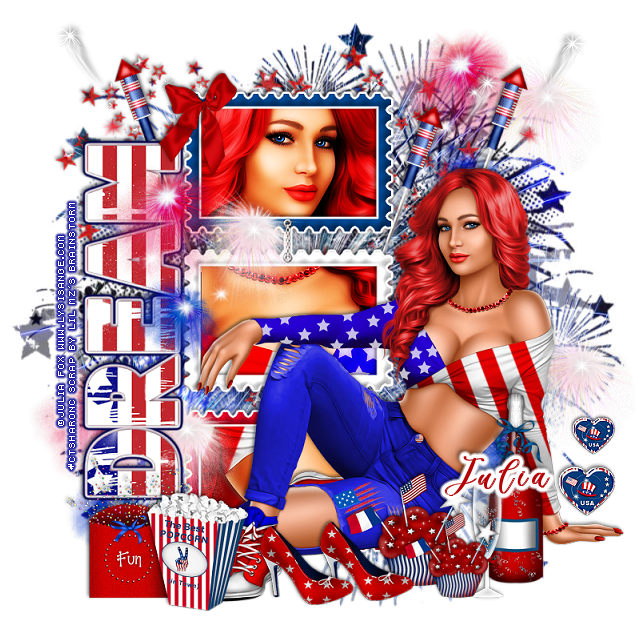
This tut was written May 14th, 2020, for those with a basic knowledge of psp.
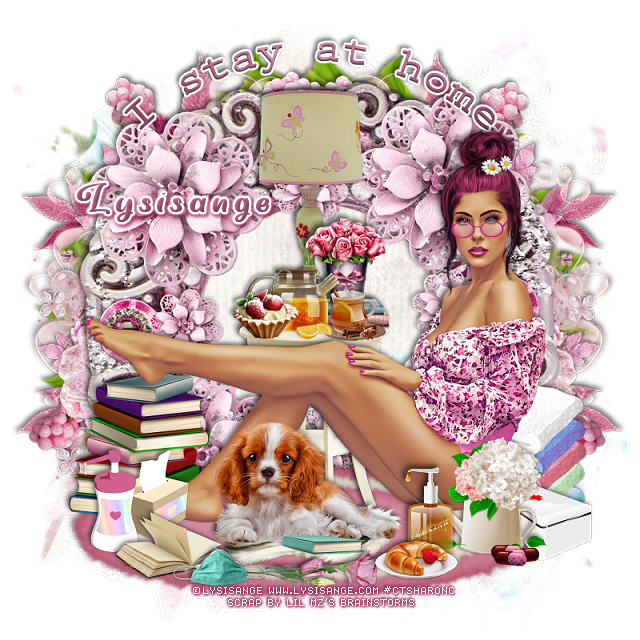
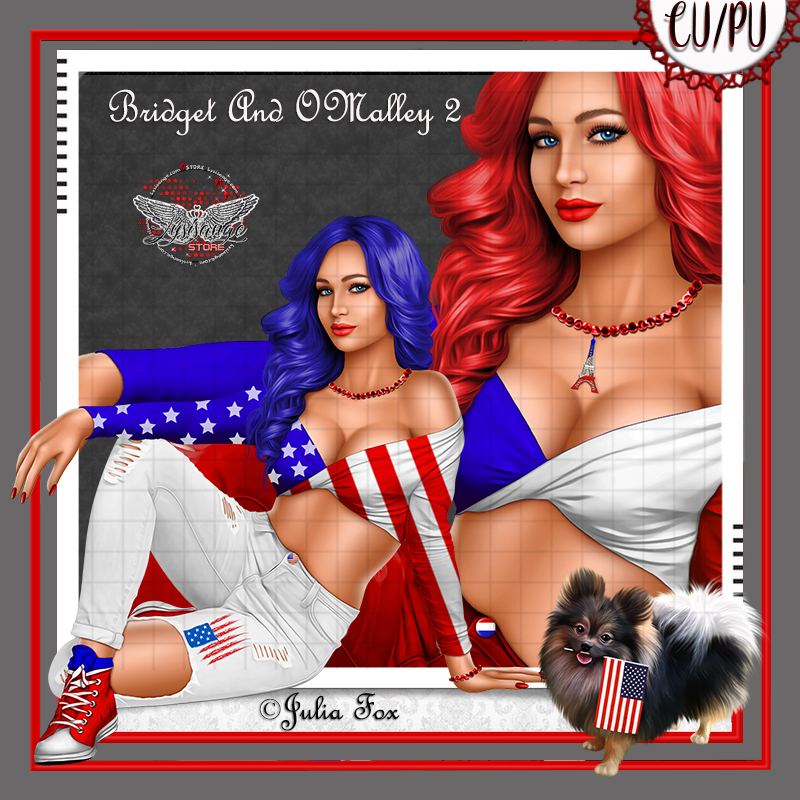
I am using the awesome tube by artist ©Julia Fox
This tube is CU/PU, comes in two colors for USA, one for France
Tube is called Bridget 2 and O'Malley, dog is included with the tube.
 You need a license to use this art, please do not use without a license.
You can find this tube at Lysisange store HERE

I used PSPX...but any of them should work.
 PTU kit Independence by LMB HERE  
Mask of choice, I used DD Patriotic Mask 3 HERE
Check out the rest of the blog HERE
Filter 
Eye Candy 4000-Gradient Glow

Font of choice,  I used Billion Calligraphy

Drop shadow is usually V-2 H-2 Black, 50, 5, use what you prefer.
Let's get started
*Remember to add your drop shadow as you go along*

Open a new image 800 x 800
Paste paper 4, apply your mask, delete, merge group.
Paste element 97 above the mask to the upper left.

Resize element 49 to 90%, paste to the left, click inside with your magic
wand, expand by 5, paste paper 14, invert, delete, keep selected.
Resize your tube to 50%, mirror, paste, adjust how you like, delete, select none.

Duplicate the tube, go to Adjust, Blur, Gaussian blur, number on 4, change
the blend mode to Overlay or one you prefer, merge down, sharpen.
Add a fat gradient glow, color white to the frame.

Resize your tube to 30%, paste to the right.

Resize element 73 to 50%, paste at the lower right above the tube.
Resize element 72 to 55%, paste by the bottle.
Resize element 1 to 75%, free rotate to the left at 90 degrees, paste on the left
of the frame, add a fat gradient of choice.

Resize element 48 to 75%, paste on the right below the paper layer of
the frame, duplicate, move over and up a little, duplicate, mirror.

Resize element 61 to 45%, paste at the lower left above the tube.
Resize element 64 to 50%, paste at the lower left behind the popcorn.
Resize element 67 to 30%, paste on the frame at the upper left.

Resize element 38 to 45%, paste at the bottom above the tube,
duplicate, resize to 75%, move above the glass and bottle.
Resize element 51 to 35%, paste on the right above the hand of the tube,
duplicate, resize to 75%, move up a little.

Resize element 46 to 45%, paste at the bottom above the cupcake,
duplicate, move over a little.
Resize element 54 to 50%, paste on the frame layer to the left, duplicate, 
move to the right above the mask, duplicate, move down to the lower right,
duplicate once more, move to the left below the dream wordart at the bottom.

Add any other elements you would like, make it your own.
Always remember to adjust the elements before merging to get them like you like.

Once happy with your tag, close off any background, crop your tag to make
sure there are no stray edges, merge visible, resize first.
Add your copyrights and name.

That's it
Hope you enjoyed doing my tut.

Wednesday, May 13, 2020

FTU Emerald Fairy Stone Keeper


This tut was written May 12th, 2020 for those with a basic knowledge of psp.
I am using the awesome artwork of Jane Starr Weils
The tube is called "Emerald Fairy Stone Keeper"
You need a license to use this tube, do not use without a license.
You can find this tube at DAH store  HERE

I used PSPX...but any of them should work.
FTU kit Emerald by Miz Teeque  HERE
Check out the rest of the blog  HERE
Mask of choice, I used DFly Mask 0016  HERE
Check out the rest of the blog HERE

Font of choice,  I used Flamenco

Drop shadow is usually V-2 H-2 Black, 50, 5, use what you prefer.
Let's get started
*Remember to add your drop shadow as you go along*

Open a new image 800 x 800
Paste paper 1, apply your mask, delete, merge group.

Resize element 21 to 85%, paste on the mask.
Paste element 29 to 90%, paste on the wire screen to the left.
Resize element 27 to 90%, paste.

Paste frame 4 on the tree and move up on the right a little.
Click inside with your magic wand, expand by 6, paste paper 2, move
how you prefer, invert, delete, select none.
Duplicate the frame and paper, move to the left and down more.

Resize your tube to 75%, paste above the frame, duplicate the tube,
go to Adjust, Blur, Gaussian blur, number on 4, change the 
blend mode to Soft Light, merge down.

Resize element 32 to 25%, paste behind the tube on the left.
Resize element 24 to 25%, paste behind the tube on the right.
Resize element 20, 55 and 56 to 25%, paste at the lower left above the tube,
duplicate element 20, move to the right below the tube.

Resize element 8 to 15%, paste at the bottom above the bottles.
Resize element 6 to 15%, paste at the bottom left, duplicate, move to the right
of the flower and below.
Resize element 3 to 20%, paste above the tube on the left behind
the other elements.

Resize element 15 to 15%, paste behind the tube and up on the frame a little.
Resize element 13 to 25%, paste on the frame behind the flower.
Resize element 51 to 25%, paste behind the tube on the right,
duplicate, resize to 40%, move above the tube by the emeralds.
Go back to the emerald stones, duplicate one, move to the right below 
the feathers.

Resize element 34 to 50%, paste on the upper right below the tree, duplicate,
mirror, move down on the right more, duplicate again, move down to
the bottom so only a few dots shows.
Paste element 49 at the bottom below the tube.
Resize element 18 to 25%, paste at the lower right above the tube.
Resize element 11 and 22 to 25%, paste on the right below the green and 
gold metal box, duplicate, mirror, adjust both on the left.
Resize element 43 to 10%, paste at the bottom by the lamp.

Resize element 9 to 20%, paste at the lower left above the bottles, duplicate,
move down a little.

Resize element 23 to 20%, mirror, paste at the upper right.
Resize element 58 to 50%, paste on the left.
Resize element 22 to 15%, paste on the left below the wordart as if
it is sitting on it, sharpen.

Add any other elements that you would like, make it your own.
Always readjust your mask and elements how you like them before you
 merge your tag, sharpen once.

Crop your tag to make sure no shadows or anything on the edges, merge visible.
 Then add your copyright and name.

That's it
Hope you enjoyed doing my tut.

Sunday, May 10, 2020

FTU Lilac Beauty 3 Piece Set


This tut was written May 10th, 2020 for those with a basic knowledge of psp.
I am using the awesome artwork of Fiodorova Maria
The tube is called "Lilac"
You need a license to use this tube, do not use without a license.
You can find this tube at PFD store  HERE

I used PSPX...but any of them should work.
FTU kit Lavender Fields by Miggins  HERE
Check out the rest of the blog  HERE
Mask of choice, I used DFly Mask 0050  HERE
Check out the rest of the blog HERE

Font of choice,  I used Swirly Tops

Drop shadow is  V-2 H-0 Black, 50, 10, use what you prefer.
Let's get started
*Remember to add your drop shadow as you go along*

Open a new image 800 x 800 or a size you prefer.
Resize paper 3 to 22%, paste your mask, delete, merge group.
Resize smaller to 95%.
Duplicate your mask, Take your Pick tool, hold the shift key and drag down
the top square on one side, then the other side, flip, move to the bottom.

Resize element 1 to 25%, paste, select all, float, defloat, add a new layer, 
expand by 2, fill with white, add noise at 50%, move below the flowers.

Resize tube to 35%, paste above the banner.

Resize element 4 to 10%, paste on the right below the tube layer, duplicate, 
resize, smaller to 75%, move above the tube.
Resize element 3 to 10%, paste on the left below the tube.
Resize element 7 to 15%, paste behind the tube on the right, duplicate, resize
smaller to 50%, move above the tube to the left of the flower.
Take your free hand tool, draw around the larger butterfly, copy, paste as a new layer,
then mirror, paste on the tag on the left.

Resize element 6 to 20%, free rotate to the right at 90 degrees, paste behind the
tube to the right in front of the pitcher with flowers.
Resize element 8 to 25%, paste on the mask layer at the top, duplicate a couple
of times, move where you like.

Resize element 5 to 10%, paste on the mask behind the tube and up,
duplicate, move to the right a bit.
Resize element 2 to 15%, free rotate to the left at 90 degrees, paste at the bottom
below the tube.

If you want to do a Signature tag and Avator do not merge your tag yet.

Signature Tag
Size of choice, I did mine 600 x 200
Copy the elements you want to use, resize smaller to about 40%,
place how you like, merge visible.

Avator mine is 170 x 170, size of your choice, again take 
what elements you want, resize to fit, merge visible.

Add any other elements that you would like, make it your own.
Always readjust your mask and elements how you like them before you
 merge your tag, sharpen once.
(Optional)
For your tag and signature and avator.
Duplicate your merged tag, go to Adjust, Blur, Gaussian blur, number on 4,
change the blend mode to Soft Light, merge down.

Crop your tag to make sure no shadows or anything on the edges, merge visible.
 Then add your copyright and name.

That's it
Hope you enjoyed doing my tut.

PTU I Stay At Home


This tut was written May 9th, 2020, for those with a basic knowledge of psp.
I am using the awesome tube by artist ©Lysisange
This tube is CU/PU
 You need a license to use this art, please do not use without a license.
You can find this tube at her store HERE

I used PSPX...but any of them should work.
 PTU kit I Stay Home by LMB HERE  HERE 
Mask of choice, I used RD Mask 899 HERE
Check out the rest of the blog HERE
Filter 
Mura Meister Copies-Encircle
Font of choice,  I used Very You

Drop shadow is usually V-2 H-2 Black, 50, 5, use what you prefer.
Let's get started
*Remember to add your drop shadow as you go along*

Open a new image 800 x 800
Paste paper 6, apply your mask, delete, merge group, mirror.

Paste element 30, click inside with your magic wand, expand by 5, 
paste paper 6, invert, delete, select none.
Resize the wordart from the tube to 50%, paste at the top, change 
the color to match your tube, add a fat white gradient glow.

Paste element 31 below the paper layer of the frame to the right, duplicate, mirror.
Paste element 26 on the mask layer to the left, duplicate, mirror.

Resize element 67 to 40%, apply Mura Meister Copies-Encircle,
first number on 24, move to the mask layer, resize larger to 110%.

Resize your tube to 30%, paste at the bottom above the frame.
Paste element 88 at the bottom below the frame.

Resize element 35 to 40%, paste under the dog.
Resize element 46 to 55%, paste behind the tube above the frame layer.
Resize element 72 to 50%, paste on the table.
Resize element 13 to 25%, paste on the table above the lamp.
Resize element 99 to 30%, paste on the table above the lamp.
Resize element 4 to 15%, paste above the tea on the table.

Resize element 10 to 20%, paste on the rug above the tube.
Resize element 23 to 20%, paste behind the tube at the lower right.
Resize element 47 to 25%, paste at the lower right above the tube.

Resize element 96 to 20%, paste below the plate with the food on it.
Resize element 93 to 35%, paste at the bottom above the book.
Resize element 91 to 22%, paste on the left below the book.
Resize element 15 to 40%, paste on the right below the white box behind the tube.

Resize element 83 and 84 to 25%, paste at the bottom being on the top 
layer on the rug.
Resize element 18 to 10%, paste at the lower right by the white box.

Add any other elements you would like, make it your own.
Always remember to adjust the elements before merging to get them like you like.

Once happy with your tag, close off any background, crop your tag to make
sure there are no stray edges, merge visible, resize first.
Add your copyrights and name.

That's it
Hope you enjoyed doing my tut.