Showing posts with label Artistic Studio. Show all posts

Thursday, July 21, 2022

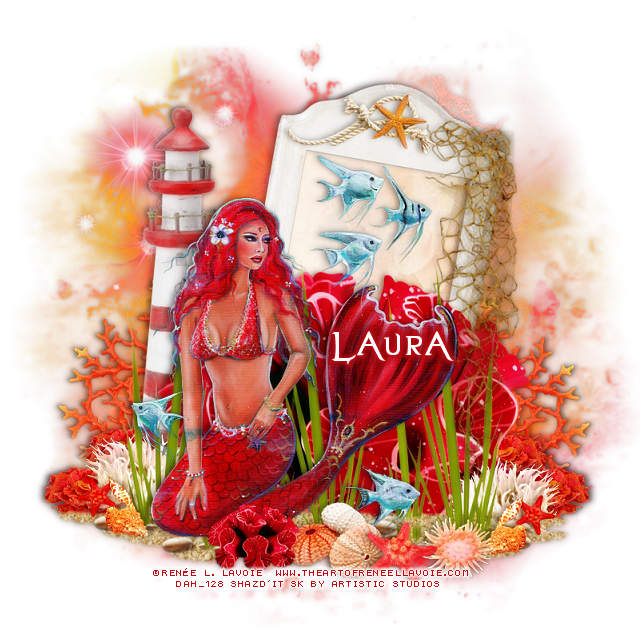
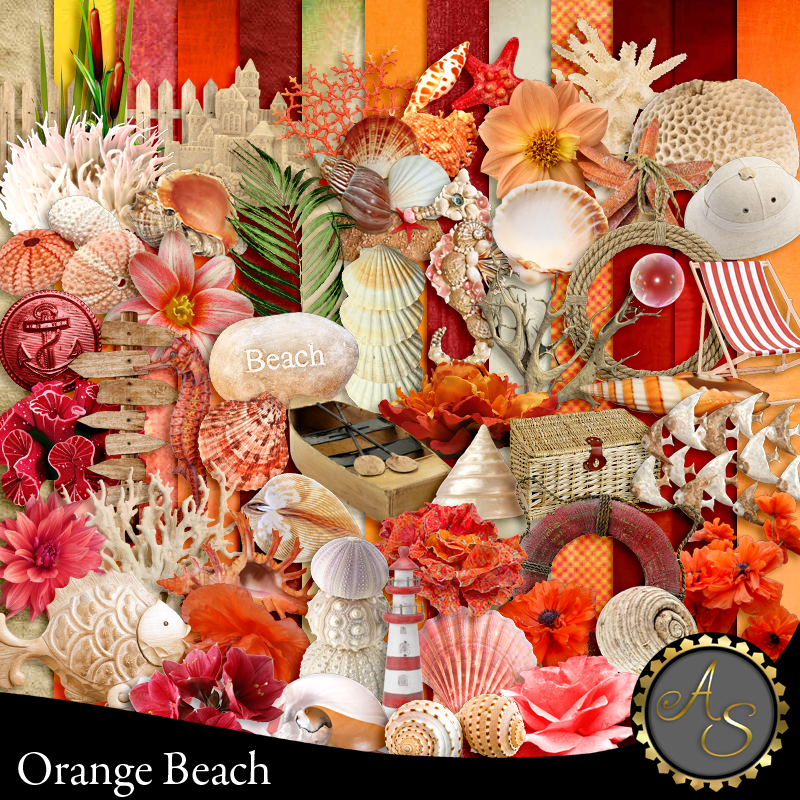
PTU Orange Beach


This tut was written July 21th, 2022 for those with a basic knowledge of psp. 

I am using the awesome artwork of  RenĂ©e L. Lavoie
Tube is called Vivian
You need a license to use this tube, do not use without a license.
You can find this tube at Digital Art Heaven store HERE

PTU kit Orange Beach by Artistic Studio  HERE HERE
Mask of choice, I used RD Mask 116_4 HERE
Check out the rest of the blog HERE

Font of choice, I used Evanescent

Drop shadow is V -1 H -3, 40, 10, or use what you prefer.
Let's get started
*Remember to add your drop shadow as you go along*

Open a new image 800 x 800, paste paper 2, apply your mask, delete, merge group.

Paste element 84 on the left.
Paste element 52 to the right, free rotate to the right at 10 degrees, click inside
with your magic wand, expand by 5, paste paper 1, move where you like, invert,
delete, select none.

Resize your tube to 60%, paste on the left above the frame.

Resize element 4 to 75%, paste on the frame on the right.
Resize element 82 to 75%, paste below the tube on the bottom left, duplicate, mirror,
duplicate again, move to the center.
I duplicated one of the grasses, erased most of the grass and move the sand
down a little more, duplicate, mirror.

Paste element 73 below the grass layers, duplicate, move to the top layer, resize
to 25%, move to the bottom.
Resize element 8 to 85%, paste above the mask on one side, duplicate, mirror.
Resize element 17 to 30%, paste on the right below the sand, duplicate, mirror.
Resize element 34 to 30%, paste at the bottom below the red element.
Resize element 41 to 20%, paste at the bottom.

Resize element 53 to 20%, paste at the lower right being on the top layer, duplicate,
mirror.
Resize element 25 to 20%, paste at the lower right.
Resize element 56 to 40%, mirror, paste on the frame at the top.
Resize element 74 to 20%, paste at the lower left below the sand layer, duplicate,
move over a little, duplicate, mirror, duplicate, move over.
Paste element 75 on the mask layer where you like.

Add any other elements that you would like, make it your own.
Always readjust your mask and elements how you like them before you
 merge your tag, resize, sharpen.
(Optional)
Duplicate your merged tag, go to Adjust, Blur, Gaussian Blur, number on 4,
change the blend mode to Soft Light

Crop your tag to be sure no shadows or lines are on the edges.
 Then add your copyright and name.
That's it

Hope you enjoyed doing my tut.        

Tuesday, June 28, 2022

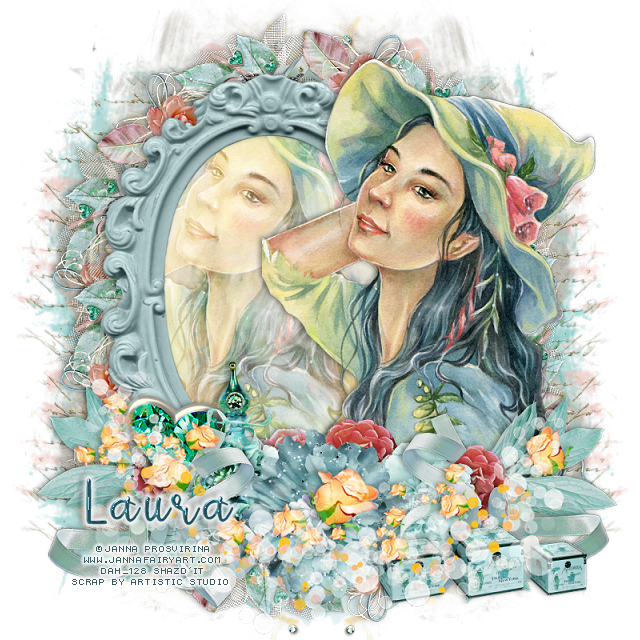
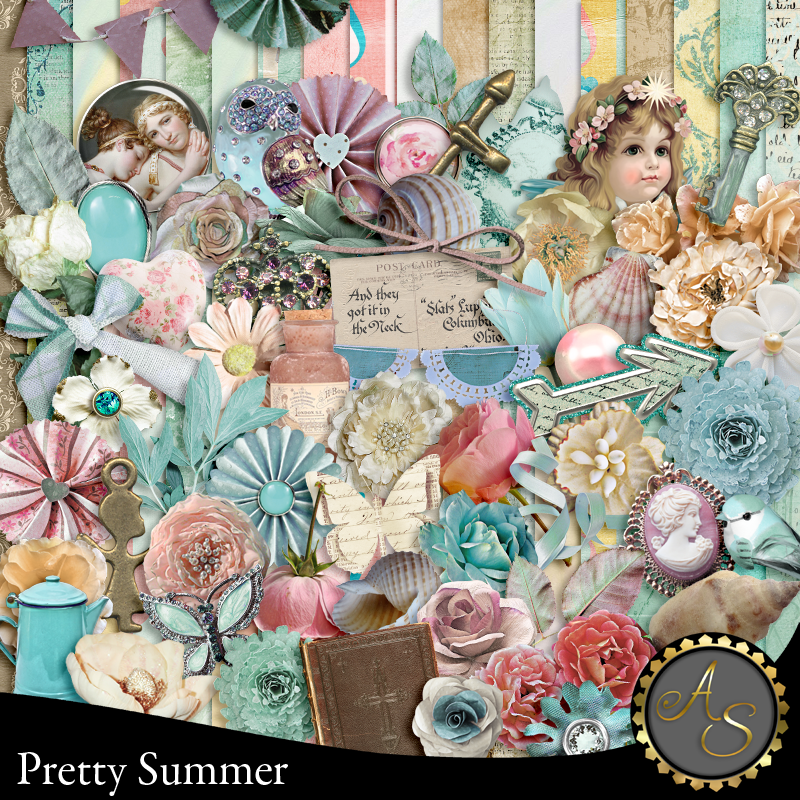
PTU Pretty Summer


This tut was written June 28th, 2022 for those with a basic knowledge of psp. 

I am using the awesome artwork of  Janna Prosvirina
Tube is called Blue Summer
You need a license to use this tube, do not use without a license.
You can find this tube at Digital Art Heaven store HERE

PTU kit Pretty Summer by Artistic Studio  HERE HERE

Font of choice, I used Betterfly

Drop shadow is V -1 H -3, 40, 10, or use what you prefer.
Let's get started
*Remember to add your drop shadow as you go along*

Open a new image 800 x 800
Resize element 95 to 85%, paste, move to the left a little, click inside with the magic wand, 
expand by 5, add a new layer, paste paper 29 into selection, select none.
Paste element 121 below the paper layer of the frame, move to the top, duplicate,
move down.

Paste element 119 on the bottom layer, move to the right so the writing shows,
duplicate, move down, duplicate, both, mirror.

Resize your tube to 70%, paste above the frame to the right.
Duplicate the tube, move below the frame, change the blend mode to overlay,
erase any part showing outside the frame.

Resize element 114 to 50%, free rotate to the left at 90 degrees, paste at the bottom
left, duplicate, mirror.
Resize element 109 to 35%, paste at the bottom.
Resize element 94 to 25%, paste on the left below the flower, duplicate, mirror.
Resize element 8 to 30%, paste below the flowers, duplicate twice, move each to 
the sides of the other flowers.

Paste element 76 being on the top layer.
Paste element 74 on top of the flowers.
Resize element 92 to 35%, paste below the top two layers.
Resize element 10 to 20%, paste by the bottle on the left.
Resize element 91 to 40%, paste at the lower right.
Resize element 50 to 40%, paste at the lower right behind the boxes, duplicate, mirror.

Add any other elements that you would like, make it your own.
Always readjust your mask and elements how you like them before you
 merge your tag, resize, sharpen.

Crop your tag to be sure no shadows or lines are on the edges.
 Then add your copyright and name.
That's it

Hope you enjoyed doing my tut.       
Monday, February 14, 2022

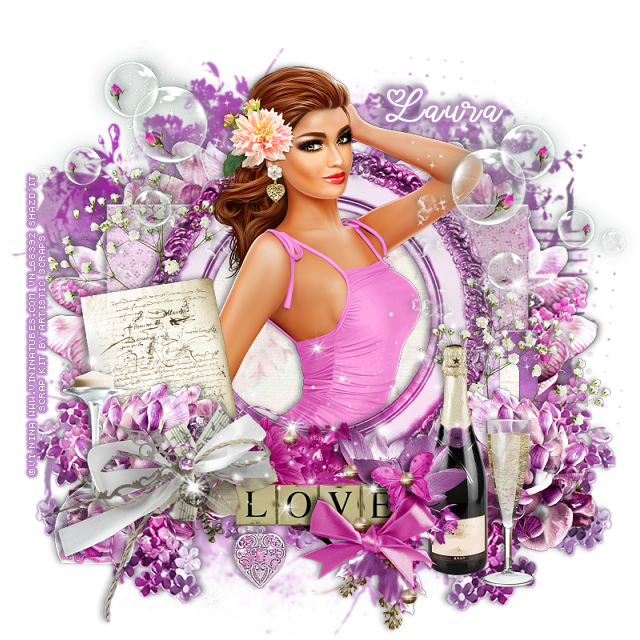
PTU Romantic Love


 This tut was written February 14th, 2022 for those with a basic knowledge of psp. 

I am using the awesome artwork of Vi Nina
The tube is called Maggie
You need a license to use this tube, do not use without a license.
You can find the tube at Vi Nina Store HERE

I used PSP2020...but any of them should work.
PTU kit Romantic Past by Artistic Studio HERE HERE
Template 478 by Millies PSP Madness HERE
Check out the rest of the blog HERE
RD Mask 757 HERE
Check out the rest of the blog HERE

Font of choice, I used Lovely Valentine

Drop shadow is V -1 H -4, 50, 10, or use what you prefer.
Let's get started
*Remember to add your drop shadow as you go along*

Open the template, delete the credits, hearts and wordart, resize canvas to 800 x 800 
paste paper 21 on the bottom layer, apply your mask, delete merge group.

Layer one of template, select all, float, defloat, paste paper 6, invert, delete, select none.
Delete the template layer.
Go to Effect, 3D Effects, Inner Bevel with these settings
Bevel Shape 2, Width4
6, 3, 3, 25,
0, 49, 51
Color White
Do this on each layer of the templates.

Layer 2, paste paper 21, invert, delete, apply the same bevel settings.
Layer 3, paste paper 22, do as in the other layers.
Layer 4, paste paper 5, do all the above to this layer also.
Layer 5, paste paper 8, delete, select none, don't bevel this one.

Resize element 178 to 70%, paste on the circle.
Resize your tube to 50%, move below the frame, duplicate, move above the frame,
erase all the two tubes you don't want showing.

Resize element 125 to 95%, paste above the mask layer on the left, duplicate, mirror.
Resize element 104 to 75%, paste at the bottom right above the larger flower,
duplicate, mirror.
Resize element 125 to 50%, paste at the lower right above the frame layer, duplicate, mirror.
Resize element 72 to 40%, paste on the left below the flower.
Resize element 6 to 50%, paste on the left above the flower.
Resize element 10 to 55%, paste on the left above the candle.

Resize element 1 to 50%, paste at the lower right.
Resize element 36 to 35%, paste by the bottle.
Resize element 69 to 60%, paste at the bottom above the bottle, move the ribbon
on the left above this.

Resize element 39 to 50%, paste on the right below the flower behind the bottle,
duplicate, mirror, move up on the left.
Resize element 20 to 15%, paste at the bottom below the wordart sign.

Resize element 150 to 65%, paste on the right above the tube, 
duplicate, mirror, move below the tube.
Paste element 170 being on the top layer where you like.

Add any other elements that you would like, make it your own.
Always readjust your mask and elements how you like them before you
 merge your tag, resize, sharpen.

Crop your tag to be sure no shadows or lines are on the edges.
 Then add your copyright and name.
That's it

Hope you enjoyed doing my tut.    
Wednesday, August 11, 2021

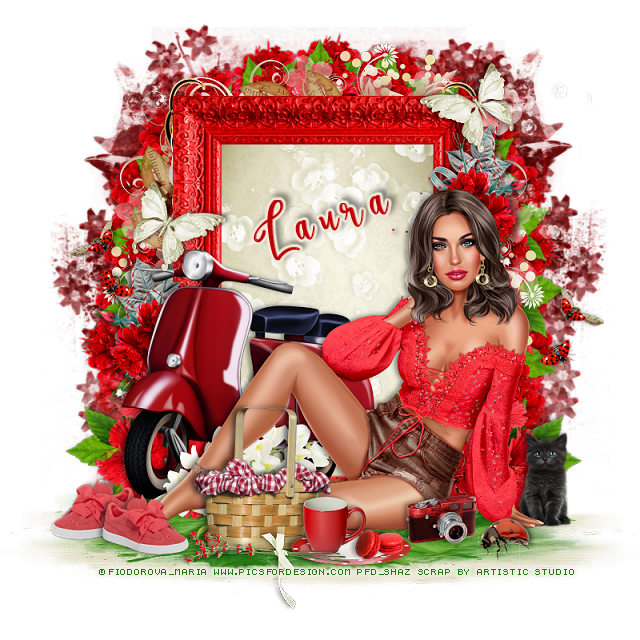
PTU Summer Red


This tut was written August 11th, 2021  for those with a basic knowledge of psp.

I am using the awesome artwork by  © Fiodorova Maria
The tube is "Aimee"
You need a license to use this tube, do not use without a license.
You can find this tube at PFD store  HERE

I used PSP2020...but any of them should work.
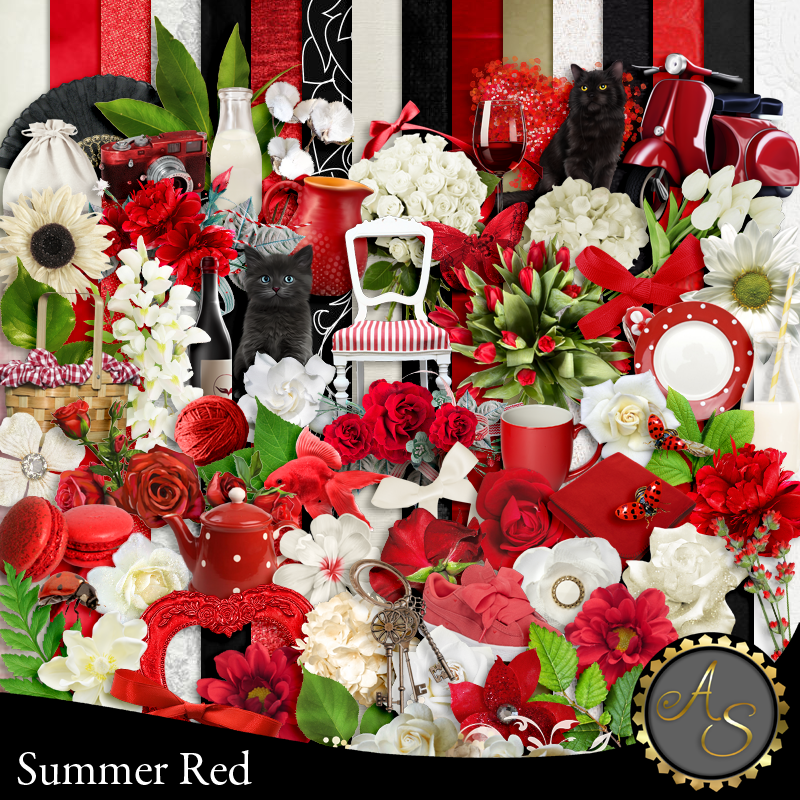
PTU Summer Red by Artistic Studio  HERE & HERE  
Mask of choice, I use RD Mask 869 HERE and 933 HERE
Check out the rest of the blog HERE
Filter
Mura Meister Copies- Wallpaper

Font of choice,  I used Camellia

Drop shadow is usually V-1 H-4 Black, 50, 10, use what you prefer.
Let's get started
*Remember to add your drop shadow as you go along*

Open a new image 800 x 800
Take element 84, apply Mura Meister Copies- Wallpaper Rotate, first number on 20,
Apply mask 869, delete, merge group.
(Your Pick tool is on the left in with your move tool)
Take your pick tool, hold the shift key, drag down on side from the top and then
the other side until it is flat, move to the bottom.

Resize paper 9 to 90%, paste apply the same mask, move below the green layer.
move to the left, duplicate, mirror.
Adjust the green how you like, then merge the green down with the other two.

Resize your tube to 30%, paste on the green.
Now we can work around the tube.

Resize element 24 to 25%, take your pick tool, hold the shift key and drag each
side down until the plate is flat.
Resize element 31 to 10%, place on the plate.
Resize element 29 to 15%, place on the plate by the cookies.
Resize element 2 to 60%, paste behind the tube on the left.
Resize element 12 to 18%, paste above the tube at the lower left, duplicate, mirror,
move back to the left below the first shoe.

Resize element 23 to 30%, paste at the bottom below the plate layer.
Resize element 18 to 15%, paste at the bottom to the right.

Resize element 110 to 85%, rotate to 90 degrees, paste behind the tube, click inside with the 
magic wand, expand by 3, add a new layer, paste paper 9 into selections, move 
below the frame.

Rotate element 48 to the left at 90 degrees, paste below the paper layer of the frame
on the right, duplicate, mirror, duplicate once more, move to the top,
erase the outer parts you don't want.
Resize element 75 to 15%, apply Mura Meister Copies-Encircle, first number on
20, second number on 55, all the rest leave as is.
Move below the lighter flower, duplicate, move down more.

Resize element 30 to 40%, paste at the bottom above the plate.
Resize element 53 to 40%, paste below the tube by the leg.
Resize element 28 to 15%, mirror, paste at the lower right above the tube.
Resize element 61 to 40%, paste behind the tube at the lower right, duplicate, mirror.
move below the scooter.
Duplicate again, free rotate to the right at 90 degrees, apply Mura Meister Copies-Encircle
first number on 20, second number on 45, all the rest leave as is, move above the red
flower circle.

Resize element 27 to 25%, paste on the right being on the top layer, duplicate, 
mirror, move up a little.
Paste element 96 below the frame on the paper layer how you like.

Resize element 51 to 35%, free rotate to the left at 90 degrees, paste on the frame on
the left, duplicate, mirror, move where you like.
Resize element 7 to 20%, paste at the upper right on the frame, duplicate,
mirror, move down more.
Resize element 9 to 20%, paste at the lower right behind the tube's hand.

Resize paper 14 to 90%, move to the bottom layer, apply mask 933, duplicate,
mirror, duplicate both, change the blend mode to Multiply, merge down.

Add any other elements you would like, make it your own.
Always remember to adjust the elements before merging to get them like you like.

Once happy with your tag, close off any background, crop your tag to make
sure there are no stray edges, merge visible, resize first.
Add your copyrights and name.

That's it

Hope you enjoyed doing my tut. 
Sunday, August 1, 2021

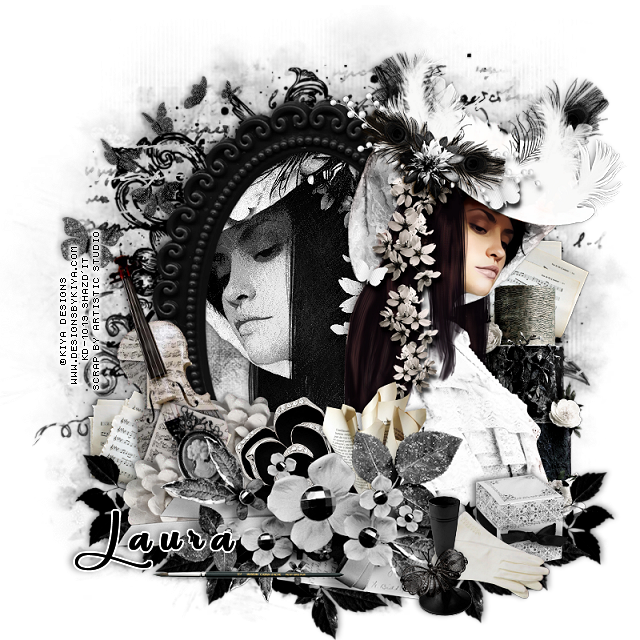
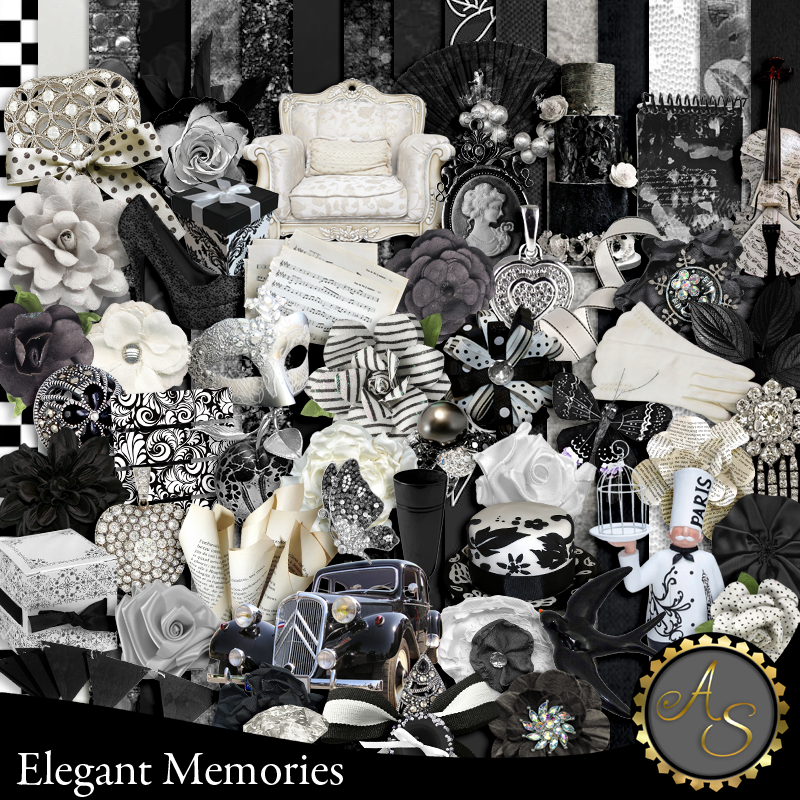
PTU Elegant Memories


This tut was written August 1st, 2021  for those with a basic knowledge of psp.

I am using the awesome artwork by  © Kiya Designs
The tube is "Victoria"
You need a license to use this tube, do not use without a license.
You can find this tube at Kiya Designs store  HERE

I used PSPX...but any of them should work.
PTU Elegant Memories by Artistic Studio  HERE & HERE  
Mask of choice, I use RD Mask 673 HERE
Check out the rest of the blog HERE
Filter
xero-Artworx

Font of choice,  I used Pacific Again

Drop shadow is usually V-1 H-4 Black, 50, 10, use what you prefer.
Let's get started
*Remember to add your drop shadow as you go along*

Open a new image 800 x 800
Paste paper 6, apply your mask, delete, merge group.
Paste element 113, resize larger to 120.

Resize element 128 to 85%, paste, click inside with your magic wand, expand by 5,
Paste paper 4, invert, delete, keep selected.
Mirror your tube, paste, delete select none, change the blend mode to Luminance(L),
apply the xero filter-Artworx- Fine lines, default setting.

Paste your tube above the frame on the right, resize to 60%.

Resize element 51 to 50%, paste on the left on the frame, free rotate to the left
at 20 degrees.
Resize element 91 to 90%, paste at the bottom being on the top layer.
Resize element 30 to 20%, paste at the lower right.
Resize element 74 to 25%, paste at the bottom below the flowers.
Resize element 32 to 25%, paste to the right of this element.

Resize element 52 to 25%, paste at the lower right above the box.
Resize element 36 to 25%, paste by the gloves.
Resize element 8 to 50%, paste behind the tube on the right.
Resize element 88 to 20%, paste on the left above the violin, duplicate, move 
below the violin.

Resize element 25 to 15%, paste on the stem of the glass.
Resize element 11 to 20%, free rotate to the left at 20 degrees, paste above the
flower on the violin.

Resize element 108 to 40%, paste at the upper left being on the top layer.
Resize element 104 to 50%, free rotate to the left, move below all the flowers to the 
left, duplicate, mirror, move to the center more, duplicate once more and 
move to the right.

Resize element 18 to 40%, paste at the bottom being on the top layer.
Resize element 48 to 30%, paste on the right below the tube toward the top,
duplicate, move to the right below the violin.

Add any other elements you would like, make it your own.
Always remember to adjust the elements before merging to get them like you like.

Once happy with your tag, close off any background, crop your tag to make
sure there are no stray edges, merge visible, resize first.
Add your copyrights and name.

That's it
Hope you enjoyed doing my tut.