Showing posts with label Carita Creationz. Show all posts

Tuesday, September 22, 2026

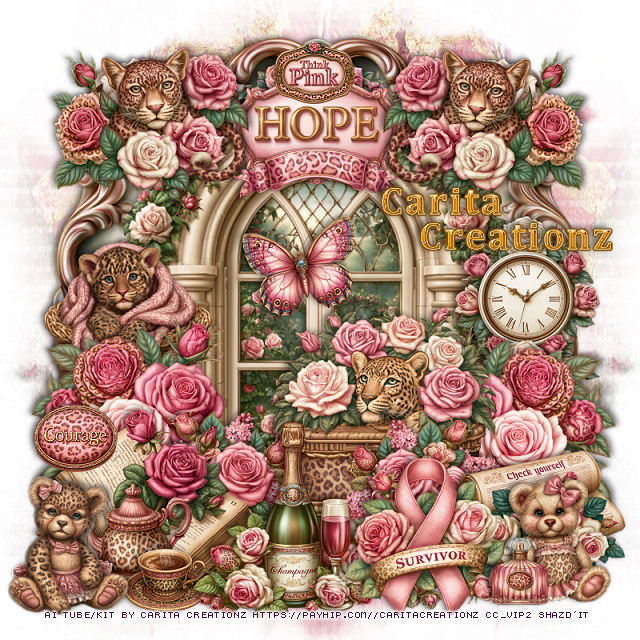
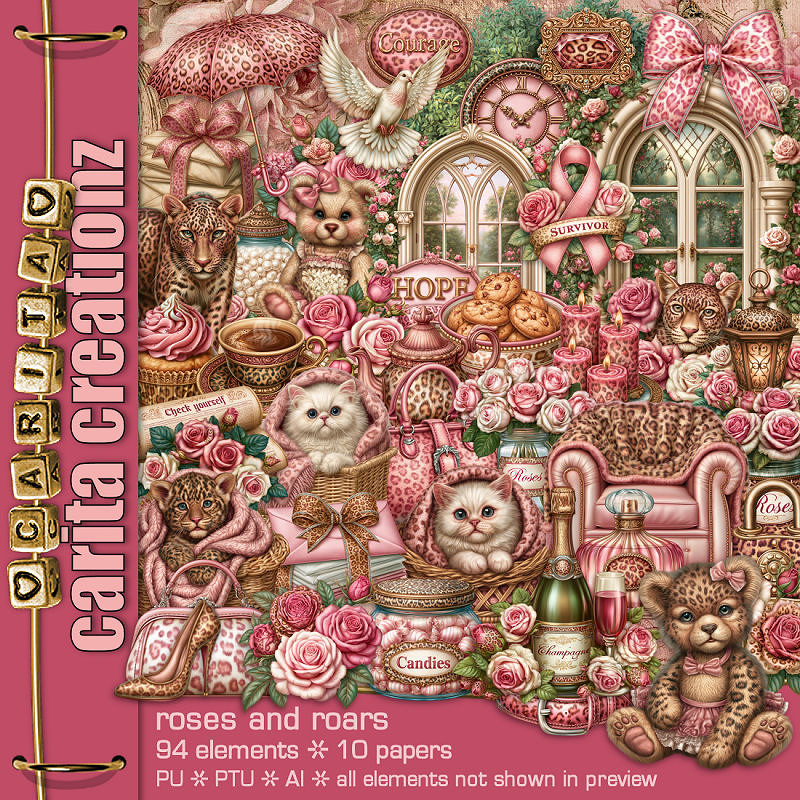
PTU Roses and Roars


  This tut was written September 22nd, 2026 for those with a basic knowledge of psp. 

I am using the beautiful Al kit Roses and Roars by Carita Creationz
Everything used is included in the kit
Please read the TOU on how to credit your tags.

I used PSP2020...but any of them should work.
PTU Scrap Roses and Roars by Carita Creationz  HERE
Check her store out to see all her other kits and tubes HERE
RD Mask Set 129_2 Here
Check the rest of the blog HERE

Font of choice, I used Cambria

Drop shadow as you go is V -2 H 4, 40, 10, or use what you prefer.
Let's get started
*Remember to add your drop shadow as you go along*

Open a new image 800 x 800, paste paper 2, apply your mask,
move to the left, duplicate, mirror.

Resize 34 to 95%, paste.
Resize 41 to 75%, paste.
Resize 83 to 30%, paste at the top below the window.
Resize 17 to 35%, paste at the bottom left above the window, duplicate, 
mirror.
Resize 53 to 30%, paste at the bottom above the left flower, 
duplicate, mirror.
Resize 42 to 40%, paste on the right between the flowers.

Resize 58 to 40%, paste at the bottom left above the flowers.
Resize 23 to 30%, paste on the left below the flowers.
Resize 72 to 30%, paste on the right on the window below the flowers.
Resize 3 to 35%, paste at the bottom above the book.
Resize 92 to 30%, paste at the top on the window.
Resize 94 to 15%, paste at the top on the wordart.
Resize 38 to 27%, paste on the upper right on the wordart, duplicate,
mirror.
Resize 4 to 25%, paste at the upper left below the leopard, duplicate, mirror.
Resize 90 to 30%, paste at the bottom to the right of the champagne.
Resize 93 to 30%, paste on the bottom right below the ribbon.

Resize 1 to 23%, paste on the bottom right.
Resize 26 to 20%, paste at the bottom left below the champagne layer.
Resize 27 to 15%, paste at the bottom left.
Resize 47 to 25%, mirror, paste at the bottom left.
Resize 91 to 15%, paste on the left on the book.
Resize 2 to 12%, paste at the bottom right.
Resize 86 to 20%, paste on the window.

Add any other elements that you would like, make it your own.
Always readjust your mask and elements how you like them before you
 merge your tag, resize, sharpen.
Crop your tag to be sure no shadows or lines are on the edges.
 Then add your copyright and name.
That's it

Hope you enjoyed doing my tut.       

Sunday, September 13, 2026

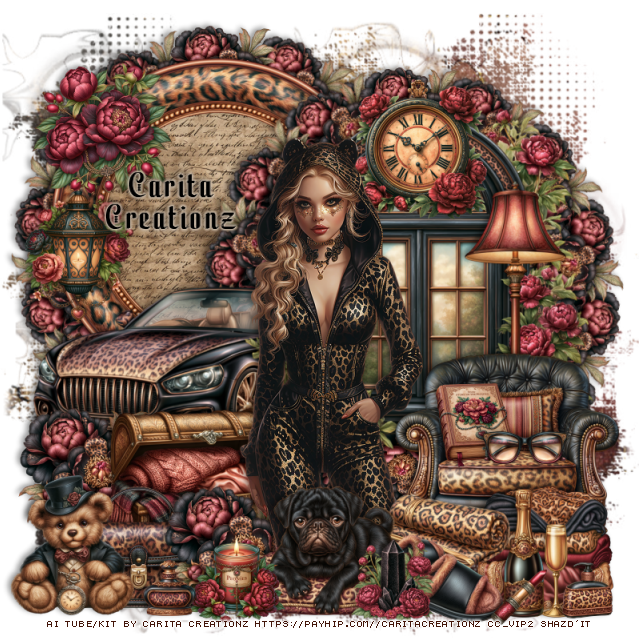
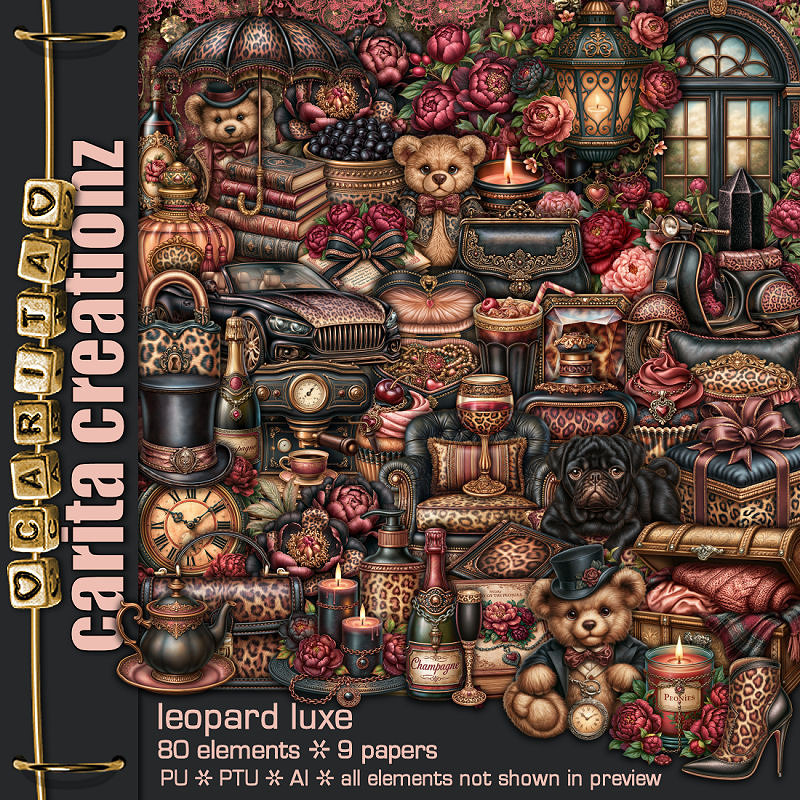
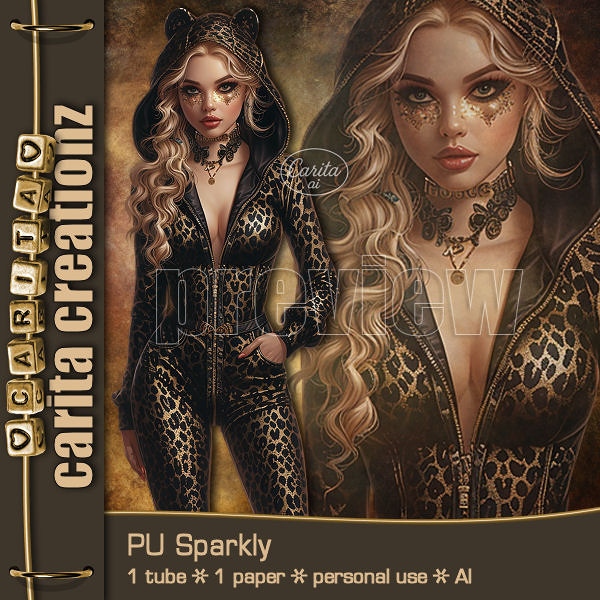
PTU Leopard Isle


 This tut was written September 13th, 2026 for those with a basic knowledge of psp. 

I am using the beautiful kit Leopard Luxe by Carita Creationz
I paired it with the tube Sparkly, you can get it HERE
It is NOT included in the kit
Please read the TOU on how to credit your tags.

I used PSP2020...but any of them should work.
PTU Scrap Leopard Isle by Carita Creationz  HERE
Check her store out to see all her other kits and tubes HERE
Miz Teeques Mask 125 Here
Check the rest of the blog HERE

Font of choice, I used Yulltan

Drop shadow as you go is V -2 H 4, 50, 10, or use what you prefer.
Let's get started
*Remember to add your drop shadow as you go along*

Open a new image 800 x 800, paste paper 3, apply your mask,

Resize 65 to 65%, paste on the right.
Resize 20 to 20%, apply Mura Meister Copies-Encircle, first 3
numbers on 14, 50, 55, paste below the window.
Resize 10 to 40%, paste on the bottom right above the window.
Resize 30 to 65%, mirror, paste below the window on the left.
Resize 40 to 60%, paste on the upper left below the flower circle, click 
inside, resize paper 7 to 50%, paste, invert, delete.
Duplicate the flower circle behind the window, move to 
the left below the frame.

Resize the tube to 50%, paste to the right of the chair.

Resize 7 to 32%, paste on the bottom left below the tube.
Resize 8 to 60%, paste on the right behind the chair.
Resize 44 to 28%, paste at the bottom above the tube.
Resize 43 to 25%, paste at the bottom right below the dog.
Resize 2 to 25%, paste on the bottom right above the chair.
Resize 20 to 25%, paste on the bottom left below the chest, duplicate, move 
above the chest by the dog.

Resize 22 to 25%, paste on top of the window below the tube.
Resize 3 and 64 to 15%, paste in the chair.
Resize 29 to 23%, paste at the bottom right.
Resize 17 to 23%, paste at the bottom left below the flower.
Resize 45 to 17%, paste at the bottom above the dog.
Resize 9 to 25%, paste on the bottom left.
Resize 80 to 25%, paste on the left on the frame.
Resize 6 to 28%, paste on the left below the flowers on the frame.
Resize 74 to 10%, paste at the bottom to the left of the dog.
Resize 63 to 15%, paste at the bottom to the right of the dog.
Resize 62 to 10%, paste at the bottom right by the champagne.
Resize 48 to 10%, paste at the bottom right.

Add any other elements that you would like, make it your own.
Always readjust your mask and elements how you like them before you
 merge your tag, resize, sharpen.
Crop your tag to be sure no shadows or lines are on the edges.
 Then add your copyright and name.
That's it

Hope you enjoyed doing my tut.       
Tuesday, September 8, 2026

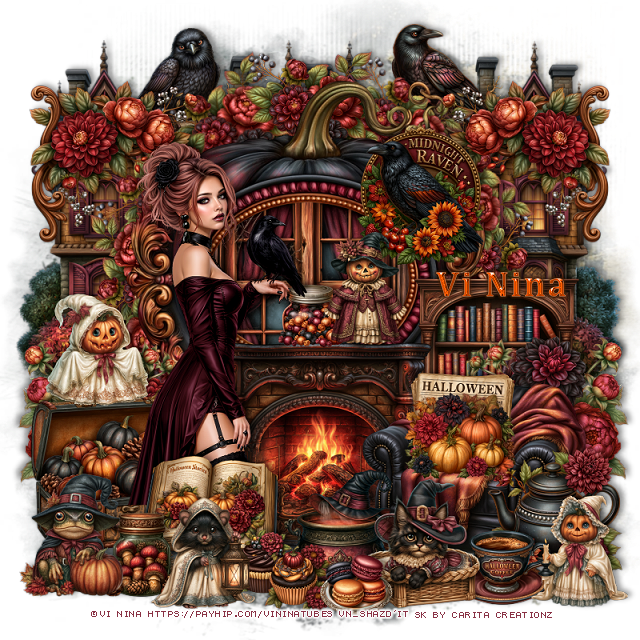
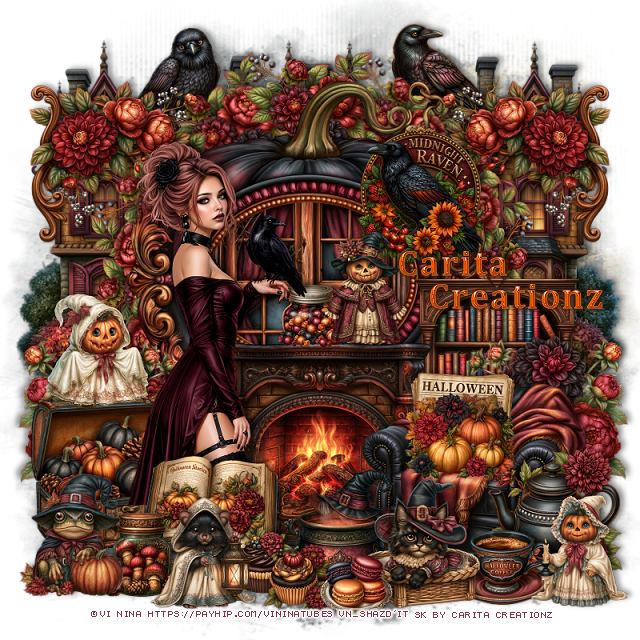
PTU Midnight Raven


 This tut was written September 8th, 2026 for those with a basic knowledge of psp. 

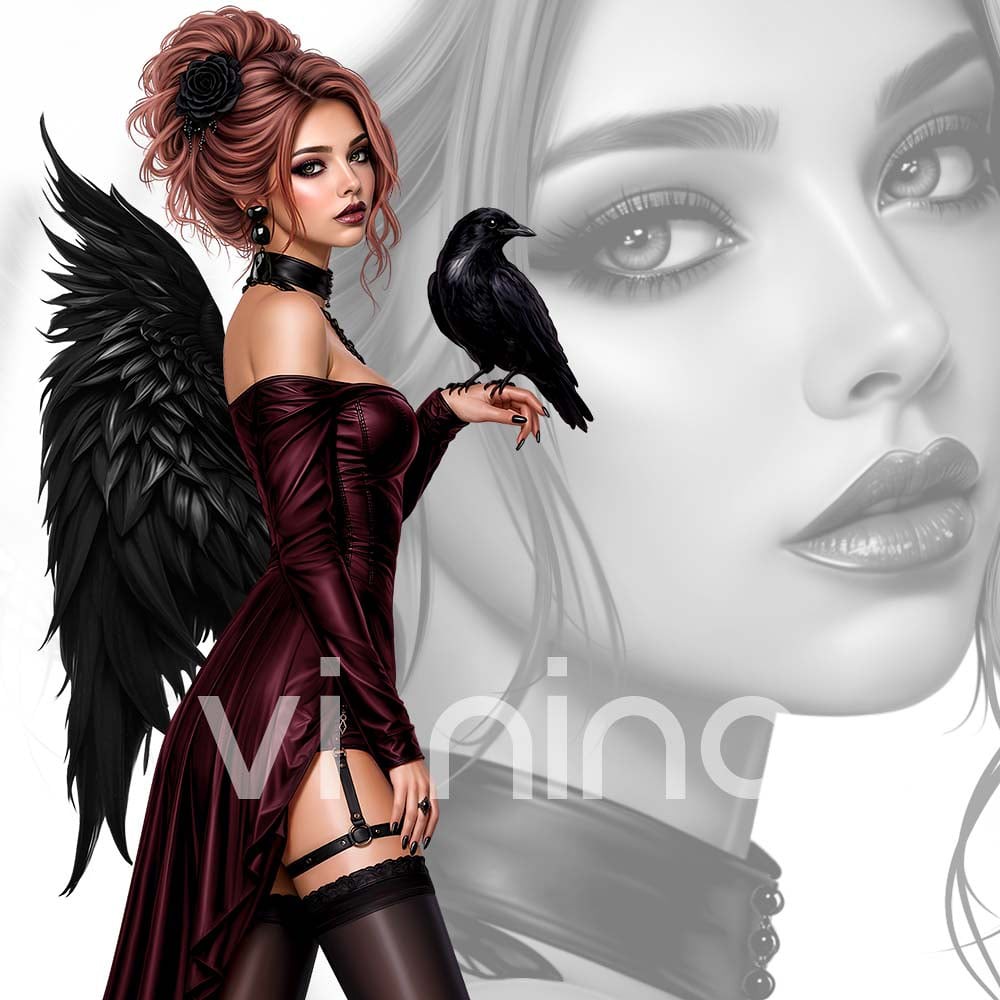
I am using the Beautiful tube ©Vi Nina
The tube is called Midnight Raven
Comes in several colors
The tube is "NOT" included
You need a license to use this tube, please do not use without a license
You can find the tube at Vi Nina Store HERE

I used PSP2020...but any of them should work.
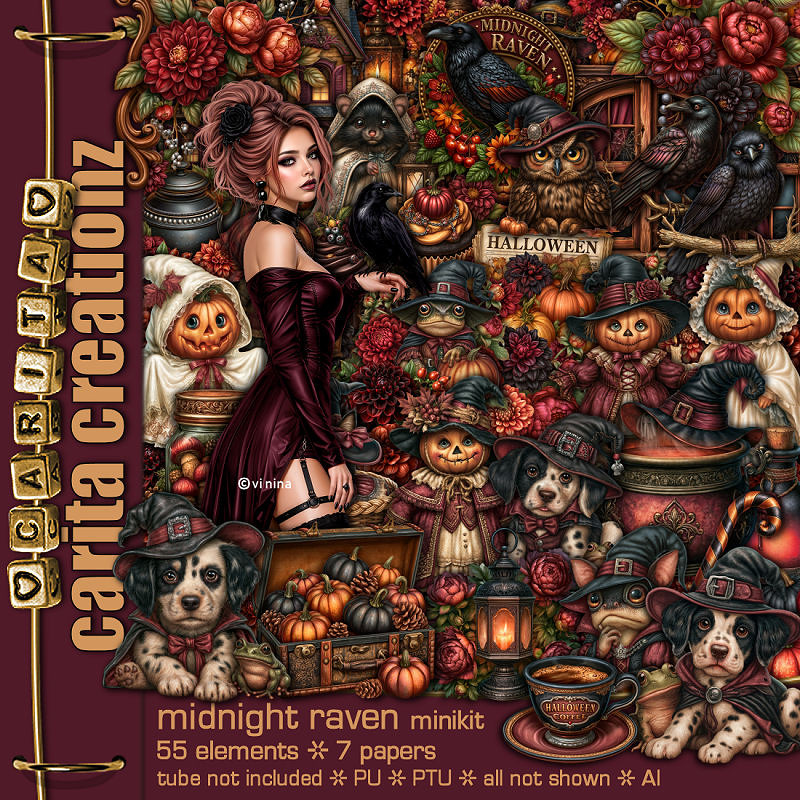
PTU Scrap Midnight Raven by Carita Creationz  HERE
Kit has 55 elements and 7 papers 
Check her store out to see all her other kits and tubes HERE
Mask of choice, I used RD Mask 673 HERE 
Check the blog out HERE

Font of choice, I used Cambria

Drop shadow as you go is V -2 H 4, 50, 10, or use what you prefer.
Let's get started
*Remember to add your drop shadow as you go along*

Open a new image 800 x 800, paste paper 4, apply your mask,

Resize 21 to 65%, paste, click inside, resize 49, paste, invert, delete.
Resize 53 to 40%, paste at the bottom.
Resize 54 to 40%, mirror, paste at the bottom right.
Resize 34 to 25%, apply Mura Meister Copies-Encircle, first 3 numbers 
on 12, 50, 50, paste below the frame.

Resize the tube to 30%, paste to the left above the fireplace.

Resize 7 to 30%, paste on the bottom left below the tube.
Resize 41 to 25%, paste at the bottom above the tube.
Resize 55 to 25%, paste on the upper right on the frame.
Resize 42 to 65%, paste at the upper left below the flower circle,
duplicate, move to the right.
Resize 26 to 30%, paste on the right below the chair, duplicate, mirror.
Resize 9 to 15%, paste at the bottom left above the book.
Resize 51 to 30%, paste on the right below the flowers behind the chair.

Resize 27 to 25%, paste at the bottom right above the chair.
Resize 39 to 17%, paste at the bottom right.
Resize 30 to 20%, paste on the chair.
Resize 33 to 22%, paste at the bottom left above the jar.

Resize 15 to 20%, paste on the bottom right.
Resize 14 to 20%, paste on the left on the chest lid.
Resize 12 to 23%, paste at the bottom by the cup.
Resize 31 to 22%, paste at the upper left below the flower circle.
Resize 36 to 22%, paste on the upper right below the flower circle.
Resize 11 to 20%, paste on top of the fireplace.
Resize 45 to 12%, paste on the fireplace.
Resize 10 to 22%, paste at the bottom below the cat.

Resize 37 and 38 to 12%, paste at the bottom.
Resize 16 to 20%, paste at the bottom.
Resize 29 to 30%, paste on the upper left below the tube, duplicate, mirror.
Resize 46 to 13%, paste at the bottom.

Add any other elements that you would like, make it your own.
Always readjust your mask and elements how you like them before you
 merge your tag, resize, sharpen.
Crop your tag to be sure no shadows or lines are on the edges.
 Then add your copyright and name.
That's it

Hope you enjoyed doing my tut.       
Tag for Nina  


Wednesday, September 2, 2026

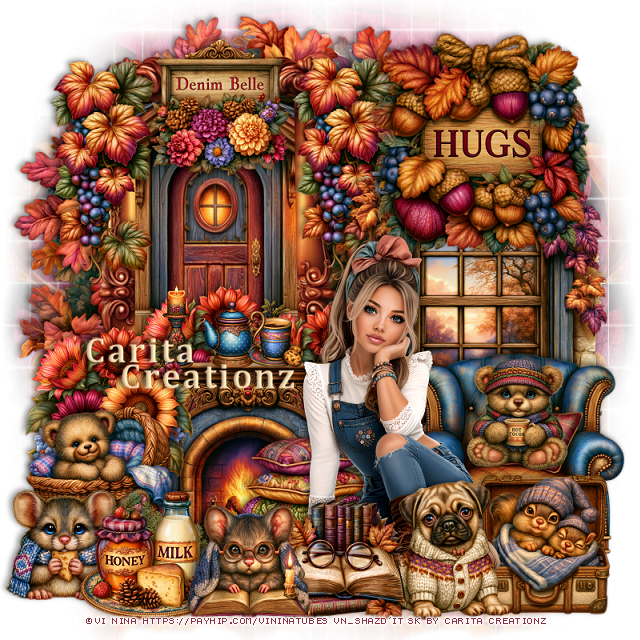
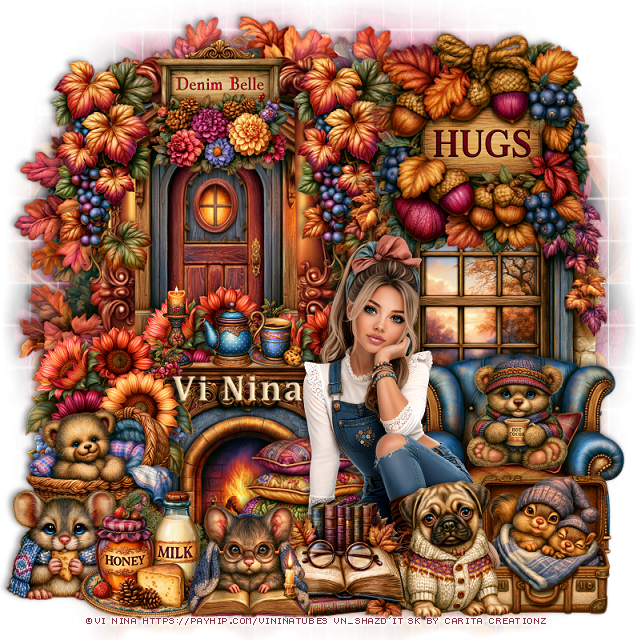
PTU Denim Belle


  This tut was written September 1st, 2026 for those with a basic knowledge of psp. 

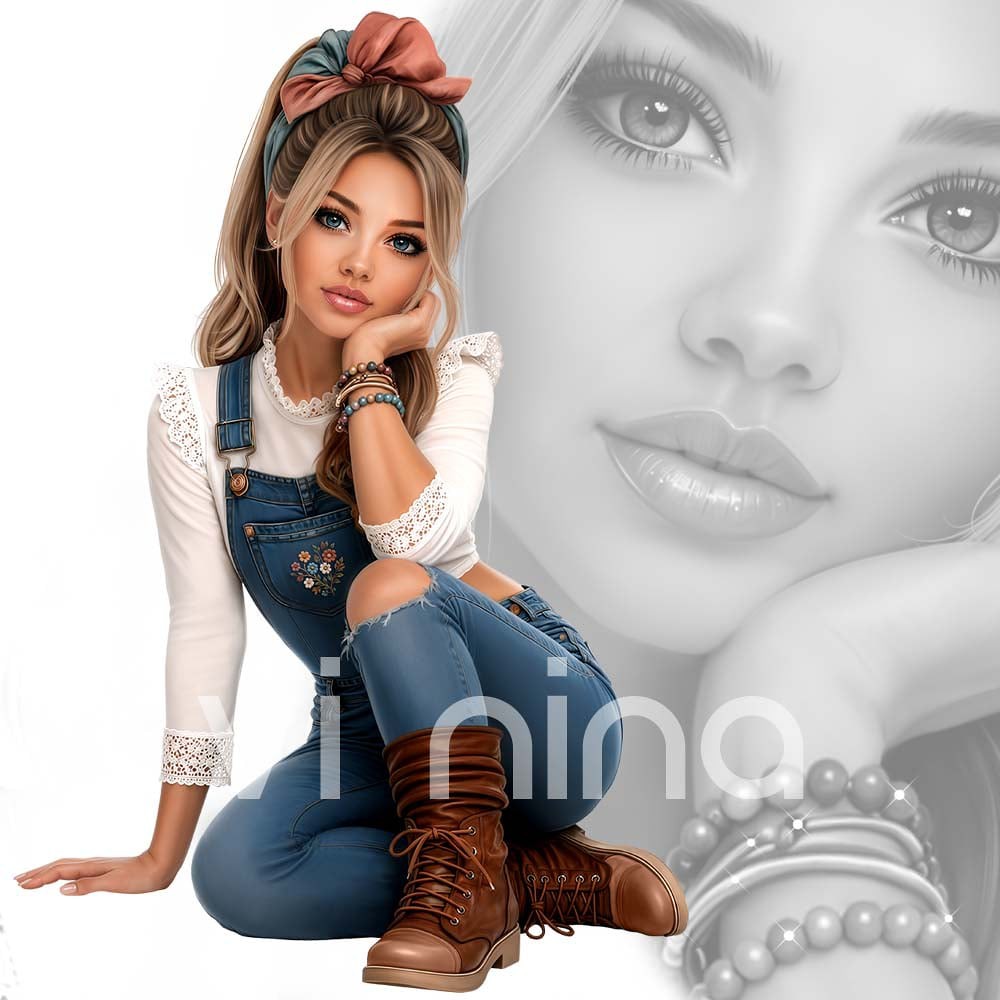
I am using the Beautiful tube ©Vi Nina
The tube is called Denim Belle
Comes in several colors
The tube is "NOT" included
You need a license to use this tube, please do not use without a license
You can find the tube at Vi Nina Store HERE

I used PSP2020...but any of them should work.
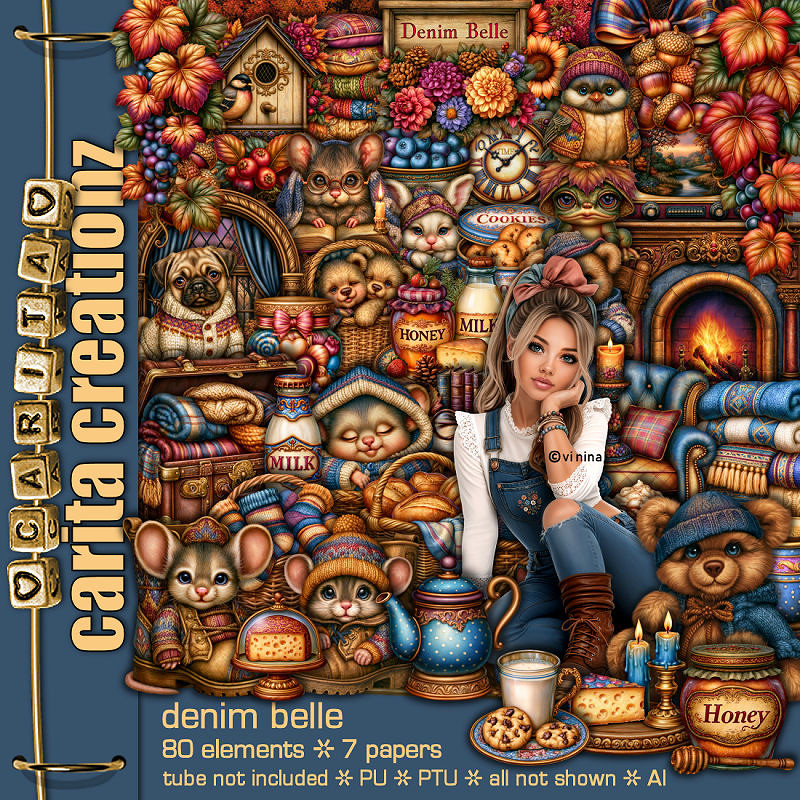
PTU Scrap Denim Belle by Carita Creationz  HERE
Kit has 80 elements and 7 papers 
Check her store out to see all her other kits and tubes HERE
DBV Mask 72 HERE
Check the blog HERE

Font of choice, I used Cambria

Drop shadow as you go is V -2 H 4, 50, 10, or use what you prefer.
Let's get started
*Remember to add your drop shadow as you go along*

Open a new image 800 x 800, paste paper 1, apply your mask,
move to the left, duplicate, mirror, merge, duplicate, merge.

Resize 76 to 85%, paste at the left, click inside, expand by 3, paste
27, invert, delete.
Resize 74 to 50%, paste on the right.
Resize 6 to 40%, paste on the bottom right above the window.
Resize 11 to 40%, paste at the bottom to the left of the chair.
Resize 66 to 30%, paste on the left above the fireplace, duplicate twice,
move one behind the fire place center, the other more to the right
 behind the tube.
Paste 5 at the upper left below the house and frame.

Resize the tube to 35%, paste at the bottom.

Resize 42 to 25%, paste at the bottom above the tube.
Resize 33 to 23%, paste at the bottom above the dog.
Resize 61 to 40%, paste at the upper right above the window.
Resize 2 to 40%, paste on the left on the frame, duplicate, mirror.
Resize 57 to 25%, paste on the bottom right above the chair.
Resize 65 to 25%, paste at the bottom below the tube on the left.
Resize 50 to 22%, paste at the bottom above the books.

Resize 67 to 25%, paste at the top on the frame.
Resize 60 to 20%, paste on the left.
Resize 48 to 25%, paste on the bottom left.
Resize 43 to 27%, paste on the left below the mouse.
Resize 62 to 20%, paste in the chair.

Resize 23 and 39 to 15%, paste on top of the fireplace.
Resize 7 to 10%, paste on the fireplace.
Resize 14 to 12%, paste on the fireplace.

Add any other elements that you would like, make it your own.
Always readjust your mask and elements how you like them before you
 merge your tag, resize, sharpen.
Crop your tag to be sure no shadows or lines are on the edges.
 Then add your copyright and name.
That's it

Hope you enjoyed doing my tut.       
Tag for Nina 


Sunday, August 23, 2026

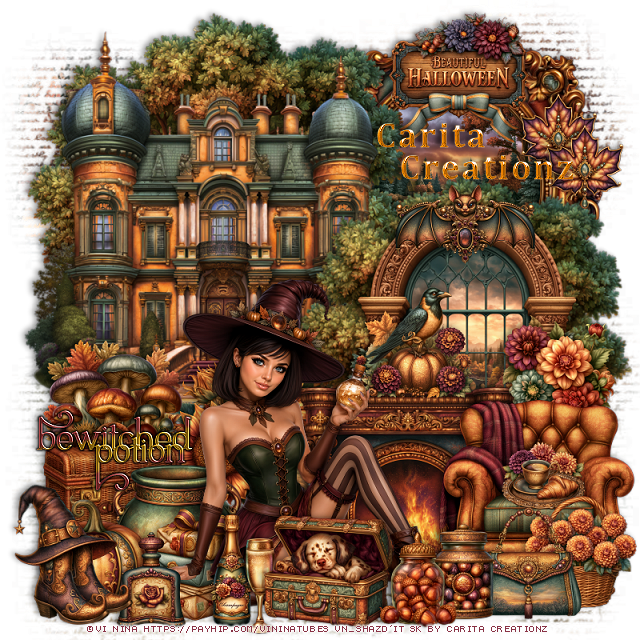
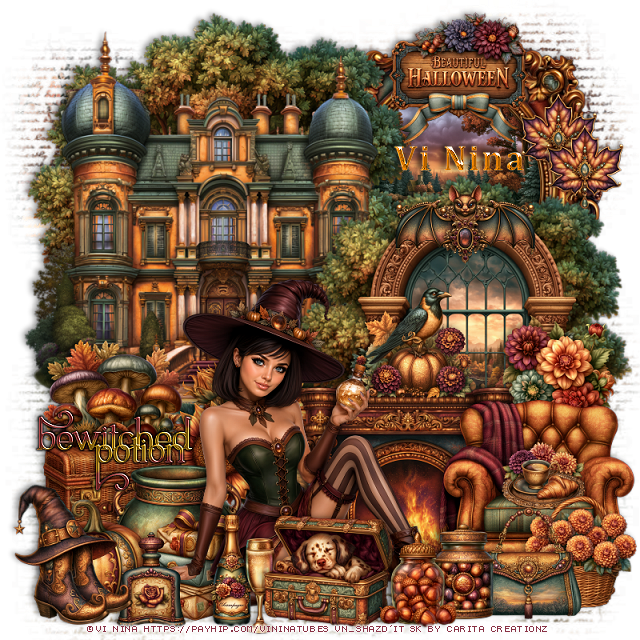
PTU Bewitched Potion


   This tut was written August 23rd, 2026 for those with a basic knowledge of psp. 

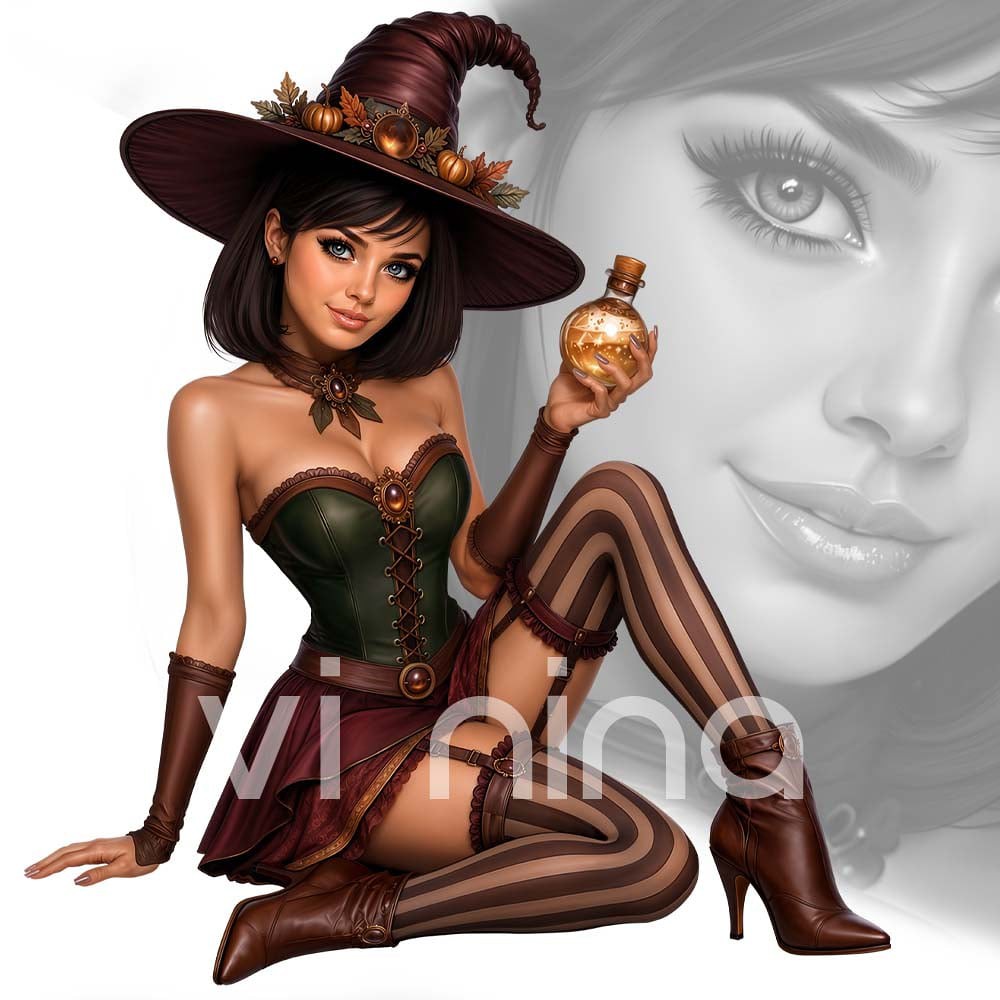
I am using the Beautiful tube ©Vi Nina
The tube is called Bewitched Potion
Comes in several colors
The tube is "NOT" included
You need a license to use this tube, please do not use without a license
You can find the tube at Vi Nina Store HERE

I used PSP2020...but any of them should work.
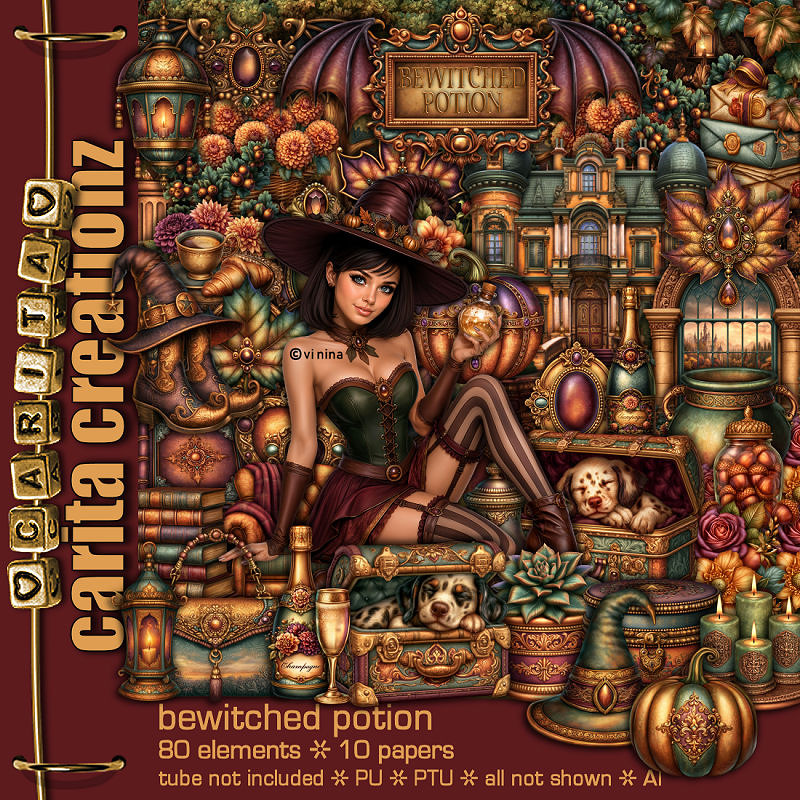
PTU Scrap Bewitched Potion by Carita Creationz  HERE
Kit has 80 elements and 10 papers 
Check her store out to see all her other kits and tubes HERE
Miz Teeques Mask 54 HERE
Check the blog HERE

Font of choice, I used Cambria

Drop shadow as you go is V -2 H 4, 50, 10, or use what you prefer.
Let's get started
*Remember to add your drop shadow as you go along*

Open a new image 800 x 800, paste paper 4, apply your mask, duplicate, merge 
down, adjust to fit your tag.

Resize 28 to 55%, paste on the upper right, resize 80 to 50%, 
paste below the frame.
Resize 76 to 70%, paste at the upper left above the frame, duplicate,
resize to 85%, paste to the right and down above the frame.
Resize 31 to 70%, paste on the left below the tree.

Resize 15 to 50%, paste on the right above the tree.
Resize 12 to 40%, paste at the bottom above the window.
Resize 14 to 25%, paste on the bottom right above the fireplace.
Resize 60 to 20%, paste on top of the fireplace.
Resize 61 to 25%, paste on the bottom left above the castle.
Resize 68 to 28%, paste by the mushrooms at the bottom of the castle.

Resize the tube to 33%, paste at the bottom.

Resize 64 to 25%, paste on the bottom left below the tube.
Resize 50 to 23%, paste below the tube on the left.
Resize 33 to 20%, paste on the bottom left below the tube.
Resize 81a to 30%, paste on the left below the tube, add a dark gradient glow.
Resize 2 to 20%, paste on the left below the tube.
Resize 7 to 20%, paste at the bottom above the tube.
Resize 11 to 17%, paste at the bottom by the bottle.
Resize 59 to 17%, paste on the bottom left.
Resize 41 to 25%, paste on the bottom left.

Resize 5 to 23%, paste at the bottom above the tube.
Resize 51 to 15%, paste on the right on the window behind the chair.
Resize 73 to 20%, paste at the bottom right above the chair.
Resize 1 to 15%, paste in the chair.
Resize 3 to 20%, paste at the bottom right above the basket.
Resize 44 to 25%, paste on top on the window.
Resize 70 to 25%, paste at the top on the frame.
Resize 58 and 74 to 17%, paste at the bottom by the dog and purse.
Resize 39 to 15%, paste on the upper right on the frame, duplicate, move
down a little.

Add any other elements that you would like, make it your own.
Always readjust your mask and elements how you like them before you
 merge your tag, resize, sharpen.
Crop your tag to be sure no shadows or lines are on the edges.
 Then add your copyright and name.
That's it

Hope you enjoyed doing my tut.       
Tag for Nina 


Thursday, August 20, 2026

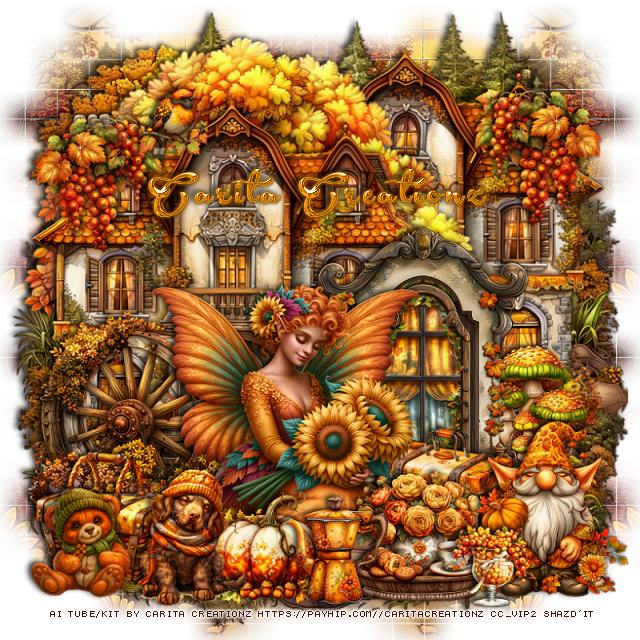
FTU with Purchase Autumn Glow


This tut was written August 20th, 2026 for those with a basic knowledge of psp. 

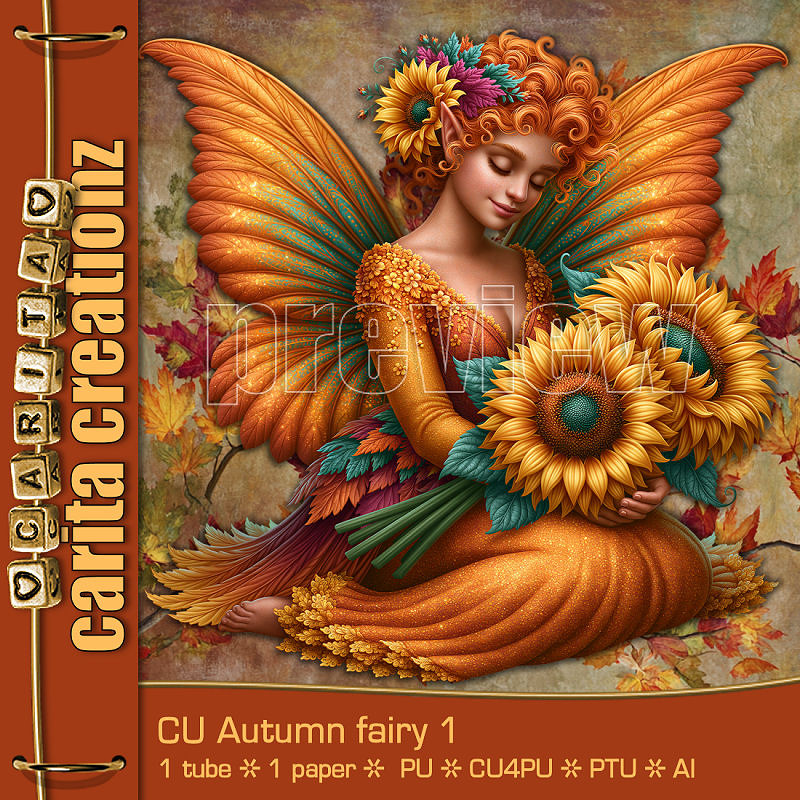
I am using a beautiful Autumn Fairy CU4PU by Carita Creationz
You can purchase this tube at her store HERE
Please read the TOU on how to credit your tags.

I used PSP2020...but any of them should work.
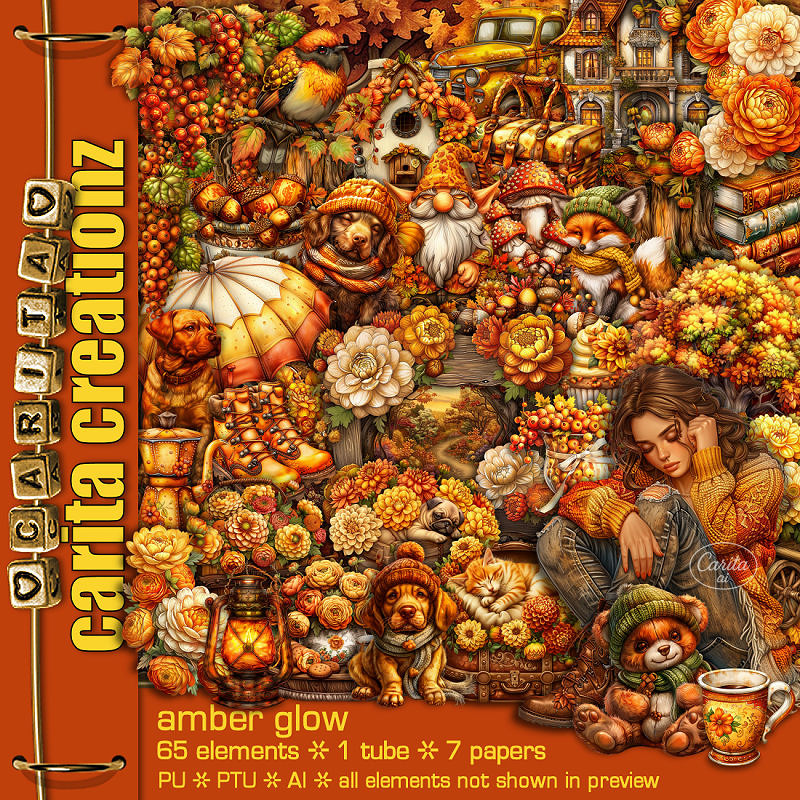
FTU Scrap Autumn Glow by Carita Creationz  HERE
You can get this kit if you spend $5.00 in one order, in any products
All the information is at the store
Check her store out to see all her other kits and tubes HERE
WSL Mask 84, link no longer available, use a mask of choice

Font of choice, I used Acryle Script

Drop shadow as you go is V -2 H 4, 50, 10, or use what you prefer.
Let's get started
*Remember to add your drop shadow as you go along*

Open a new image 800 x 800, paste paper 6, apply your mask,
move to the left, duplicate, mirror, merge together, duplicate, move
to the bottom.

Resize 56 to 85%, paste.
Resize 43 to 75%, paste above the tree, duplicate, move below the tree
on the right.
Resize 55 to 77%, paste on the bottom layer at the top.

Resize the tube to 18%, paste at the bottom.

Resize 54 to 40%, paste below the tube on the left.
Resize 29 to 25%, paste on the bottom left above the tube.
Resize 34 to 25%, paste on the bottom left below the dog.
Resize 21 to 25%, paste at the bottom right below the tube.
Resize 13 to 25%, paste at the upper right on the house, duplicate, mirror.
Resize 44 to 50%, paste at the bottom below the suitcase behind the tube.
Resize 15 to 25%, paste at the bottom above the tube.
Resize 12 to 20%, paste at the bottom by the tray.

Resize 58 to 25%, paste on the right below the window.
Resize 60 to 20%, paste at the bottom below the dog and coffee pot.
Resize 27 to 32%, paste on the bottom right.
Resize 23 to 20%, paste on the bottom left.
Resize 26 to 13%, paste at the upper left.
Resize 11 to 15%, paste at the bottom right.

Add any other elements that you would like, make it your own.
Always readjust your mask and elements how you like them before you
 merge your tag, resize, sharpen.
Crop your tag to be sure no shadows or lines are on the edges.
 Then add your copyright and name.
That's it

Hope you enjoyed doing my tut.       
Sunday, August 16, 2026

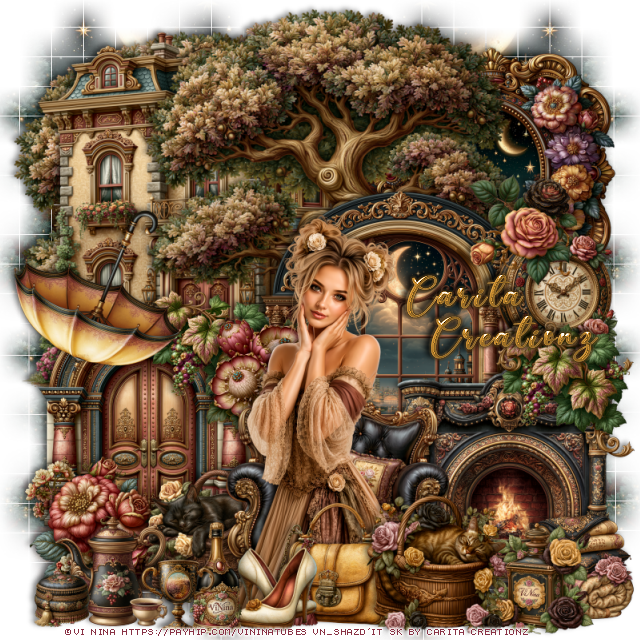
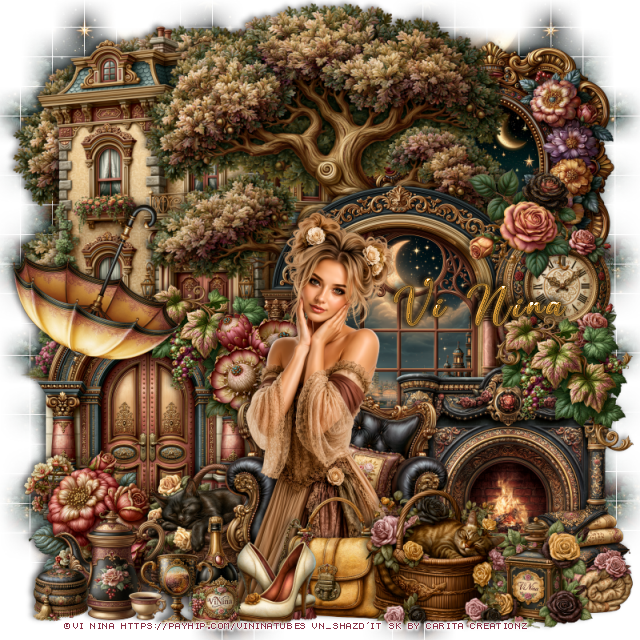
PTU Golden Grace


  This tut was written August 16th, 2026 for those with a basic knowledge of psp. 

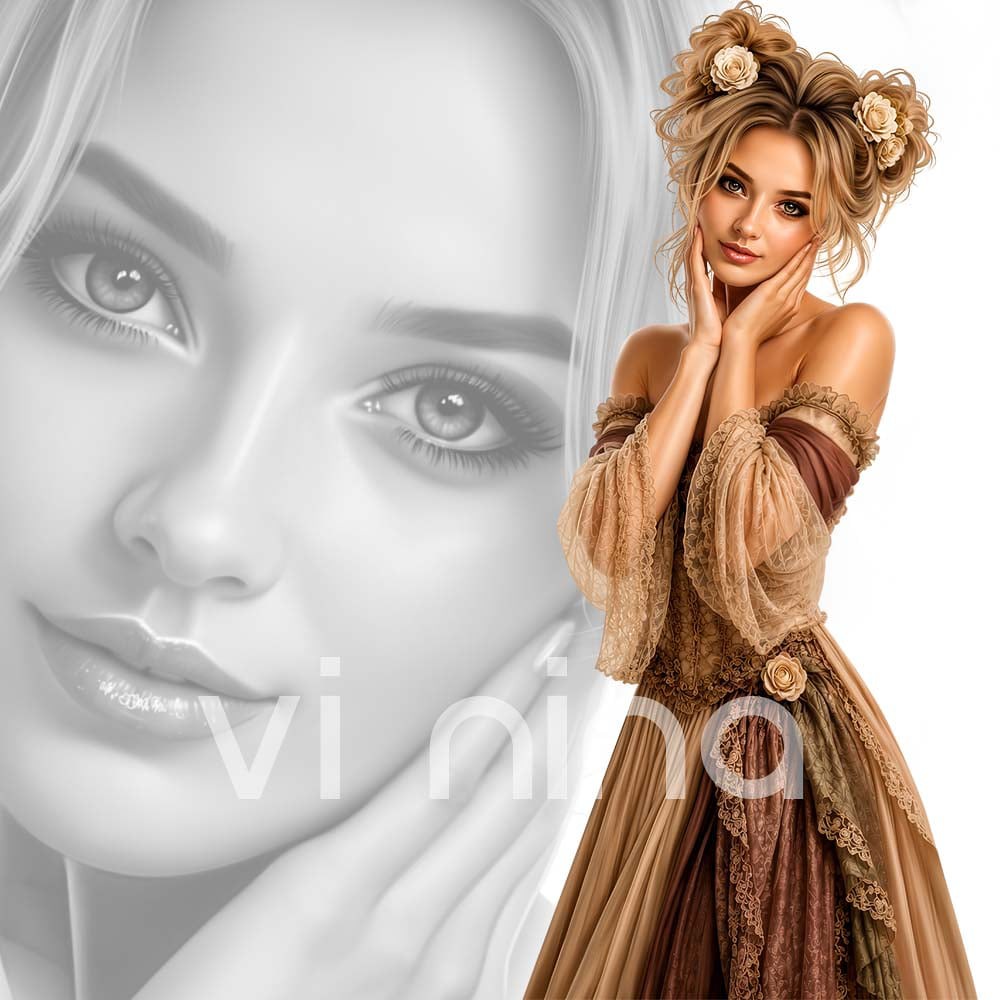
I am using the Beautiful tube ©Vi Nina
The tube is called Golden Grace
Comes in several colors
The tube is "NOT" included
You need a license to use this tube, please do not use without a license
You can find the tube at Vi Nina Store HERE

I used PSP2020...but any of them should work.
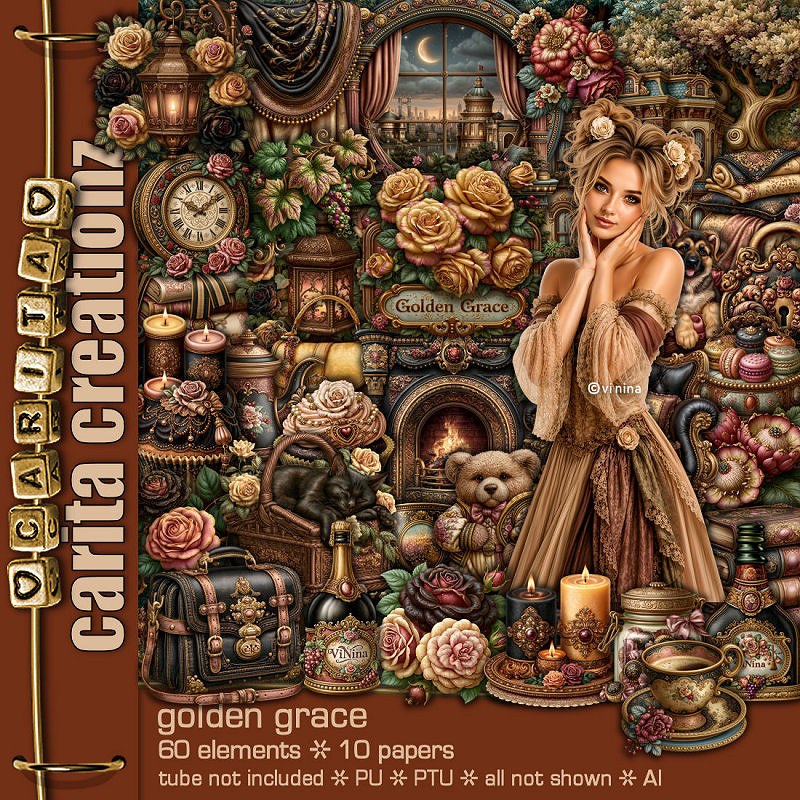
PTU Scrap Golden Grace by Carita Creationz  HERE
Kit has 60 elements and 10 papers 
Check her store out to see all her other kits and tubes HERE
WSL Mask 84, link no longer available so use a mask of choice

Font of choice, I used Beautiful Day

Drop shadow as you go is V -2 H 4, 50, 10, or use what you prefer.
Let's get started
*Remember to add your drop shadow as you go along*

Open a new image 800 x 800, paste paper 1, apply your mask, move
to the left, duplicate, mirror, duplicate both, move to the bottom.

Resize 41 to 65%, paste at the top.
Resize 39 to 65%, paste on the left below the tree, duplicate, 
the tree, move below the house to the left.
Resize 38 to 50%, paste above the tree.
Resize 49 to 45%, paste at the upper right below the tree, click inside, 
resize paper 1 to 30%, paste, invert, delete.
Resize 35 to 23%, paste on the right on the window.
Resize 15 to 40%, paste on the bottom right.
Resize 36 to 25%, paste on the fireplace on the right.
Resize 40 to 40%, paste on the bottom left.
Resize 36 to 25%, paste above the door.
Resize 18 to 20%, paste above the greenery on the door.
Resize 14 to 40%, paste at the bottom by the fireplace.

Resize 13 to 25%, paste at the bottom left below the chair.
Resize 33 to 20%, paste at the bottom right above the chair.
Resize 6 to 20%, paste at the bottom right above the blankets.
Resize 5 to 25%, paste at the bottom by the chair.

Resize the tube to 38%, paste below the cat.

Resize 16 to 22%, paste at the bottom above the tube.
Resize 57 to 15%, paste at the bottom above the purse.
Flip 59, resize to 30%, paste on the left above the door.
Resize 58 to 25%, paste at the bottom left below the cat.
Resize 12 to 20%, paste on the clock, erase the little stem.
Resize 28 to 20%, paste on the bottom left.
Resize 37 to 10%, paste at the bottom left.
Resize 9 to 20%, paste at the bottom by the shoes.
Resize 10 to 13%, paste at the bottom.

Add any other elements that you would like, make it your own.
Always readjust your mask and elements how you like them before you
 merge your tag, resize, sharpen.
Crop your tag to be sure no shadows or lines are on the edges.
 Then add your copyright and name.
That's it

Hope you enjoyed doing my tut.       
Tag for Nina