
Showing posts with label Sunny Rose. Show all posts

Wednesday, September 8, 2021

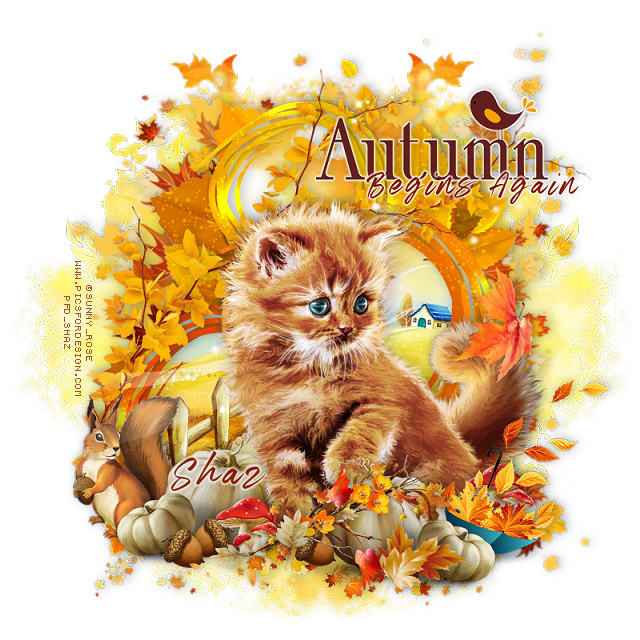
FTU Autumn Begins Again


 This tut was written September 7th, 2021 for those with a basic knowledge of psp.

I am using the awesome artwork of  Sunny_Rose
The tube is called "Ginger" 
You need a license to use this tube, do not use without a license.
You can find this tube at PFD store  HERE

I used PSP2020...but any of them should work.
FTU kit  Autumn Begins by Princess Tiara Designs  HERE
Check out the rest of her blog HERE
Viviennes's Digital Tagging Mask 0032 HERE
Scroll down a bit
Check out the rest of the blog HERE

Font of choice,  I used  Authentic Photograph

Drop shadow is  V -1 H -3, 50, 10, or use what you prefer.
Let's get started
*Remember to add your drop shadow as you go along*

Open a new image 800 x 800, select all, add a new layer, paste paper 4
into selection, select none, apply your mask, move to the left duplicate, mirror.

Resize element 27 to 65%, paste, take your free hand tool, draw around the frame,
resize paper 1 to 60%, paste below the frame and arrange how you like, invert,
delete, select none.
Resize element 3 to 55%, paste below the paper layer of the frame.

Resize your tube to 25%, paste above the frame to the right.

Resize element 34 to 30%, paste at the lower left below the tube, duplicate, mirror,
 move above the tube to the right.
Resize element 19 to 20%, paste on the pumpkin.
Resize element 62 to 20%, paste on the left below the pumpkin.

Resize element 35 to 10%, paste by the pumpkin at the lower left, duplicate, mirror,
move by the first acorn, duplicate one acorn, move to the right move under the branch.
Resize element 5 to 25%, paste at the lower right below the branch above the 
pumpkin.

Resize element 11 to 7%, paste at the bottom below the other elements.
Resize element 6 to 20%, paste below the squirrel layer on the left and up.
Resize element 9 to 30%, paste on the right above the tube.
Resize element 45 to 15%, paste at the bottom, duplicate, move to the right behind
the umbrella.

Resize element 40 to 30%, paste at the bottom being on the top layer.
Resize element 59 to 30%, paste at the upper right.
Type any other saying you would like, I typed 
Begins again using Authentic Photograph.
Paste element 24 below the tube and move where you like.

Add any other elements that you would like, make it your own.
Always readjust your mask and elements how you like them before you
 merge your tag, resize, sharpen.

 Then add your copyright and name.
That's it

Hope you enjoyed doing my tut.   

Monday, September 6, 2021

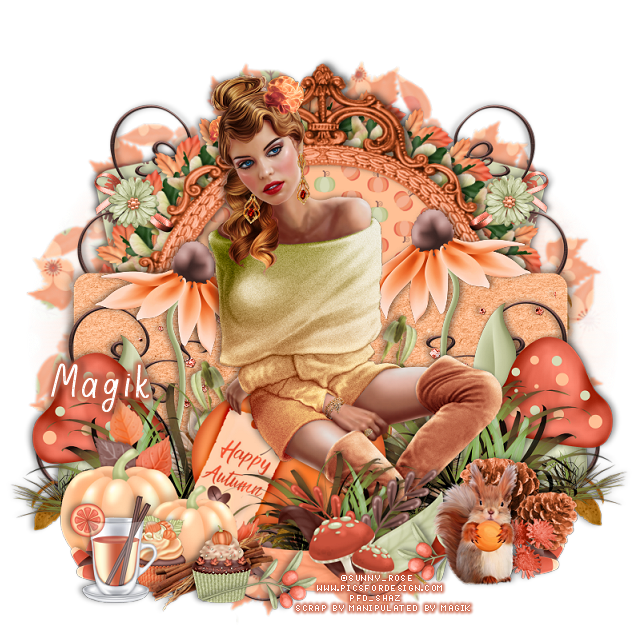
FTU Summers Ending


 This tut was written September 6th, 2021 for those with a basic knowledge of psp.

I am using the awesome artwork of  Sunny_Rose
The tube is called "Sophia" 
You need a license to use this tube, do not use without a license.
You can find this tube at PFD store  HERE

I used PSP2020...but any of them should work.
FTU kit  Summers End by Manipulated by Magik  HERE
Check out her blog HERE
Template 16 by Adrienne Designs HERE
Check out the rest of her blog HERE
Filters
Mura Meister Copies-Encircle

Font of choice,  I used  Autumn Days

Drop shadow is  V -1 H 3, 50, 10, or use what you prefer.
Let's get started
*Remember to add your drop shadow as you go along*

Open the template, go to Image, Canvas size, 800 x 800, delete the credits and
layers 7, 8 and 9 and the wordarts.
Paste paper 10 on the bottom layer above the white layer, apply your mask, delete, 
merge group.
Merge layer 2 down with layer 1 of the template, select all, float, defloat,
paste paper 8, invert, delete, select none, delete the template layer.
Do this on each layer of the template.

Leave layer 3 as is.
Resize element 44 to 35%, apply Mura Meister Copies-Encircle, first 3 numbers,
change to 26, 50, 50
Resize element 22 to 35%, apply Mura Meister Copies-Encircle, chage the second 
and third number to 52, move below the first circle.
Resize element 39 to 30%, Mura Meister Copies, change the 2nd and 3rd number
to 60, move below the other 2 circles.

Select layer 4, resize paper 9 to 60%, paste, invert, delete, select none.
Resize frame 4 to 90%, paste above the circle paper layer.
Merge layer 6 down with 5, select all, float, defloat, paste paper 2, invert, delete, 
select none.

Resize your tube to 45%, paste about center, erase her legs at the bottom.
Resize element 52 to 75%, paste under the tube.

Paste element 64 below the pumpkin on one side, duplicate, mirror, duplicate
once more, resize to 75%, move above the tube in front of her legs.
Resize element 51 to 75%, paste at the lower left.
Resize element 47 to 75%, paste at the bottom.
Resize element 48 to 50%, paste on the right below the grass, duplicate, mirror.
Resize element 63 to 30%, paste at the lower right below the top element, duplicate,
mirror, resize to 75%, move over a bit.

Resize element 83 to 40%, paste on the lower right.
Paste element 25 on the left below the tube, duplicate, mirror, move up a little.
Resize element 46 to 75%, paste below the flower and down some, erase and stem
showing at the bottom, duplicate, mirror.

Resize element 94 and 95 to 25%, paste at the lower left above the pumpkins.
Resize element 26 to 20%, paste at the lower right behind the squirrel.
Resize element 89 to 40%, paste between the cupcakes.
Resize element 99 to 30%, paste at the lower left.
Resize element 58 to 30%, paste at the lower right below the squirrel. duplicate,
mirror.
Paste element 73 below the flowers behind the tube.
Paste element 28 on the orange layer below the flowers, duplicate, mirror,
duplicate both, move up to the top behind the circles.
Resize element 7 to 25%, paste on the left at the top, duplicate, mirror.

Add any other elements that you would like, make it your own.
Always readjust your mask and elements how you like them before you
 merge your tag, resize, sharpen.

 Then add your copyright and name.
That's it

Hope you enjoyed doing my tut.  
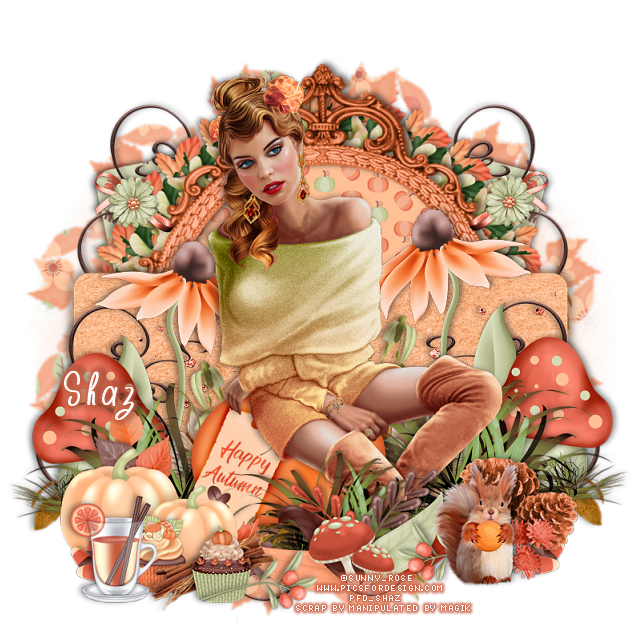
Tags for Magik