
Showing posts with label Art-Content. Show all posts

Sunday, October 11, 2020

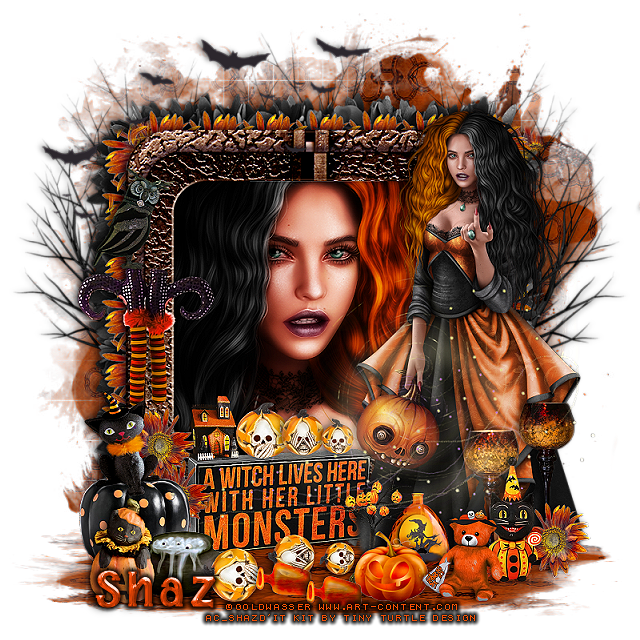
FTU A Witch Lives Here


This tut was written October 11th, 2020 for those with a basic knowledge of psp.

I am using the awesome artwork of Goldwasser
The tube is called "Isabella"
You need a license to use this tube, do not use without a license.
You can find this tube at Art-Content store  HERE

I used PSPX...but any of them should work.
FTU kit 2018 Halloween Freebie by Tiny Turtle  HERE
You will have to register with her store to get the kit, and while 
there check out the rest of the store.
Mask of choice, I used RD Mask 871 HERE
Check out the rest of the blog HERE
Filters
Mura Meister Copies-Line and Wallpaper
AAA_Foto Frames

Font of choice,  I used  Halloween Day's

Drop shadow is  V-1 H-4 Black, 50, 10, use what you prefer.
Let's get started
*Remember to add your drop shadow as you go along*

Open a new image 800 x 800 or a size you prefer.
Paste paper 4, apply your mask, delete, merge group.
Duplicate your mask, take your Pick tool, hold down the shift key and drag
the top square down on one side then the other side until flat, move to the bottom.

Resize element 32 to 80%, paste click inside with your magic wand, expand
by 5, paste paper 8 or one of choice, invert, delete,  keep selected.
Paste your tube, delete, select none.
Duplicate the tube, go to Adjust, Blur, Gaussian blur, number on 4,
change the blend mode to Hard Light, merge down.

Paste element 43 below the paper layer of the frame.
Resize element 53 to 20%, apply Mura Meister Copies-Line, number on 12,
move above the black frame, adjust, erase the part 
paste the frames, duplicate, mirror, duplicate free rotate to the left, duplicate,
mirror, erasing the parts you don't want.

Resize element 56 to 75%, paste on the mask layer at the top center, duplicate
twice, move one to the left and one to the right.

Resize your tube to 30%, mirror, paste on the frame on the right.
Take the eraser and round the bottom of the dress on the tube a bit.

Resize element 67 to 35%, paste at the bottom by the tube, below the tube layer.
Resize element 63 to 40%, paste on the frame on the left.
Resize element 2 to 10%, element 3 to 8% and element 4 to 6%, paste on top
of the sign.

Resize element 31 to 15%, paste by the pumpkins on the sign.
Resize element 9 to 25%, mirror, paste at the lower right above the tube.
Resize element 53 to 15%, paste at the lower right, duplicate, move to the left
on the frame, duplicate again, move up more.

Resize element 71 to 20%, paste at the lower left by the flowers and sign.
Resize element 1 and 65 to 25%, paste at the lower right.
Resize element 6 to 25%, paste on the lower left below the cat in pumpkin.
Resize element 30 to 25%, paste on top of the black pumpkin.

Resize element 59 to 25%, paste at the bottom below the bear layer.
Resize element 33 to 20%, paste at the lower left, below the cat pumpkin layer.
Resize element 70 to 20%, mirror, paste on the left on the shoes on the frame.

Resize element 46 to 15%, paste behind the pumpkin on the right.
Resize element 68 to 25%, paste below the pumpkin by the bottle.
Resize element 54 to 15%, free rotate to the left at 90 degrees, paste at the bottom,
duplicate move over a little more.
Duplicate the three skeleton pumpkins, free rotate to the left, move down 
behind the jars.
Paste element 76 being on the top layer, where you like.
Resize element 74 to 75%, mirror, paste at the upper left.

If you want to do a Signature tag, don't merge your tag just yet.

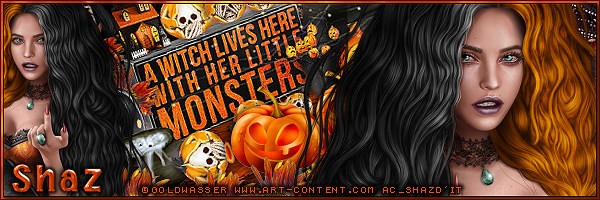
Signature tag
600 x 200 or a size you prefer.
Copy a merge tag, resize to 80%, paste, apply Mura Meister Copies-Wall Paper-Rotate
first number on 20 or until you like the looks of it,
paste so the sign shows.
Take the tube from the unmerged tag and paste on the left of the sign.
Go to your original tag, resize to 55%, past to the right on the tag.
Paste any other elements you like, once happy, merge visible.
Add copyright and name and a frame of choice.
I used AAA Foto Frame, width 3 and Transparent Orange.
Sharpen 2 or 3 times.

Avator 
Size 180 x 180 or size of choice.
Copy your merged tag before it was resize, paste how you like, merge
visible, add frame of choice.
Add copyright and name.

Add any other elements that you would like, make it your own.
Always readjust your mask and elements how you like them before you
 merge your tag, sharpen once.
Crop your tag to make sure no shadows or anything on the edges

 Then add your copyright and name.

That's it

Hope you enjoyed doing my tut.  

Thursday, April 23, 2020

FTU Gothic Embers


This tut was written April 23rd, 2020  for those with a basic knowledge of psp.
I am using the awesome artwork by  © Goldwasser  
The tube is "Saturnia"
You need a license to use this tube, do not use without a license.
You can find this tube at Goldwasser store  HERE

I used PSPX...but any of them should work.
(Was PTU now FTU)
PTU Gothic Embers by Designz by Shelly 
HERE  
Mask of choice, I used RD Mask 756 HERE
Check out the rest of the blog HERE

Font of choice,  I used Evannessence

Drop shadow is usually V-2 H-2 Black, 50, 5, use what you prefer.
Let's get started
*Remember to add your drop shadow as you go along*

Open a new image 800 x 800
Paste paper 15, resize larger to 115%, apply your mask, delete, merge group.

Paste element 130.
Resize element 126 to 90%, paste on top of the red frame, change the 
blend mode to Overlay, merge down.

Click inside with your magic wand, expand by 5, paste paper 14, 
invert, delete, keep selected, paste your tube, delete, select none.

Paste element 129 on the mask layer at the upper right, 
duplicate, mirror, flip, adjust at the lower left.

Resize your tube to 40%, paste on the frame to the left.

Paste element 33 on the frame on the right, duplicate, mirror.
Resize element 50 to 50%, paste at the top below the tube on the left, 
duplicate, mirror.
Resize element 12 to 50%, paste at the bottom above the tube.

Paste element 78 behind the tube on the left, duplicate, mirror, move
down a little, erase any stem at the bottom.
Resize element 22 to 40%, paste below the tube on the lower left.
Resize element 9 to 35%, paste at the bottom above the tube.

Resize element 5 to 50%, paste at the bottom above the candles.
Resize element 89 to 30%, paste at the lower left behind the goblet, 
duplicate, move to the right more behind the tube.

Resize element 84 to 25%, paste behind the flower on one side, duplicate,
move to the other side.
Paste element 37 at the bottom above the tube.
Resize element 95 to 25%, paste at the lower right below the flower on 
the chain.
Resize element 3 to 40%, paste on the right below the small flowers.

Paste element 59 on the mask layer at the upper left, duplicate, 
move down on the lower right, duplicate once more, move inside the frame,
change the blend mode to Soft Light.
Resize element 63 to 40%, paste at the bottom below the flowers.

Resize element 47 to 30%, paste at the top on the frames bein on the top layer.
Resize element 54 to 20%, paste at the bottom, free rotate to the right 
at 35%.
Resize element 66 to 25%, paste at the lower right.
Duplicate the rose on the lower left, mirror, move to the right above the bottle.
Paste element 122 on the right being on the top layer, duplicate, 
mirror, move below the tube on the left.

Add any other elements you would like, make it your own.
Always remember to adjust the elements before merging to get them like you like.

Once happy with your tag, close off any background, crop your tag to make
sure there are no stray edges, merge visible, resize first.
Add your copyrights and name.

That's it
Hope you enjoyed doing my tut.
Wednesday, April 22, 2020

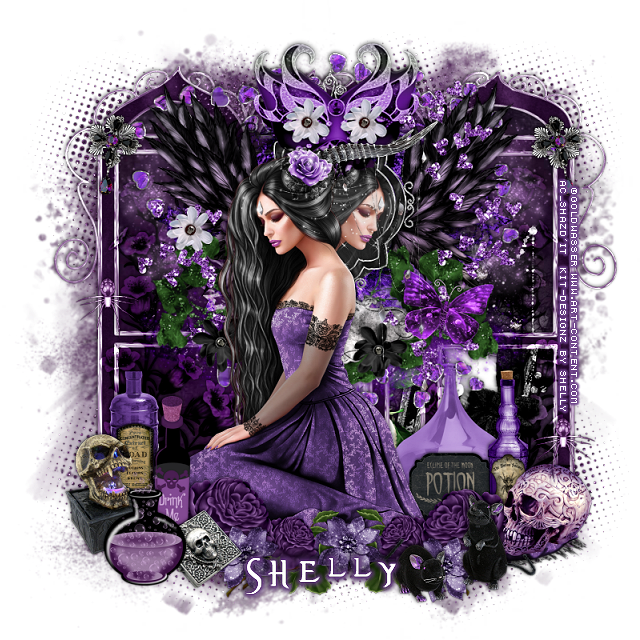
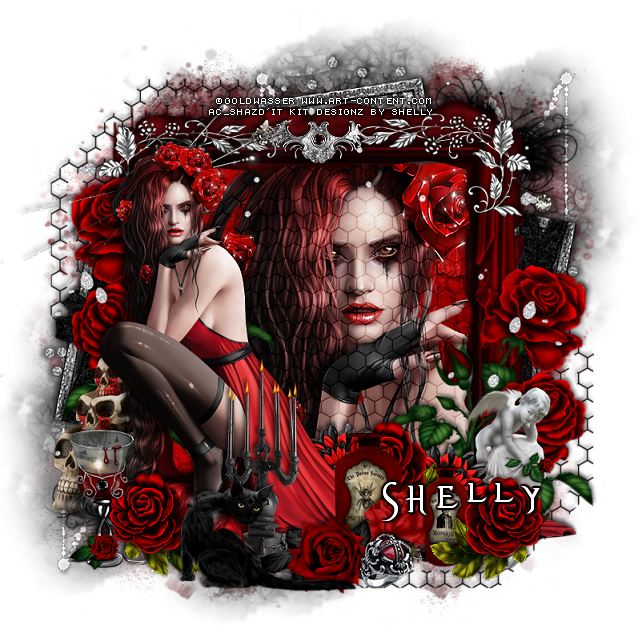
FTU Gothic Poison


This tut was written April 22nd, 2020  for those with a basic knowledge of psp.
I am using the awesome artwork by  © Goldwasser  
The tube is "Miriel"
You need a license to use this tube, do not use without a license.
I bought mine when Art Content Store was still open
You can find this tube at Goldwasser store  HERE

I used PSPX...but any of them should work.
(Was PTU now FTU)
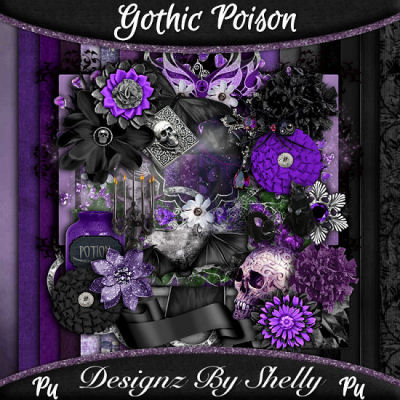
PTU Gothic Poison by Designz by Shelly 
HERE  
Mask of choice, I used RD Mask 756 HERE
Check out the rest of the blog HERE

Font of choice,  I used Evannessence

Drop shadow is usually V-2 H-2 Black, 50, 5, use what you prefer.
Let's get started
*Remember to add your drop shadow as you go along*

Open a new image 800 x 800
Paste paper 8, resize larger to 115%, apply your mask, delete, merge group.

Paste element 39 to the left, duplicate, move to the right more.
Take your free hand tool, draw around the frames, paste paper 12, invert,
delete, move below the windows, select none.

Resize your tube to 35%, paste above the window frames about center.
Paste element 128 behind the tube at the top, erase the frame parts showing in
the small opening.
Duplicate your tube, mirror, move below the small opening, click inside with
your magic wand, expand by 3, invert, delete, select none.

Resize element 67 to 75%, paste below the window frames, change the blend 
mode to Overlay, duplicate, mirror.
Resize element  3 to 75%, paste below the flowers on the right.


Resize element 7 to 50%, paste on the right below the tube.
Resize element 6 to 40%, paste above the first bottle.
Resize element 17 to 25%, paste at the lower right above the tube.
Resize element 22 to 25%, paste at the lower left below the tube.
Resize element 13 to 40%, paste below the skull on the left.

Resize element 12 to 45%, paste at the lower left above the tube.
Resize element 8 to 30%, paste at the lower left to the left of the first bottle.
Resize element 23 to 30%, paste at the bottom between the two bottles.

Resize element 83 to 25%, paste at the bottom above the tube, duplicate,
mirror.
Resize element 81 to 25%, paste below the rose on one side, duplicate, mirror.
Resize element 72 to 25%, paste at the bottom above the flowers, duplicate
two more times and move how you like.

Resize element 25 to 40%, paste at the bottom to the right.
Resize element 27 to 20%, paste on the frame on the right above the skull,
duplicate, move to the left and up on the frame.
Resize element 47 to 20%, paste on the frame at the top on one side, 
duplicate, mirror.
Resize element 51 to 20%, paste on top of the jewel, duplicate, mirror.

Paste element 93 on the mask at the upper left, duplicate, mirror, 
duplicate, flip, duplicate, mirror.

Add any other elements you would like, make it your own.
Always remember to adjust the elements before merging to get them like you like.

Once happy with your tag, close off any background, crop your tag to make
sure there are no stray edges, merge visible, resize first.
Add your copyrights and name.

That's it
Hope you enjoyed doing my tut.
Sunday, December 8, 2019

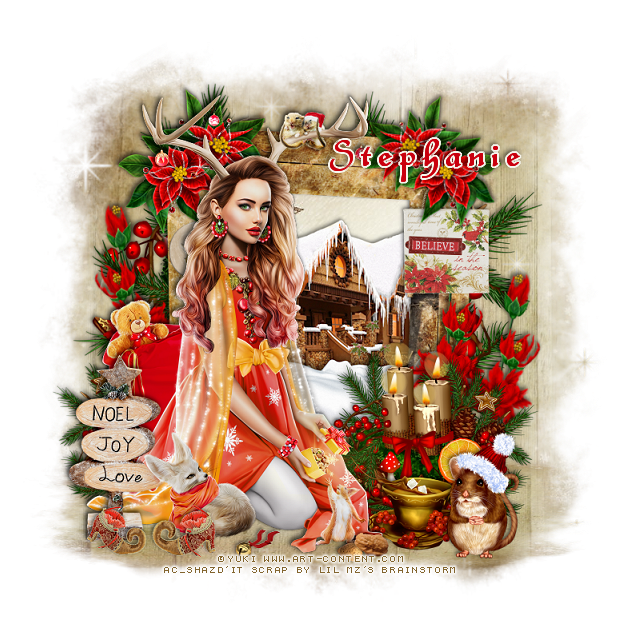
PTU Tiffany


This tut was written Dec 8th, 2019, for those with a basic knowledge of psp.
I am using the awesome tube by artist Yuki
Tube is called "Tiffany"
 You need a license to use this art, please do not use without a license.
You can find the tube at Art Content HERE

I used PSPX...but any of them should work.
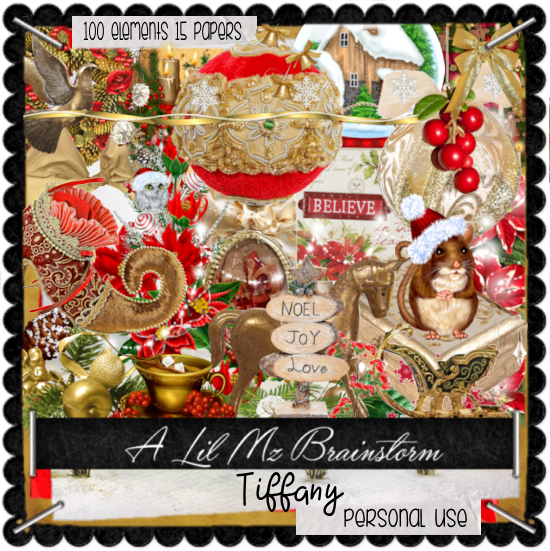
PTU kit Tiffany by LMB at HERE   
Mask of choice, I used WSL_Mask 526  HERE

Font of choice,  I used Base:Christmas

Drop shadow is usually V-2 H-2 Black, 50, 5, use what you prefer.
Let's get started
*Remember to add your drop shadow as you go along*

Open a new image 800 x 800
Paste paper 6, apply your mask, delete, merge group, resize smaller
to 90%.
Duplicate the mask, hold the shift key and drag one of the top
squares down and then the other side until flat as you like,
move to the bottom.

Paste element 22, resize to 85%, click inside with your magic wand,
expand by 5, paste paper 11, delete, merge group, keep selected,
paste element 4 in the frame, move how you like, delete, select none.

Paste element 44 below the paper layer of the frame, erase the
candle flames at the top.

Resize your tube to 30%, paste on the left on the frame.

Resize element 44 to 50%, paste on the frame on the lower right, duplicate,
mirror.
Resize element 48 to 30%, paste at the lower right.
Resize element 37 to 30%, mirror, move by the cup at the lower right.

Resize element 45 to 35%, paste on the frame at the upper left behind
the tube, duplicate, resize to 90%, mirror, adjust on the frame on the upper
right.
Resize element 33 to 40%, paste on the frame on the right, duplicate,
free rotate to the right at 10 degrees, move over a little, duplicate,
mirror, adjust behind the tube.

Resize element 8 to 10%, free rotate to the right at 90 degrees, paste
on the bottom.
Resize element 7 to 10%, paste by the other nut.

Resize element 2 to 40%, paste on the lower left above the tube, erase 
a little of the sign that is over the animal's ear.
Resize element 98 to 30%, paste at the lower left above the sign.
Resize element 67 to 10%, paste at the bottom.

Resize element 85 to 25%, paste on the right below the top flower
on the frame.

Add any other elements you would like, make it your own.
Always remember to adjust the elements before merging to get them like you like.

Once happy with your tag, close off any background, crop your tag to make
sure there are no stray edges, merge visible, resize first.
Add your copyrights and name.

That's it
Hope you enjoyed doing my tut.