Showing posts with label Mystical. Show all posts

Tuesday, June 2, 2026

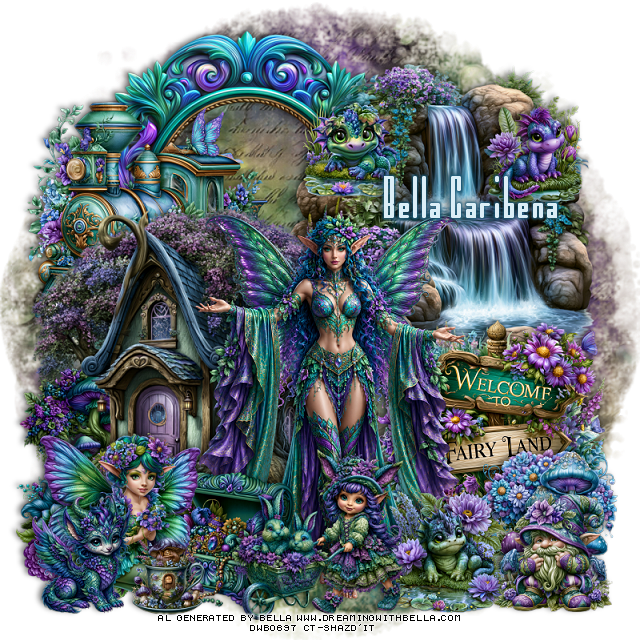
PTU Mysthical Dreamscape


 This tut was written June 1st, 2026,  for those with a basic knowledge of psp. 

Awesome Al kit and tubes by Bella Caribeña
Tube is NOT included
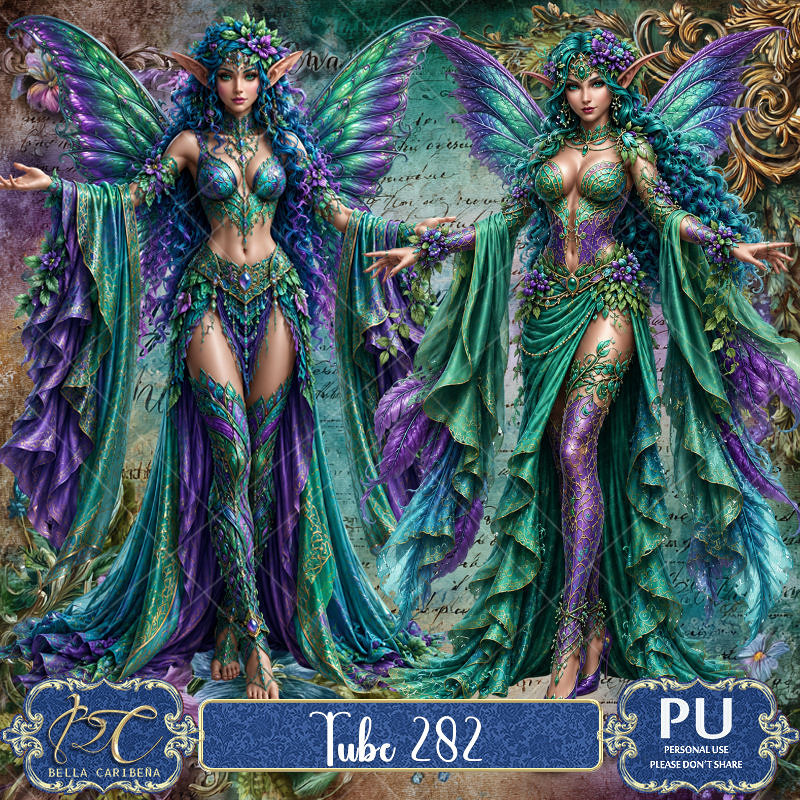
I used a tube from pack 282 HERE
Read the TOU on how to credit tags

I used PSP2020...but any of them should work.
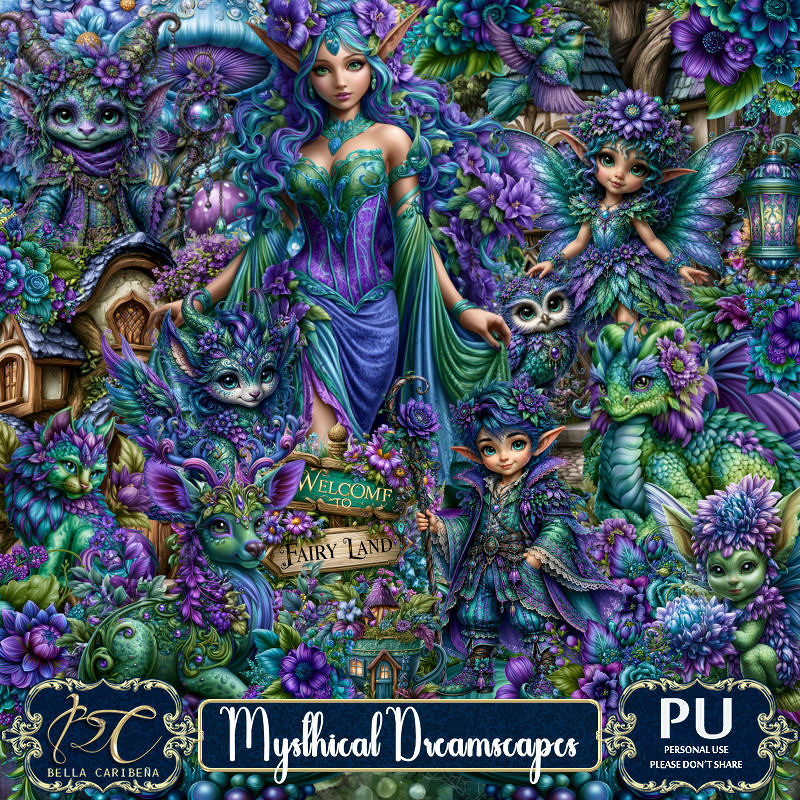
PTU Scrap Mysthical Dreamscape by Bella Caribeña  HERE
Mysthical Theme
Kit contains 4 Al gen tubes, 128 elements, 16 papers and 3 masks
You can check out the rest of her store HERE 

Font of choice I used Kinkinch

 Drop shadow as you go is V -2 H 4, 50, 10, or use what you prefer.
Let's get started
*Remember to add your drop shadow as you go along*

Open a new image 800 x 800, paste mask 2, adjust.

Resize tube 1 from the pack 282 to 25%, paste.
Resize 118 to 65%, paste below the tube on the right.
Resize 46 to 50%, paste on the right below the tube.
Resize 34 to 75%, mirror, paste on the left above the waterfall.
Resize 111 to 65%, paste at the upper left below the waterfall.

Resize 26 to 25%, paste at the bottom right above the tube.
Resize 18 to 50%, paste on the upper left below the house.
Resize 59 to 30%, paste on the bottom right below the frog.
Resize 65 to 25%, paste at the bottom left above the house.
Resize 99 to 30%, paste at the bottom above the tube on the left.
Resize 107 to 35%, paste on the left below the house.
Resize 16 to 35%, paste on the bottom left.
Resize 13 to 35%, paste at the bottom.
Resize 44 to 17%, paste at the bottom left.

Resize 23 and 28 to 20%, paste up on the rock on the waterfall.
Resize 30 to 25%, paste at the bottom right.
Resize 5 to 25%, paste at the bottom left.

Add any other elements you would like, resize.
Crop your tag to be sure no shadows or lines are on the edges.
 Then add your copyright and name.
That's it

            Hope you enjoyed doing my tut                  

Saturday, April 1, 2023

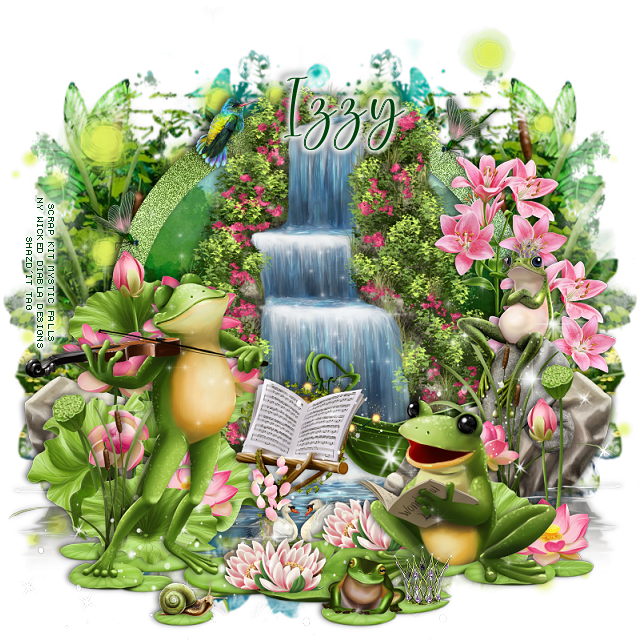
PTU Mystic Falls


This tut was written April 1st, 2023 for those with a basic knowledge of psp. 

Everything I used for this tutorial is included in this kit.

If you use a tube please use your license.
You can find all Wicked Diabla Designs at her store HERE

I used PSP2020...but any of them should work.
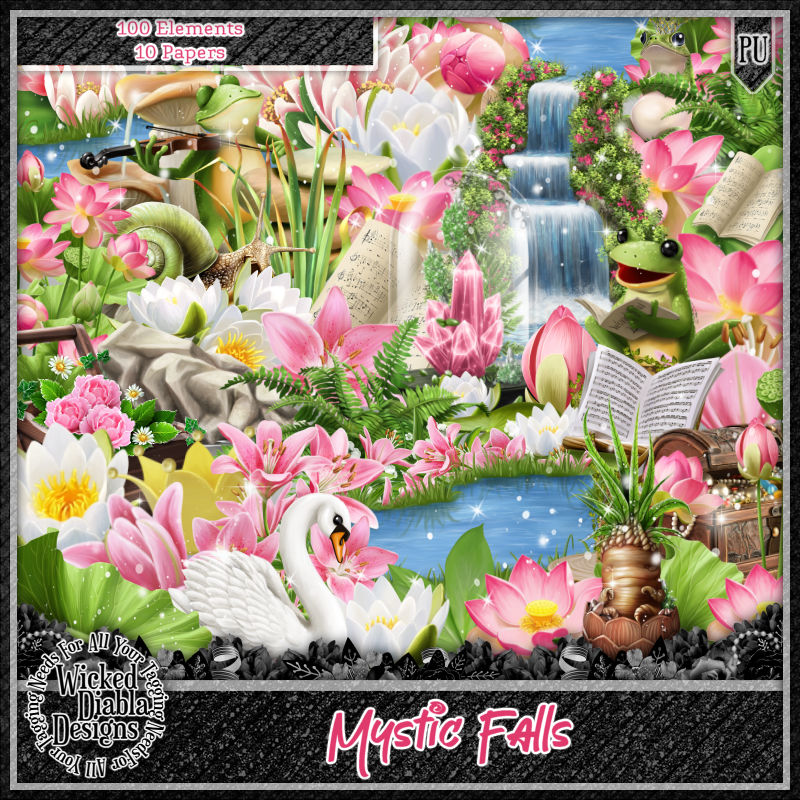
PTU Scrap Mystic Falls by Wicked Diabla Designs  HERE 
This beautiful kit has 100 elements and 10 papers
Mask of choice, I used Miz Teeque's Mask 246 HERE
Check out the rest of the Blog HERE

Font of choice, I used Pinky Budy

Drop shadow is V -1 H -3, 50, 10, color black or use what you prefer.
Let's get started
*Remember to add your drop shadow as you go along*

Open a new image, 800 x 800, paste paper 10, apply your mask, delete, merge group,
duplicate, mirror, erase some of the overlapping.

Resize element 31 to 60%, paste, click inside with the magic wand, 
expand by 5, resize paper 4 to 75%, paste, invert, delete, select none.
Add noise to the frame at 50%.

Resize element 26 to 65%, paste above the frame.
Resize element 1 to 45%, paste on the left.
Resize element 85 to 40%, paste on the left behind the flowers, duplicate, mirror.
Resize element 2 to 30%, paste at the bottom right.
Resize element 3 to 75%, flip, move to the bottom below the flowers.

Resize element 80 to 45%, paste on the left above the flowers.
Resize element 79 to 30%, paste at the bottom right.
Resize element 33 to 30%, paste on the right below the flower, duplicate, mirror,
move it behind the violin frog.

Resize element 52 to 30%, paste behind the rock on the right.
Resize element 75 to 30%, paste on the rock on the right.
Resize element 83 to 15%, paste at the bottom being on the top layer, duplicate,
move behind the sitting frog.
Resize element 76 to 12%, paste at the bottom being on the top layer.
Resize element 62 to 85%, paste on the mask layer at the top, duplicate, 
move down more.
Resize element 37 to 10%, paste at the bottom on the lily.

Resize element 46 to 25%, paste on the right behind the rock, duplicate, move
up.
Resize element 60 to 10%, paste on the music stand.
Resize element 49 to 90%
Paste element 50 at the bottom below the frogs.
Resize element 55 to 10%, paste on the left, duplicate, mirror, move to 
the upper right.
Resize element 78 to 10%, paste at the upper left.
Resize element 39 to 20%, paste on the water behind the lily.
Resize element 54 to 10%, paste at the bottom being on the top layer.

Add any other elements that you would like, make it your own.
Always readjust your mask and elements how you like them before you
 merge your tag, resize, sharpen.

Crop your tag to be sure no shadows or lines are on the edges.
 Then add your copyright and name.
That's it

Hope you enjoyed doing my tut.  

Sunday, November 20, 2022

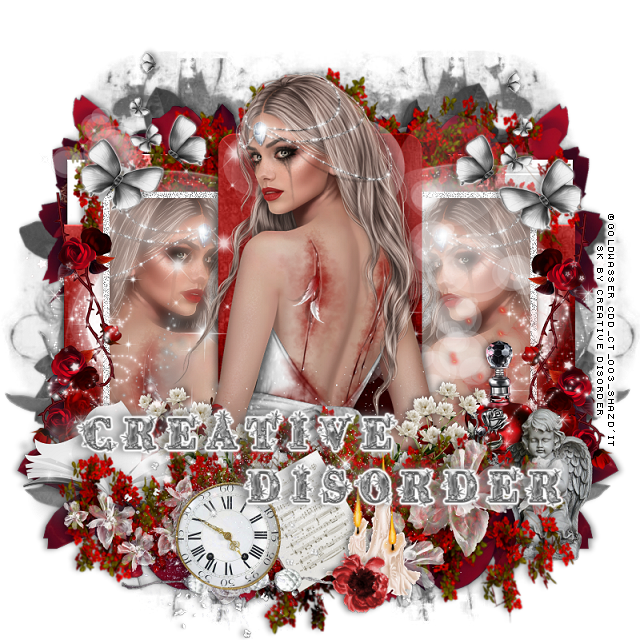
PTU Beautifully Broken


This tut was written November 20th, 2022 for those with a basic knowledge of psp. 

I am using the awesome artwork of ©Goldwasser
You need a license to use this tube, do not use without a license.
Tube by Goldwasser is included in the kit.

I used PSP2020...but any of them should work.
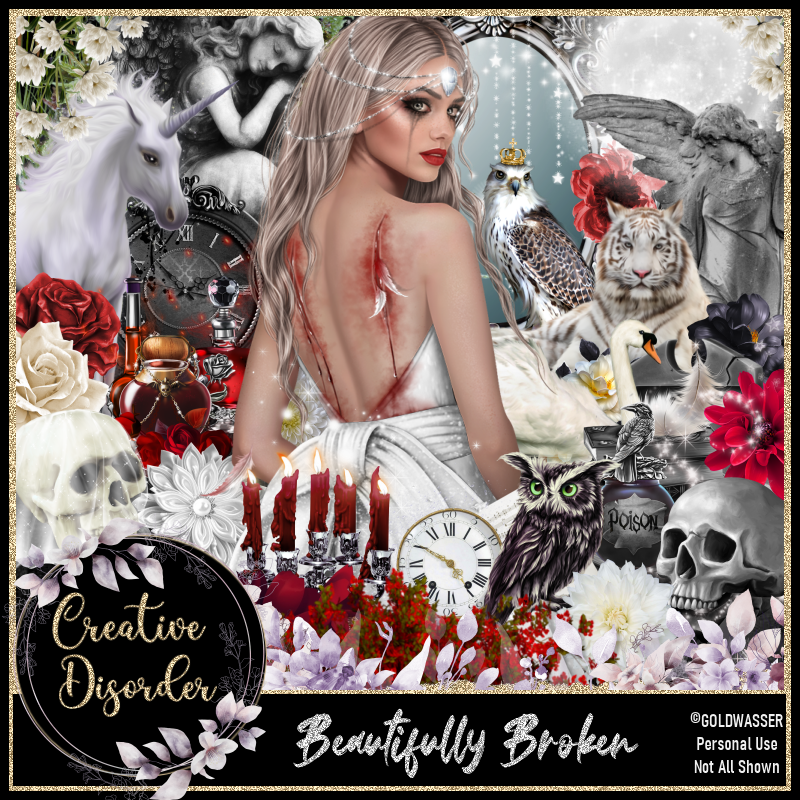
PTU Beautifully Broken by Creative Disorder  HERE
Kit contains 137 elements, 14 papers and ©Goldwasser tube is included with kit.
Check out her blog HERE
Millie's PSP Madness Template 896 HERE
Check out the rest of the blog HERE
Miz Teeque's Mask 360 HERE
Check out the rest of the blog HERE

Font of choice, I used City of Lights

Drop shadow is V -1 H -4, 40, 10, or use what you prefer.
Let's get started
*Remember to add your drop shadow as you go along*

Open the template, hold the shift key and hit the letter d to duplicate,
close the original. Delete the credits.
Go to Image, Canvas size, 800 x 800, all layers checked, resize later.
Paste paper 13, apply your mask, delete, merge group.
Paste element 79 on the right side above the mask, duplicate, mirror.

Select layer 1 of the template, paste paper 1, invert, delete, select none.
Delete each layer of the template as you go along and 
apply this bevel setting to each layer.
Go to Effects, 3D effects, Inner bevel  with these numbers
Shape 2, width 2, 
0, 3, 10, 7, 
0, 50, 30
Color white.
Select layer 2, paste paper 9. invert, delete, apply the bevel.
Select layer 3, paste paper 10, invert, delete, apply the bevel.
Select layer 4, paste paper 14, delete, apply bevel.

Merge layer 6 down with layer 5, select all, paste paper 8, invert, delete,
keep selected, resize your tube to 75%, paste your tube on one side, mirror, 
paste on the other side, delete both, select none.
Duplicate the tubes, go to Adjust, Blur, Gaussian blur, number on 5, 
change the blend mode to Lighten, merge down. 
Be sure to check the edges of your tag for any shadows.

Merge layer 8 down with layer 7, add noise at 100%.
Select layer 9, add paper 14, invert, delete, bevel.

Resize your tube to 75%, paste in the center, erase the part at the bottom you
don't want.

Paste element 48 at the bottom above the tube.
Resize element 18 to 35%, paste at the lower left below the flowers.
Resize element 91 to 40%, paste on the right below the flowers, duplicate, mirror.
Resize element 24 to 30%, paste above the flowers at the bottom.

Resize element 89 to 40%, paste on the right below the flowers.
Resize element 8 to 50%, paste below the paper layer of the tubes in the frames,
duplicate, mirror.
Paste element 49, at the top above the mask, duplicate, mirror, duplicate both, flip,
move down on the bottom so a little shows.
Go back to the flowers at the bottom above the tube, duplicate, move to the top
below the paper layers of the tubes in the frames.

Resize element 124 to 75%, paste below the tube.
Resize element 14 to 40%, paste at the top where you like.
Resize element 102 to 25%, paste at the lower right below the flowers.
Resize element 91 to 30%, paste above the tube on one side, duplicate, mirror.
Resize element 59 to 15%, paste at the bottom above the candles.
Resize element 107 to 40%, paste at the bottom below the candles.
Paste element 72 on the flowers below the clock and candles.
Resize element 129 to 35%, paste on one side, duplicate, mirror.

Add any other elements that you would like, make it your own.
Always readjust your mask and elements how you like them before you
 merge your tag, resize, sharpen.

Crop your tag to be sure no shadows or lines are on the edges.
 Then add your copyright and name.
That's it

Hope you enjoyed doing my tut.      

Sunday, November 13, 2022

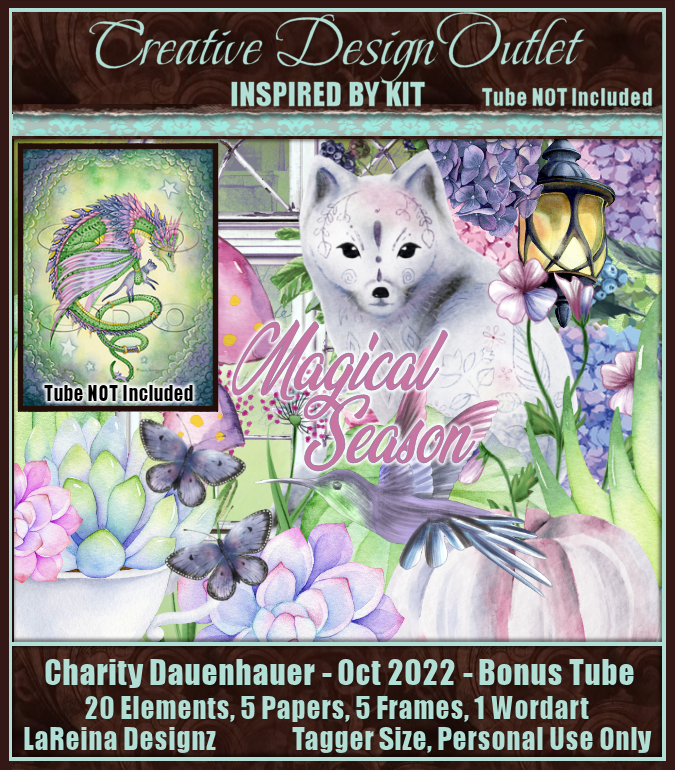
PTU Magical Season


This tut was written November 13th, 2022 for those with a basic knowledge of psp. 

This kit was inspired by the October 2022 Bonus kit by Charity Dauenhauer

Everything used in this tutorial is included in the kit.

If you use a tube, you need a license to use the tube, please do not use without a license.
You can find this kit at CDO HERE  


I used PSP2020...but any of them should work.
PTU ScrapLRD_IB-Charity Dauenhauer-Oct 2022-btby LaReina Designz HERE 
This kit has 20 elements, 5 papers, 5 frames and 1 wordart
Mask of choice, I used Lori's PSP Graphics Mask 1179  HERE
Check out the rest of the Blog HERE

Font of choice, I used Wingcharm

Drop shadow is V -1 H -5, 50, 10, or use what you prefer.
Let's get started
*Remember to add your drop shadow as you go along*

Open a new image 800 x 800, paste paper 2, apply your mask, delete, merge group,
duplicate, mirror, merge down.
Resize element 8 to 85%, paste, take your free hand, draw around the window,
resize paper 4 to 60%, paste below the window, invert, delete, select none.

Paste element 20 on the mask, duplicate, change the blend mode to Multiply,
merge down, duplicate, mirror.

Resize element 17 to 85%, paste at the upper left below the paper layer of the window,
duplicate, mirror, duplicate, move down, duplicate, mirror.
Resize element 1 to 35%, paste on the window on the left top, duplicate, mirror.

Resize element 3 to 75%, paste on the window on the right, duplicate, mirror.
Resize element 11 to 40%, paste on one side, duplicate, mirror.
Resize element 6 to 30%, paste above the mushroom, duplicate, mirror.

Resize element 16 to 30%, paste on the left, duplicate, move down a little, duplicate,
mirror.
Resize element 5 to 40%, paste at the lower left by the pumpkins.
Resize element 2 to 65%, paste on the right being on the top layer.
Resize element 13 to 25%, paste at the bottom left above the books.
Resize element 7 to 30%, paste at the bottom being on the top layer.
Resize element 19 to 15%, paste on the lower left, duplicate twice, move by the plant, 
move one below it.

Resize element 6 to 20%, paste below the top flower.
Resize element 15 to 25%, paste on one side toward the top on the window, duplicate,
mirror.

Resize element 4 to 50%, paste at the bottom below the purple flowers.
Resize element 12 to 15%, free rotate to the right at 25 degrees, duplicate, mirror,
place where you like.

Resize the wordart to 75%, apply Eye Candy 4000-Chrome, then color it to 
match your tag.
Give it a white background with either EyeCandy glow or just add a layer and expand,
fill with white.
Resize element 14 to 25%, paste on the left.

Add any other elements that you would like, make it your own.
Always readjust your mask and elements how you like them before you
 merge your tag, resize, sharpen.

Crop your tag to be sure no shadows or lines are on the edges.
 Then add your copyright and name.
That's it

Hope you enjoyed doing my tut.