Showing posts with label Al Kit. Show all posts

Sunday, September 20, 2026

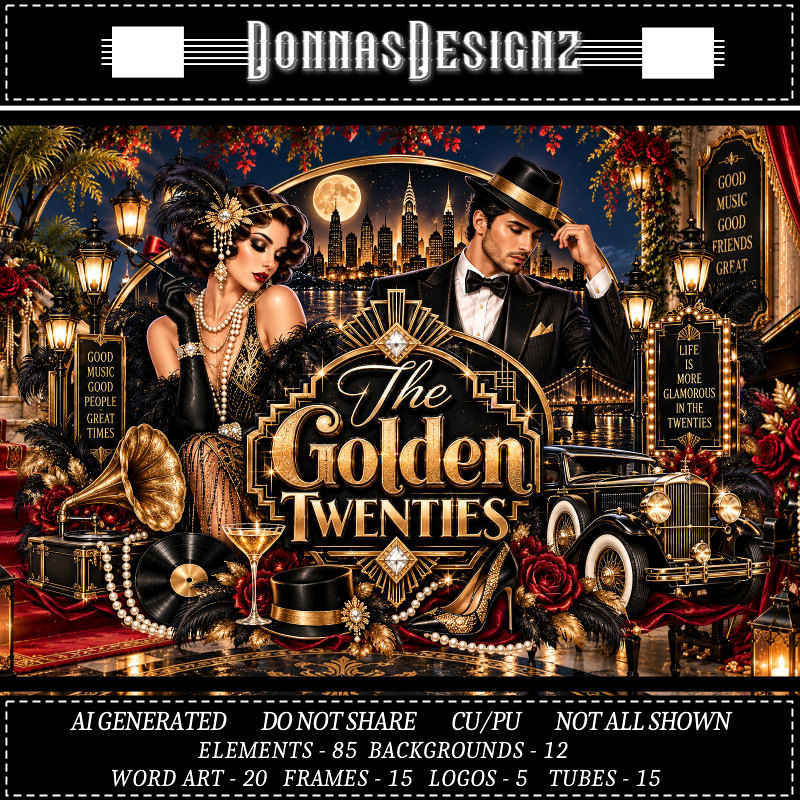
PTU The Golden Twenties


 This tut was written September 20th, 2026 for those with a basic knowledge of psp. 

I am using the Awesome Al kit/Tubes by Donna Designz
Everything used is included in the kit
Please read the TOU on how to credit your tags

I used PSP2020...but any of them should work.
PTU Scrap The Golden Twenties by Donnas Designz  HERE
Check her store out to see all her other kits and tubes HERE
RD Mask 749 Here
Check the rest of the blog HERE

Font of choice, I used Broadway

Drop shadow as you go is V -2 H 4, 50, 10, or use what you prefer.
Let's get started
*Remember to add your drop shadow as you go along*

Open a new image 800 x 800, resize paper 2 to 80%, paste apply 
your mask, move to the left, duplicate, mirror, merge together, adjust.

Paste frame 1 at the upper left.
Paste frame 2 above frame one, click inside, resize paper 3 to 
35%, paste, invert, delete.
Resize 164 to 125%, paste at the top above the mask layer.
Resize 7 to 115%, paste at the top above the window to the right.
Resize 19 to 125%, paste on the upper right above the frames.
Resize 79 to 60%, paste on the right of the doors.
Mirror 12, paste on the right above the camera stand.

Resize tube 10 to 30%, paste on the left.
Resize tube 2 to 33%, paste at the bottom to the right of the man.

Resize 1 to 75%, paste at the bottom left between the tubes.
Paste 78 on the left behind the man tube.
Resize 34 to 70%, paste at the bottom above the tube.
Resize 38 to 50%, paste at the bottom to the left.
Resize 61 to 75%, paste at the bottom left.
Resize logo 5 to 23%, paste at the bottom right.

Resize 57 to 45%, paste at the bottom.
Resize 14 to 50%, paste on the bottom left, sharpen.

Add any other elements that you would like, make it your own.
Always readjust your mask and elements how you like them before you
 merge your tag, resize, sharpen.
Crop your tag to be sure no shadows or lines are on the edges.
 Then add your copyright and name.
That's it

Hope you enjoyed doing my tut.    

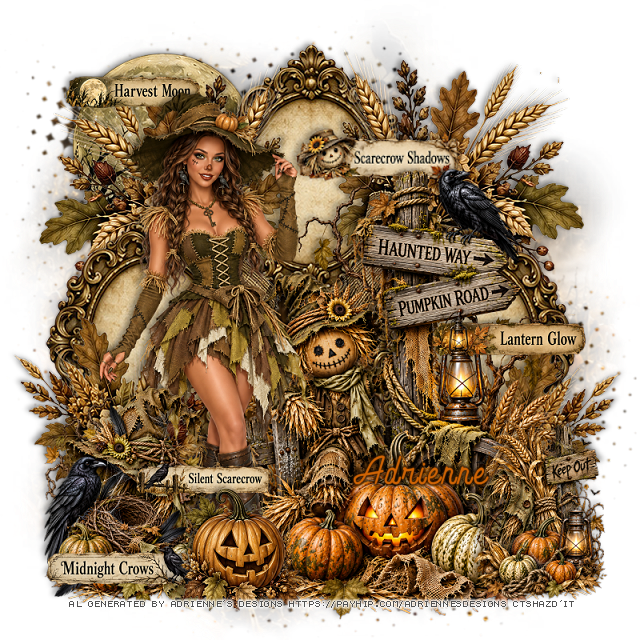
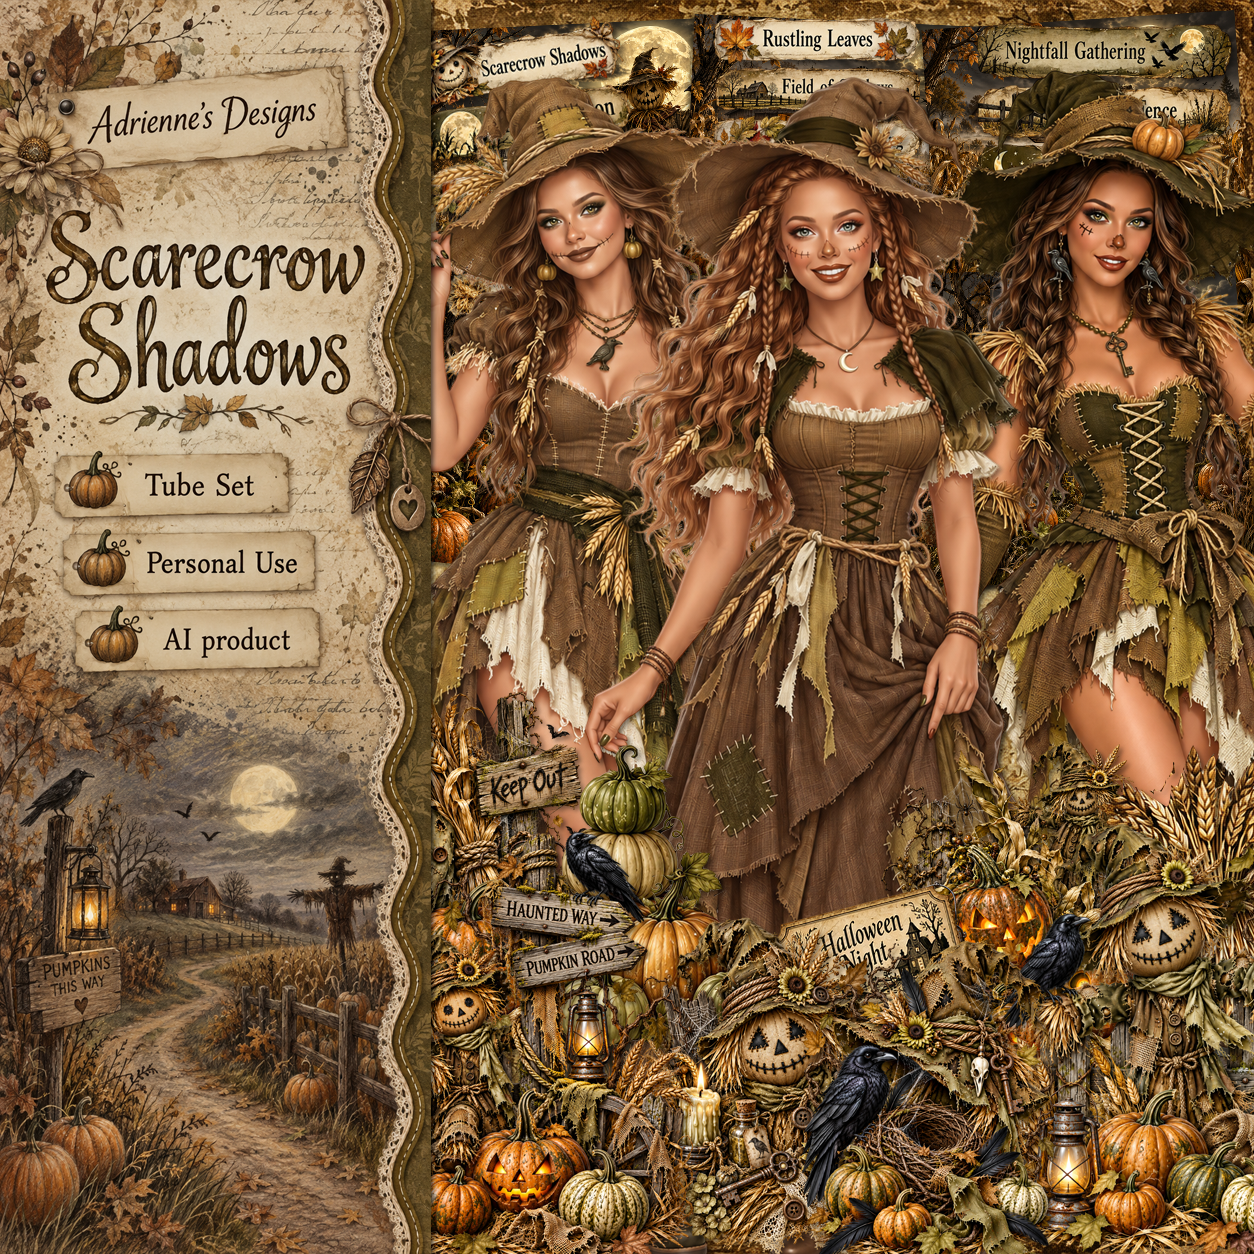
PTU Scarecrow Shadows


This tut was written September 20th, 2026,  for those with a basic knowledge of psp. 

I am using the beautiful Al kit by Adrienne's Designs
Everything used is in the kit 
Read the TOU on how to credit your tags

I used PSP2020...but any of them should work.
PTU Tube Set Scarecrow Shadows by Adrienne's Designs  HERE
Tube set, 3 Al tubes, 6 Clusters, 1 paper, 6 backgrounds, 
1 sheet with word strips and 4 sheets with ephemera set
Check out the rest of her store  HERE
or
you can find all her kits on her blog  HERE
Vivienne's Digital Tagging Mask 30 Here
Check the rest of the blog HERE

Font of choice I used Andara Script

 Drop shadow as you go is V -2 H 4, 50, 10, or use what you prefer.
Let's get started

*Remember to add your drop shadow as you go along* 

Open a new image 800 x 800, paste paper 4, apply your mask,

On the ephemera set 1, draw around the frame, copy and paste,
resize larger to 115%, paste at the top, duplicate twice, move
one to each side and down.
Draw around the flowers, paste on the left below the side frame, 
duplicate, mirror, move below that side frame.
Resize cluster 6 to 40%, paste on the right above the frame.

Resize tube 2 to 43%, paste on the left.

Resize cluster 3 to 20%, paste at the bottom left above the tube.
Draw around the smiling pumpkin, resize to 50%, paste at the bottom.
Draw around the flowers on the right, paste on the bottom left 
above the frame, duplicate, mirror.
Resize cluster 4 to 15%, paste on the bottom right being on the top layer.
On the ephemera set 2, draw around the moon, paste at the upper left behind 
the tube.
On the word strips, select the ones you like and paste where you like.

Add any other elements that you would like, make it your own.
Always readjust your mask and elements how you like them before you
 merge your tag, resize, sharpen.

Crop your tag to be sure no shadows or lines are on the edges.
 Then add your copyright and name.
That's it

             Hope you enjoyed doing my tut                

Saturday, September 19, 2026

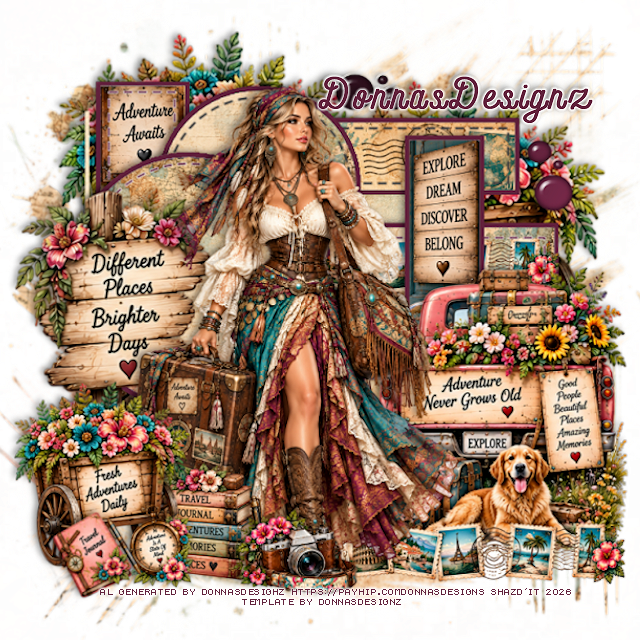
FTU Wander Where Your Heart Leads


This tut was written September 19th, 2026 for those with a basic knowledge of psp. 

I am using the Awesome Al kit/Tubes by Donna Designz
Everything used is included in the kit
Please read the TOU on how to credit your tags

I used PSP2020...but any of them should work.
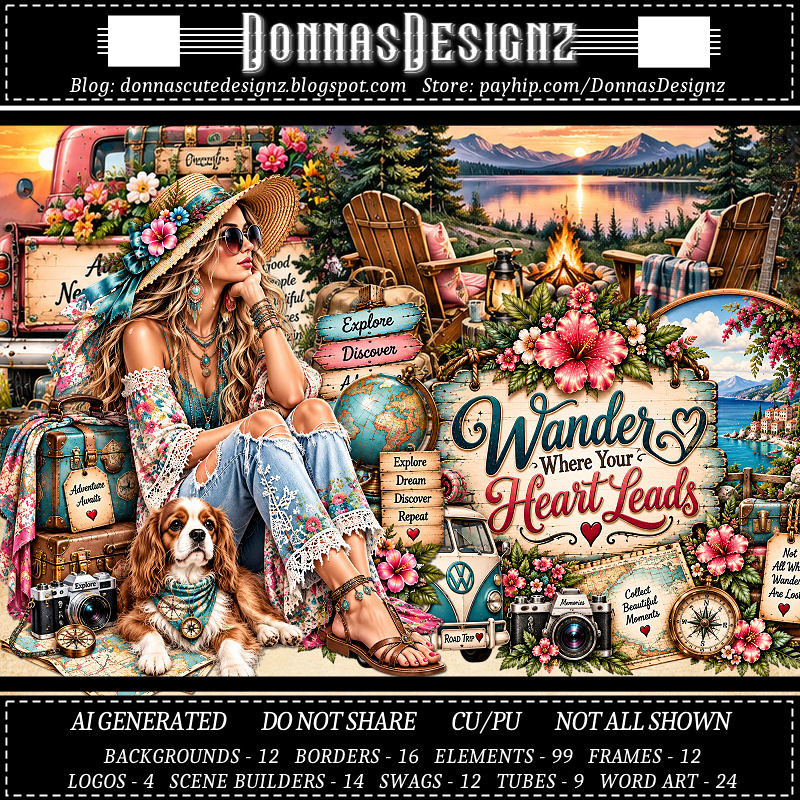
FTU Scrap Wander Where Your Heart Leads by Donnas Designz  HERE
Check her store out to see all her other kits and tubes HERE
Donnas Designz Template 680 HERE
Check the rest of her blog HERE
Donnas Shape Up 4, Mask 4 Here

Font of choice, I used Andara Script

Drop shadow as you go is V -2 H 4, 50, 10, or use what you prefer.
Let's get started
*Remember to add your drop shadow as you go along*

Open the template, go to Image, resize to 125, all layers checked, then
Canvas 800 x 800, delete the credits.
Resize paper 5 to 80%, paste above the white background, apply your mask, 
resize to fit your tag.

On each template layer, you will click the gray area first to fill or 
paste your paper, then click on the white frame part and fill.
I filled the frame part with #62223c on all of them.
I will not repeat this on each one, so when I say select raster #, do that 
each time.
Dotted lines your choice if you want to keep them or not.

Copy of Raster 4, select, resize paper 9 to 50%, paste, invert, delete.

Raster 2, resize paper 2 to 50%, paste so the word part shows, invert, 
delete, do the frame.
Merge Copy of Raster 11 down with Raster 11, resize paper 4
to 40%, paste, invert, delete, do the frame.
Copy of Raster 2, resize paper 5 to 40%, paste, move how you like,
invert, delete.
Resize border 4 to 50%, paste on the paper.

Raster 3, resize paper 5 to 40%, paste, invert, delete.
Do the same with Copy of Raster 3.

Raster 5, resize paper 2 to 50%, paste so the words shows at the top.
Raster 4, resize paper 5 to 50%, paste, move to your liking, invert, delete.
Raster 16, paste paper 8, invert, delete.
Merge all the circles together, select all, float, defloat, fill with a color
or paste a paper.
Add Eye Candy 4000, Glass with these settings
Bevel Width 8.98
Smoothness 45
30, 35, 50, 0, 50
Lighting 135, 45

Resize 14 to 75%, paste on the bottom right.
Resize tube 3 to 38%, paste to the left of the truck.
Resize border 4 to 50%, paste at the bottom below the tube to the right.
Resize 83 to 45%, paste at the bottom above the tube.
Resize 51 to 95%, paste on the left below the tube.
Resize 42 to 50%, paste at the bottom below the camera on the left.
Resize 15 to 65%, paste on the bottom left.
Resize 2 to 35%, paste on the bottom left.
Resize 12 to 35%, free rotate to the left at 20, paste at the bottom left.
Resize 15 to 115%, paste at the upper left below the template layers, 
duplicate, move to the right and down.

Add any other elements that you would like, make it your own.
Always readjust your mask and elements how you like them before you
 merge your tag, resize, sharpen.
Crop your tag to be sure no shadows or lines are on the edges.
 Then add your copyright and name.
That's it

Hope you enjoyed doing my tut.    
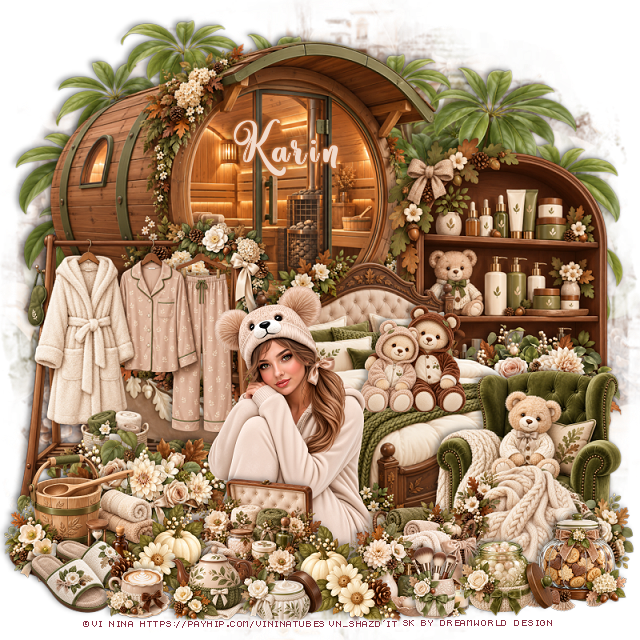
PTU Fluffy Teddy 2


 This tut was written September 19th, 2026 for those with a basic knowledge of psp. 

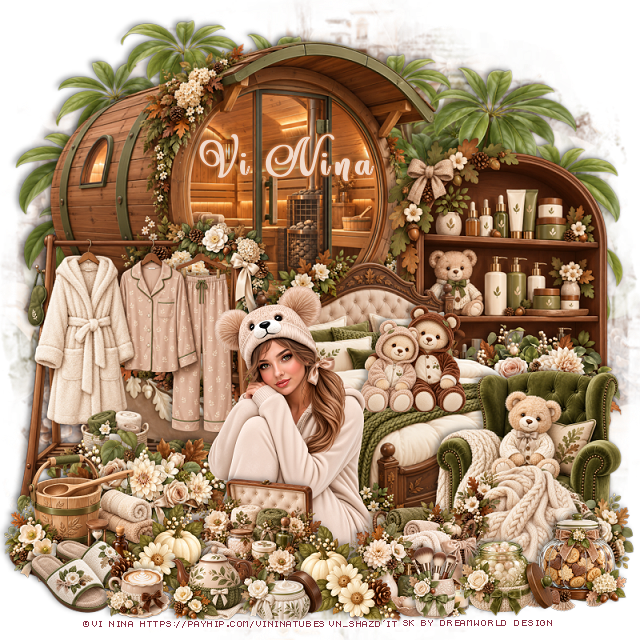
I am using the beautiful Al kit by Dreamworld Design
This is a match for the tube Fluffy Teddy ©Vi Nina
The tube is NOT included
You need a license to used this tube, please do not use without a license.
You can get the tube HERE

I used PSP2020...but any of them should work.
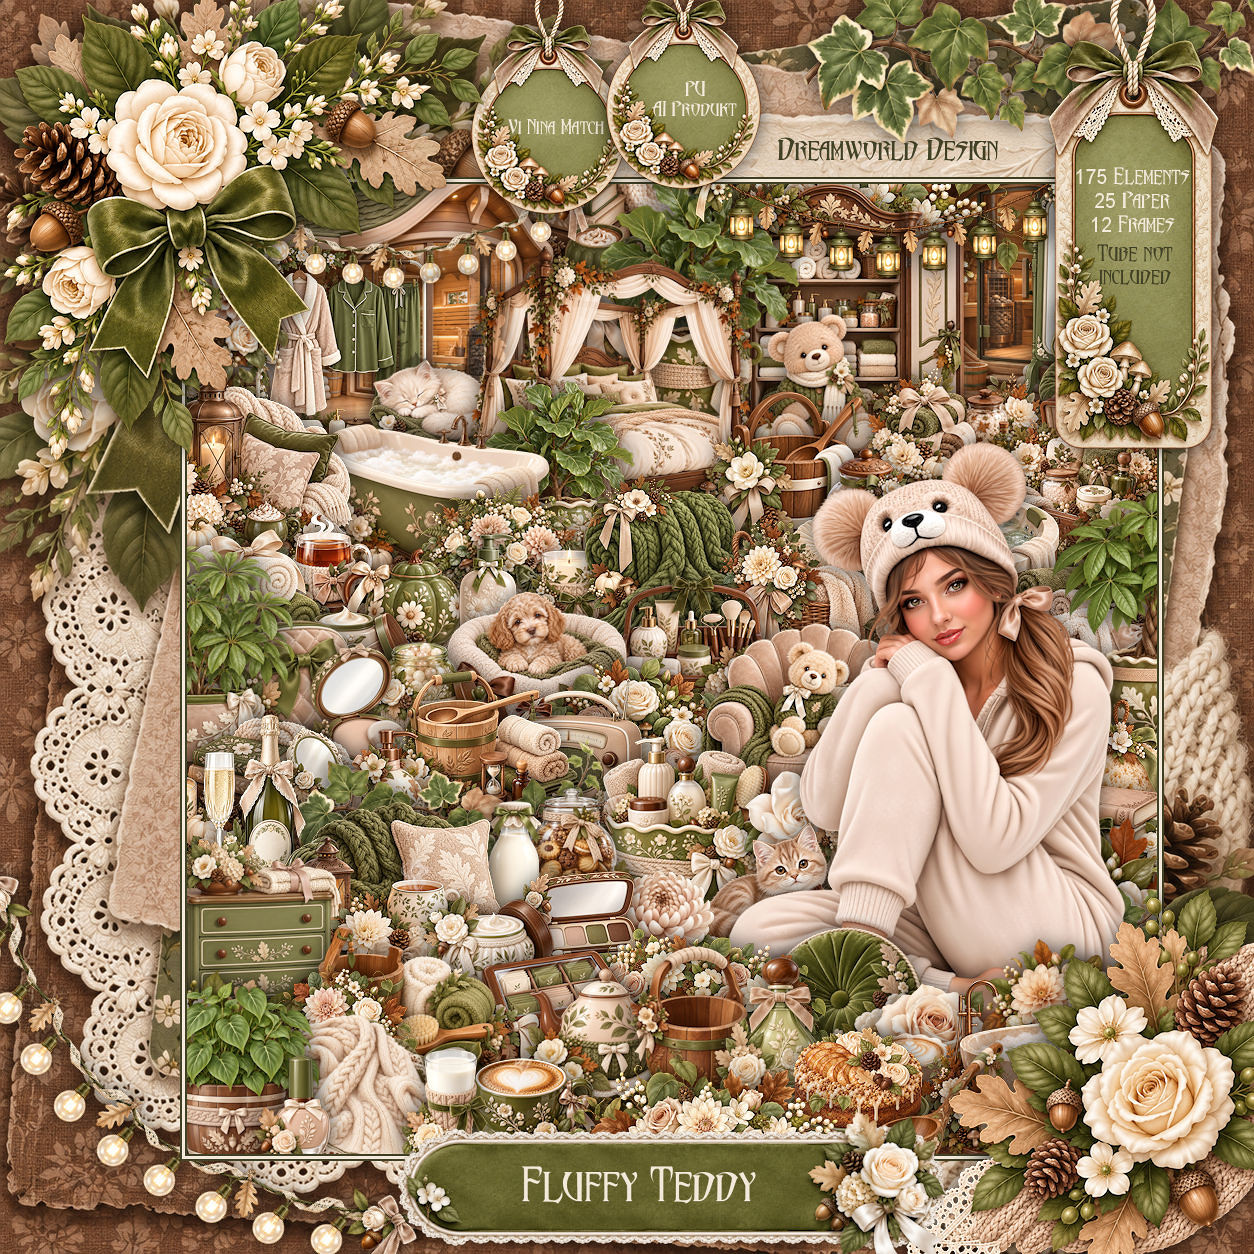
PTU Scrap Fluffy Teddy by DWD  HERE
Beautiful kit with 175 elements, 25 papers
You can find all Dreamworld Design kits  HERE

Font of choice, I used Amastery Script

Drop shadow as you go is V -2 H -4, 40, 10, or use what you prefer
Let's get started
*Remember to add your drop shadow as you go along*

Open a new image 800 x 800, paste mask 3, resize to fit your tag.

Resize 54 to 75%, paste at the upper left.
Resize 3 to 75%, paste at the bottom.
Resize 58 to 65%, paste on the right below the bed.
Resize 109 to 60%, paste on the left.
Resize 134 to 85%, paste on the upper left above the mask layer,
duplicate, move to the right and down some.

Resize the tube to 30%, paste at the bottom above the bed.

Resize 66 to 48%, paste at the bottom right above the bed.
Resize 49 to 40%, paste on the bottom left below the tube.
Resize 14 to 35%, paste on the bottom left above the flowers.
Resize 33 to 28%, paste at the bottom above the tube.
Resize 11 to 35%, paste on the bottom right above the chair.
Resize 41 to 35%, paste at the bottom above the tube.

Resize 130 to 25%, paste on the bed.
Resize 80 to 25%, paste at the bottom above the basket, duplicate,
mirror, move to the left more.
Resize 77 to 40%, paste on the right behind the chair below the bed.
Resize 62 to 25%, paste on the bottom to the left.
Resize 157 to 20%, paste on the bottom left.

Resize 107 to 30%, paste at the bottom left.
Resize 60 to 28%, paste on the bottom  right.
Resize 149 to 25%, paste at the bottom to the right.
Resize 111 to 20%, paste at the bottom.
Resize 146 to 20%, paste at the bottom.

Add any other elements that you would like, make it your own.
Always readjust your mask and elements how you like them before you
 merge your tag, resize, sharpen.

Crop your tag to be sure no shadows or lines are on the edges.
 Then add your copyright and name.
That's it

Hope you enjoyed doing my tut     

Tag for Nina


PTU Fluffy Teddy


  This tut was written September 18th, 2026,  for those with a basic knowledge of psp. 

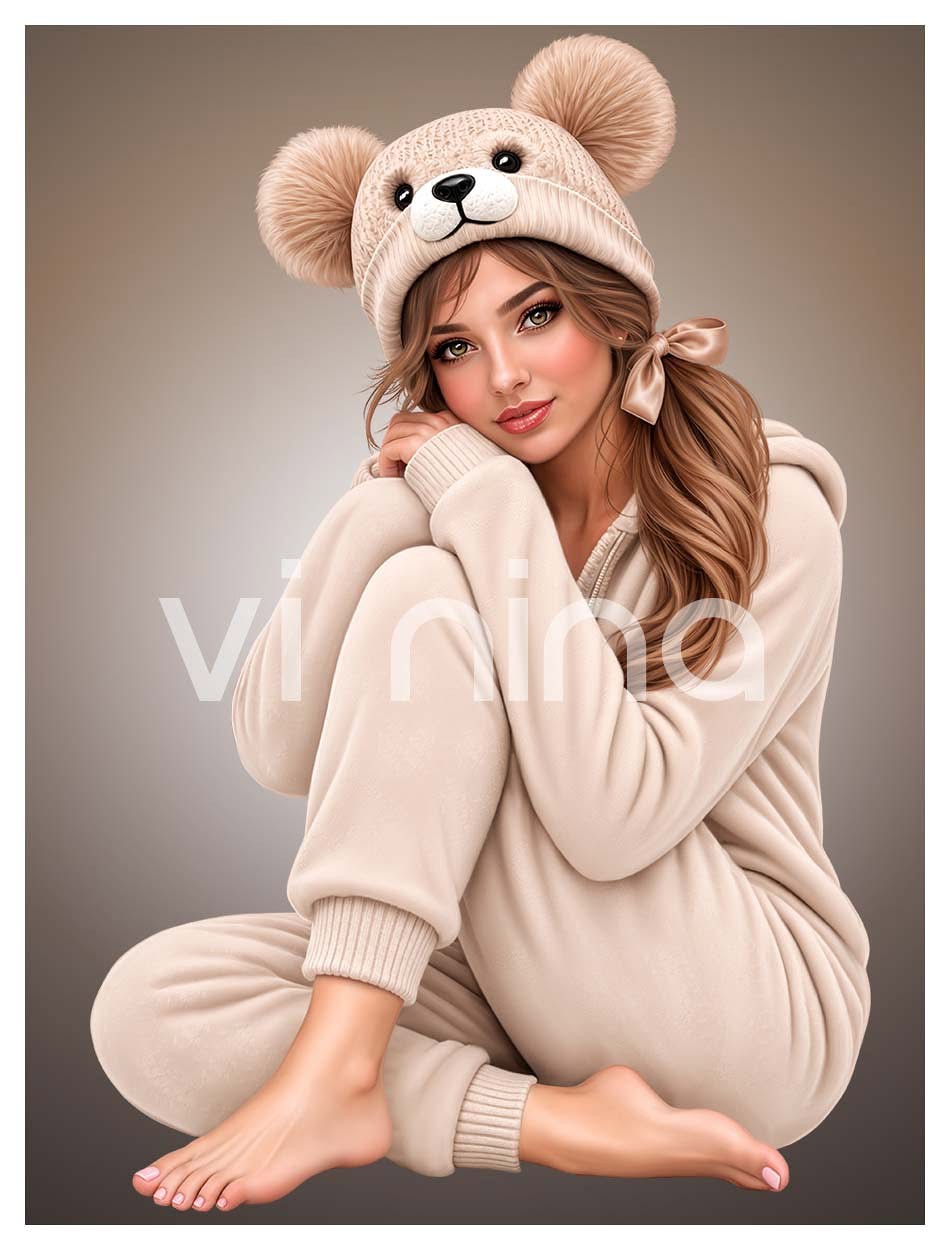
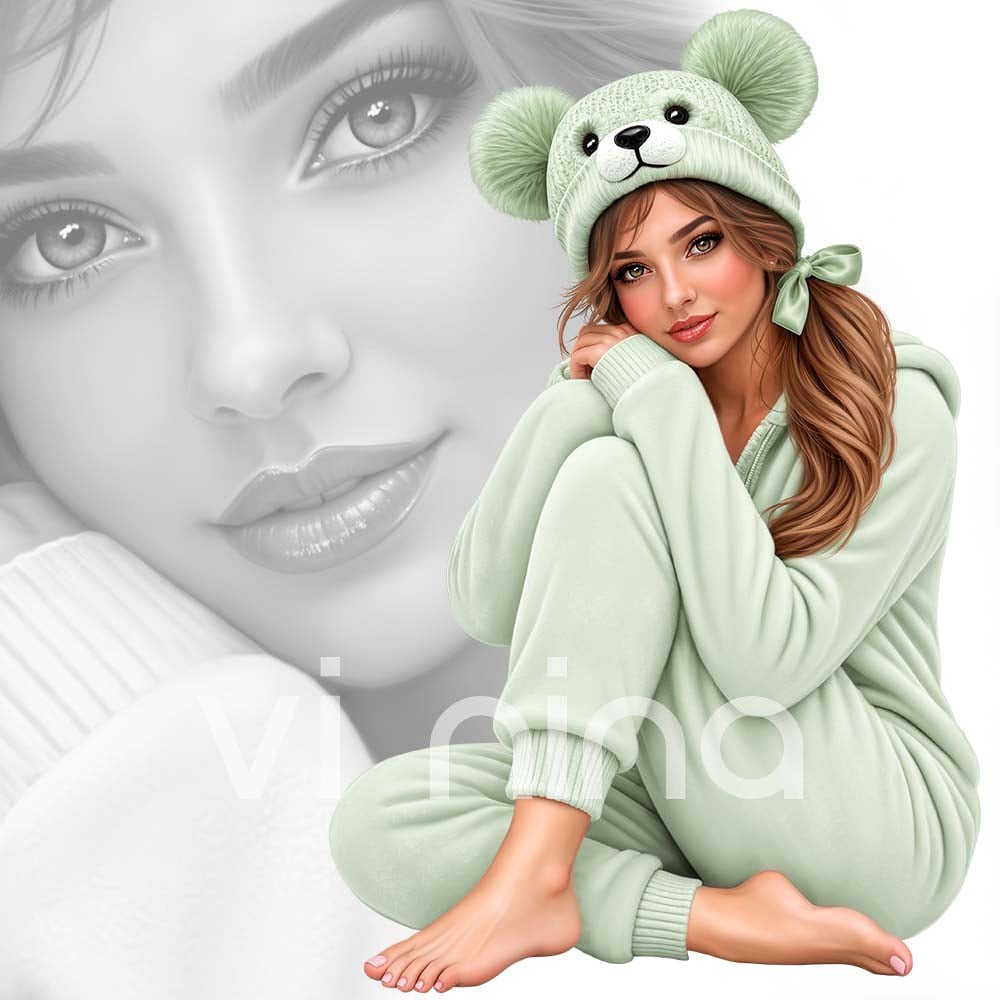
I am using the beautiful tube ©Vi Nina
The tube is called Fluffy Teddy
You need a license to use this tube, please do not use without a license
You can find the tube HERE

I used PSP2020...but any of them should work.
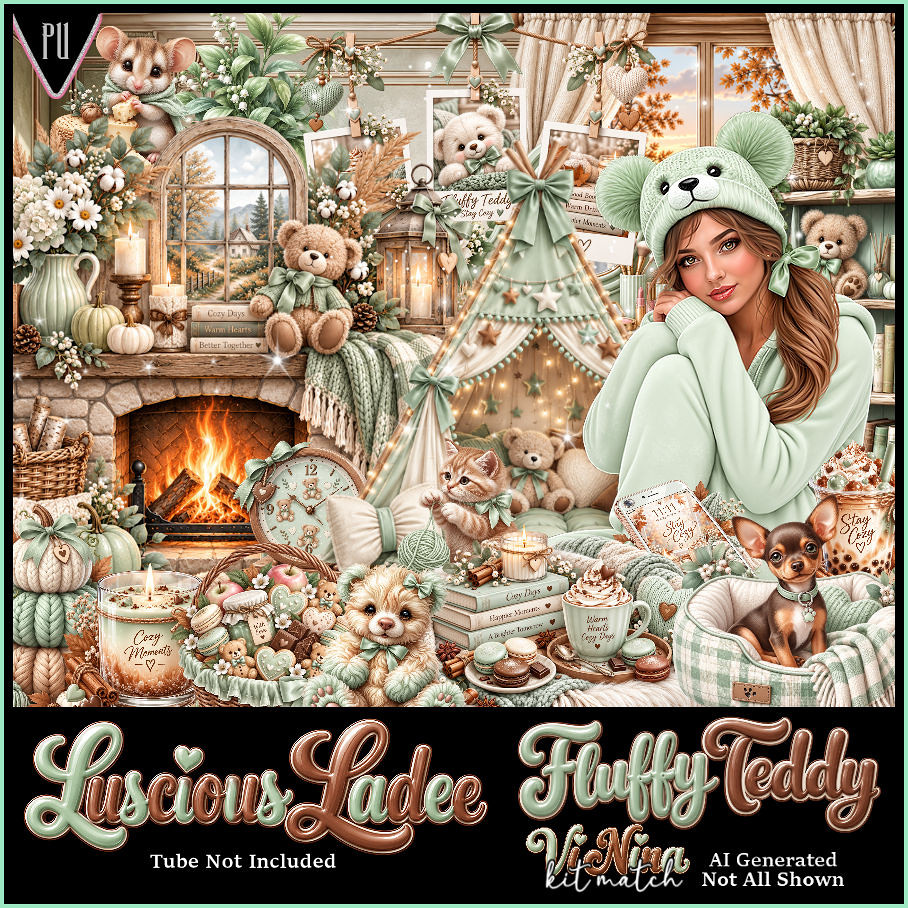
PTU Scrap Fluffy Teddy by Luscious Ladee  HERE 
Kit comes with 100 elements, 5 masks, 7 frames, 10 Sparkles, 12 Profile papers,
12 Timeline papers and 3 Wordart
Check out the rest of her store  HERE

Font of Choice, I used Amastery Script

 Drop shadow as you go is V -2 H 4, 40, 10, or use what you prefer.
Let's get started
*Remember to add your drop shadow as you go along*

Open a new image 800 x 800, paste mask 1, resize to fit.

Resize 5 to 60%, paste.
Resize 550 to 55%, paste at the top behind the fireplace window.
Resize 4 to 50%, paste on the left above the frame.

Resize the tube to 30%, paste at the bottom to the right.

Resize 54 to 27%, paste at the bottom above the tube.
Resize 60 to 17%, paste at the bottom above the pumpkins.
Resize 34 to 17%, paste at the bottom right.
Resize 28 to 20%, paste on the bottom left by the pumpkins.
Resize 12 to 40%, paste on the bottom left below the dog.
Resize 7 to 35%, paste on the bottom right below the tube.

Resize 74 to 15%, paste at the bottom.
Resize 57 to 15%, paste at the bottom.
Resize 40 to 12%, paste at the bottom by the basket.
Resize 10 to 35%, mirror, paste on the right behind the tube above
the fireplace.
Resize 17 to 15%, paste on the bottom left.
Resize 41 to 15%, paste on the bottom left below the notebook.
Resize 21 to 15%, paste on the left in the seat element.
Resize 100 to 60%, paste at the upper right below the mirror.
Resize wordart 3 to 25%, paste at the top.
Resize wordart 1 to 20%, paste on the left on the book case.

Add any other elements that you would like, make it your own.
Always readjust your mask and elements how you like them before you
 merge your tag, resize, sharpen.
Crop your tag to be sure no shadows or lines are on the edges.
 Then add your copyright and name.
That's it

Hope you enjoyed doing my tut.
Tag for Nina   


Friday, September 18, 2026

PTU BCA 2026

     **CT for Savage Dezines**

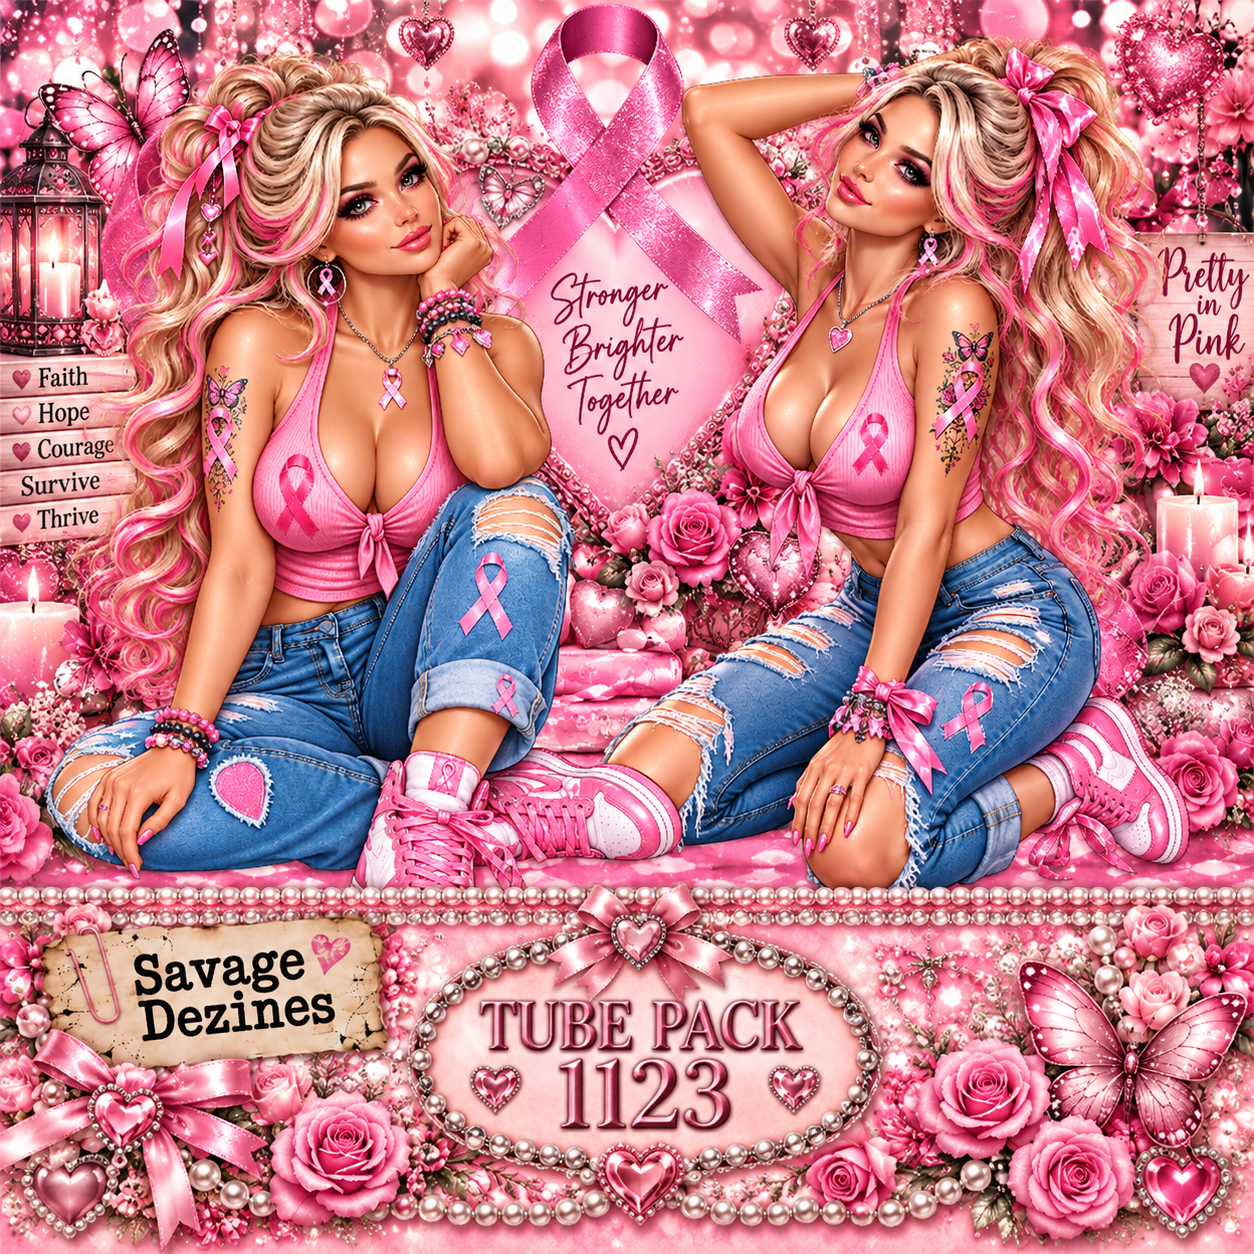
I used the tube pack 1123, you can purchase at SNCO HERE

Al generated by Savage Dezines
Beautiful BCA 2026 Al kit match for the tubes

You can find all the store links  HERE


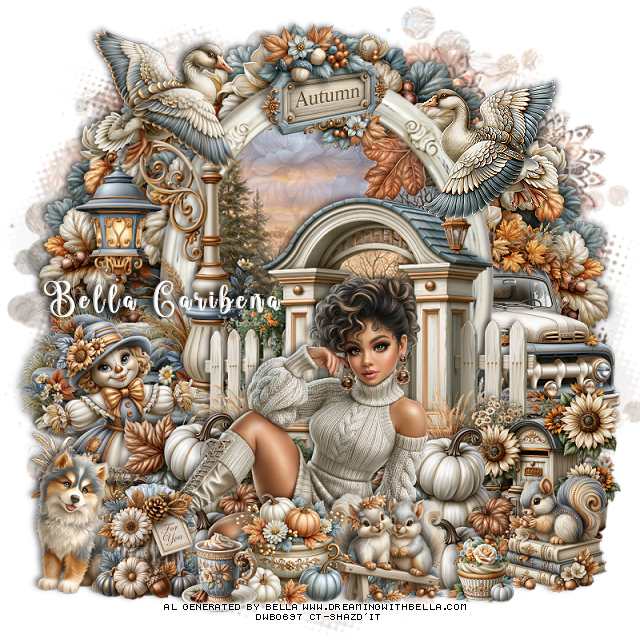
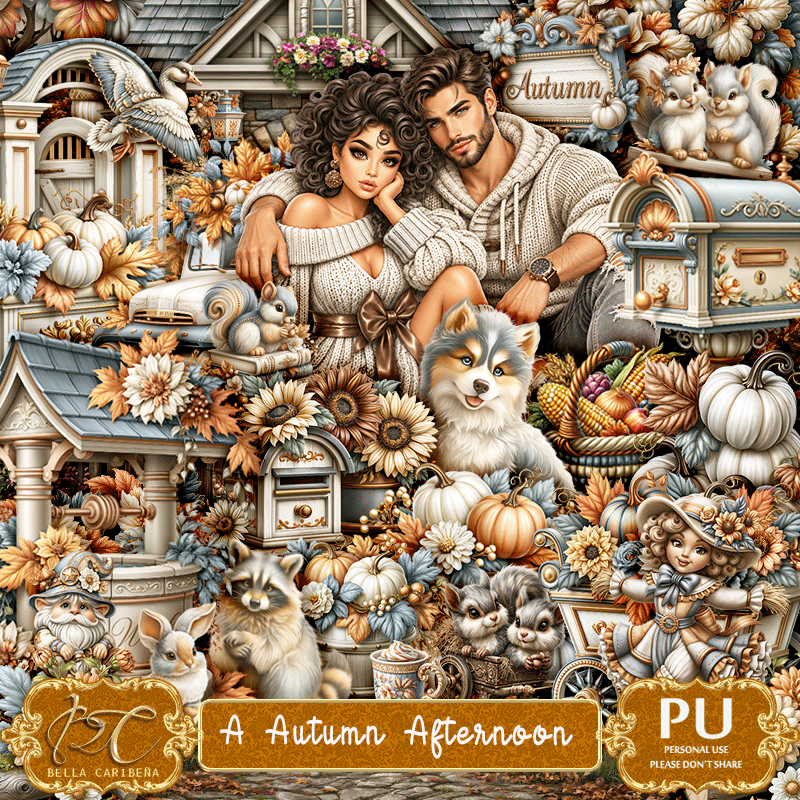
PTU A Autumn Afternoon


 This tut was written September 18th, 2026,  for those with a basic knowledge of psp. 

Awesome Al kit and tubes by Bella Caribeña
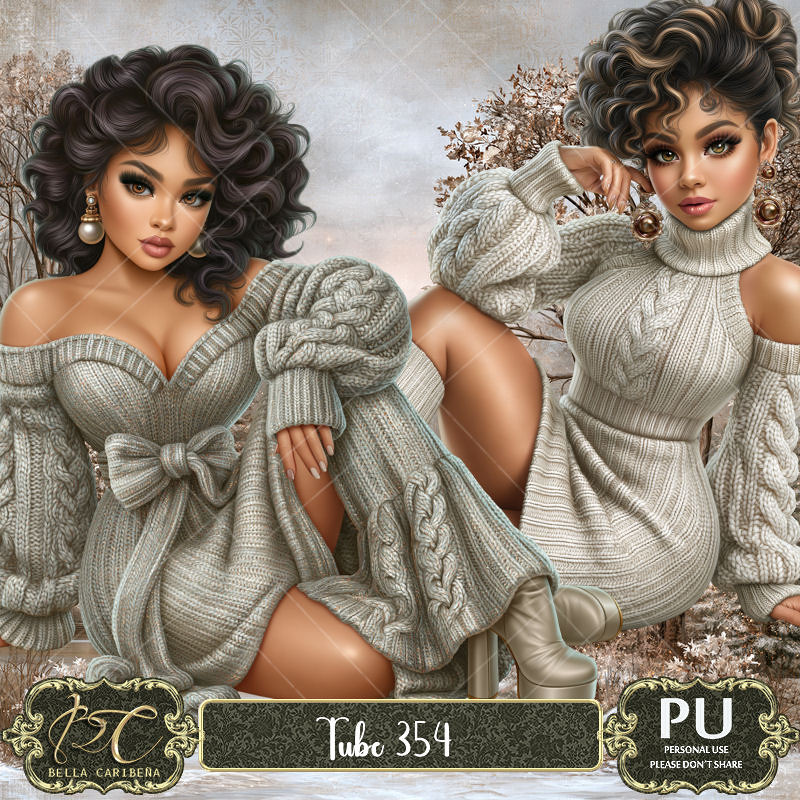
I paired it with the beautiful tube pack 354
You can get the tube pack HERE
Read the TOU on how to credit tags

I used PSP2020...but any of them should work.
PTU Scrap A Autumn Afternoon by Bella Caribeña  HERE
Autumn Theme
Kit contains 6 Al tubes, 130 elements, 16 papers, 3 masks 
You can check out the rest of her store HERE 

Font of choice I used Wingcharm

 Drop shadow as you go is V -2 H 4, 40, 10, or use what you prefer.
Let's get started
*Remember to add your drop shadow as you go along*

Open a new image 800 x 800, paste element 11, adjust.

Resize 28 to 85%, paste, click inside, paste element 11,
invert, delete.
Resize 56 to 65%, mirror, paste on the bottom left above the frame.
Resize 48 to 75%, paste at the bottom center above the frame.
Resize 1 to 35%, paste on the bottom right.
Resize 33 to 75%, paste above the mask layer at the top, duplicate, 
move down on the right, duplicate, mirror.

Resize tube 1 from the tube pack to 20%, paste at the bottom right.

Resize 70 to 35%, paste below the tube on the left, duplicate, move
to the right.
Resize 60 to 30%, paste at the bottom left below the tube.
Resize 77 to 25%, paste at the bottom right above the tube.
Resize 92 to 50%, paste on the right below the frame.

Resize 105 to 40%, paste on the left below the dog and pumpkins.
Resize 108 to 30%, mirror, paste at the upper right.
Resize 55 to 30%, paste at the upper left.
Resize 32 to 25%, paste at the bottom above the tube.
Resize 84 to 25%, paste at the bottom above the tube.
Resize 41 to 17%, paste at the bottom.
Resize 40 to 25%, paste on the bottom left below the cup.
Resize 128 to 25%, paste at the top on the frame.
Resize 43 to 15%, paste at the bottom.

Add any other elements you would like, resize.
Crop your tag to be sure no shadows or lines are on the edges.
 Then add your copyright and name.
That's it

            Hope you enjoyed doing my tut       

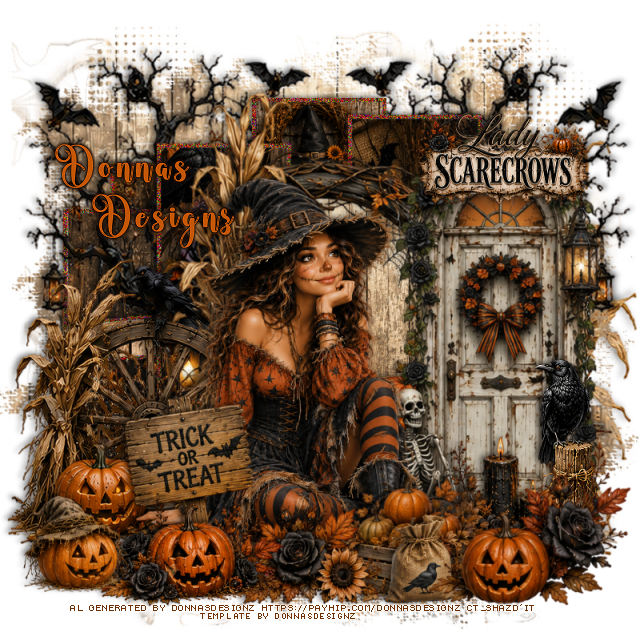
PTU Lady Scarecrows


 This tut was written September 17th, 2026 for those with a basic knowledge of psp. 

I am using the Awesome Al kit/Tubes by Donna Designz
Everything used is included in the kit
Please read the TOU on how to credit your tags

I used PSP2020...but any of them should work.
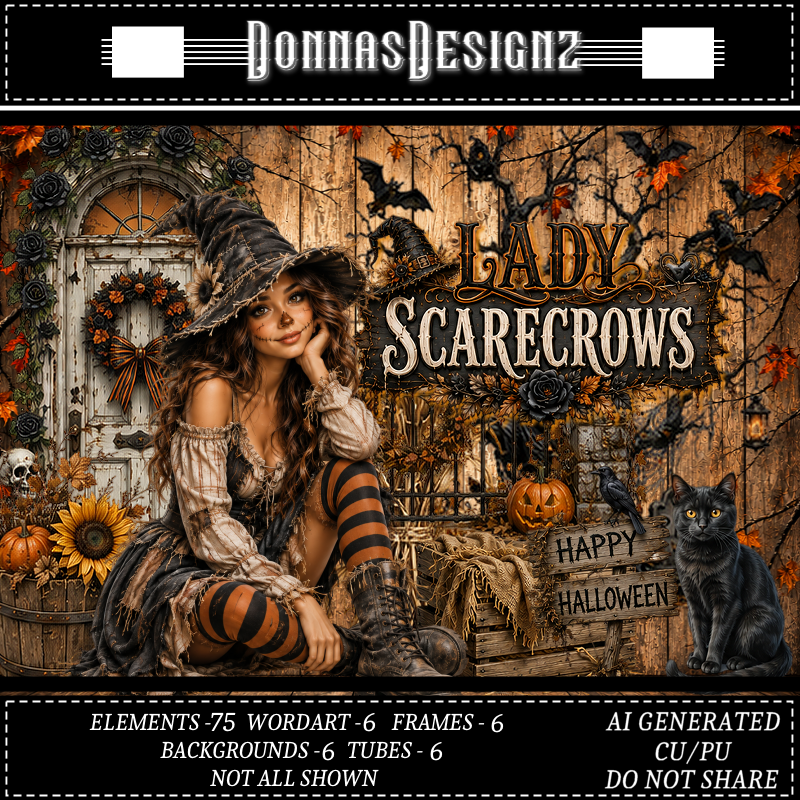
PTU Scrap Lady Scarecrows by Donnas Designz  HERE
Check her store out to see all her other kits and tubes HERE
Donnas Designz Template 695 HERE
Miz Teeques Mask 125 Here
Check the rest of the blog HERE

Font of choice, I used Wingcharm

Drop shadow as you go is V -2 H 4, 50, 10, or use what you prefer.
Let's get started
*Remember to add your drop shadow as you go along*

Open the template, go to Image, resize to 125, all layers checked.
Then Canvas size 800 x 800, delete the credits.

Select Raster 2 layer, click in the gray area with the magic wand, 
paste paper 2, invert, delete.
Click on the white frame area, fill with #7e3812, add noise if you like.

All the dotted layers you can delete, change the colors or just leave as is.

Select Copy of Vector 1, click the gray area with the magic wand, paste 
paper 3, invert, delete.
Click the white frame area, fill with the same color as before, do this on
each of the white frames.

Select Raster 3, click in the gray area, resize paper 2 to 50%, paste,
invert, delete, remember to do the white frame.

Select Raster 6, paste paper 5, invert, delete.

Select Copy of Raster 3, paste paper 1, move where you like, invert, delete, 
do the white frame the same.
Select Copy (2) of Raster 3, click the gray area, paste paper 1, invert, delete,
do the white frame.
Select Raster 4, resize paper 4 to 50%, paste, invert, delete.

Resize frame 2 to 85%, paste above the circle.
Resize tube 3 to 40%, paste above the frame at the bottom.
Paste 67 on the left below the tube.
Resize 72 to 95%, paste on the right below the tube.
Resize 60 to 65%, paste at the bottom above the tube.
Resize 39 to 50%, paste above the flower at the bottom.
Resize 54 to 50%, paste on the left below the pumpkin.
Resize 9 to 85%, paste at the bottom to the right below the flowers.

Resize 41 to 50%, paste on the bottom left.
Paste 3 below the wheel behind the tube on the left, duplicate, move
to the right below the door.
Resize 53 to 50%, mirror, paste by the door.
Resize 28 to 40%, paste at the bottom.
Resize 40 to 90%, paste on the bottom right.
Resize 12 to 55%, paste on the bottom right above the door.
Paste 69 on the left above a couple of the template layers, duplicate, mirror,
move to the upper right below the template layers.

Resize wordart 2 to 40%, paste at the upper right above the door.

Paste paper 4 on the bottom layer, apply your mask.

Add any other elements that you would like, make it your own.
Always readjust your mask and elements how you like them before you
 merge your tag, resize, sharpen.
Crop your tag to be sure no shadows or lines are on the edges.
 Then add your copyright and name.
That's it

Hope you enjoyed doing my tut.