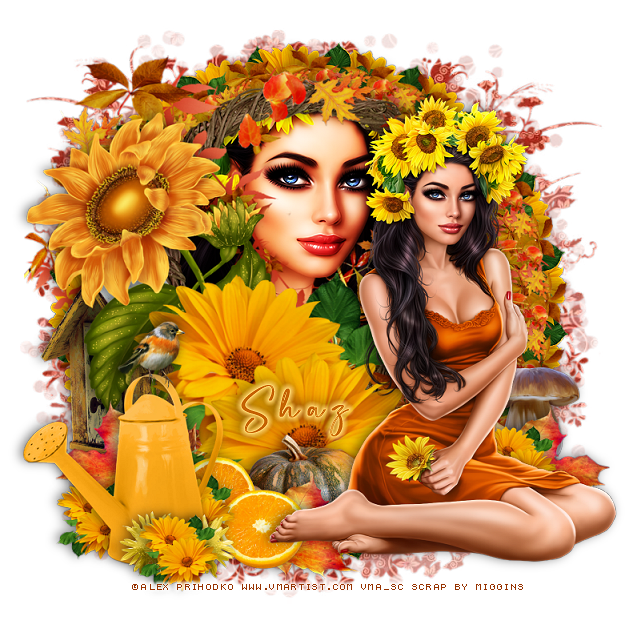

This tut was written September 23rd, 2021 for those with a basic knowledge of psp.
I am using the awesome artwork of Verymany
The tube is "Indian Summer 2"
You need a license to use this tube, do not use without a license.
You can find this tube at Verymany store HERE
Font of choice, I used Leafs
Drop shadow is V -1 H -3, 50, 10, or use what you prefer.
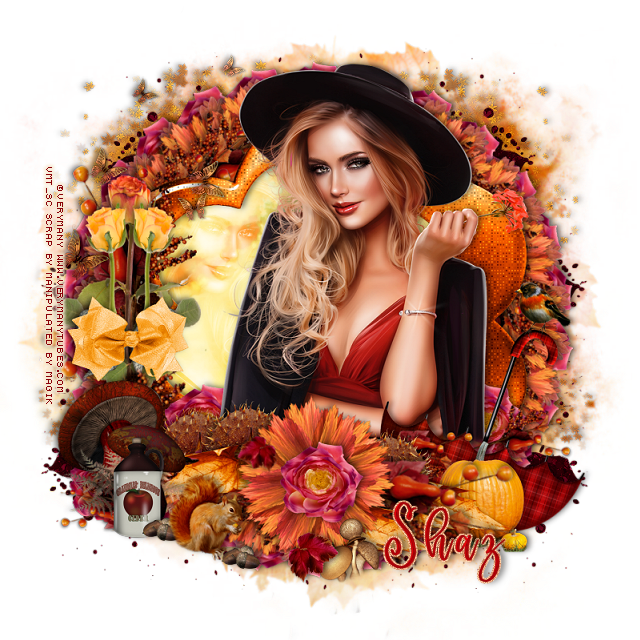
Let's get started
*Remember to add your drop shadow as you go along*
Open a new image 800 x 800, paste paper 3 apply your mask, delete merge group.
Paste frame 4, resize to 85%, click inside with your magic wand, expand by 5, paste
paper 16, move how you want it, invert, delete, select none.
Duplicate the frame, change the blend mode to Multiply, merge down.
Resize flower 3 to 30%, apply Mura Meister Copies-Encircle, first three numbers
change to 26, 68, 68, move to the mask layer.
Resize flower 2 to 45%, apply Mura Meister Copies-Encircle, change the first 3
numbers to 20, 55, 55, move below the paper layer of the frame.
Resize the branch to 45%, free rotate to the left at 90 degrees, apply Mura Meister,
change the first number to 26, move above the flower circle.
Resize leaf 3 to 50%, erase the stem, apply Mura Meister, change the first
three numbers to 32, 59, 59, move below the top two circle layers.
Resize your tube to 65%, paste below the frame, duplicate, move above the frame,
erase the parts outside the frame that you don't want.
Duplicate the tube again, mirror, move below the frame, change the blend
mode to Screen, erase any outside the frame.
Paste the roses on the left above the frame.
Resize the branch to 55%, paste behind the roses at the top, duplicate, move down more.
Rotate the bottom one left 15 degrees.
Duplicate, free rotate to the right at 120 degrees, move to the lower right on the frame.
Resize bow 2 to 35%, paste above the roses to hid the green bow.
Resize flower 2 to 50%, paste at the bottom.
Resize leaf 2 to 50%, paste at the lower right below the branch, duplicate, move back
to the left more and above the branch, duplicate, mirror.
Resize the beech nut shell to 40%, paste on the left below the leaf, duplicate one
and move to the right below the branch layer.
Resize Mushrooms 2 to 75%, paste at the lower left above the bow layer.
Paste the butterfly scatter on the upper left and erase the ones you don't want.
Resize the umbrella to 60%, mirror, flip, move below the other elements on the right.
Resize the bird to 25%, paste on the handle of the umbrella.
Resize the pumpkins to 35%, paste at the bottom above the umbrella.
Resize the squirrel to 30%, paste by the mushrooms.
Resize the acorns to 15%, paste at the bottom by the squirrel, duplicate, move over some.
Resize the cider jug to 30%, paste on the left below the squirrel.
Resize the mushrooms to 30%, paste at the bottom being on the top layer.
Resize leaf 6 to 20%, paste at the bottom, duplicate, resize to 75%, free rotate to the right
at 15 degrees, move up on the large flower.
Resize flower 3 to 30%, paste on the large orange flower, duplicate two or three times,
move below other elements where you like.
Paste the glitter blot above the mask layer at the bottom on one side, duplicate, mirror,
duplicate both and move in more toward the center.
Duplicate both side ones and flip, add more if you like.
Paste tree 2 on the mask layer on one side, duplicate, mirror.
Add any other elements that you would like, make it your own.
Always readjust your mask and elements how you like them before you
merge your tag, resize, sharpen.
Then add your copyright and name.
That's it
Hope you enjoyed doing my tut.