Showing posts with label Keith Garvey. Show all posts

Sunday, July 13, 2025

FTU Chocolate Chip


  This tut was written July 13th, 2025 for those with a basic knowledge of psp.

I am using the awesome tube ©Keith Garvey
The tube is called Cookie
You need a license to use this tube, please do not use without a license
I am not sure where he is selling at this time.

I used PSP2020...but any of them should work.
FTU Al  kit Chocolate Chip by Chelloenix HERE
Check out the rest of the blog HERE
Millie's PSP Madness Template 884 HERE 
Check out the rest of the blog HERE
Mask of choice, I used MizTeeque Mask 70 HERE
Check out the rest of the blog HERE

Font of choice, I used Cookie

Drop shadow is  V-1 H-4 Black, 50, 10, use what you prefer.
Let's get started
*Remember to add your drop shadow as you go along*
 
Open the template, delete the credits, layers 5 and 6 and wordart, resize canvas size
to 800 x 800.
Paste paper 4 on the bottom layer, apply your mask, duplicate, flip.

Merge layer 2 down with layer 1, paste paper 1, invert, delete.
Layer 3, resize paper 6 to 60%, paste, invert, delete.
Delete layer 8.
Select layer 7, resize paper 5 to 50%, paste, invert, delete.

Resize frame 3 to 45%, paste above the circle.
Resize frame 10 to 70%, paste above the large circle.
Resize frame 4 to 75%, paste on the bottom layer.
Resize frame 6 to 70%, paste above the bottom frame.

Paste your tube on the left being on the top layer.

Resize element 11 to 30%, paste on the bottom left above the tube.
Resize element 8 to 30%, paste on the right below the tube.
Resize element 16 to 25%, paste on top of the cookies.
Resize element 9 to 15%, paste at the bottom right above the tube.
Resize element 18 to 25%, paste on the bottom right.
Resize element 6 to 25%, paste at the bottom below the cookies with the milk.
Resize element 13 to 20%, paste at the bottom above the cookie.
Resize element 23 to 25%, paste on the left below the tube.
Resize element 14 to 20%, mirror, paste at the bottom left.
Resize element 2 to 20%, paste below the cookies.

Add any other elements that you would like, make it your own.
Always readjust your mask and elements how you like them before you
 merge your tag, sharpen once.
Crop your tag to make sure no shadows or anything on the edges

 Then add your copyright and name.
That's it

Hope you enjoyed doing my tut.       

Friday, August 30, 2024

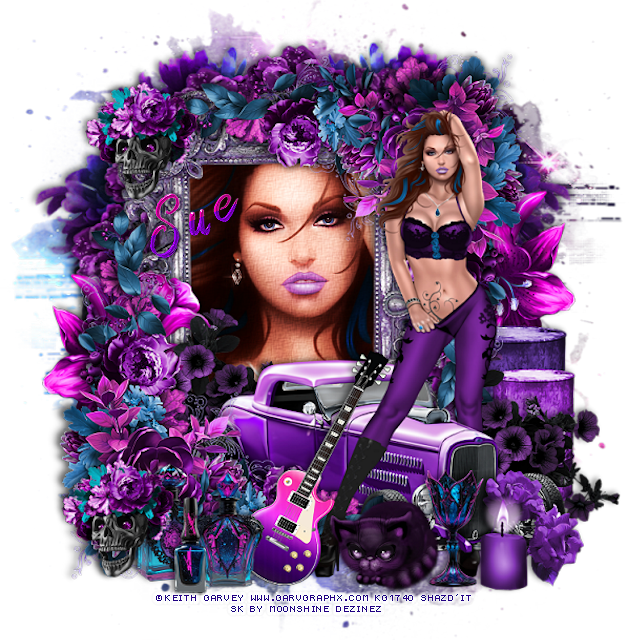
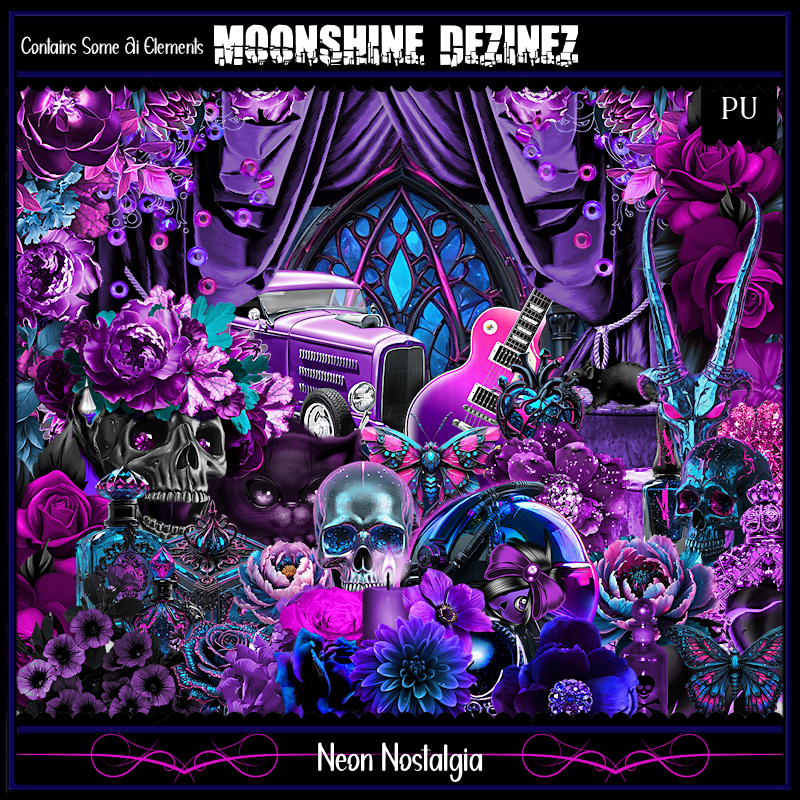
PTU Neon Nostalgia


  This tut was written  August 30th, 2024 for those with a basic knowledge of psp. 

I am using an awesome tube ©Keith Garvey

Tube is called Midnight Colors-Limited
You need a license to use this tube, please do not use without a license
I got mine when he had his own store
Not sure where he is selling at that moment

I use PSP 2020 but any of them should work
PTU Scrap Neon Nostalgia by Moonshine Dezinez  HERE  
You can find all the stores she sells at on her blog.
You can find all Moonshine Dezinez kits  HERE
Mask of choice, I used Vivienne's Digital Tagging Mask 41 HERE
Check out the rest of the blog HERE
Filters
Mura Meister Copies-Encircle

 Font of choice, I used Rockers

Drop shadow as you go is V -2 H -4, 50, 10, or use what you prefer.
Let's get started
*Remember to add your drop shadow as you go along*

Open a new image 800 x 800, paste paper 5, apply your mask.

Resize element 16 to 60%, paste, click inside with the magic wand, 
paste paper 2, invert, delete, keep selected, paste the close up tube, delete,
select none.
Duplicate the tube, go to Adjust, blur, gaussian blur, number on 10,
change the blend mode to Overlay.
Go to Effects, Texture Effects and apply 
Canvas fine
2, 4, 2, 0
315, 50, 30, color on white, merge down.
Resize element 28 to 20%, apply Mura Meister Copies-Encircle, first
3 numbers on 14, 50, 50, move below the frame.
Resize element 44 to 55, paste on the frame on the bottom left, duplicate,
mirror, flip, move on the upper right.
Paste element 57 on the bottom layer above the mask on the left, duplicate, mirror.
Resize element 33 to 40%, paste on the bottom left below the flowers,
duplicate, move to the right.
Resize element 53 to 65%, mirror, paste at the bottom below the flowers on the left.

Resize the tube to 75%, paste below the car, duplicate, move above the car,
erase one of the legs.

Resize element 51 to 40%, paste at the bottom above the car.
Resize element 54 to 60%, paste on the right below the flowers.
Resize element 25 to 30%, paste on the right above the frame behind the tube, 
duplicate, mirror, move down a little.
Resize element 48 to 20%, paste at the bottom above the guitar.
Resize element 15 and 24 to 20%, paste at the bottom above the guitar on the left.
Resize element 12 to 15%, paste at the bottom.
Resize element 21 to 20%, paste at the bottom by the cat.
Resize element 3 to 25%, paste at the bottom right below the glass.
Resize element 70 to 25%, paste at the bottom right.
Resize element 43 to 20%, paste at the bottom left, duplicate, move to the
top on the frame.

Add any other elements that you would like, make it your own.
Always readjust your mask and elements how you like them before you
 merge your tag, resize, sharpen.

Crop your tag to be sure no shadows or lines are on the edges.
 Then add your copyright and name.
That's it

Hope you enjoyed doing my tut         

Thursday, January 27, 2022

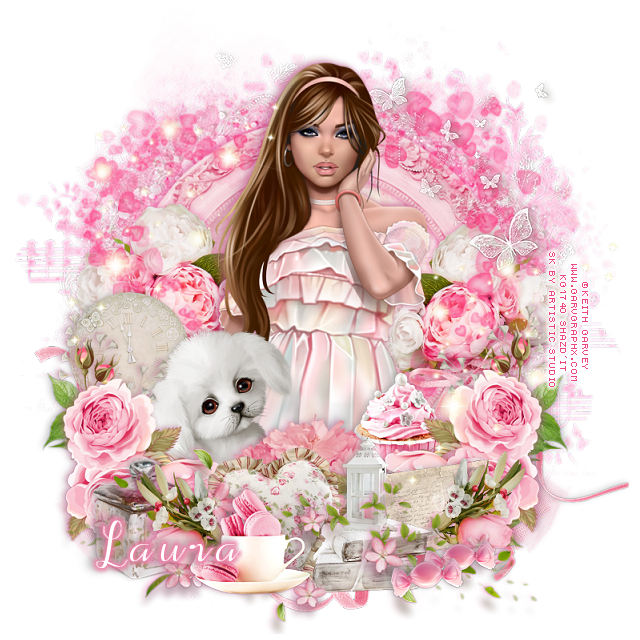
PTU Sweet Valentine


 This tut was written January 26th, 2022  for those with a basic knowledge of psp.

I am using the awesome artwork by  © Keith Garvey
The tube is "322-1 "
I bought mine when he still had his store but it is closed now.
The tube was called Pretty Girl then
You need a license to use this tube, do not use without a license.
You can find this tube at CDO store HERE 

I used PSP2020...but any of them should work.
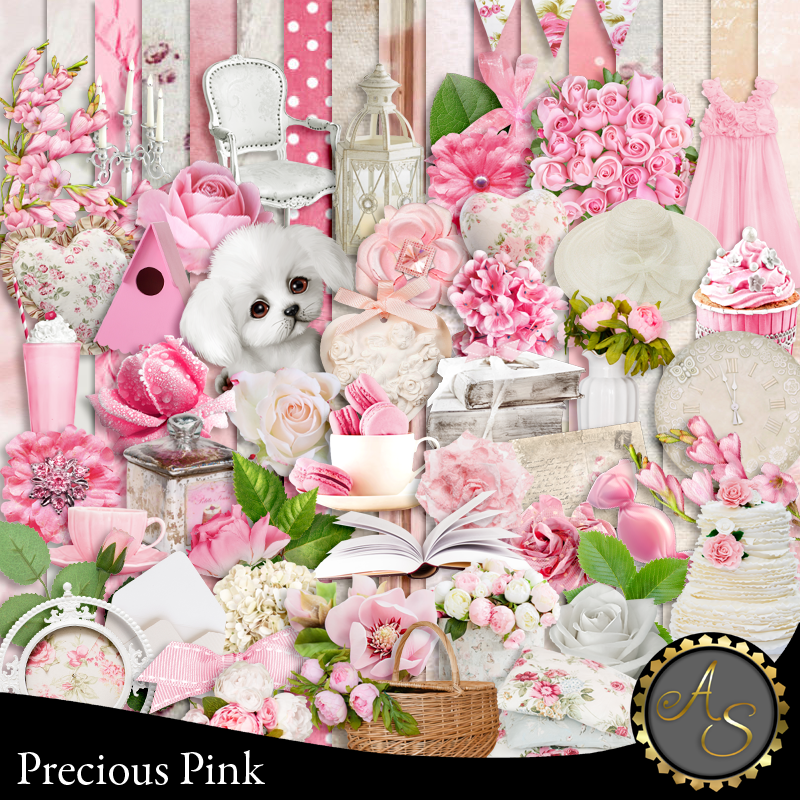
PTU Precious Pink by Artistic Studio HERE or HERE
Mask of choice, I used DD_Valentine 21_1 HERE
Check out the rest of the blog HERE

Font of choice, I used Alif Script

Drop shadow is V-1 H-4 50, 10, color a medium gray or use what you prefer.
Be sure to watch for shadows at the edges of your tag and erase as you go along or
crop tag.

Let's get started
*Remember to add your drop shadow as you go along*

Open a new image 800 x 800 or a size you prefer.
Resize paper 20 to 90%, paste, resize your mask to 90%, apply the mask,
 delete, merge group.

Paste element 135, free rotate 90 degrees left or right.
Resize element 140 to 75%, paste, click inside with your magic wand, expand
by 5, paste paper 3, invert, delete, select none.
Paste element 123 above the frame and up a little.

Resize your tube to 75%, paste above the frame.
I used the middle tube for this.

Resize element 1 to 40%, paste at the lower left above the tube.
Resize element 52 to 40%, paste behind the dog.
Resize element 89 to 40%, paste on the frame on the right below the hearts
layer and move up a little, duplicate, mirror.
Resize element 97 to 50%, paste at the lower left above the dog, duplicate, mirror.
Resize element 19 to 25%, paste at the bottom below the flowers.

Resize element 92 to 40%, paste at the bottom below the flowers.
Resize element 10 to 50%, paste at the bottom left below the tube layer, duplicate,
mirror.
Paste element 21 at the bottom on the flowers.
Resize element 17 to 25%, paste at the bottom being on the top layer.

Resize element 91 to 25%, paste below the cup to the left, duplicate, mirror.
Resize element 114 to 40%, paste on the left below the flowers, duplicate, mirror.
Resize element 11 to 25%, paste at the lower left below the smaller flower.
Resize element 12 to 30%, paste below the cup and flowers at the bottom.
Resize element 6 to 25%, paste at the bottom above the pillow.

Flip element 59, paste at the bottom below the flowers how you like.
Resize element 61 to 50%, paste below the top flowers on the right.
Resize element 8 to 15%, paste at the lower right, duplicate, move over a little.
Resize element 24 to 20%, paste on the books.
Resize element 14 to 25%, paste on the right below the book layer.
Resize element 127 to 75%, paste on the left, being on the top layer,
duplicate, mirror.
Resize element 15 to 20%, mirror, paste at the upper right.
Resize element 125 to 75%, mirror, paste at the upper right below the tube.

Add any other elements you would like, make it your own.
Always remember to adjust the elements before merging to get them like you like.

Once happy with your tag, close off any background, crop your tag to make
sure there are no stray edges, merge visible, resize first.
Add your copyrights and name.

That's it

Hope you enjoyed doing my tut.    
Wednesday, December 8, 2021

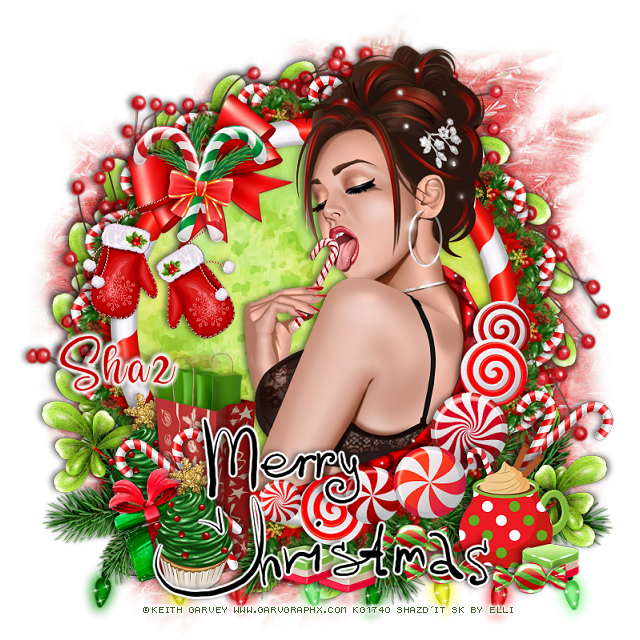
FTU Candy Cane


This tut was written December 8th, 2021 for those with a basic knowledge of psp. 

I am using the awesome artwork of Keith Garvey
The tube is "Candy Cane"
I bought mine when he still had his store
You need a license to use this tube, do not use without a license.
You can find his art now at CDO store   HERE

I used PSP2020...but any of them should work.
FTU kit For Christmas by elli at PFD HERE
MizTeeques mask 40 HERE
Check out the rest of the Blog HERE
Filter
Mura Meister Copies-Encircle

Font of choice, I used Blantick Script

Drop shadow is V -1 H -4, 50, 10, or use what you prefer.
Let's get started
*Remember to add your drop shadow as you go along*

Open a new image 800 x 800, paste paper 3, delete, merge group.

Resize element 8 to 75%, paste, click inside with the magic wand, expand by 5,
paste paper 4, invert, delete, select none.
Duplicate the paper, change the blend mode to Screen.
Resize element 34 to 60%, apply Mura Meister Copies-Encircle, first three numbers
at 18, 42, 42, move below the paper layer of the frame.

Resize element 49 to 92%, paste on the mask layer.
Resize element 41 to 50%, apply Mura Meister Copies-Encircle, first 3 numbers
22, 60, 64

Resize element 25 to 40%, paste on the bow on the frame.
Resize element 43 to 50%, paste below the candy canes.

Paste your tube below the frame where you like, duplicate, move above the frame,
erasing any parts outside the frame.

Paste element 17 at the bottom right above the mask, duplicate, mirror.
Resize element 18 to 45%, paste on the lower left above the frame.
Resize element 16 to 30%, paste at the lower left by the bag, duplicate, move behind 
the bag to the left.

Resize element 56 to 50%, paste at the lower right.
Resize element 60 to 50%, paste below the top cupcake, duplicate, mirror, move
behind the cup.
Duplicate the one above the bag, apply Mua Meister Copies-Encircle, the first 
3 numbers on 20, 55, 55, move to the mask layer.
Resize element 50 to 85%, apply a fat white gradient glow, paste at the bottom being on
the top layer.

Resize element 23 to 25%, paste by the cup, duplicate a couple more times, move
below the wordart.
Resize element 15 to 30%, paste at the bottom below the wordart, duplicate, move
over a little, duplicate again, move over by the cup.
Resize element 67 to 30%, paste on the left below the top cupcake.

Resize element 41 to 50%, paste on the left below the second cupcake, duplicate,
mirror, move below the cup on the right.

Resize element 54 to 85%, flip, paste at the bottom above the mask layer.

Add any other elements that you would like, make it your own.
Always readjust your mask and elements how you like them before you
 merge your tag, resize, sharpen.

Crop your tag to be sure no shadows or lines are on the edges.
 Then add your copyright and name.
That's it

Hope you enjoyed doing my tut.  
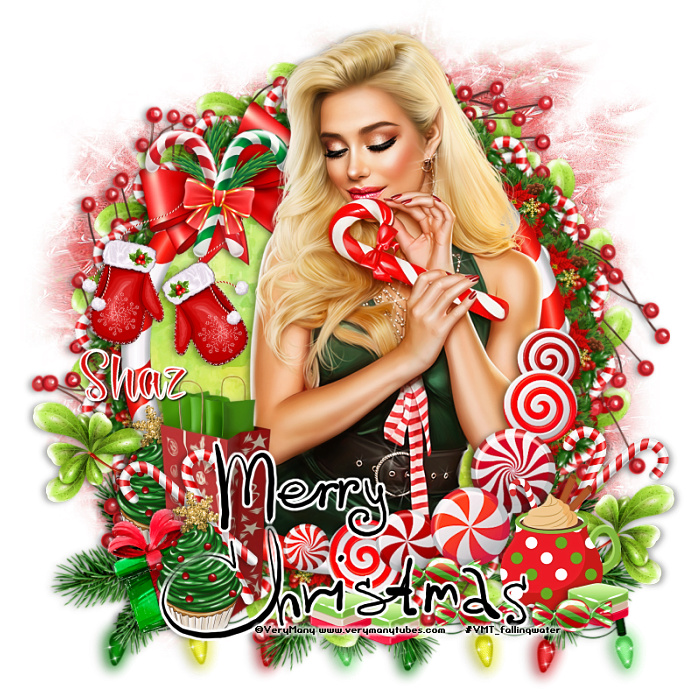
Here is a tag by Lavada

Love it, thank you for trying my tut


Friday, November 12, 2021

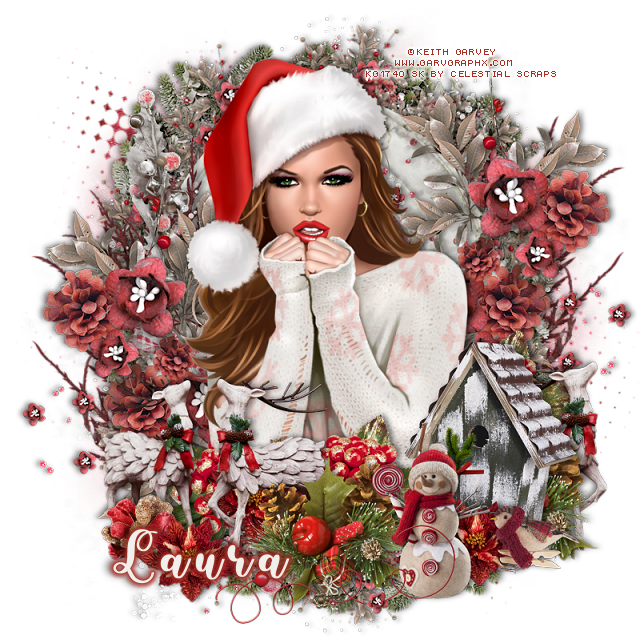
PTU Winter Rust


 This tut was written November 12th, 2021  for those with a basic knowledge of psp.

I am using the awesome artwork by  © Keith Garvey
The tube is "Comfy Christmas Sweater "
It is 213-1 at CDO
I bought mine when he still had his store.
You need a license to use this tube, do not use without a license.
You can find these tubes at CDO store HERE 

I used PSP2020...but any of them should work.
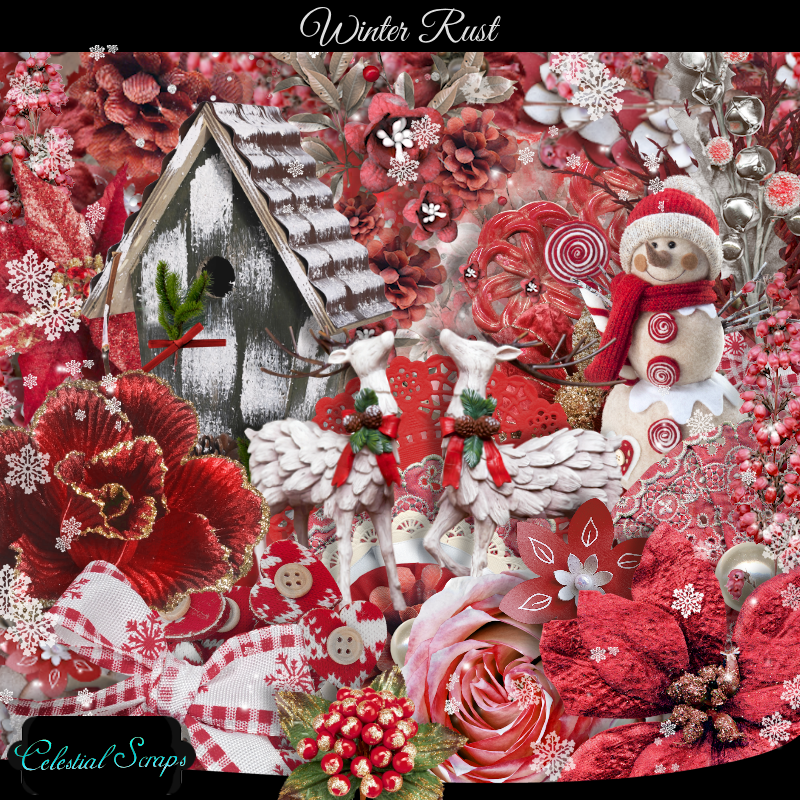
PTU Winter Rust by Celestial Scraps  HERE or HERE
Mask of choice, I used DFly Mask 0030  HERE
Scroll down a bit
Check out the rest of the blog  HERE

Font of choice,  I used Sunday Christmas

Drop shadow is V-1 H-4 Black, 50, 10, use what you prefer.
Be sure to watch for shadows at the edges of your tag and erase as you go along or
crop tag.

Let's get started
*Remember to add your drop shadow as you go along*

Open a new image 800 x 800 or a size you prefer.
Paste paper 11, apply your mask, delete, merge group.
Resize element 31 to 75%, paste, click inside with your magic wand, expand by
5, paste paper 26, invert, delete, select none, move below the frame.

Paste element 19 below the paper layer of the frame at the top, duplicate, mirror,
flip, move to the bottom.
Paste element 43, move to the top, duplicate, flip, move to the bottom.

Paste your middle tube on top of the frame, resize if you like.
I resized mine to 90%, you can erase some of the bottom but the elements should
cover all that up.

Resize element 22 to 50%, paste on the lower right above the tube.
Paste element 104 on the frame on the right, duplicate, mirror, move down a bit.
Resize element 12 to 40%, paste at the bottom below the birdhouse, duplicate, 
move to the left and above the birdhouse.
Resize element 18 to 60%, paste at the lower left above the tube layer.
Take your free hand tool, draw around the larger deer, copy, mirror, paste on the
right below the pinecone element.

Resize element 11 to 40%, paste behind the deer, duplicate, move to the right
behind the birdhouse, below the tube layer.
Resize element 21 to 35%, paste at the bottom being on the top layer.
Resize element 15 to 25%, paste behind the snowman, duplicate, move by the deer and
behind them.
Resize element 96 to 75%, paste on the mask layer on the left, duplicate, mirror,
adjust to your liking.
Resize element 119 to 75%, paste on the left on the frame layer.
Resize element 17 to 20%, mirror, paste at the lower right.
Resize element 84 to 50%, paste at the bottom above the snowman.
Resize element 2 to 20%, paste at the lover left above the deer.

Add any other elements you would like, make it your own.
Always remember to adjust the elements before merging to get them like you like.

Once happy with your tag, close off any background, crop your tag to make
sure there are no stray edges, merge visible, resize first.
Add your copyrights and name.

That's it

Hope you enjoyed doing my tut.