
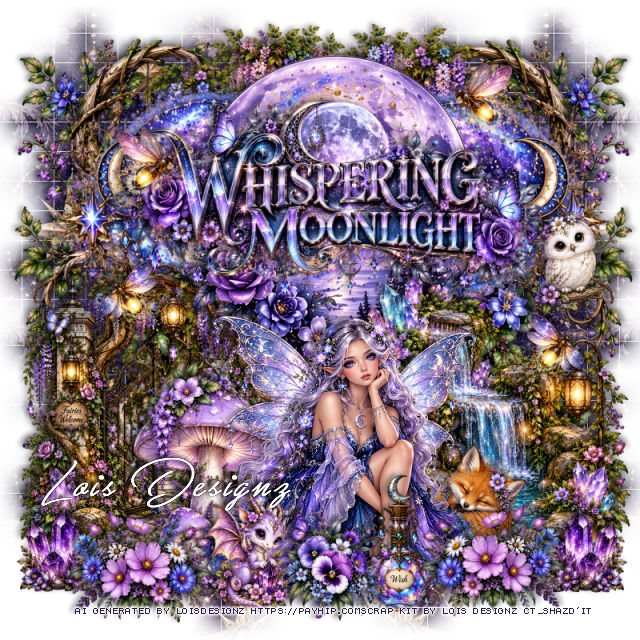
This tut was written October 4th, 2026 for those with a basic knowledge of psp.
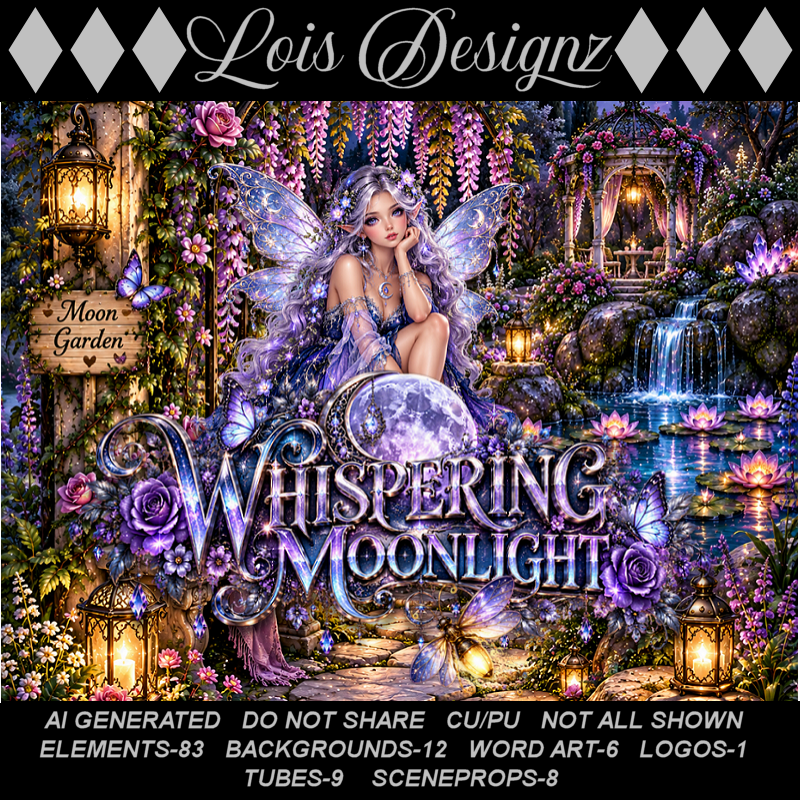
I am using the Awesome Al kit/Tubes by Lois Designz
Everything used is included in the kit
Please read the TOU on how to credit your tags
Drop shadow as you go is V -2 H 4, 40, 10, or use what you prefer.
Let's get started
*Remember to add your drop shadow as you go along*
Open a new image 800 x 800, paste paper 8, apply your mask, move
to the left, duplicate, mirror, duplicate both move down.
Resize wordart 6 to 30%, paste at the top.
Paste 51 below the wordart.
Paste 23 on the moon.
Paste element 40 below the moon on the left, duplicate, mirror.
Resize scene prop 8 to 40%, paste at the top below the glitter swirls.
Resize scene prop 5 to 30%, paste on the bottom left.
Resize scene prop 4 to 30%, paste on the bottom right.
Paste 61 on the left below the tree, duplicate, mirror.
Resize tube 6 to 28%, paste at the bottom.
Resize 79 to 30%, paste at the bottom left below the tube.
Resize 11 to 30%, paste on the right on the branch.
Resize 4 to 35%, paste at the bottom above the tube.
Resize 73 to 35%, paste at the bottom left, duplicate, mirror.
Resize 37 to 35%, paste on the bottom right below the flower,
duplicate, mirror, move below the flower on the left.
Resize 18 to 30%, paste on the left by the light, duplicate, mirror.
Resize 20 to 35%, paste on the upper left, duplicate, mirror.
Resize 14 to 35%, paste on the right below the tube.
Resize 32 to 35%, paste at the bottom above the tube.
Resize 72 to 30%, paste at the bottom by the dragon.
Add any other elements that you would like, make it your own.
Always readjust your mask and elements how you like them before you
merge your tag, resize, sharpen.
Crop your tag to be sure no shadows or lines are on the edges.
Then add your copyright and name.
That's it
Hope you enjoyed doing my tut.

No comments:
Post a Comment