

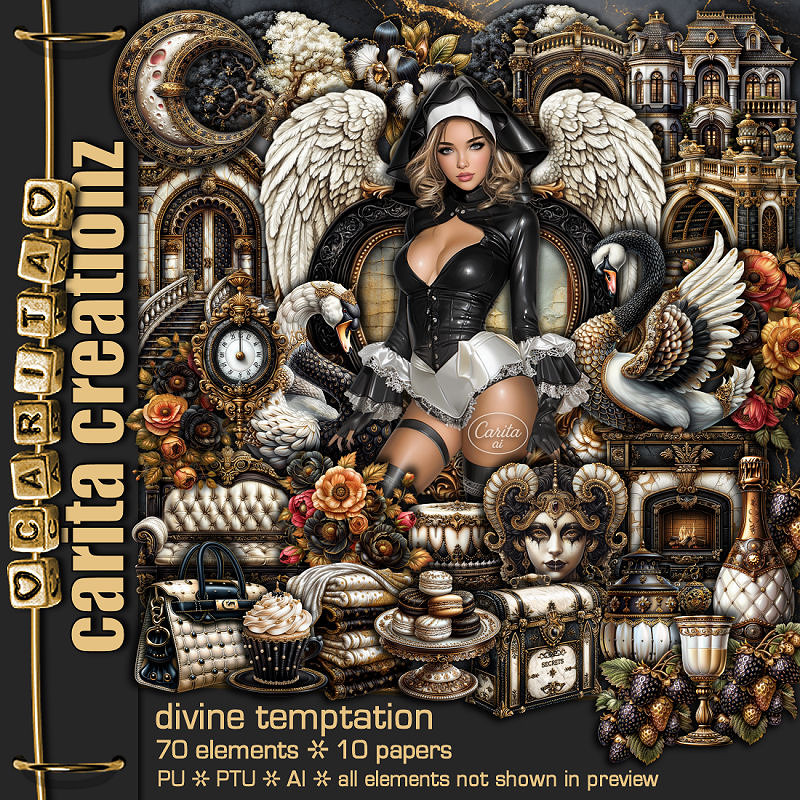
This tut was written October 16th, 2026 for those with a basic knowledge of psp.
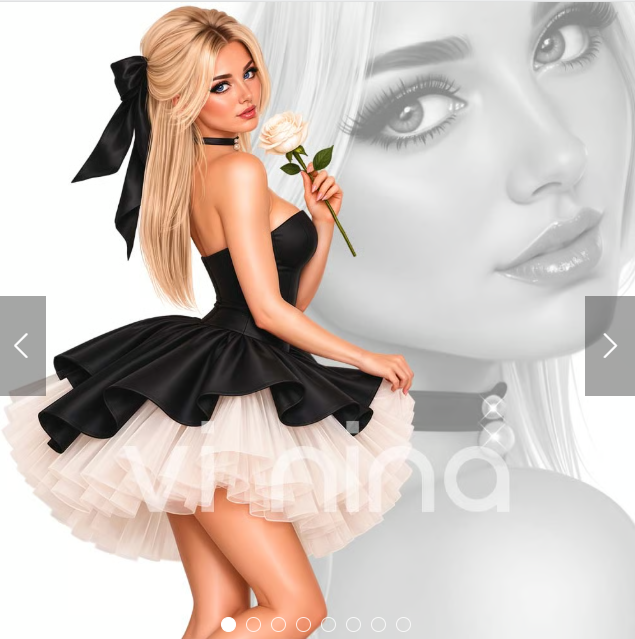
I am using the Beautiful tube ©Vi Nina
The tube is called Ivory Romance
Comes in several colors
The tube is "NOT" included
You need a license to use this tube, please do not use without a license
You can find the tube at Vi Nina Store HERE
Drop shadow as you go is V -2 H 4, 50, 10, or use what you prefer.
Let's get started
*Remember to add your drop shadow as you go along*
Open a new image 800 x 800, paste paper 5 apply your mask,
duplicate, merge down.
Resize 37 to 90%, paste.
Resize 60 to 75%, paste.
Resize the tube to 40%, paste center.
Resize 42 to 45%, paste on the bottom left below the tube.
Resize 20 to 42%, paste on the bottom right below the tube.
Resize 36 to 40%, paste on the upper right on the frame, duplicate,
mirror.
Resize 26 to 40%, paste on the left below the chair, duplicate,
mirror, move above the fireplace.
Resize 5 to 40%, paste on the right below the flower.
Resize 38 to 25%, paste below the tube on the bottom left.
Resize 35 to 25%, paste on the bottom left.
Resize 17 to 22%, paste at the bottom above the tube.
Resize 44 to 20%, paste at the bottom left.
Resize 32 to 15%, paste at the bottom.
Resize 34 to 15%, paste at the bottom by the purse, duplicate, move over.
Resize 29 to 25%, paste in the chair, duplicate, move down above the tube.
Resize 43 to 23%, paste at the bottom right above the fireplace.
Resize 65 to 20%, paste on the right below the shoes.
Paste 24 on the bottom layer at the upper left, duplicate, mirror.
Resize 67 to 10%, paste on top of the fireplace.
Add any other elements that you would like, make it your own.
Always readjust your mask and elements how you like them before you
merge your tag, resize, sharpen.
Crop your tag to be sure no shadows or lines are on the edges.
Then add your copyright and name.
That's it
Hope you enjoyed doing my tut.
Tag for Carita


No comments:
Post a Comment