Showing posts with label Luscious Ladee. Show all posts

Sunday, July 26, 2026

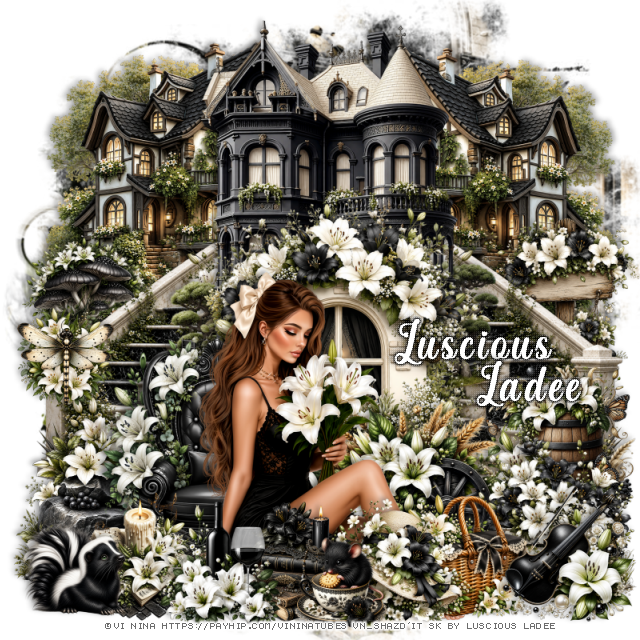
PTU Seductive Shade


  This tut was written July 26th, 2026 for those with a basic knowledge of psp. 

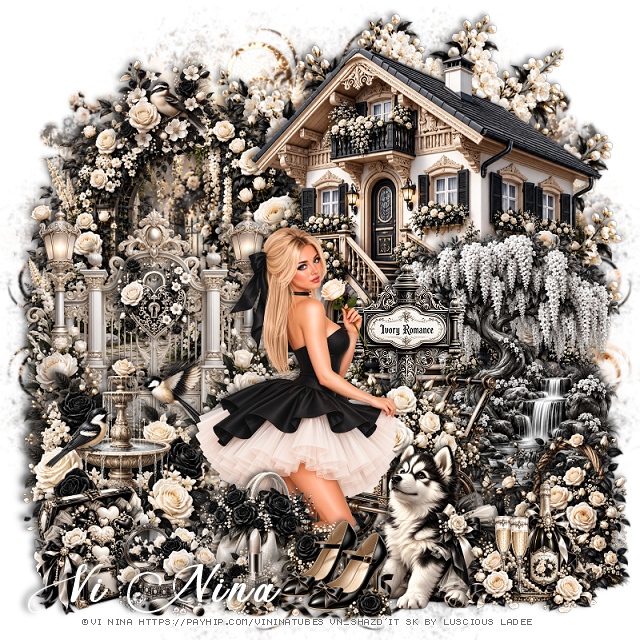
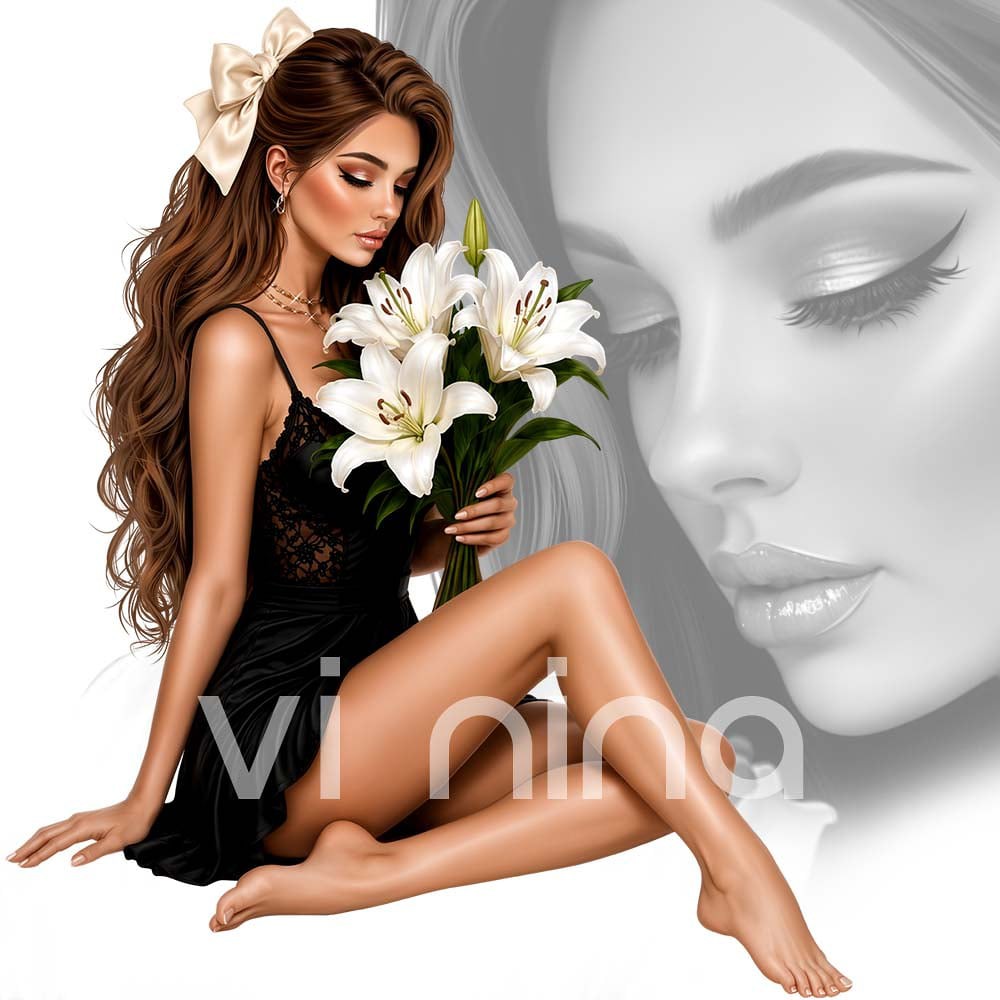
I am using the Beautiful tube ©Vi Nina
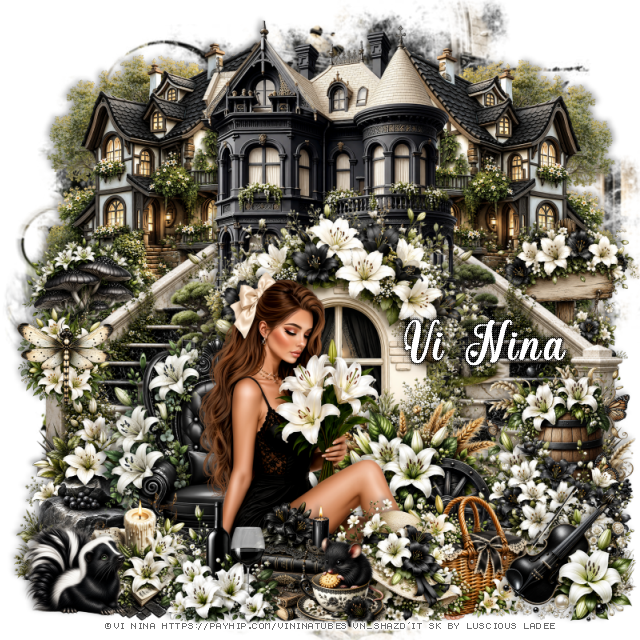
The tube is called Morgana Shade
The tube is "NOT" included
You need a license to use this tube, please do not use without a license
You can find the tube at Vi Nina Store HERE

I used PSP2020...but any of them should work.
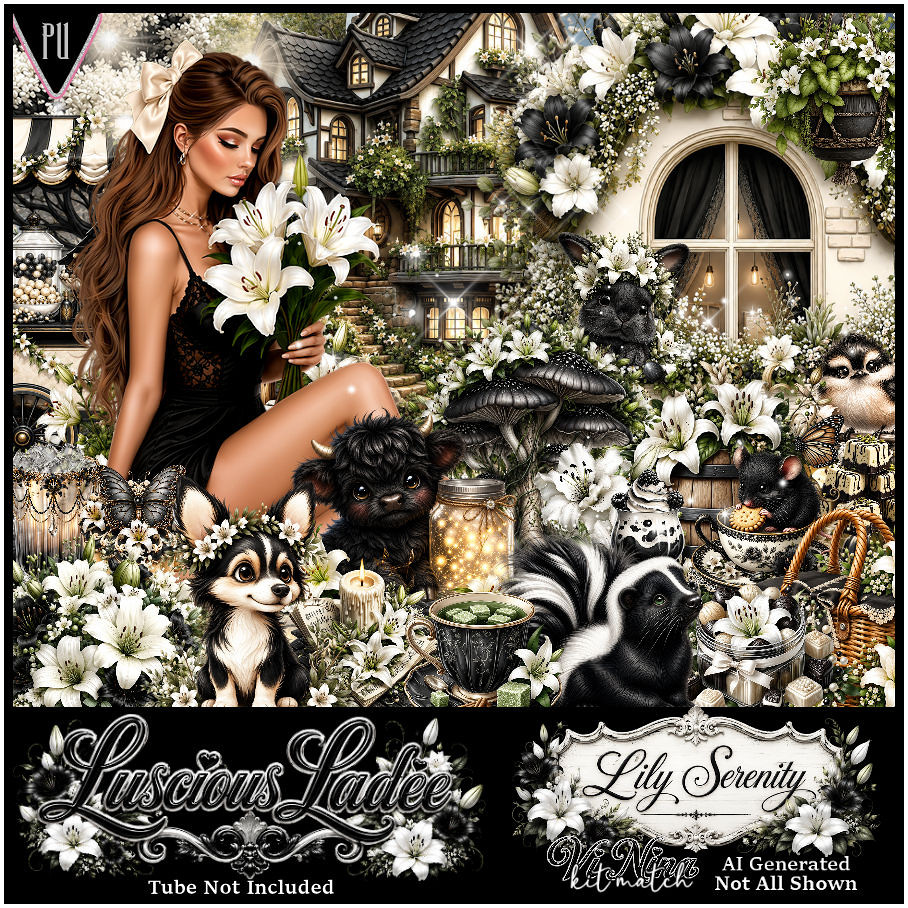
PTU Scrap Seductive Shade by Luscious Ladee  HERE
Check her store out to see all her other kits and tubes HERE

Font of choice, I used Perfecto Calligraphy

Drop shadow as you go is V -2 H 4, 50, 10, or use what you prefer.
Let's get started
*Remember to add your drop shadow as you go along*

Open a new image 800 x 800, resize mask 5 to 75%, paste.

Resize 1 to 60%, paste.
Resize 4 to 40%, paste on the bottom right below the window, duplicate, mirror.
Resize 5 to 50%, paste at the top below the window.
Resize 16 to 40%, paste at the bottom of the window.
Resize 2 to 60%, paste on the upper left above the mask, duplicate, mirror.

Resize the tube to 30%, paste at the bottom right.

Resize 15 to 25%, paste at the bottom right above the tube.
Resize 52 and 55 to 20%, paste at the bottom right.
Resize 24 to 15%, paste at the bottom.
Resize 80 and 81 to 20%, paste at the bottom below the shoes.
Resize 56 to 25%, paste on the bottom above the sofa to the left.
Resize 41 to 15%, paste on the sofa.

Resize 26 to 15%, paste at the bottom above the books.
Resize 21 to 20%, paste at the bottom left.
Resize 17 to 20%, paste on the left below the sofa.
Resize 14 to 15%, paste at the bottom by the books.
Resize 79 to 20%, paste on the right below the tube.
Resize 47 to 15%, paste at the bottom left, duplicate, mirror.
Paste sparkle 6 on the window.
Resize wordart 3 to 50%, paste at the top.

Add any other elements that you would like, make it your own.
Always readjust your mask and elements how you like them before you
 merge your tag, resize, sharpen.
Crop your tag to be sure no shadows or lines are on the edges.
 Then add your copyright and name.
That's it

Hope you enjoyed doing my tut.     

Tag for Vi Nina  

PTU Fluttering Darkness


 This tut was written July 26th, 2026,  for those with a basic knowledge of psp. 

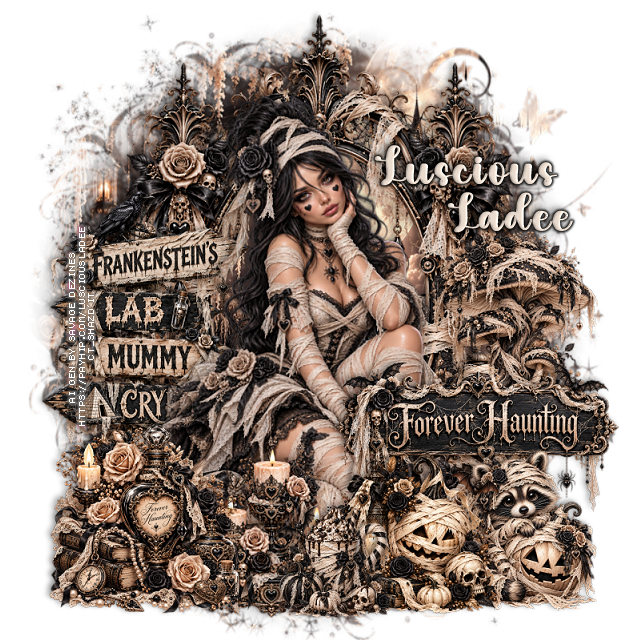
Awesome Al kit and tubes by Luscious Ladee
Everything is included in the kit
Read the TOU on how to credit tags

I used PSP2020...but any of them should work.
PTU Scrap Fluttering Darkness by Luscious Ladee  HERE HERE HERE 
Kit comes with 130 elements, 7 masks, 10 frames, 10 Sparkles, 20 Profile papers,
5 Al tubes, 20 Timeline papers and 4 Wordart
Check out the rest of her store  HERE
I made a FB TL and Ava but no tut for this part.

Font of Choice, I used Northwood High

 Drop shadow as you go is V -2 H 4, 50, 10, or use what you prefer.
Let's get started
*Remember to add your drop shadow as you go along*

Open a new image 800 x 800, apply mask 3, resize to fit your tag.

Resize 6 to 75%, paste at the top to the left a little.
Resize 3 to 65%, paste below the tree on the upper right, duplicate,
mirror, duplicate again, mirror, move above the tree at the bottom.
Resize 7 to 40%, paste on the bottom left below the tree.
Resize 14 to 35%, paste at the upper right below the house.

Resize tube 1 to 30%, paste at the bottom right above the house.

Resize 11 to 35%, paste on the right below the tube.
Resize wordart 1 to 30%, paste on the bottom right above the bottles.
Resize wordart 4 to 50%, paste at the top, change the blend mode to Hard Light.
Resize 43 to 15%, paste at the bottom right above the tube.
Resize 36 to 25%, mirror, paste at the bottom left.
Resize 72 to 15%, paste at the bottom above the bag.
Resize 67 to 15%, paste at the bottom above the tube.
Resize 83 to 15%, paste at the bottom by the foot of the tube.

Resize 26 to 20%, paste below the tube on the left.
Resize 46 and 59 to 15%, paste at the bottom left.
Resize 93 to 20%, paste on the house by the tube, draw around the mirror part,
duplicate the tube move to the mirror, invert, delete, change the blend mode to
Luminance(L)
Resize 75 to 12%, paste at the bottom.
Resize 25 to 15%, mirror, paste at the bottom right.
Resize 42 to 15%, paste on the right above the bottles, duplicate, mirror,
move up on the left.

Add any other elements that you would like, make it your own.
Always readjust your mask and elements how you like them before you
 merge your tag, resize, sharpen.
Crop your tag to be sure no shadows or lines are on the edges.
 Then add your copyright and name.
That's it

Hope you enjoyed doing my tut.    

Friday, July 24, 2026

PTU Wild Tropics


This tut was written July 24th, 2026,  for those with a basic knowledge of psp. 

Awesome Al kit and tubes by Luscious Ladee
Everything is included in the kit
Read the TOU on how to credit tags

I used PSP2020...but any of them should work.
PTU Scrap Wild Tropics by Luscious Ladee  HERE HERE HERE 
Kit comes with 75 elements, 5 masks, 6 frames, 10 Sparkles, 10 Profile papers,
4 Al tubes, 10 Timeline papers and 4 Wordart
Check out the rest of her store  HERE
I made a FB TL and Ava but no tut for this part.

Font of Choice, I used Ocean

 Drop shadow as you go is V -2 H 4, 50, 10, or use what you prefer.
Let's get started
*Remember to add your drop shadow as you go along*

Open a new image 800 x 800, resize mask 5 to 90%, paste.

Resize tube 1 to 30%, paste at the bottom.
Resize 3 to 60%, paste at the top.
Resize 9 to 40%, paste on the bottom right below the tube.
Resize 16 to 50%, paste on the bottom left below the hut, duplicate, mirror.
Resize 6 to 50%, paste at the upper left on the bottom layer.
Resize 15 to 40%, paste on the upper right below the hut.

Resize 4 to 50%, paste below the tube on the left.
Resize 30 to 25%, paste at the bottom left above the tube.
Resize 19 to 20%, paste at the bottom left below the guitar.
Resize 46 to 25%, paste at the bottom above the guitar.
Resize 36 to 20%, paste at the bottom by the car.
Resize 40 to 15%, paste at the bottom left.
Resize 31 to 40%, paste below the tube and car on the right.
Resize 44 to 23%, paste on the bottom right above the car.
Resize 65 to 17%, paste at the bottom to the right.

Resize 54 to 12%, paste at the bottom by the guitar.
Resize 58 to 15%, paste on the bottom left.
Paste sparkle 10 on the left, duplicate, mirror.

Add any other elements that you would like, make it your own.
Always readjust your mask and elements how you like them before you
 merge your tag, resize, sharpen.
Crop your tag to be sure no shadows or lines are on the edges.
 Then add your copyright and name.
That's it

Hope you enjoyed doing my tut.    

Monday, August 25, 2025

FTU Swan's Sunset Blog Train


  This tut was written August 25th, 2025 for those with a basic knowledge of psp. 

I am using a Beautiful Al kit by Luscious Ladee
It is part of the P4S Blog train
Read the TOU on how to credit your tags

I used PSP2020...but any of them should work.
FTU Scrap Blog Train Swans Sunset by Luscious Ladee HERE 
Luscious Ladee is the second one
Check out the rest of SD blog HERE
Mask of choice, I used MizTeeques Mask 70 HERE
Check out the rest of the blog HERE

Font of choice, I used The Star in the Midnight

Drop shadow as you go is V -2 H 4, 40, 10, or use what you prefer.
Let's get started
*Remember to add your drop shadow as you go along*

Open a new image 800 x 800, paste paper 1, apply your mask,
move to the left, duplicate, mirror.

Resize element 8 to 75%, paste on the left.
Resize element 10 to 50%, paste on the right below the flowers.
Resize element 7 to 50%, paste on the right below the flowers,
duplicate, mirror.
Resize element 2 to 35%, paste at the top on the flowers.
Resize element 1 to 50%, paste at the bottom.
Resize element 4 to 40%, paste on the bottom left above the lady.
Resize element 5 to 40%, paste on the right below the lady.

Resize element 19 to 40%, paste at the bottom above the swan.
Resize element 13 and 18 to 25%, paste at the bottom right.
Resize element 14 to 20%, paste at the bottom left.
Resize element 6 to 15%, paste at the upper left on the sign.

Add any other elements you would like, resize.
Crop your tag to be sure no shadows or lines are on the edges.
 Then add your copyright and name.
That's it

Hope you enjoyed doing my tut     

Friday, July 18, 2025

FTU P4SSeashellSplash


 This tut was written July 18th, 2025 for those with a basic knowledge of psp.

I am using the Ai kit Seashell Splash it is part of
P4SSeashellSplash Blog Train
Everything used is included in the kit
Read their TOU on how to credit your tags.

I used PSP2020...but any of them should work.
FTU Al kit  by Luscious Ladee on 
P4SSeashellSplash Blog Train HERE
Check out her store  HERE
Mask of choice, I used RD Mask 116_4 HERE
Check out the rest of the blog HERE

Font of choice, I used Sea Balance

Drop shadow is  V-1 H-4 Black, 40, 10, use what you prefer.
Let's get started
*Remember to add your drop shadow as you go along*
 
Open a new image, 800 x 800, paste the paper, apply your mask.

Open your Ellipse tool, open paper 1, close off the background color,
up on the tool bar of psp, change the width to whatever you prefer, I used 45,
draw out a circle.
Go to Effects, 3D Effects, Inner Bevel with these settings
Bevel shape 4, width 30
3, 4, 30, 20
0, 35, 40, 
Color #fff4e5
Click inside, resize paper 1 to 65%, paste, move how you like, invert, delete.
Resize element 3 to 70%, paste on the left above the frame, duplicate, move 
below the frame on the right.

Resize the tube to 60%, paste to the right.

Resize element 14 to 20%, paste at the bottom right, duplicate, mirror.
Resize element 4 to 25%, paste at the bottom right.
Resize element 13 to 35%, paste at the bottom left below the flowers.
Resize element 10 to 20%, paste at the bottom left below the flower.
Resize element 6 to 25%, paste at the bottom left, duplicate, move up on the right,
on the frame.
Resize element 12 to 25%, paste at the bottom.
Resize element 11 to 20%, paste at the bottom below the lantern.
Resize element 5 to 30%, paste at the upper left on the palm.

Add any other elements that you would like, make it your own.
Always readjust your mask and elements how you like them before you
 merge your tag, sharpen once.
Crop your tag to make sure no shadows or anything on the edges

 Then add your copyright and name.
That's it
Hope you enjoyed doing my tut.   

Thursday, July 17, 2025

FTU Magickal Dreamers Blog Train Southwest Summer

 This tut was written July 17th, 2025 for those with a basic knowledge of psp.

I am using the Ai kit Southwest Summer it is part of
Magickal Dreamers Blog Train Southwest Summer
Everything used is included in the kit
Read their TOU on how to credit your tags.

I used PSP2020...but any of them should work.
FTU Al kit  by Luscious Ladee on 
Magickal Dreamers Blog Train Southwest Summer HERE
Check out her blog  HERE
Mask of choice, I used MizTeeque Mask 40 HERE
Check out the rest of the blog HERE
Filter
Mura Meister Copies-Encircle

Font of choice, I used Relang

Drop shadow is  V-1 H-4 Black, 40, 10, use what you prefer.
Let's get started
*Remember to add your drop shadow as you go along*
 
Open a new image, 800 x 800, paste the paper, apply your mask,
move to the left, duplicate, mirror.

Open your Ellipse tool, open paper 1, close off the background color,
up on the tool bar of psp, change the width to whatever you prefer, I used 45,
open the pattern foreground with the paper showing, draw out a circle.
Go to Effects, 3D Effects, Inner Bevel with these settings
Bevel shape 7, width 30
3, 4, 30, 20
0, 35, 40, 
Color #fff4e5
Click inside, paste paper 1, paste, move down so most of the barn does not show,
invert, delete.
Resize element 14 to 25%, apply Mura Meister Copies-Encircle, first 3 numbers
on 15, 50, 50, paste below the frame.
Resize element 21 to 255, flip, apply Mura Meister Copies-Encircle, first 3 numbers
on 13, 53, 53, paste below the first circle.
Resize element 13 to 70%, paste in the frame and down.

Resize element 20 to 55%, paste on the bottom right above the frame, duplicate
move to the upper left below the frame.
Resize element 3 to 30%, paste on the upper left above the frame.
Resize element 10 to 45%, paste on the bottom left.

Resize the tube to 45%, paste at the bottom.

Resize element 9 to 35%, paste on the bottom right above the tube.
Resize element 7 to 20%, paste at the bottom above the tube.
Resize element 8 to 13%, paste at the bottom.
Resize element 11 to 18%, paste at the bottom to the left of the boots.
Resize element 19 to 20%, paste on the bottom left.
Resize element 2 to 25%, paste at the bottom left.
Resize element 21 to 20%, paste above the barrel behind the dog.
Resize element 16 to 20%, paste on top of the right cactus.

Add any other elements that you would like, make it your own.
Always readjust your mask and elements how you like them before you
 merge your tag, sharpen once.
Crop your tag to make sure no shadows or anything on the edges

 Then add your copyright and name.
That's it
Hope you enjoyed doing my tut.   

Monday, April 28, 2025

CT for Luscious Ladee-80's Babe

      **~**CT for Luscious Ladee **~**

 PTU Scrap 80's Babe  by Luscious Ladee HERE  HERE HERE HERE
You can find all Luscious Ladee kits and Tubes  HERE

Timeline Set I made with the kit 


Sunday, April 20, 2025

CT for Luscious Ladee-Easter Gothica

     **~**CT for Luscious Ladee **~**

 PTU Scrap Easter Gothica  by Luscious Ladee HERE  HERE HERE HERE
You can find all Luscious Ladee kits and Tubes  HERE

Timeline Set I made with the kit