Showing posts with label Dragon. Show all posts

Sunday, July 19, 2026

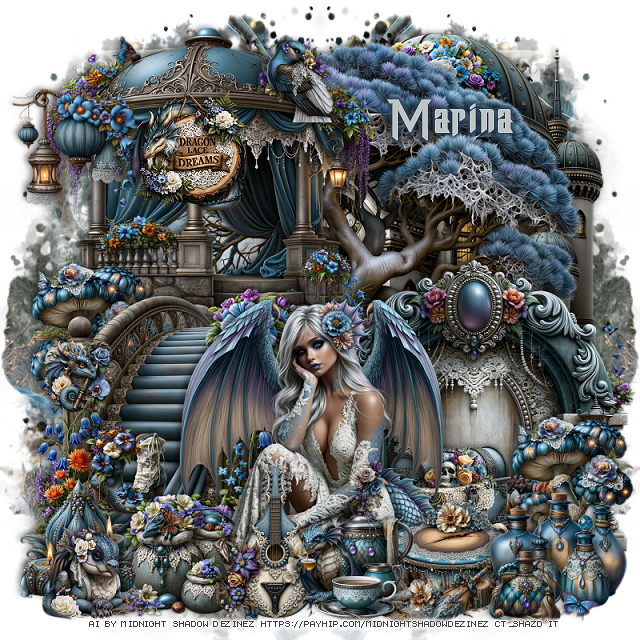
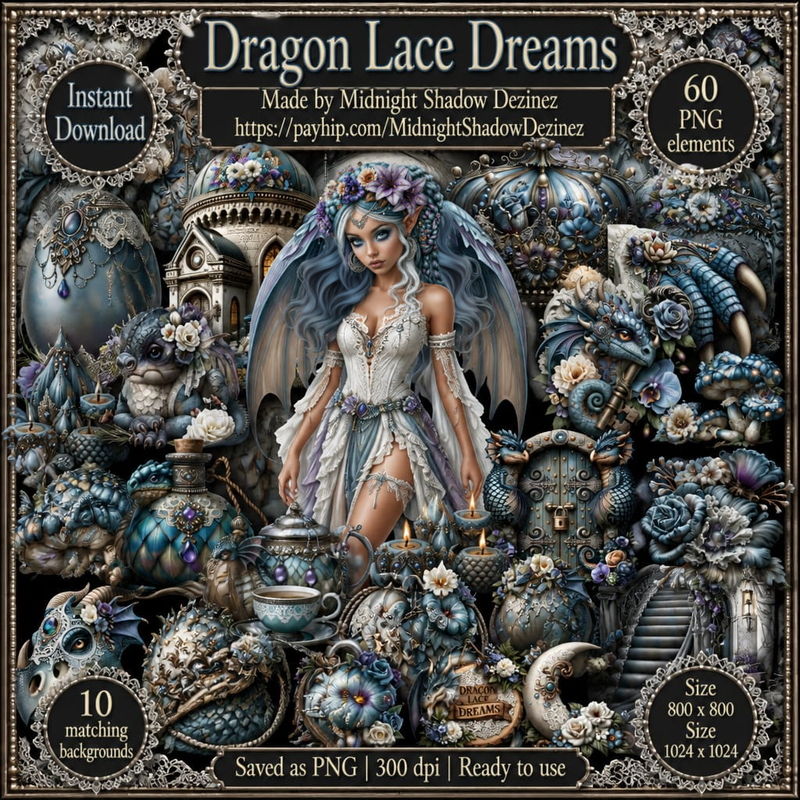
PTU Dragon Lace Dreams


  This tut was written July 19th, 2026 for those with a basic knowledge of psp. 

Awesome AI kit and tube by Midnight Shadow Dezinez

The tube I used is not in the kit
The tube is called Kryssara
You can find the tube at her store HERE
Read the TOU on how to credit your tags


I used PSP2020...but any of them should work.
PTU Scrap Dragon Lace Dreams  by Midnight Shadow Dezinez  HERE
You can find all Midnight Shadow Dezinez kits HERE
RD Mask 720 HERE
Check out the rest of the blog  HERE

Font of choice, I used Dragon ForcE

Drop shadow as you go is V -2 H -4, 50, 10, or use what you prefer.
Let's get started
*Remember to add your drop shadow as you go along*

Open a new image 800 x 800, paste paper 2, apply your mask,
move to the right, duplicate, mirror.

Resize 42 to 50%, paste on the bottom left.
Resize 43 to 55%, paste at the upper left below the stairs.
Resize 50 to 65%, paste on the upper right below the dome patio.
Resize 2 to 50%, paste on the bottom right.
Resize 6 to 65%, paste on the upper right below the tree.
Resize 56 to 20%, paste on the patio.
Resize 40 to 20%, paste at the upper left by the sign.

Resize the tube to 35%, paste at the bottom above the stairs.

Resize 57 to 20%, paste on the bottom right below the tube.
Resize 22 to 20%, paste on the bottom right, duplicate, move to the 
left below the steps.
Resize 49 to 23%, paste on the bottom right.
Resize 55 to 20%, paste at the bottom below the bottles.
Resize 52 to 10%, paste at the bottom right.
Resize 1 to 25%, paste at the bottom above the tube.
Resize 28 to 20%, paste at the bottom by the guitar.
Resize 48 to 20%, paste at the bottom below the guitar.

Resize 16 to 20%, paste at the bottom left.
Resize 13 to 15%, mirror, paste at the bottom left.
Resize 18 to 15%, paste on the steps below the tube.
Resize 15 to 12%, paste on the post of the steps.
Resize 45 to 13%, paste at the top.
Resize 24 to 12%, paste at the bottom right.

Add any other elements that you would like, make it your own.
Always readjust your mask and elements how you like them before you
 merge your tag, resize, sharpen.

Crop your tag to be sure no shadows or lines are on the edges.
 Then add your copyright and name.
That's it

                 Hope you enjoyed doing my tut                         

Wednesday, April 22, 2026

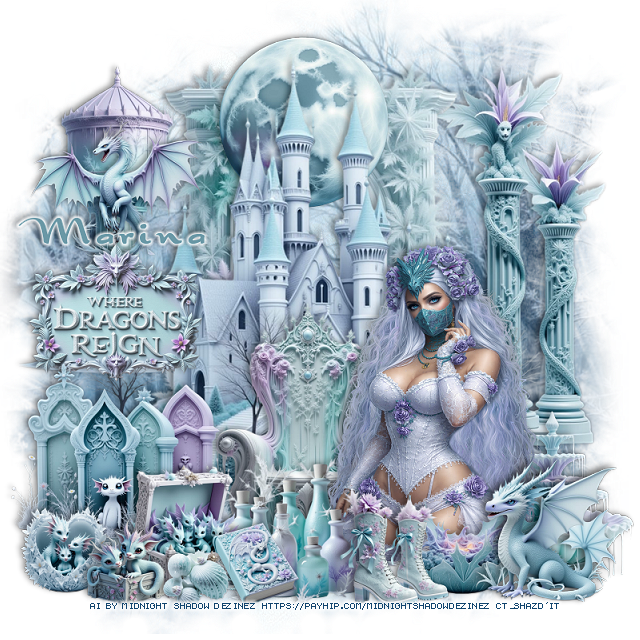
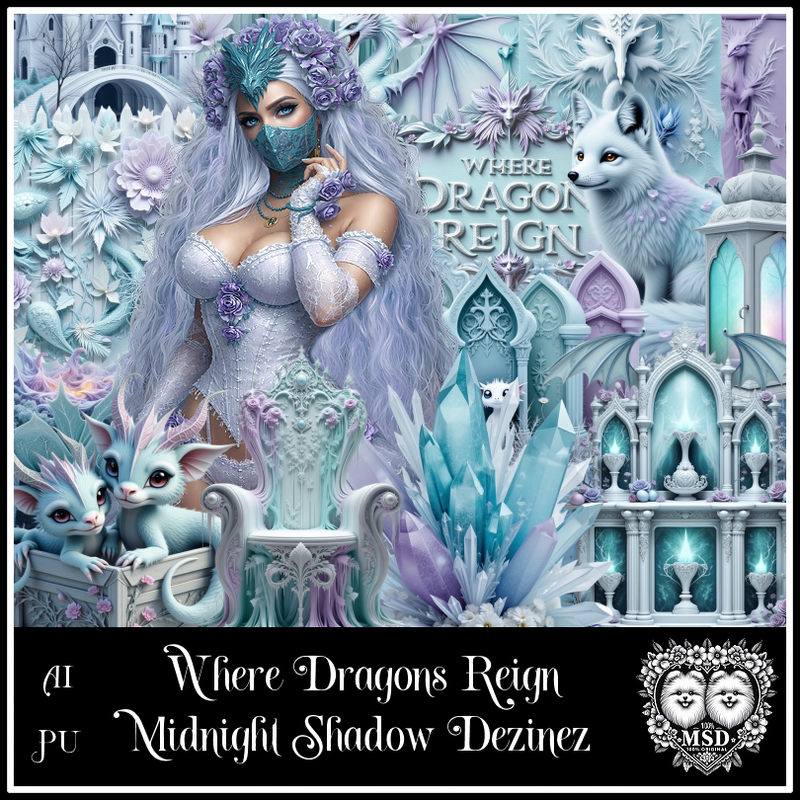
PTU Where Dragons Reign


 This tut was written April 21st, 2026 for those with a basic knowledge of psp. 

Awesome AI kit and tube by Midnight Shadow Dezinez

Everything used is included in the kit
Read the TOU on how to credit your tags

I used PSP2020...but any of them should work.
PTU Scrap Where Dragons Reign  by Midnight Shadow Dezinez  HERE
You can find all Midnight Shadow Dezinez kits HERE
Miz Teeques Mask 40 HERE
Check the blog HERE

Font of choice, I used Dragonfly

Drop shadow as you go is V -2 H -4, 40, 10, or use what you prefer.
Let's get started
*Remember to add your drop shadow as you go along*

Open a new image 800 x 800,  paste paper 6, apply your mask.

Resize 39 to 70%, paste at the top center.
Resize 20 to 30%, paste at the top.
Resize 34 to 50%, paste on the upper left.
Resize 42 to 65%, paste on the right below the arch, erase the part 
showing in the arch.

Resize 50 to 85%, paste above the moon.
Resize 47 to 30%, paste on the bottom right.
Resize 44 to 45%, paste at the bottom.

Resize 49 to 50%, paste at the bottom right above the chair.

Resize 24 to 25%, paste on the bottom right above the tube.
Resize 21 to 28%, paste on the tower on the left.
Resize 14 to 30%, paste on the left above the dragon.
Resize 6 to 35%, paste on the bottom left above the sign.
Resize 31 to 25%, paste at the bottom above the tube.
Resize 48 to 25%, paste at the bottom above the tube by the dragon.
Resize 28 to 25%, paste at the bottom above the bottles.
Resize 15 to 20%, paste at the bottom  by the bottles.

Resize 53 to 15%, paste at the bottom left.
Resize 57 to 15%, paste at the bottom left.
Resize 25 to 15%, paste at the bottom.
Resize 1 to 12%, paste at the bottom.

Add any other elements that you would like, make it your own.
Always readjust your mask and elements how you like them before you
 merge your tag, resize, sharpen.

Crop your tag to be sure no shadows or lines are on the edges.
 Then add your copyright and name.
That's it

Hope you enjoyed doing my tut                
Saturday, March 7, 2026

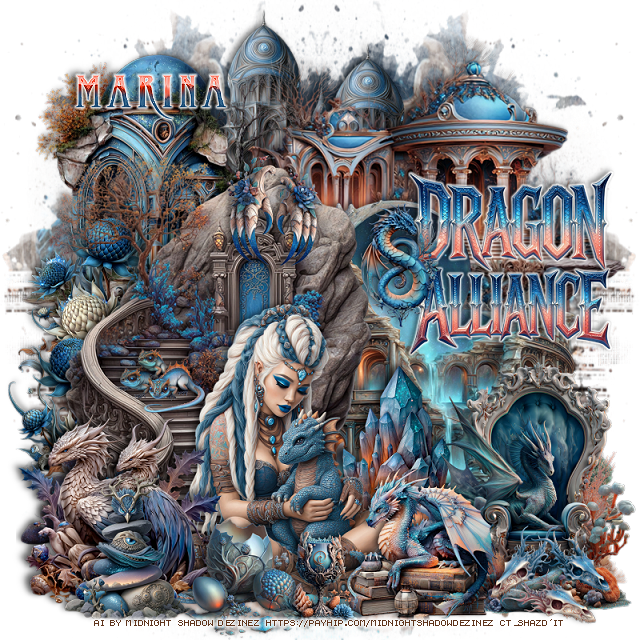
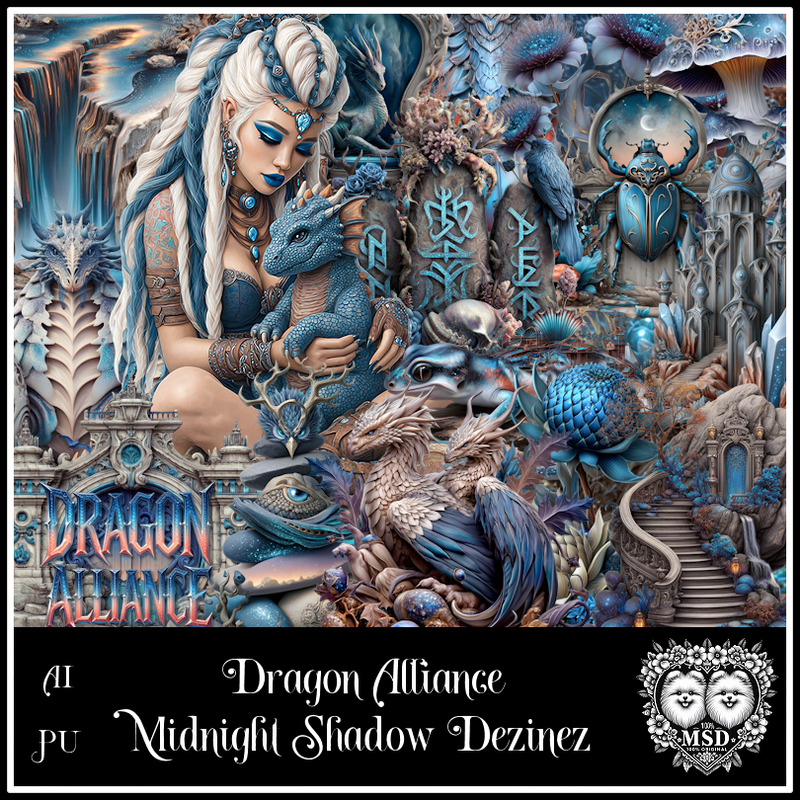
PTU Dragon Alliance


 This tut was written March 7th, 2026 for those with a basic knowledge of psp. 

Awesome AI kit and tube by Midnight Shadow Dezinez

Everything used is included in the kit
Read the TOU on how to credit your tags

I used PSP2020...but any of them should work.
PTU Scrap Dragon Alliance by Midnight Shadow Dezinez  HERE
You can find all Midnight Shadow Dezinez kits HERE
Vivienne's Digital Tagging Mask 41 HERE
Check the blog out HERE

Font of choice, I used Dragonlord

Drop shadow as you go is V -2 H -4, 50, 10, or use what you prefer.
Let's get started
*Remember to add your drop shadow as you go along*

Open a new image 800 x 800, paste paper 6, apply your mask,

Resize 41 to 90%, paste on the upper right.
Resize 53 to 50%, mirror, paste on the upper left.
Resize 20 to 65%, paste below the other buildings at the top, duplicate,
move over a little.
Resize 2 to 75%, paste on the bottom right.
Resize 9 to 75%, paste on the left.

Resize 46 to 50%, paste at the bottom.

Resize 21 to 40%, paste at the bottom below the tube on the right.
Resize 24 to 25%, paste at the bottom above the tube.
Resize 27 to 20%, paste at the bottom left above the tube.
Resize 37 to 40%, paste on the right below the book and dragon.
Resize 31 to 20%, paste on the left below the stairs toward the top,
duplicate, mirror, move back to the left at the bottom of the stairs.

Resize 38 to 35%, paste on the bottom left above the stairs.
Resize 60 to 25%, paste at the bottom left above the dragons.
Resize 12 to 35%, paste on the right, add a medium gradient glow.
Resize 15 to 15%, paste on the stairs.
Resize 34 to 20%, paste at the bottom right above the chair.
Resize 8 to 17%, paste at the bottom by the tube.
Resize 25 to 20%, paste on the rock behind the tube.
Resize 13 to 20%, paste on the left side of the wordart.

Add any other elements that you would like, make it your own.
Always readjust your mask and elements how you like them before you
 merge your tag, resize, sharpen.

Crop your tag to be sure no shadows or lines are on the edges.
 Then add your copyright and name.
That's it

Hope you enjoyed doing my tut             
Sunday, February 15, 2026

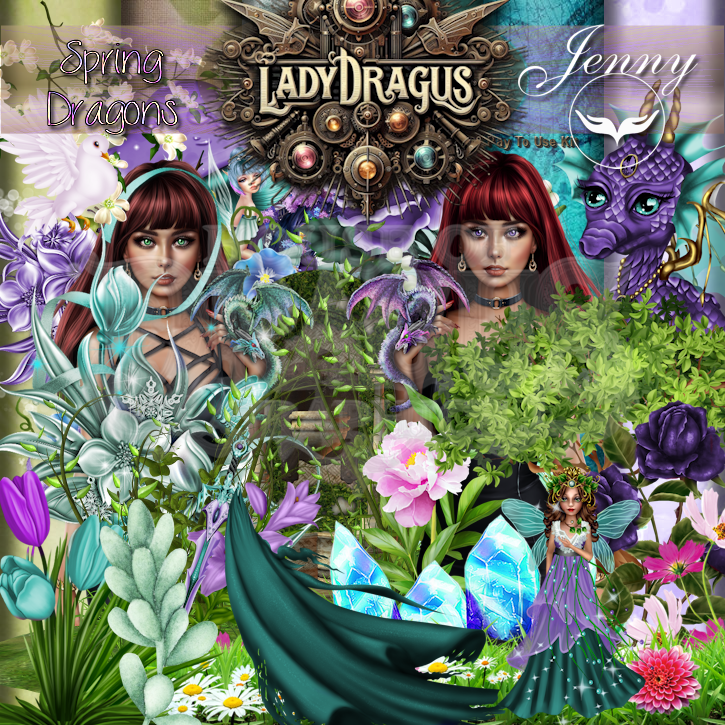
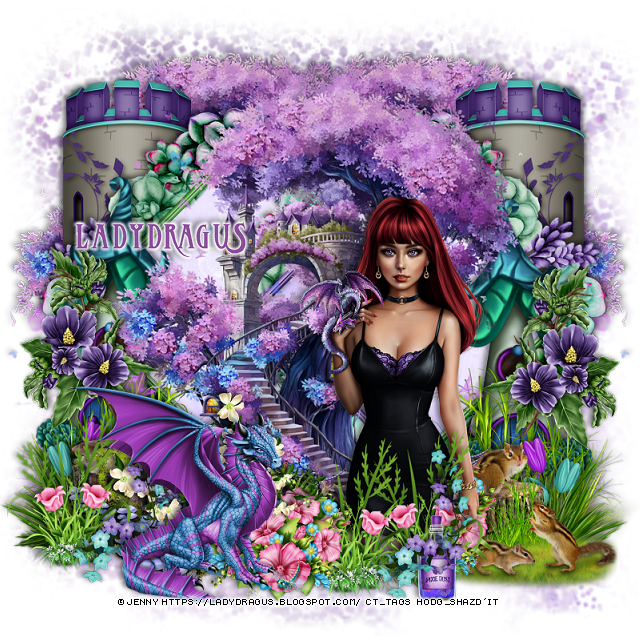
PTU Spring Dragons


 This tut was written February 15th, 2026 for those with a basic knowledge of psp. 

I am using the Awesome Spring No Al kit by LadyDragus

Beautiful Spring Dragons
Tubes are included ©Jenny 
Read the TOU on how to credit your tags


I used PSP2020...but any of them should work.

PTU Scrap Spring Dragons  by Lady Dragus  HERE HERE
132 elements, 11 frames, 11 papers and 2 non Al tubes by Jenny
Mask of choice, I used Miz Teeques Mask 52 HERE
Check out the rest of the blog HERE

Font of choice, I used Dragonlord

Drop shadow as you go is V -2 H 4, 40, 10, or use what you prefer.
Let's get started
*Remember to add your drop shadow as you go along*

Open a new image 800 x 800, paste paper 11, apply your mask.

Resize frame 2 to 70%, click inside, paste paper 7, invert, delete, 
merge the paper and frame together, duplicate, mirror.
Resize 117 to 68%, paste below the frame on the upper left,
duplicate, mirror.
Resize 64 to 50%, paste on the upper left below the frame, duplicate, 
mirror, move above the tree.
Resize 117 to 75%, paste above the frames.

Resize 6 to 30%, paste on the frame on the right, duplicate, mirror.
Resize 5 to 45%, paste on the right below the flower and tree house,
duplicate, mirror.
Resize 88 to 65%, paste below the tree house to the left, duplicate, mirror.
Resize 89 to 30%, paste at the bottom right.

Resize tube 3 to 45%, paste at the bottom right above the squirrels.

Resize 84 to 30%, paste on the bottom left.
Resize 4 to 25%, paste behind the tube to the right a little, duplicate, 
move to the left above the tube.
Resize 58 to 35%, paste at the bottom above the tube, duplicate, move 
to the left more below the flowers, duplicate again, move over by 
the stump.
Resize 120 to 35%, paste on the bottom left above the flowers.
Resize 1 to 35%, paste below the dragon.
Resize 96 to 30%, paste on the bottom right below the squirrels,
duplicate, mirror.
Resize 91 to 30%, paste at the bottom above the small pink flowers,
duplicate, move to the left above the dragon.
Resize 107 to 17%, paste at the bottom below the little flowers.

Add any other elements that you would like, make it your own.
Always readjust your mask and elements how you like them before you
 merge your tag, resize, sharpen.

Crop your tag to be sure no shadows or lines are on the edges.
 Then add your copyright and name.
That's it

Hope you enjoyed doing my tut   
Thursday, August 7, 2025

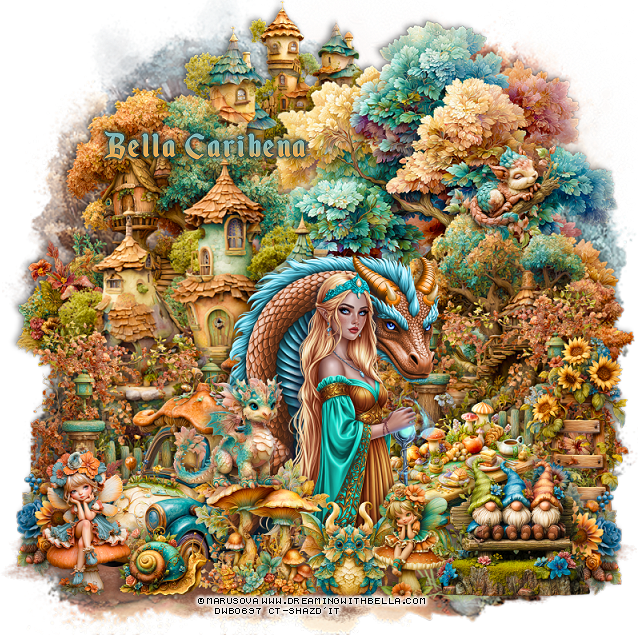
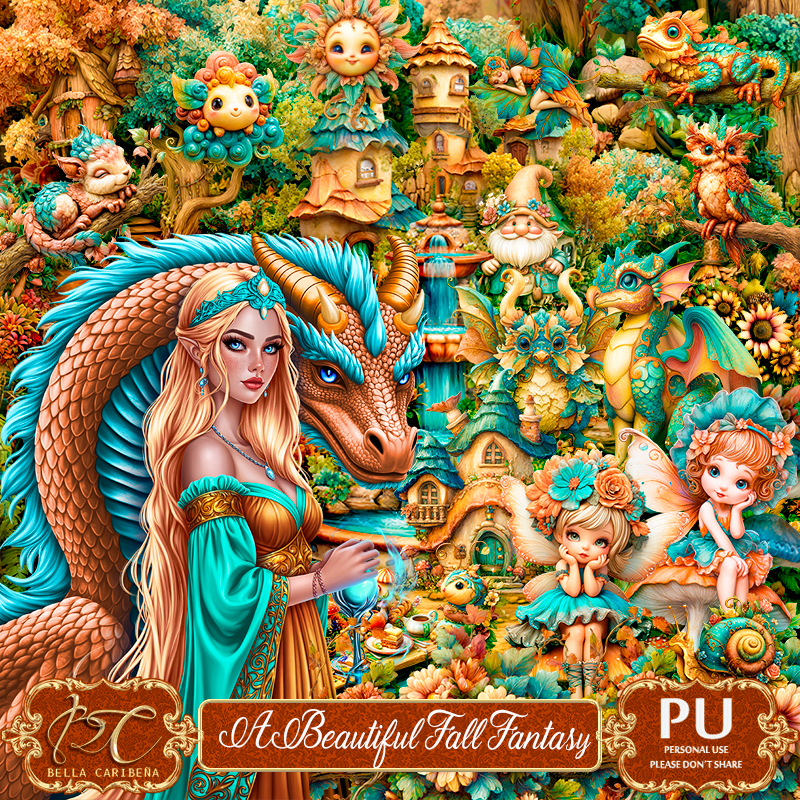
PTU A Beautiful Fall Fantasy


  This tut was written August 7th, 2025,  for those with a basic knowledge of psp. 

I am using awesome tube by ©Marusova
Tubes are included
Read the TOU on how to credit your tags

I used PSP2020...but any of them should work.
PTU Scrap A Beautiful Fall Fantasy by Bella Caribeña  HERE  
Fantasy/Fall Theme
Kit contains 2 tube ©Marusova, 2 Al generated tubes,  2 masks, 100 elements and 17 papers
You can check out the rest of her store HERE

Font of choice, I used Echantedland

 Drop shadow as you go is V -2 H 4, 40, 10, or use what you prefer.
Let's get started
*Remember to add your drop shadow as you go along*

Open a new image 800 x 800, paste element mask 23, adjust to fit your tag.

Resize element 86 to 75%, paste at the upper right.
Resize element 27 to 75%, paste above the tree.
Resize element 35 to 60%, paste on the right.
Resize element 36 to 60%, paste on the upper left below the houses.
Resize element 26 to 45%, paste at the top below the tree.

Resize the tube to 10%, paste at the bottom being on the top layer.

Resize element 28 to 50%, paste at the bottom right below the tube,
duplicate, mirror.
Resize element 59 to 50%, paste on the bottom left below the tube.
Resize element 37 to 30%, paste at the bottom above the tube.
Resize element 96 to 25%, paste at the bottom right, duplicate, mirror,
move below the car.
Resize element 91 to 40%, paste below the flower on the right.
Paste element 13 at the bottom on the bottom layer.

Resize element 88 to 40%, paste at the bottom right below the tube.
Resize element 55 to 35%, paste at the bottom right.
Resize element 66 to 25%, paste on the upper right on the tree, erase the 
branch part.
Resize element 44 to 25%, paste at the bottom by the gnomes.
Resize element 41 to 30%, paste at the bottom left.
Resize element 83 to 20%, paste at the bottom by the mushrooms.
Resize element 73 to 25%, paste at the bottom.
Resize element 75 to 25%, paste on the mushroom.

Add any other elements you would like, resize.
Crop your tag to be sure no shadows or lines are on the edges.
 Then add your copyright and name.
That's it

Hope you enjoyed doing my tut              
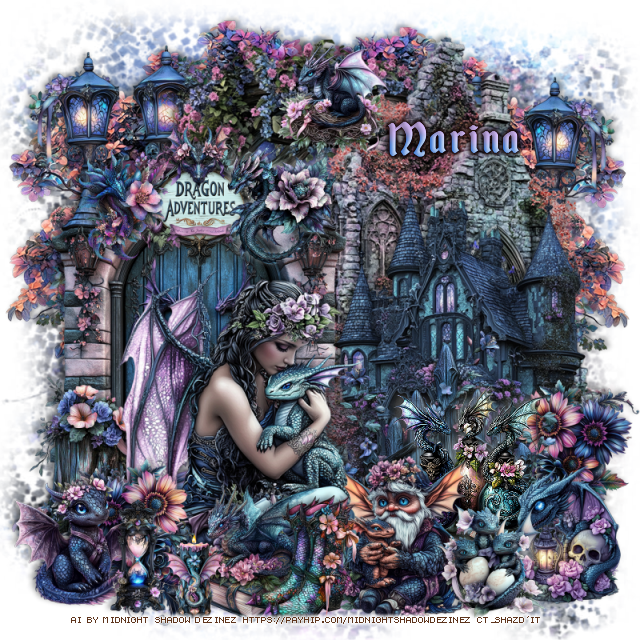
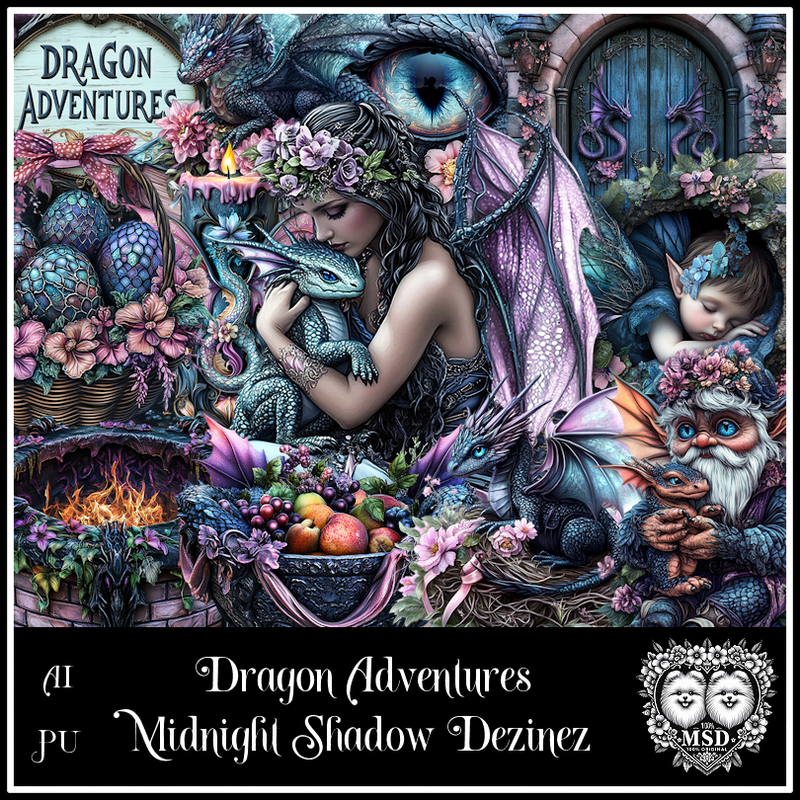
PTU Dragon Adventures


  This tut was written August 6th, 2025 for those with a basic knowledge of psp. 

Awesome AI kit and tube by Midnight Shadow Dezinez

Everything used is included in the kit
Read the TOU on how to credit your tags

I used PSP2020...but any of them should work.
PTU Scrap Dragon Adventures by Midnight Shadow Dezinez  HERE
You can find all Midnight Shadow Dezinez kits HERE
MizTeeQues Mask 52 HERE
Check the rest of the blog HERE

Font of choice, I used Enchantedland

Drop shadow as you go is V -2 H -4, 40, 10, or use what you prefer.
Let's get started
*Remember to add your drop shadow as you go along*

Open a new image 800 x 800, paste paper 6, apply your mask.

Paste element 3 on the upper right, duplicate mirror.
Resize element 40 to 85%, paste at the top above the trees, click inside, paste
paper 5, invert, delete.
Resize element 28 to 85%, paste on the upper right.
Resize element 12 to 65%, paste on the left.
Resize element 9 to 65%, paste below the door on the left, duplicate, mirror.
Resize element 52 to 75%, paste on the right.
Resize element 48 to 30%, paste on the door.
Resize element 27 to 25%, paste on the right by the sign.
Resize element 4 to 25%, paste on the left by the sign.

Resize element 30 to 75%, mirror, paste at the bottom.
Resize element 7 to 40%, paste on the left above the door.
Resize element 17 to 35%, paste on the right above the house, duplicate,
mirror, move above the tube.
Resize element 5 to 30%, mirror, paste at the bottom left.
Resize element 44 to 50%, paste at the bottom right below the tube.
Resize element 26 to 35%, paste at the bottom.
Resize element 57 to 30%, paste at the bottom above the tube.
Resize element 59 to 27%, paste at the bottom above the tube.

Resize element 2 to 30%, paste at the bottom right.
Resize element 11 to 25%, paste at the bottom.
Resize element 10 to 15%, paste at the top on the sign.
Resize element 8 to 20%, paste at the bottom.
Resize element 16 to 25%, paste at the bottom.
Resize element 55 to 25%, paste on the right above the fence, sharpen
a couple of times.
Resize element 15 to 25%, paste at the top on the tree.

Add any other elements that you would like, make it your own.
Always readjust your mask and elements how you like them before you
 merge your tag, resize, sharpen.

Crop your tag to be sure no shadows or lines are on the edges.
 Then add your copyright and name.
That's it

Hope you enjoyed doing my tut           
Monday, August 4, 2025

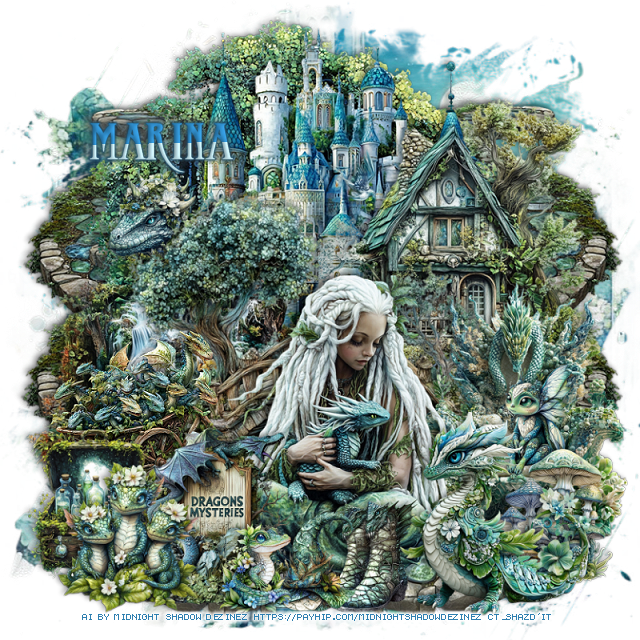
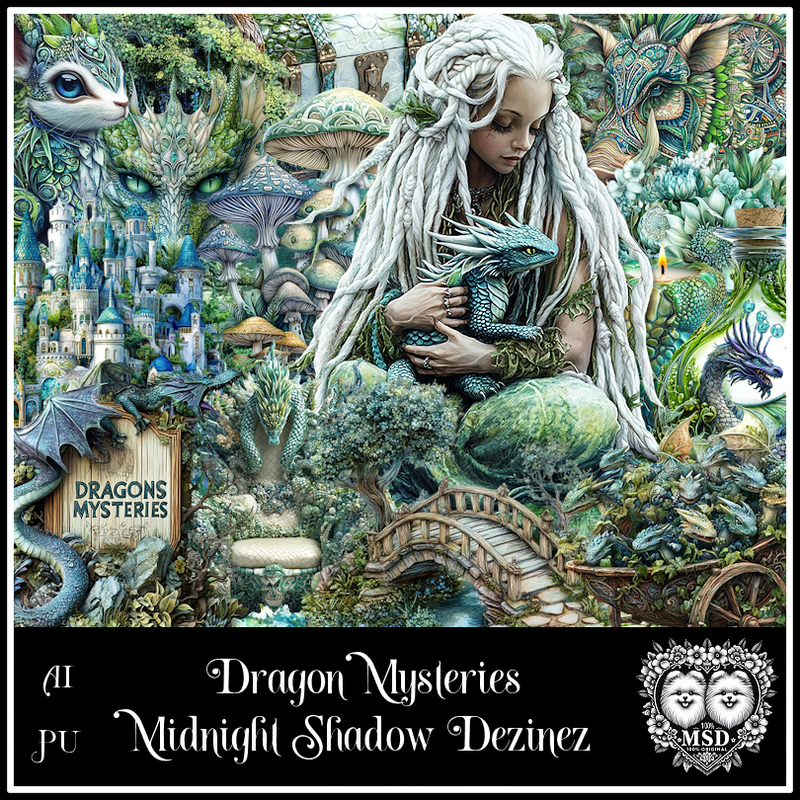
PTU Dragon Mysteries


  This tut was written August 3rd, 2025 for those with a basic knowledge of psp. 

Awesome AI kit and tube by Midnight Shadow Dezinez

Everything used is included in the kit
Read the TOU on how to credit your tags

I used PSP2020...but any of them should work.
PTU Scrap Dragon Mysteries by Midnight Shadow Dezinez  HERE
You can find all Midnight Shadow Dezinez kits HERE
RD Mask 899 HERE
Check the rest of the blog HERE

Font of choice, I used Dragonlord

Drop shadow as you go is V -2 H -4, 40, 10, or use what you prefer.
Let's get started
*Remember to add your drop shadow as you go along*

Open a new image 800 x 800, paste paper 5, apply your mask,

Paste element 41 at the upper left.
Paste element 9 at the top above the tree.
Resize element 8 to 75%, paste on the right.
Resize element 33 to 85%, paste toward the bottom more.
Resize element 4 to 75%, mirror, paste on the left below the bridge.
Resize element 28 to 85%, paste on the bottom layer at the upper left
how you like, duplicate, mirror.
Duplicate both and move to the bottom.

Resize element 34 to 65%, paste at the bottom being on the top layer.

Resize element 36 to 40%, paste on the left below the tube.
Resize element 29 to 60%, paste on the right.
Resize element 58 to 45%, paste on the bottom right.
Resize element 32 to 40%, paste at the bottom above the tube.
Resize element 35 to 25%, paste at the bottom above the tube.
Resize element 19 to 25%, paste at the bottom.
Resize element 5 to 25%, paste in the chair on the right.

Resize element 59 to 35%, paste on the bottom left below the sign.
Resize element 55 to 35%, paste at the bottom left above the sign.
Resize element 47 to 30%, paste on the bottom right below the dragon.
Resize element 22 to 20%, paste on the upper left below the tree that is on
the bridge.
Resize element 40 to 20%, mirror, paste at the bottom.

Add any other elements that you would like, make it your own.
Always readjust your mask and elements how you like them before you
 merge your tag, resize, sharpen.

Crop your tag to be sure no shadows or lines are on the edges.
 Then add your copyright and name.
That's it

Hope you enjoyed doing my tut