Showing posts with label Blog Train. Show all posts

Monday, October 27, 2025

FTU CC Blog Train Fall


 This tut was written October 27th, 2025 for those with a basic knowledge of psp. 

Al kit/Tubes generated by Miggins

Everything is included in the kit
Read their TOU on how to credit your tags

I used PSP2020...but any of them should work.
FTU Scrap Creative Chicks Blog Train by Miggins  HERE
You can check out her blog HERE
Mask of choice, I used RD Mask 685 HERE
Check out the rest of the blog HERE    

Font of choice, I used Andes

Drop shadow as you go is V -2 H -4, 50, 10, or use what you prefer.
Let's get started
*Remember to add your drop shadow as you go along*

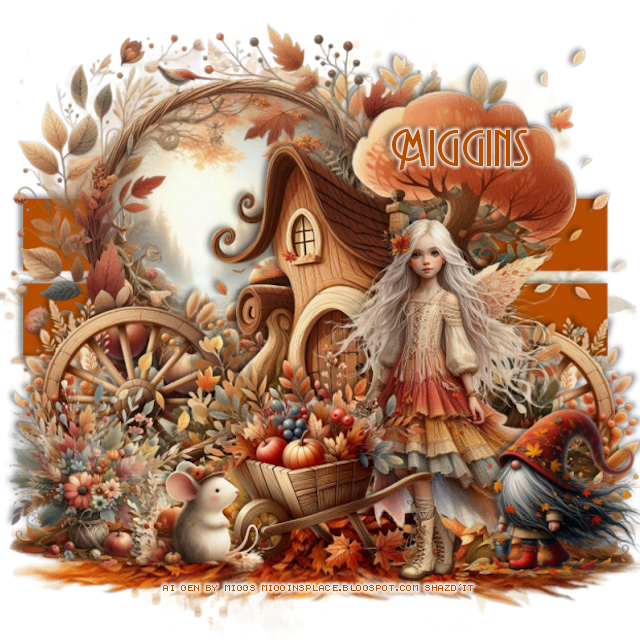
Open a new image 800 x 800, paste paper 11, apply your mask.

Resize element 29 to 85%, you just want to use the bottom leaves part,
so draw around the upper part and delete. move to the bottom.
Resize element 19 to 65%, paste on the right.
Resize element 9 to 65%, paste on the left below the house, draw around
the frame, resize element 23 to 50%, paste, invert, delete.
Resize element 14 to 75%, paste below the frame on the upper right
behind the house.

Resize element 12 to 35%, paste on the bottom left below the house, 
duplicate, mirror.
Resize element 13 to 40%, paste at the bottom right above the house,
duplicate, mirror.
Resize element 5 to 50%, paste on the right.
Resize element 18 to 35%, paste at the bottom above the girl.
Resize element 30 to 30%, paste at the bottom left.
Resize element 8 to 20%, paste at the bottom.
Resize element 2to 25%, paste at the bottom right.

Take your preset shape on rectangle and draw out 2 rectangles and 
move to the bottom layer above the mask.

Add any other elements that you would like, make it your own.
Always readjust your mask and elements how you like them before you
 merge your tag, resize, sharpen.

Crop your tag to be sure no shadows or lines are on the edges.
 Then add your copyright and name.
That's it

Hope you enjoyed doing my tut               

Thursday, September 4, 2025

FTU Autumn Sunset O'Scrap Blogtrain

 This tut was written September 4th, 2025 for those with a basic knowledge of psp. 

I am using the beautiful tube ©Misticheskaya
Tube is called Julianna
You need a license to use this tube, please do not use without a license
You can get the tube at here store HERE

I used PSP2020...but any of them should work.
FTU Scrap Autumn Sunset part of the O'Scrap Blogtrain 
by Lori PSP Graphics HERE 
Check out the rest of her blog HERE
Mask of choice, I used Lori's Mask 933 HERE
Check out the rest of the blog HERE

Font of choice, I used Daisy Roots

Drop shadow as you go is V -2 H 4, 50, 10, or use what you prefer.
Let's get started
*Remember to add your drop shadow as you go along*

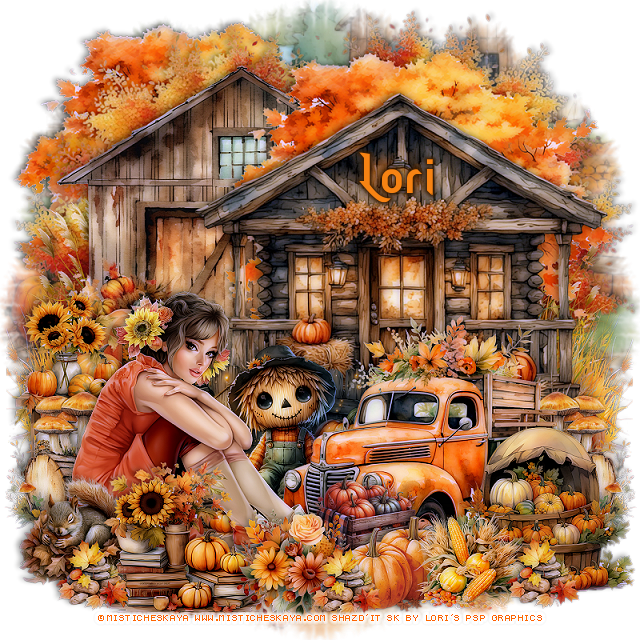
Open a new image 800 x 800, resize paper 6 to 40%, apply your mask.

Resize element 16 to 45%, paste at the upper left.
Resize element 17 to 50%, paste on the right.
Resize element 1 to 50%, paste on the upper left behind the barn,
duplicate, move to the right and between the buildings.
Resize element 60 to 65%, paste on the upper left above the tree, duplicate,
mirror, move to the right behind the tree.

Resize element 10 to 40%, paste on the right below the building, duplicate, 
mirror, move below the building.
Resize element 5 to 25%, paste on the bottom left above the building.
Resize element 38 to 20%, paste at the bottom right above the building,
duplicate, mirror.
Resize element 40 to 25%, paste at the bottom.
Resize element 71 to 40%, mirror, paste on the bottom right.
Resize element 6 to 25%, paste at the bottom right above the truck.

Resize your tube to 20%, paste at the bottom left.

Resize element 9 to 15%, paste at the bottom by the feet.
Resize element 7 and 70 to 15%, paste at the bottom right.
Resize element 35 to 15%, paste on the bottom left above the tube.
Resize element 4 to 23%, paste at the bottom left above the squirrel.
Resize element 45 to 15%, paste at the bottom.
Resize element 46 to 10%, paste at the bottom left, duplicate, move to the
right, duplicate again, move to the center more.
Once happy with the tag, merge, apply xero filter-Porcelain, sharpen.

Add any other elements you would like, resize.
Crop your tag to be sure no shadows or lines are on the edges.
 Then add your copyright and name.
That's it

Hope you enjoyed doing my tut     
Monday, August 25, 2025

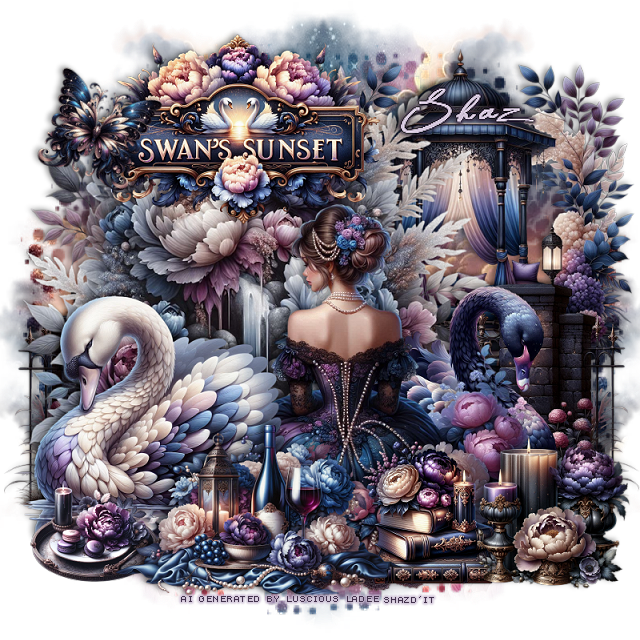
FTU Swan's Sunset Blog Train


  This tut was written August 25th, 2025 for those with a basic knowledge of psp. 

I am using a Beautiful Al kit by Luscious Ladee
It is part of the P4S Blog train
Read the TOU on how to credit your tags

I used PSP2020...but any of them should work.
FTU Scrap Blog Train Swans Sunset by Luscious Ladee HERE 
Luscious Ladee is the second one
Check out the rest of SD blog HERE
Mask of choice, I used MizTeeques Mask 70 HERE
Check out the rest of the blog HERE

Font of choice, I used The Star in the Midnight

Drop shadow as you go is V -2 H 4, 40, 10, or use what you prefer.
Let's get started
*Remember to add your drop shadow as you go along*

Open a new image 800 x 800, paste paper 1, apply your mask,
move to the left, duplicate, mirror.

Resize element 8 to 75%, paste on the left.
Resize element 10 to 50%, paste on the right below the flowers.
Resize element 7 to 50%, paste on the right below the flowers,
duplicate, mirror.
Resize element 2 to 35%, paste at the top on the flowers.
Resize element 1 to 50%, paste at the bottom.
Resize element 4 to 40%, paste on the bottom left above the lady.
Resize element 5 to 40%, paste on the right below the lady.

Resize element 19 to 40%, paste at the bottom above the swan.
Resize element 13 and 18 to 25%, paste at the bottom right.
Resize element 14 to 20%, paste at the bottom left.
Resize element 6 to 15%, paste at the upper left on the sign.

Add any other elements you would like, resize.
Crop your tag to be sure no shadows or lines are on the edges.
 Then add your copyright and name.
That's it

Hope you enjoyed doing my tut     
FTU Swans Sunset Blog Train


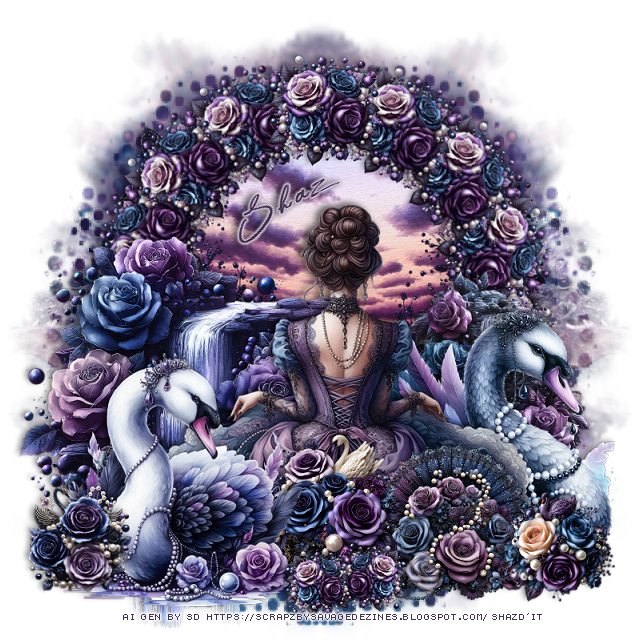
  This tut was written August 25th, 2025 for those with a basic knowledge of psp. 

I am using a Beautiful Al kit by Savage Dezines
It is part of the P4S Blog train
Read the TOU on how to credit your tags

I used PSP2020...but any of them should work.
FTU Scrap Blog Train Swans Sunset by Savage Dezines HERE 
Check out the rest of her blog HERE
Mask of choice, I used MizTeeques Mask 70 HERE
Check out the rest of the blog HERE

Font of choice, I used The Star in the Midnight

Drop shadow as you go is V -2 H 4, 40, 10, or use what you prefer.
Let's get started
*Remember to add your drop shadow as you go along*

Open a new image 800 x 800, paste paper 1, apply your mask, move to 
the left, duplicate, mirror.

Resize element 12 to 60%, paste.
Resize element 14 to 15%, apply Mura Meister Copies-Encircle, first 
3 numbers on 14, 55, 55, paste above the round element.
Resize element 8 to 50%, paste on the left and down.
Resize element 9 to 40%, paste on the right.

Resize element 1 to 45%, paste at the bottom center.

Resize element 2 to 35%, paste on the bottom right.
Resize element 15 to 35%, mirror, paste on the bottom right below the lady.
Resize element 4 to 20%, paste at the bottom right above the lady.
Resize element 10 to 20%, paste at the bottom below the swan.
Resize element 6 to 15%, paste at the bottom right.
Resize element 11 to 15%, paste at the bottom left.
Resize element 14 to 9%, paste at the bottom, duplicate, move over.

Add any other elements you would like, resize.
Crop your tag to be sure no shadows or lines are on the edges.
 Then add your copyright and name.
That's it

Hope you enjoyed doing my tut    
Friday, August 15, 2025

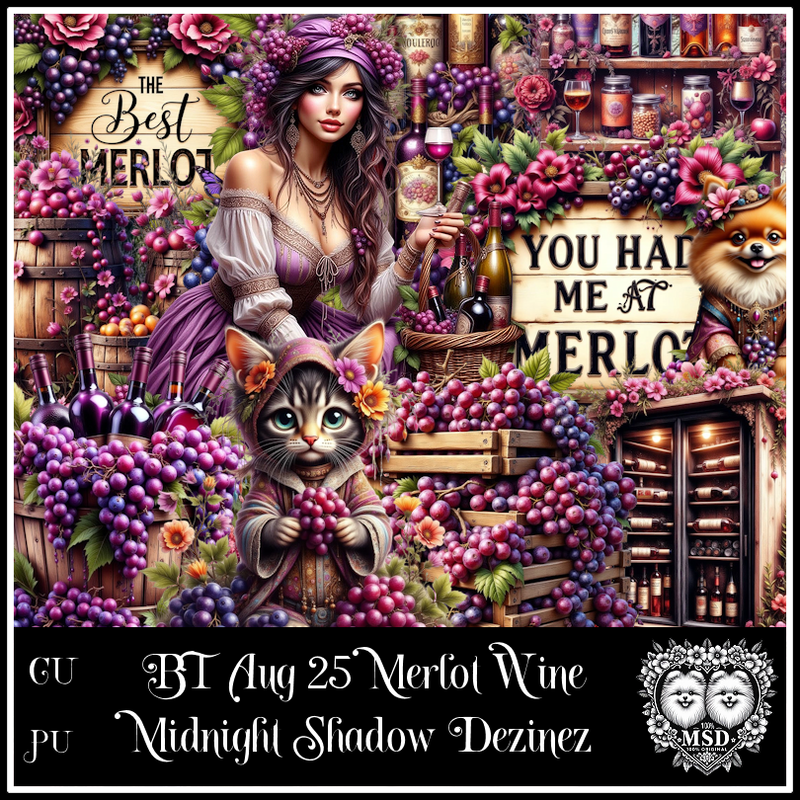
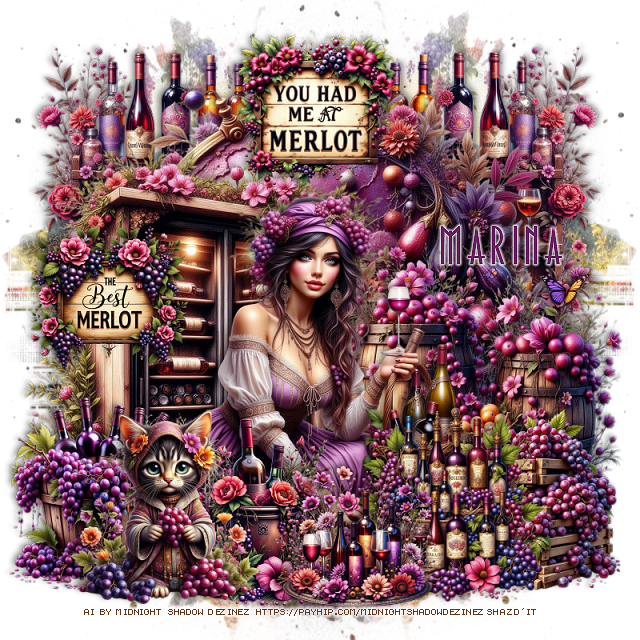
FTU Merlot Wine Blog Train


 This tut was written August 15th, 2025 for those with a basic knowledge of psp. 

I am using an Beautiful Al kit by Midnight Shadow Dezinez
It is part of the Merlot Wine Blog train
Read the TOU on how to credit your tags

I used PSP2020...but any of them should work.
FTU Scrap Blog Train Merlot Wine by Midnight Shadow Dezinez HERE 
Check out her Store HERE
Mask of choice, I used Vivienne's Digital Tagging Mask 41 HERE
Check out the rest of the blog HERE

Font of choice, I used Paulistana

Drop shadow as you go is V -2 H 4, 40, 10, or use what you prefer.
Let's get started
*Remember to add your drop shadow as you go along*

Open a new image 800 x 800, resize paper 1 to 78%, apply your mask.

Resize element 14 to 60%, paste.
Resize element 12 to 40%, paste below the circle on the upper left,
duplicate, mirror.
Resize element 10 to 55%, paste on the bottom left above the circle.
Resize element 3 to 40%, paste on the bottom right above the circle.
Resize element 6 to 45%, paste on the bottom.
Resize element 2 to 25%, paste on the bottom left above the tube.

Resize element 5 to 25%, paste on the bottom.
Resize element 13 to 25%, paste on the bottom right.
Resize element 1 to 25%, paste on the bottom right.
Resize element 9 to 25%, paste on the bottom left.
Resize element 4 to 20%, paste on the left on the wine cabinet.
Resize element 15 to 20%, paste at the top.
Resize element 8 to 20%, paste on the bottom.

Add any other elements you would like, resize.
Crop your tag to be sure no shadows or lines are on the edges.
 Then add your copyright and name.
That's it

Hope you enjoyed doing my tut    
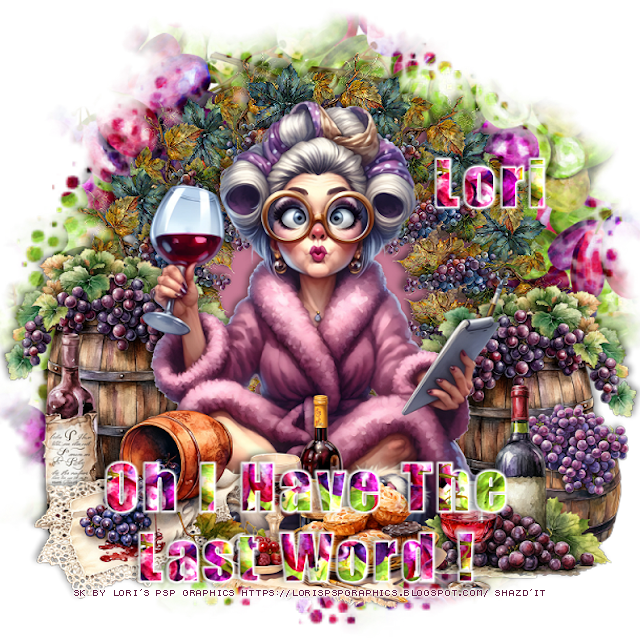
FTU Merlot Wine Blog Train


 This tut was written August 15th, 2025 for those with a basic knowledge of psp. 

I am using an Adorable Al kit by Lori PSP Graphics
It is part of the Merlot Wine Blog train
Read the TOU on how to credit your tags

I used PSP2020...but any of them should work.
FTU Scrap Blog Train Merlot Wine by Lori PSP Graphics HERE 
Check out the rest of her blog HERE
Mask of choice, I used MizTeeques Mask 70 HERE
Check out the rest of the blog HERE

Font of choice, I used Impact

Drop shadow as you go is V -2 H 4, 40, 10, or use what you prefer.
Let's get started
*Remember to add your drop shadow as you go along*

This is a Quickie one 
Reminded me of the games played in groups.

Open a new image 800 x 800, resize paper 5 to 45%, apply your mask.
Resize element 41 to 20%, apply Mura Meister Copies-Encircle, first 
3 numbers on 14, 50, 50, paste, draw around the circle, add a new layer,
fill with #c87a95, move below.
Resize element 25 to 30%, paste on the left, duplicate, mirror.
Resize element 13 to 20%, paste on the bottom right above the barrel.

Resize element 33 to 55%, paste.
Resize element 16 to  30%, paste at the bottom left above the lady.
Resize element 24 to 25%, paste on the bottom right.
Resize element 26 to 25%, paste on the left below the laying pot element.
Resize element 5 to 30%, paste at the bottom being on the top layer.
Resize element 29 to 15%, paste at the bottom right.

Add any other elements you would like, resize.
Crop your tag to be sure no shadows or lines are on the edges.
 Then add your copyright and name.
That's it

Hope you enjoyed doing my tut    
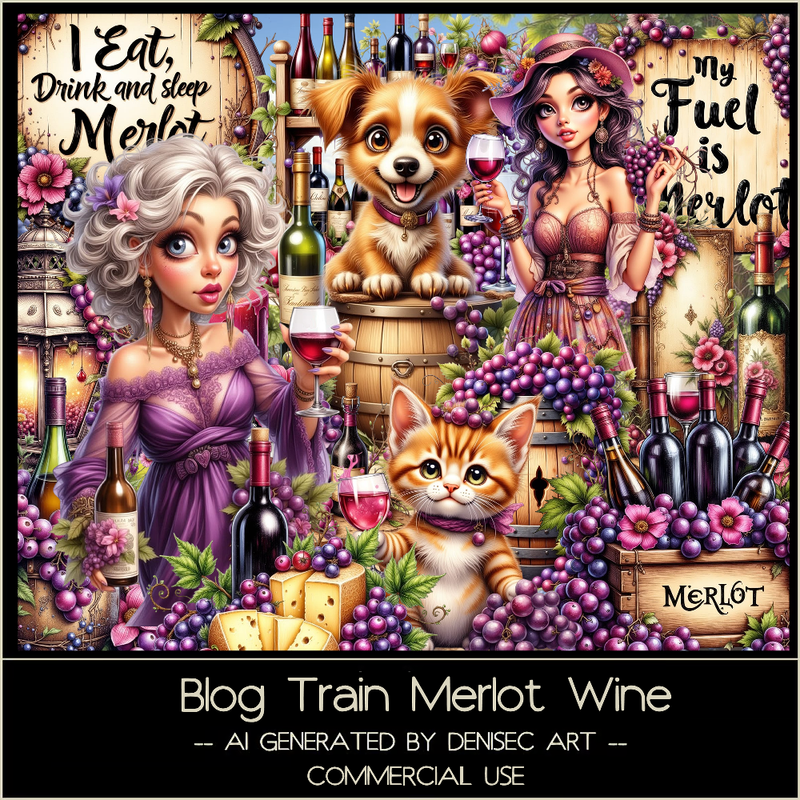
FTU Merlot Wine Blog Train


  This tut was written August 15th, 2025 for those with a basic knowledge of psp. 

I am using an Awesome Al kit by DeniseC Art
It is part of the Merlot Wine Blog train
Read the TOU on how to credit your tags

I used PSP2020...but any of them should work.
FTU Scrap Blog Train Merlot Wine by DeniseC Art HERE 
Check out her store HERE
Mask of choice, I used MizTeeques Mask 56 HERE
Check out the rest of the blog HERE

Font of choice, I used Pacific Again

Drop shadow as you go is V -2 H 4, 40, 10, or use what you prefer.
Let's get started
*Remember to add your drop shadow as you go along*

Open a new image 800 x 800, resize the background to 65%, apply your mask.

Resize element 2 to 15%, free rotate to the left at 90, apply 
Mura Meister Copies-Encircle, first 3 numbers on 18, 50, 50, flip, paste.
Resize element 10 to 30%, paste above the circle.
Resize element 7 to 30%, paste at the upper right below the circle, duplicate, 
mirror
Resize element 15 to 25%, paste on the right.
Resize element 1 to 30%, paste on the left.
Resize element 8 to 20%, paste below the tube on the right, duplicate, mirror.

Resize element 11 to 20%, paste on the bottom left above the tube.
Resize element 2 to 20%, paste on the right above the tube.
Resize element 3 to 20%, paste at the bottom about center.
Resize element 9 to 15%, paste at the bottom left.
Resize element 14 to 15%, paste on the bottom right.
Resize element 12 to 15%, paste by the dog.
Resize element 13 to 12%, paste on the bottom left.
Resize element 6 to 10%, paste at the bottom right.

Add any other elements you would like, resize.
Crop your tag to be sure no shadows or lines are on the edges.
 Then add your copyright and name.
That's it

Hope you enjoyed doing my tut    
Saturday, July 19, 2025

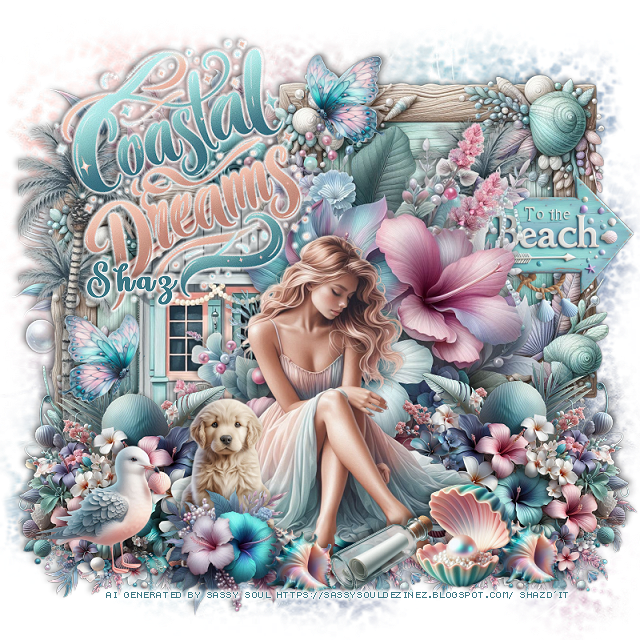
FTU P4SSeashellSplash


This tut was written July 19th, 2025 for those with a basic knowledge of psp.

I am using the Al kit Seashell Splash it is part of
P4SSeashellSplash Blog Train
Everything used is included in the kit
Read their TOU on how to credit your tags.

I used PSP2020...but any of them should work.
FTU Al kit  by Sassy Soul Dezinez on 
P4SSeashellSplash Blog Train HERE
Check out her blog  HERE
Mask of choice, I used Miz Teeques Mask 52 HERE
Check out the rest of the blog HERE

Font of choice, I used Lovely Butterfly

Drop shadow is  V-1 H-4 Black, 40, 10, use what you prefer.
Let's get started
*Remember to add your drop shadow as you go along*
 
Open a new image, 800 x 800, paste paper 6, apply your mask.

Resize frame 5 to 50%, paste at the upper right, duplicate, move down 
on the left.
Click inside the frames, paste paper 5, invert, delete.
Resize element 3 to 60%, paste on the upper left below the frames.
Resize element 129 to 75%, paste above the left frame.
Resize element 37 to 60%, paste to the right.

Resize tube 3 to 50%, paste at the bottom

Resize element 8 to 35%, paste on the bottom left below the tube, duplicate,
mirror.
Resize wordart 9 to 35%, free rotate to the left at 20, paste at the upper left, 
add a white gradient.
Resize element 73 to 15%, paste at the bottom right above the tube.
Resize element 27 to 35%, paste at the bottom below the tube, duplicate twice,
move each one to each side below the flowers.
Resize element 39 to 20%, paste at the bottom above the tube to the left.
Resize element 56 to 10%, paste at the bottom above the flower, duplicate, move 
to the right below the pearl shell.
Resize element 78 to 25%, paste on the right below the flower.
Resize element 47 to 13%, paste at the top by the wordart, mirror, paste on the left
and down.
Resize element 109 to 20%, paste below the flower to the left of the tube.
Resize element 113 to 20%, paste on the bottom left.
Resize element 61 to 15%, paste at the bottom.

Add any other elements that you would like, make it your own.
Always readjust your mask and elements how you like them before you
 merge your tag, sharpen once.
Crop your tag to make sure no shadows or anything on the edges

 Then add your copyright and name.
That's it
Hope you enjoyed doing my tut.