Showing posts with label CU/PU. Show all posts

Monday, December 9, 2024

CT FB TL for Yvette's ai Art-Rustic Winter

 "CT FB TL for Yvette's ai Art"

AI generated tube and kit by Yvette ai Art
This is YR Rustic Winter 
Read the TOU on how to credit your tags

Kit HERE  HERE HERE HERE


Thursday, October 31, 2024

CT FB TL and Tag for Yvette's ai Art

   "CT FB TL and Tag for Yvette's ai Art"

AI generated tube and kit by Yvette ai Art
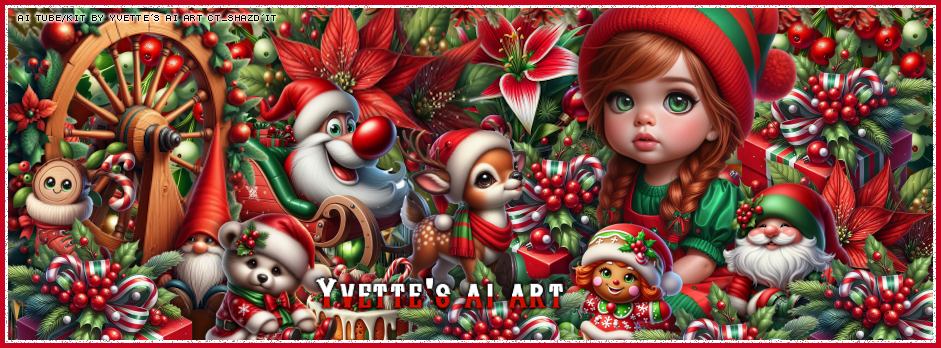
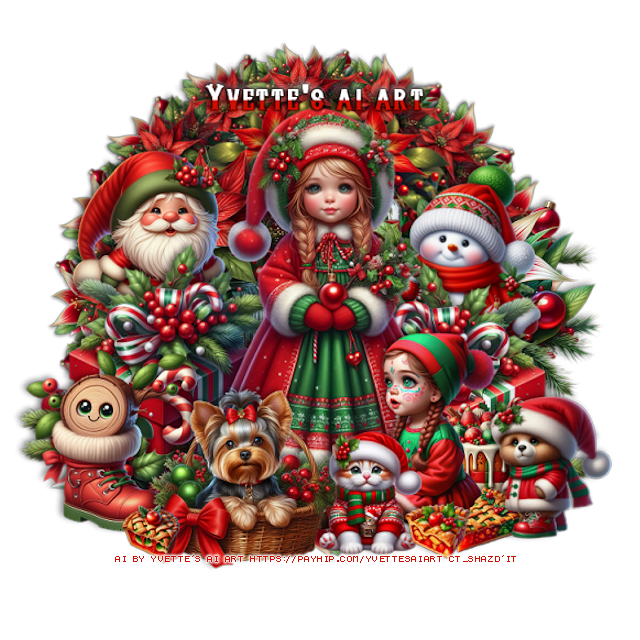
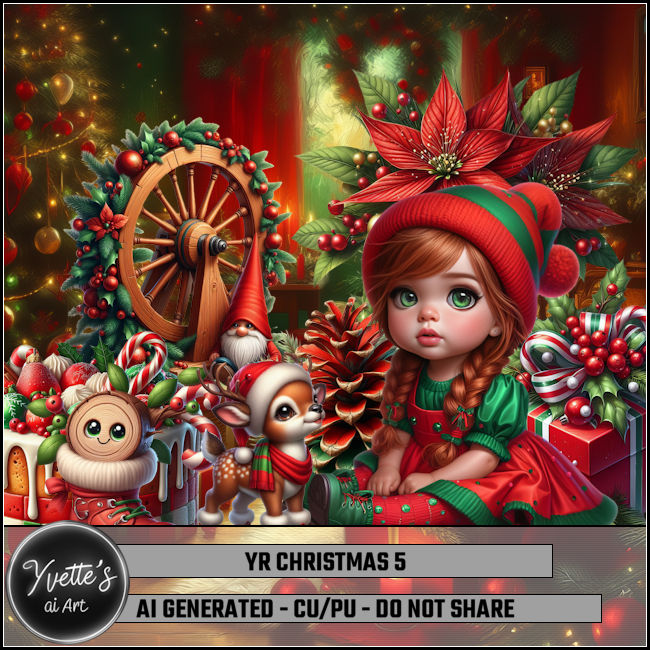
This is YR CU Christmas 5
CU/PU
Read the TOU on how to credit your tags

Kit HERE  HERE


Monday, October 21, 2024

CT FB TL and Tag for Yvette's ai Art

     "CT FB TL and Tag for Yvette's ai Art"

AI generated tube and kit by Yvette ai Art
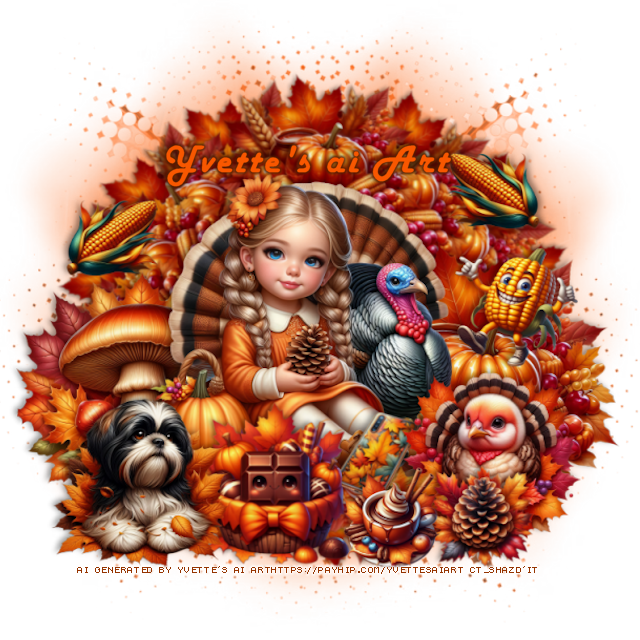
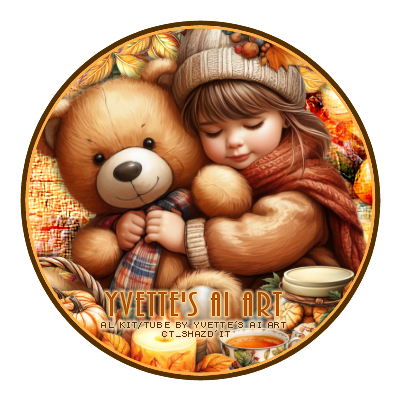
This is YR CU Thanksgiving 3
CU/PU
Read the TOU on how to credit your tags
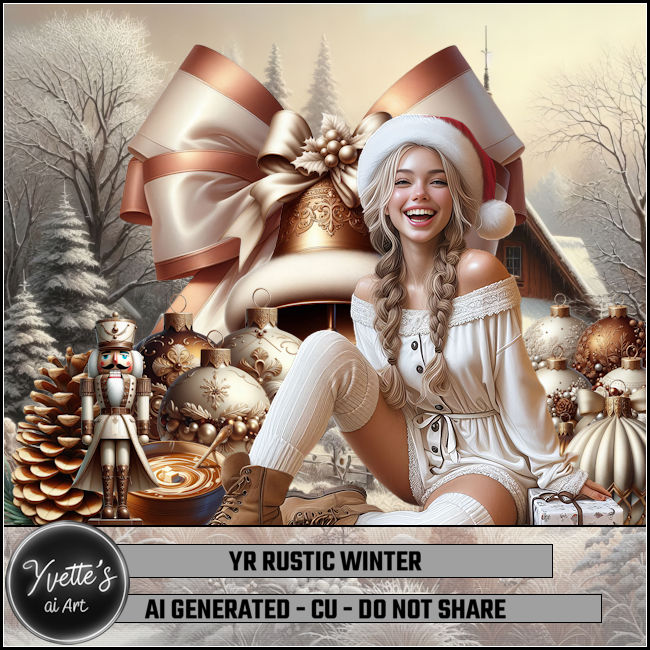
Kit HERE  HERE


CT FB TL and Tag for Yvette's ai Art

    "CT FB TL and Tag for Yvette's ai Art"

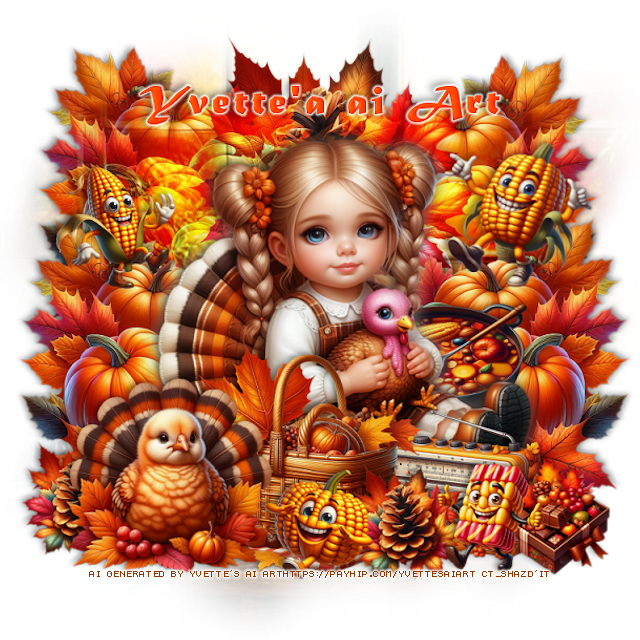
AI generated tube and kit by Yvette ai Art
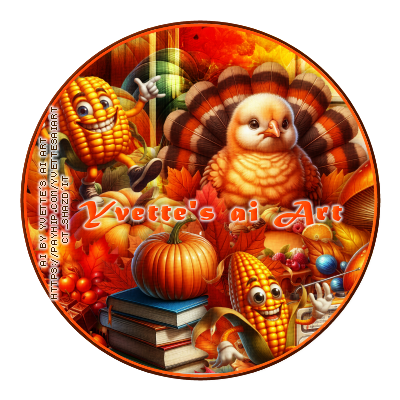
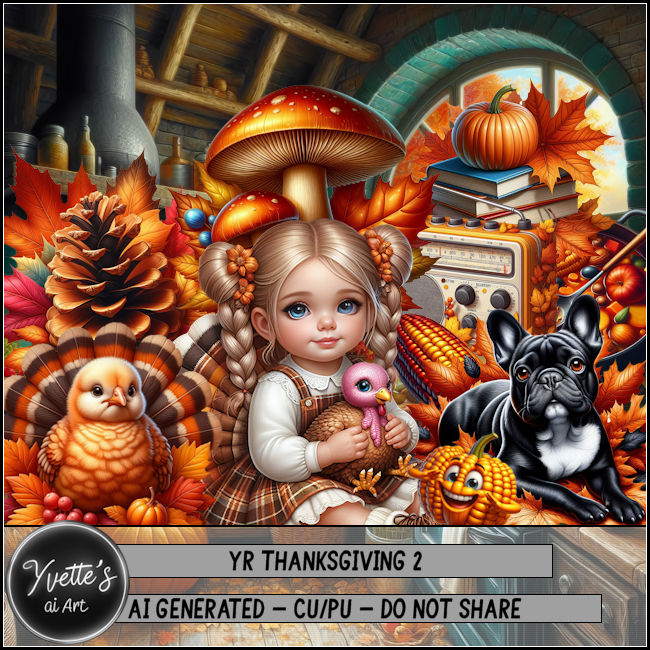
This is YR CU Thanksgiving 2
CU/PU
Read the TOU on how to credit your tags

Kit HERE  HERE


Friday, October 11, 2024

CT FB TL and Ava for Yvette's ai Art

   "CT FB TL and Ava for Yvette's ai Art"

AI generated tube and kit by Yvette ai Art
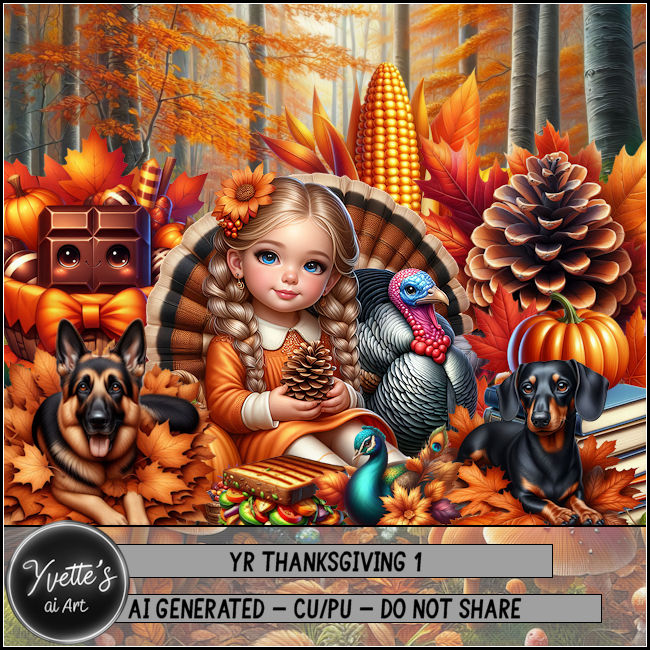
This is YR CU Thanksgiving 1
CU/PU
Read the TOU on how to credit your tags

Kit HERE  HERE


Monday, September 30, 2024

CT CU Pack 28 FB Timeline and Ava for Yvette's ai Art

   "CT FB TL and Ava for Yvette's ai Art"

AI generated tube and kit by Yvette ai Art
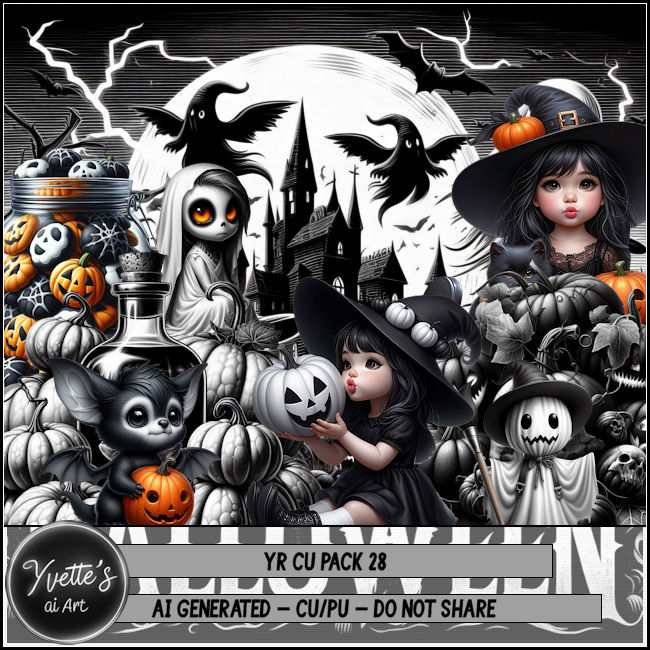
This is YR CU Pack 28
CU/PU
Read the TOU on how to credit your tags

Kit HERE 


Monday, September 16, 2024

CT CU Pack 17 FB Timeline and Ava for Yvette's ai Art

   "CT FB TL and Ava for Yvette's ai Art"

AI generated tube and kit by Yvette ai Art
This is YR CU Pack 17
CU/PU
Read the TOU on how to credit your tags
Kit HERE


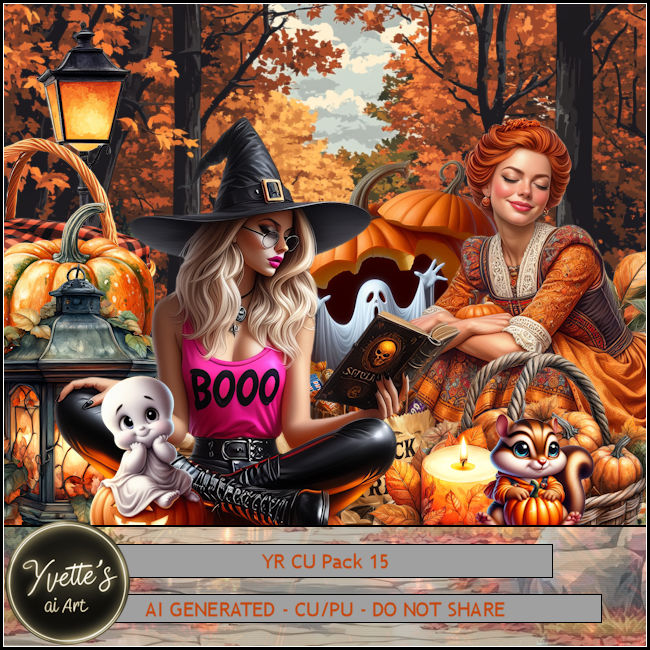
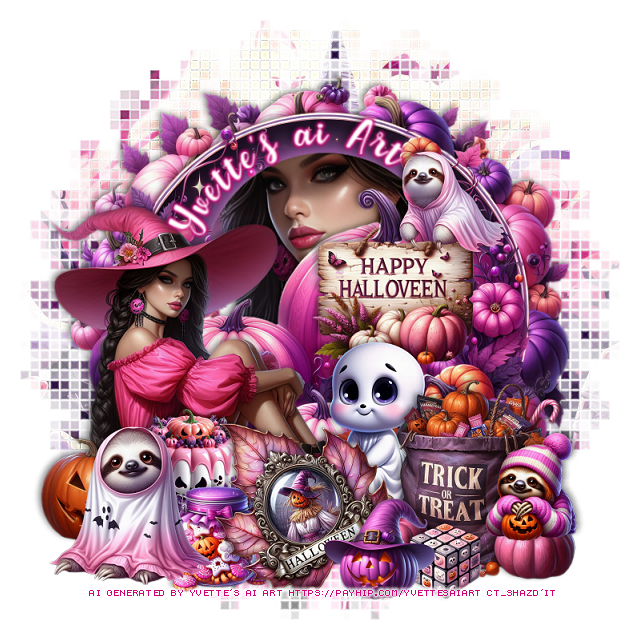
PTU YV CU Pack 15


 This tut was written September 16th, 2024 for those with a basic knowledge of psp. 

AI generated tube and kit by Yvette ai Art
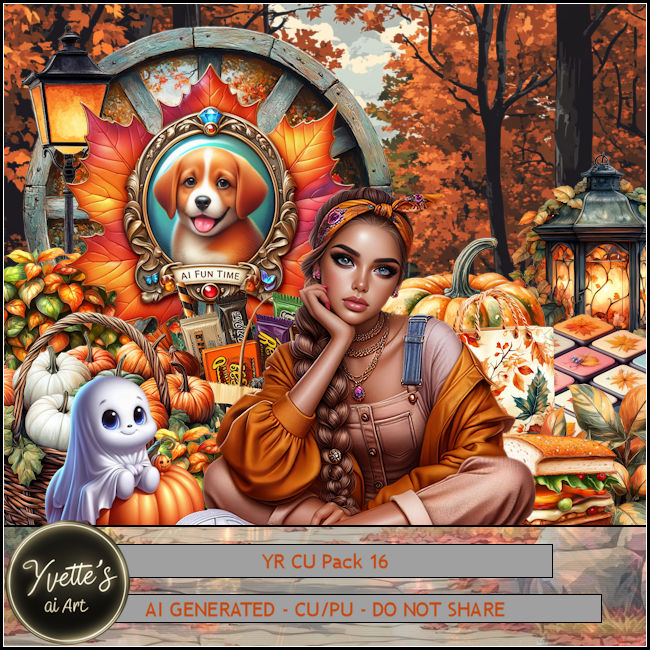
This is an AI generated CU Pack 16
 for CU/PU
Read the TOU on how to credit your tags

I used PSP2020...but any of them should work.
PTU Scrap YV CU Pack 15 by Yvette's ai Art  HERE
Check out the rest of her store HERE
Mask of choice, I used Miz Teeques Mask 70 HERE
Check out the rest of the blog HERE

Font of choice, I used Autumn Moon

Drop shadow is V -2 H -4, 40, 10 color Black or use what you prefer.
*Remember to add your drop shadow as you go along*

Open a new image 800 x 800, paste paper 3, apply your mask, 
move to the left, duplicate, mirror.

Resize frame 4 to 65%, paste.
Resize element 12 to 65%, paste.
Resize the tube to 35%, paste on the bottom left.
Resize element 18 to 25%, paste below the pumpkin on the left, duplicate,
mirror.
Resize element 13 to 17%, paste on the right.
Resize element 3 to 15%, paste on the right below the tube.
Resize element 31 to 15%, paste on the left below the tube.
Resize element 8 to 10%, paste on the left on the pumpkin.
Resize element 9 and 10 to 15%, paste on the right.
Resize element 27 to 10%, paste on the right below the ghost.
Resize element 7 to 10%, paste on the bottom left.
Resize element 11 to 7%, paste on the bottom left below the pumpkin.
Resize element 19 to 20%, paste on the bottom left below the tube.

Add any other elements that you would like, make it your own.
Always readjust your mask and elements how you like them before you
 merge your tag, resize, sharpen.

Crop your tag to be sure no shadows or lines are on the edges.
 Then add your copyright and name.
That's it

Hope you enjoyed doing my tut.   

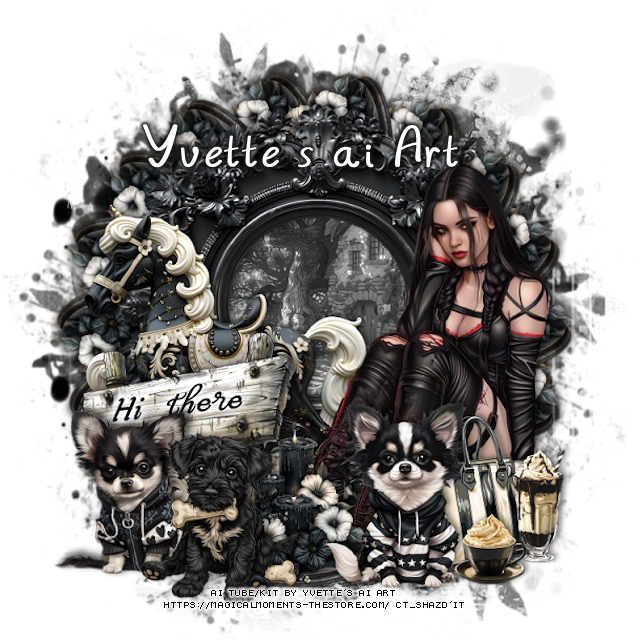
PTU YV CU Pack 16


 This tut was written September 16th, 2024 for those with a basic knowledge of psp. 

AI generated tube and kit by Yvette ai Art
This is an AI generated CU Pack 16
 for CU/PU
Read the TOU on how to credit your tags

I used PSP2020...but any of them should work.
PTU Scrap YV CU Pack 16 by Yvette's ai Art  HERE
Check out the rest of her store HERE
RD Mask 683  HERE
Check the rest of the blog HERE

Font of choice, I used peque script

Drop shadow is V -2 H 4, 40, 10, color Black or use what you prefer.
Let's get started
*Remember to add your drop shadow as you go along*

Open a new image 800 x 800, paste paper 2, apply your mask.

Resize frame 1 to 35%, paste to the right, click inside with the magic wand,
resize paper 2 to 60%, paste, invert, delete.
Resize frame 2 to 45%, paste below the frame and to the left.
Resize element 27 to 20%, paste on the left above the frame.
Resize element 31 to 13%, paste on the bottom left above the lantern.

Resize the tube to 27%, paste on the bottom left.

Resize element 10 to 15%, paste at the bottom above the tube.
Resize element 2 to 15%, paste at the bottom above the tube.
Resize element 11 to 13%, paste at the bottom left below the bag.
Resize element 20 to 10%, paste at the bottom above the squirrel.
Resize element 26 to 15%, paste at the bottom right below the bag.
Resize element 24 to 5%, free rotate to the left at 90, paste at the bottom.
Resize element 29 to 15%, paste on the left below the squirrel.
Resize element 4 and 9 to 7%, paste at the bottom left above the purse.
Resize element 6 to 15%, paste at the bottom right above the basket.
Resize element 17 to 17%, paste on the right below the dog.

Resize element 8 to 15%, paste on the right below the bag.
Resize element 19 to 20%, paste below the tube.
Resize element 28 to 10%, paste behind the wheel.
Resize element 18 to 10%, paste at the bottom right.
Resize element 32 to 7%, paste at the bottom.

Add any other elements that you would like, make it your own.
Always readjust your mask and elements how you like them before you
 merge your tag, resize, sharpen.

Crop your tag to be sure no shadows or lines are on the edges.
 Then add your copyright and name.
That's it

Hope you enjoyed doing my tut.   

Sunday, September 15, 2024

PTU YV CU Pack 14


This tut was written September 15th, 2024 for those with a basic knowledge of psp. 

AI generated tube and kit by Yvette ai Art
This is an AI generated CU Pack 14
 for CU/PU
Read the TOU on how to credit your tags

I used PSP2020...but any of them should work.
PTU Scrap YV CU Pack 14 by Yvette's ai Art  HERE
Check out the rest of her store HERE
Mask of choice, I used DD Geo_2 Mask (blog closed now)

Font of choice, I used peque script

Drop shadow is V -2 H 4, 40, 10, color Black or use what you prefer.
Let's get started
*Remember to add your drop shadow as you go along*

Open a new image 800 x 800, paste paper 3, apply your mask.

Resize frame 2 to 45%, paste.
Resize frame 4 to 40%, paste, click inside with the magic wand, resize 
your tube to 75%, paste, invert, delete.
Resize element 18 to 15%, paste on the pumpkin, erase some of the 
string.
Resize the tube to 40%, mirror, paste on the frame on the left.
Resize element 19 to 20%, paste below the tube.
Resize element 12 to 20%, paste at the bottom right above the tube.
Resize element 17 to 15%, paste at the bottom above the tube.
Resize element 21 to 10%, paste on the left above the tube.
Resize element 20 to 10%, paste at the bottom left, below the mirror.
Resize element 16 to 7%, paste at the bottom right.
Resize element 3 to 10%, mirror, paste on the pumpkin on the right.
Resize element 14 to 15%, paste on the bottom left.
Resize element 1 to 15%, mirror, paste on the sign on the right.
Resize element 9 to 10%, paste at the bottom.

Add any other elements that you would like, make it your own.
Always readjust your mask and elements how you like them before you
 merge your tag, resize, sharpen.

Crop your tag to be sure no shadows or lines are on the edges.
 Then add your copyright and name.
That's it

Hope you enjoyed doing my tut.   

Thursday, September 5, 2024

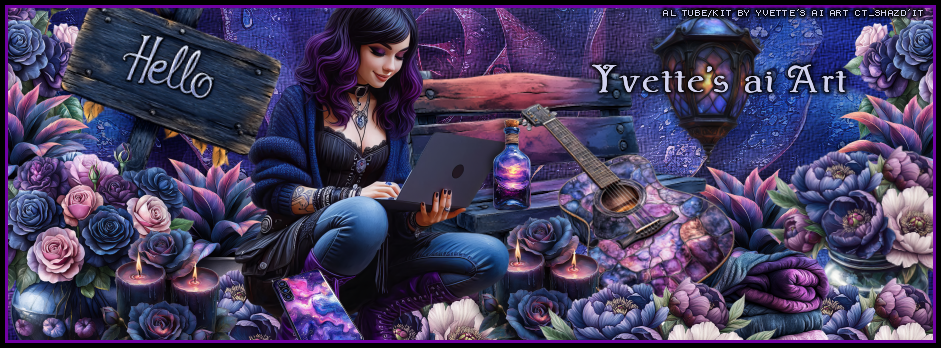
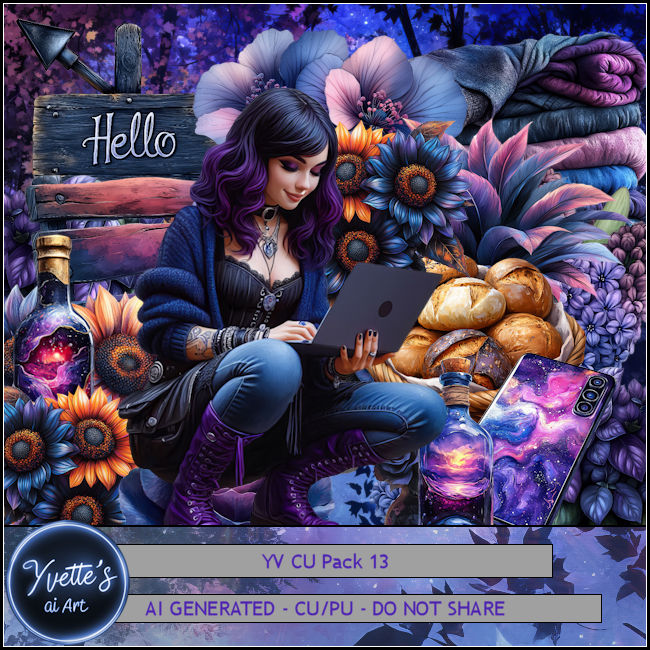
CT CU Pack 13 FB Timeline and Ava for Yvette's ai Art

   "CT FB TL and Ava for Yvette's ai Art"

AI generated tube and kit by Yvette ai Art
This is YR CU Pack 13
CU/PU
1 Tube, 25 elements, 2 backgrounds and 2 frames
Read the TOU on how to credit your tags
Kit HERE


CT CU Pack 7 FB Timeline and Ava for Yvette's ai Art

  "CT FB TL and Ava for Yvette's ai Art"

AI generated tube and kit by Yvette ai Art
This is YR CU Pack 7
CU/PU
1 Tube, 25 elements, 2 backgrounds and 2 frames
Read the TOU on how to credit your tags
Kit HERE


Sunday, September 1, 2024

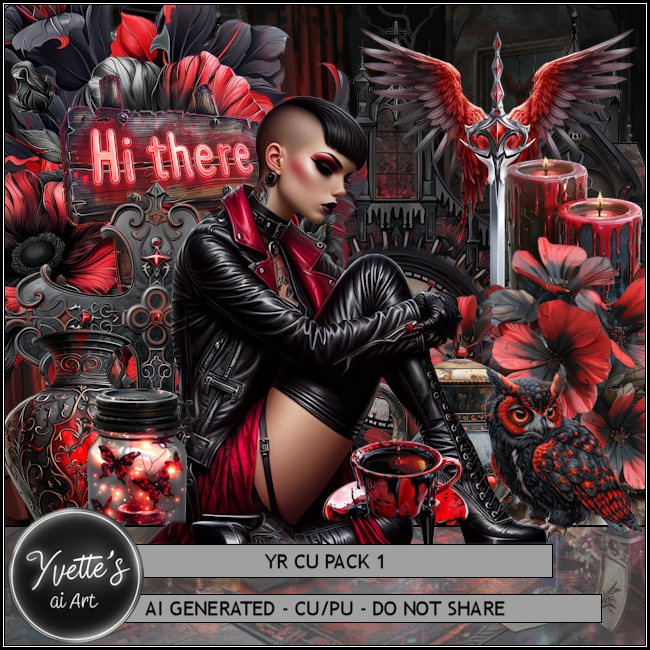
PTU YR CU Pack 1, FB TL and Ava for Yvette's ai Art

   "CT FB TL and Ava for Yvette's ai Art"
AI generated tube and kit by Yvette ai Art
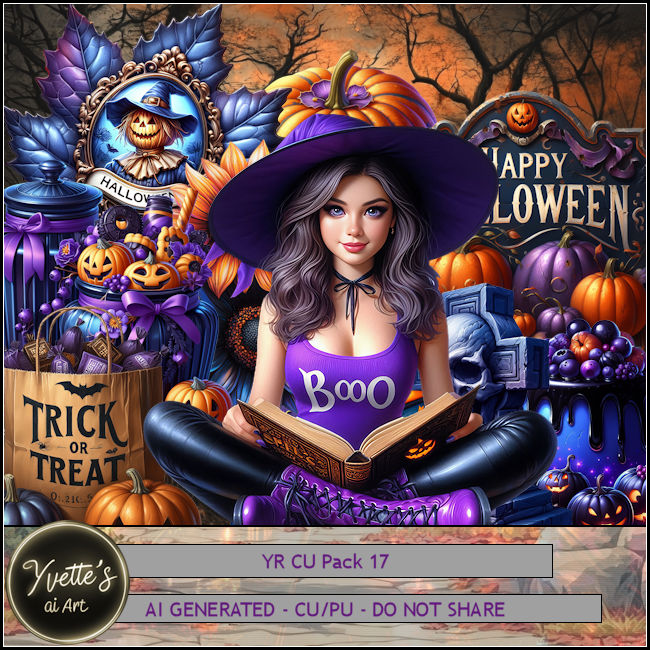
This is YR CU Pack 1
CU/PU
35 elements, 6 backgrounds and 2 frames
Read the TOU on how to credit your tags
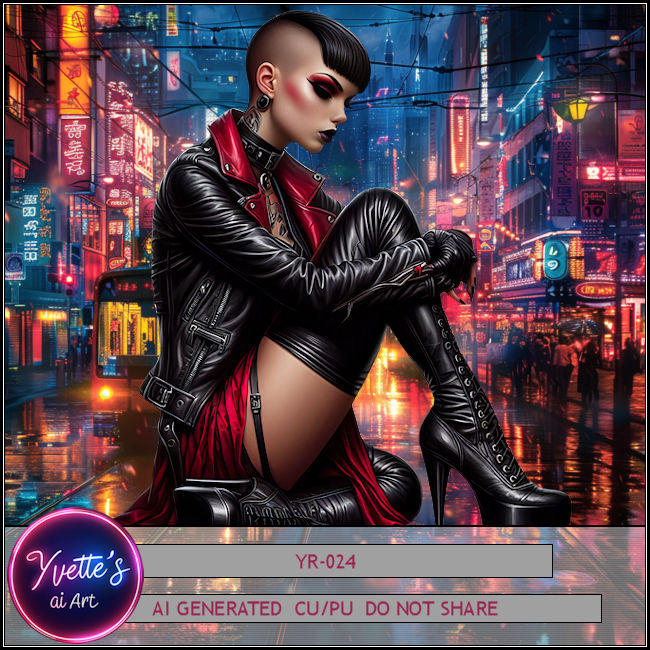
I paired it with this awesome Al tube YR-024 HERE
Kit HERE


PTU YR CU Pack 3, FB TL and Ava for Yvette's ai Art

  "CT FB TL and Ava for Yvette's ai Art"
AI generated tube and kit by Yvette ai Art
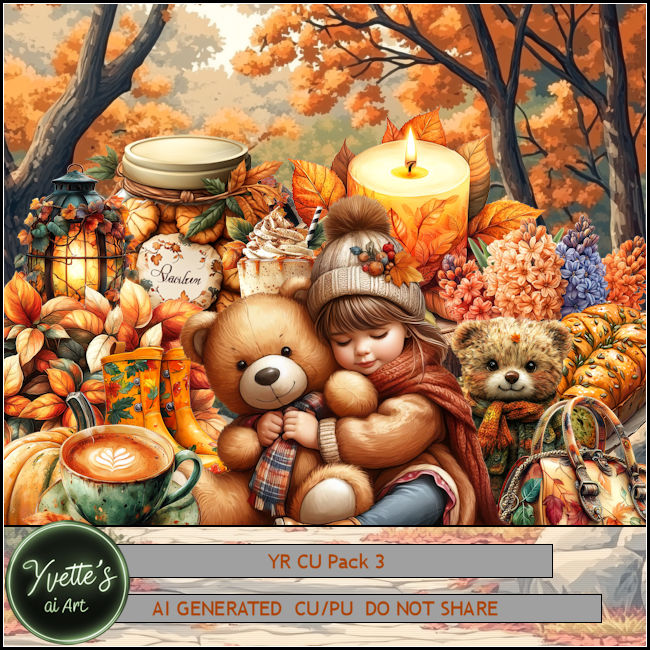
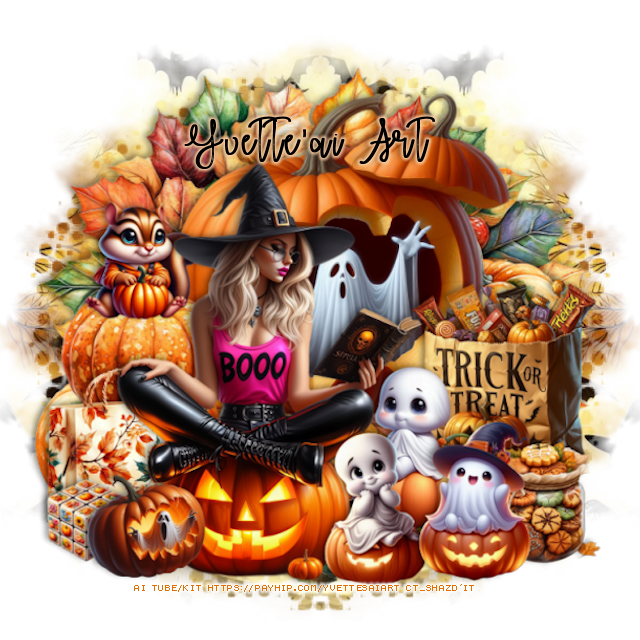
This is YR CU Pack 3
CU/PU
22 elements, 1 Al tube, 2 backgrounds and 3 frames
Read the TOU on how to credit your tags


Friday, August 23, 2024

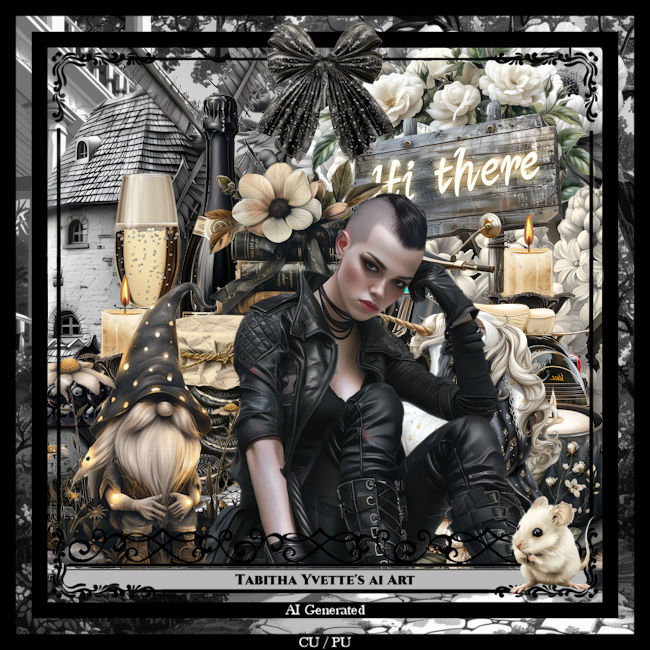
PTU Yvette's ai Art Tabitha TL and Tag

This tut was written August 23rd, 2024 for those with a basic knowledge of psp. 

AI generated tube and kit by Yvette ai Art
This is an AI generated tube Tabitha
 for CU/PU
Read the TOU on how to credit your tags


Sunday, August 11, 2024

PTU YV CU Pack 38


This tut was written August 11, 2024 for those with a basic knowledge of psp. 

AI generated tube and kit by Yvette ai Art
This is an AI generated CU Pack 38
 for CU/PU
Read the TOU on how to credit your tags

I used PSP2020...but any of them should work.
PTU Scrap YV CU Pack 38 by Yvette's ai Art  HERE
Mask of choice, I used RD Mask 685 HERE 
Check out the rest of the blog HERE

Font of choice, I used Always

Drop shadow is V -2 H 4, 50, 10, color Black or use what you prefer.
Let's get started
*Remember to add your drop shadow as you go along*

Open a new image 800 x 800, paste paper 2, apply your mask,
duplicate, change the blend mode to Multiply, merge down.

Resize element 8 to 10%, free rotate to the left at 90, apply Mura Meister Copies-
first 3 numbers on 18, 54, 54, paste
Resize frame 3 to 25%, paste, click inside with the magic wand, resize
paper 1 to 40%, paste, invert, delete.
Resize the tube to 25%, paste on the right.
Resize element 14 to 20%, paste on the left below the tube.
Resize element 13 to 12%, paste at the bottom above the tube.
Resize element 10 to 10%, paste on the bottom right below the dog.
Resize element 7 to 5%, paste at the bottom right above the purse.
Resize element 9 to 7%, paste by the cup.
Resize element 8 to 10%, paste on the bottom left below the dog.

Resize element 3 to 15%, paste on the bottom left below the candles.
Resize element 1 and 15 to 10%, paste at the bottom left above the candles.

Add any other elements that you would like, make it your own.
Always readjust your mask and elements how you like them before you
 merge your tag, resize, sharpen.

Crop your tag to be sure no shadows or lines are on the edges.
 Then add your copyright and name.
That's it

Hope you enjoyed doing my tut.