Showing posts with label Sheena Pike. Show all posts

Sunday, June 4, 2023

PTU Coffee Fix


This tut was written June 4th, 2023 for those with a basic knowledge of psp. 

I am using the beautiful artist ©Sheena Pike

Tube is 12-3 Java Joanna
You need a license to use this tube, please do not use without a license.
You can find all Sheena Pike tubes at CDO HERE

I used PSP2020...but any of them should work.
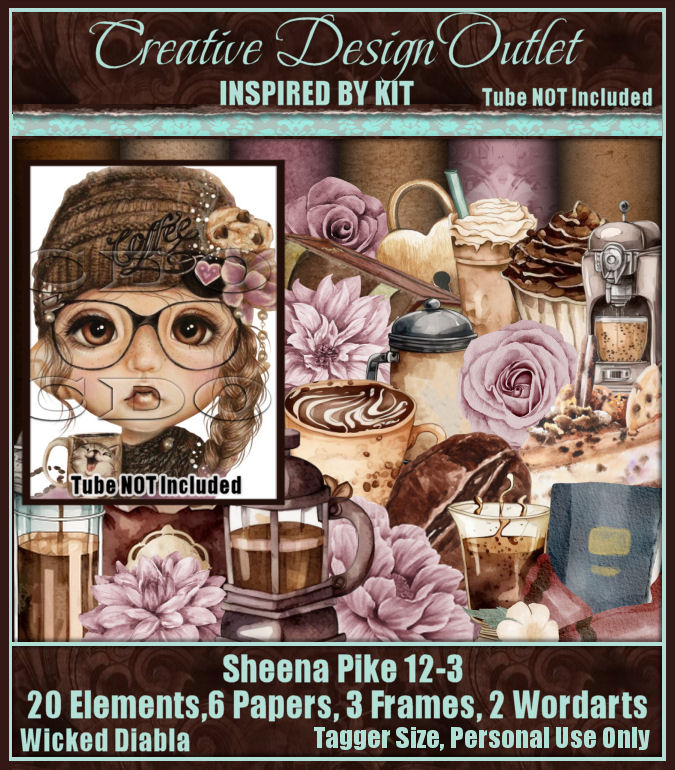
PTU Scrap WD_IB-Sheena Pike 12-3 by Wicked Diabla Designs  HERE 
Awesome coffee kit with 20 elements, 6 papers, 3 frames and 2 wordart
Mask of choice, I used Miz Teeques' Mask 165 and 247  HERE  HERE
Check out the rest of the Blog HERE
Filters
Mura Meister Copies-Encircle

Font of choice, I used Strawberry

Drop shadow is V -1 H -3, 40, 10, color black or use what you prefer.
Let's get started
*Remember to add your drop shadow as you go along*

Open a new image, 800 x 800, paste paper 5, apply mask 247 first, 
delete, merge group.
Paste paper 5 again, apply mask 165, delete, merge group, adjust
to fit your tag on both mask.

Resize frame 1 to 60%, click inside with the magic wand, expand by 5,
paste paper 5, invert, delete, select none.

Resize element 11 to 15%, apply Mura Meister Copies-Encircle, change the
first 3 numbers to 26, 65, 65, move below the paper layer of the frame.
Resize element 24 to 15%, apply Mura Meister, change the first 3 numbers to
28, 70, 70, move below the cupcake circle.
Resize element 17 to 10%, apply Mura Meister, first 3 numbers on
42, 75, 75, move below the flower circle.

Resize the tube to 90%, paste above the frame.

Resize element 24 to 40%, paste at the bottom above the tube.
Resize element 8 to 30%, paste on the left below the flower.
Resize element 11 to 30%, paste on the right below the flower.
Resize element 13 to 40%, paste on the right below the tube.
Resize element 6 to 40%, paste on the left below the cup.
Resize element 9 to 40%, paste below the cup.

Resize element 1 to 30%, paste at the lower right above the bag,
duplicate, mirror, move below the coffee pot.
Resize element 18 to 30%, paste at the lower right above the flower.
Resize element  12 to 50%, paste on the right above the frame.
Resize element 23 to 25%, paste on the right below the flower, duplicate, 
mirror, move up on the left.
Resize element 16 to 40%, paste on the left below the flower.
Resize element 10 to 30%, paste on the lower left below the flower by the pot.

Resize element 3 to 40%, paste behind the cupcake.
Resize wordart 2 to 35%, paste at the bottom being on the top layer, add a fat
white gradient glow.
Resize wordart 1 to 15%, add a fat white gradient glow,
move to the left, duplicate, move to the right and down.
Resize element 17 to 8%, paste at the bottom right, duplicate once or twice
and move where you like.
Resize element 7 to 40%, apply Mura Meister Throw with these numbers
6, 32, 100, paste on the frame on the left, duplicate, mirror.

Add any other elements that you would like, make it your own.
Always readjust your mask and elements how you like them before you
 merge your tag, resize, sharpen.

Crop your tag to be sure no shadows or lines are on the edges.
 Then add your copyright and name.
That's it

Hope you enjoyed doing my tut.  

Sunday, September 4, 2022

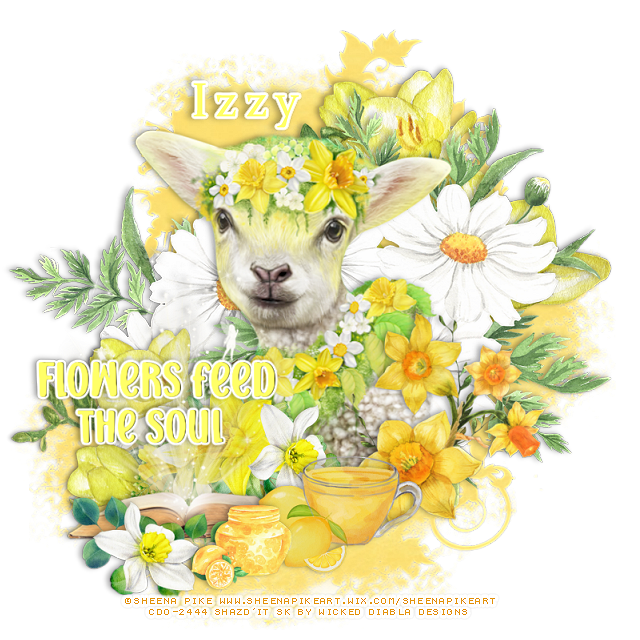
CT Tags Sheena Pike/kit by Wicked Diabla

 **CT Tags FOR 🌸🌸 Wicked Diabla Designs**🌸🌸
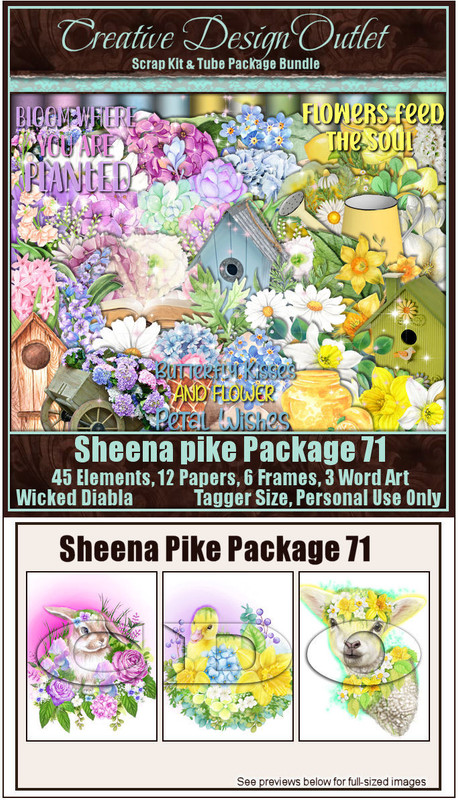
*** New Package by Wicked Diabla Designs ***
*NEW Scrap Bundle kits in store*
- ScrapWD_SheenaPike-Package-71 -
HERE
Awesome kits to go with the new package by Sheena Pike
These kits are wow beautiful 45 elements, 12 papers, 6 frames and 3 wordart
Below are the tags I made with this kit


Tuesday, August 30, 2022

FTU Colorful Autumn


This tut was written August 29th, 2022 for those with a basic knowledge of psp. 

I am using the awesome artwork of Sheena Pike
The tube is "23-2"
You need a license to use this tube, do not use without a license.
You can find this art at CDO Store HERE

I used PSP2020...but any of them should work.
FTU kit Autumn by My Tagging Addiction HERE
Check out the rest of the blog HERE
Mask of choice, I used Fecnikek Autumn Mask 5 HERE
Check out the rest of the blog HERE
Autumn wordart of choice HERE

Font of choice, I used 2 Peas Jilted Bride

Drop shadow is V -1 H -4, 40, 10, or use what you prefer.
Let's get started
*Remember to add your drop shadow as you go along*

Open a new image 800 x 800, select your mask, select all, float, defloat, paste
paper 2, invert, delete, select none.
Resize to fit your tag later.

Paste element 28 on the mask layer.
Paste element 32 above the flower wreath how you like.
Resize element 5 to 50%, paste below the top flowers to the left and down,
duplicate, mirror.

Resize your tube to 80%, paste.

Resize element 14 to 50%, paste on the left below the tube.
Resize element 21 to 50%, paste on the right above the tube and over the container,
duplicate, mirror.
Resize element 7 to 50%, paste at the bottom below the flowers on the left.
Paste element 18 on the mask layer to the right, duplicate, mirror, duplicate, 
move up to the top more.

Paste element 19 at the bottom, free rotate to the left, duplicate, mirror.
Resize element 37 to 40%, paste at the bottom below the flowers, duplicate,
mirror.
Resize element 20 to 65%, paste the bow part on the handle of the apple basket,
being above the tube layer.

The wordart I used was 7,  I resized to 33, select all, float, defloat, add a new layer, fill 
with a color of choice.

Add any other elements that you would like, make it your own.
Always readjust your mask and elements how you like them before you
 merge your tag, resize, sharpen.

Crop your tag to be sure no shadows or lines are on the edges.
 Then add your copyright and name.
That's it

Hope you enjoyed doing my tut.          

Tuesday, February 11, 2020

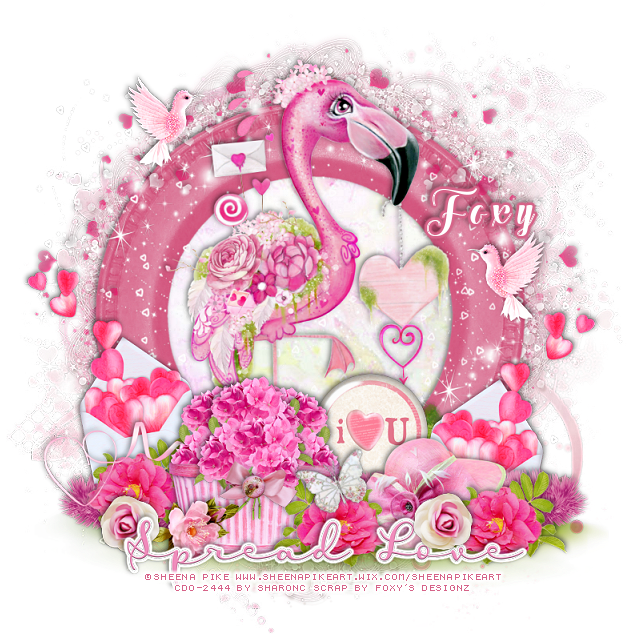
PTU Flamingo Love


This tut was written Feb 11th, 2020 for those with a basic knowledge of psp.
I am using the awesome artwork of Sheena Pike
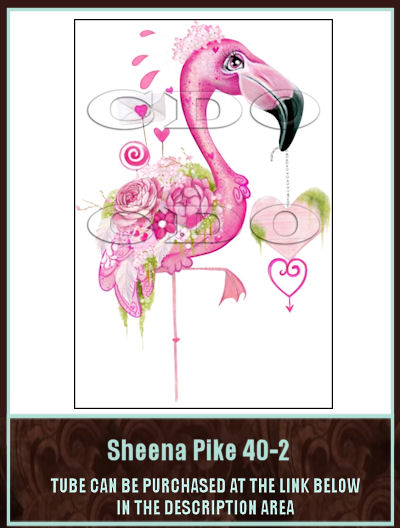
The tube is 40-2 Sheena Pike
You need a license to use this tube, do not use without a license.
You can find this at tube at CDO HERE

I used PSPX...but any should work.
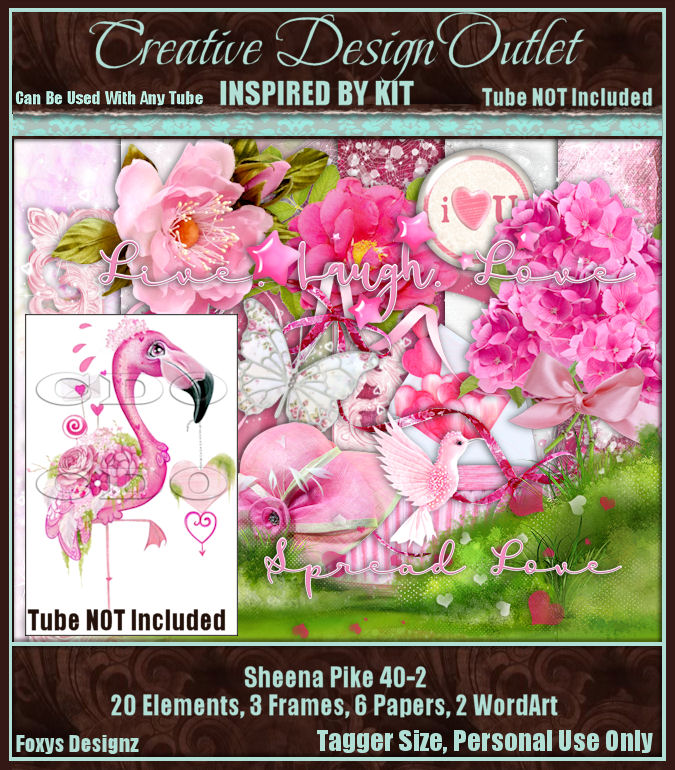
This kit was inspired by this tube but you can use the kit
 for any of your designs.
PTU kit "Scrap by Foxy's Designz_IB Sheena Pike 40-2 at CDO HERE
Mask of choice, I used DD NVM Mask 1  HERE
Check out the rest of the blog  HERE

Font of choice,  I used The Heart of Everything

Drop shadow is usually V-2 H-2 Black, 50, 5, use what you prefer.
Let's get started
*Remember to add your drop shadow as you go along*

Open a new image 800 x 800
Select all, add a new layer,  paste paper 5 into selection, apply your mask, 
delete, merge group.

Resize your tube to 75%, paste.

Resize element 15 to 75%, mirror, paste at the bottom above the tube.
Resize element 8 to 40%, paste at the bottom above the grass.

Resize element 4 to 40%, paste on the basket, take your free hand tool,
draw across the basket on the flower, delete, select none.
Make it look like the flower is in the basket, duplicate, move over,
then take the resize flower uncut and paste on the basket in front of the others.

Resize frame 1 to 60%, paste behind the tube.
Resize frame 2 to 80%, paste behind the frame, add a dark pink drop 
shadow.
Click inside the top frame, expand by 5, paste paper 6, invert, delete, 
select none.

Resize element 7 to 30%, paste at the bottom above the basket,
duplicate, mirror, move below the basket on the left.
Resize element 19 to 50%, paste on the left below the flower.

Resize element 14 to 85%, paste on the top frame.
Resize element 20 to 55%, paste at the lower left below the flower layer.
Resize element 9 to 20%, paste above the basket at the lower left.
Resize element 5 to 40%, paste on the grass below the basket layer on 
the right.

Resize element 13 to 50%, paste on the grass below the hat to the right, 
duplicate, mirror.

Resize element 3 to 40%, paste behind the hat.
Go back to the envelope with the hearts, duplicate, mirror,
move to the right and down behind the hat.

Resize wordart 1 to 25%, paste at the bottom being on the top layer,
add a fat white gradient glow.

Resize element 17 to 15%, paste at the lower left below the wordart, 
duplicate, mirror, move to the right and above the wordart.
Go back to the pink flower, duplicate, mirror, move to the right below
the wordart. 

Resize element 18 to 50%, paste at the upper left on the frame, duplicate,
 mirror.
Resize element 6 to 20%, paste at the upper left, duplicate, mirror, 
move on the right where you like.
Resize element 16 to 20%, free rotate to the left at 20 degrees, paste 
by the basket.
Resize element 10 to 15%, paste on the ribbon on the basket.

Add any other elements you would like, make it your own.
Always remember to adjust the elements before merging to get them like you like.

Once happy with your tag, close off any background, crop your tag to make
sure there are no stray edges, merge visible, resize first.
Add your copyrights and name.

That's it

Hope you enjoyed doing my tut.
Tuesday, November 26, 2019

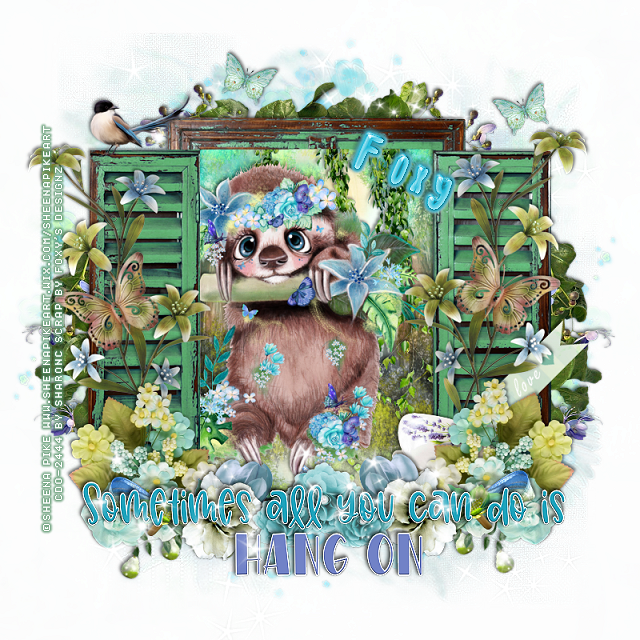
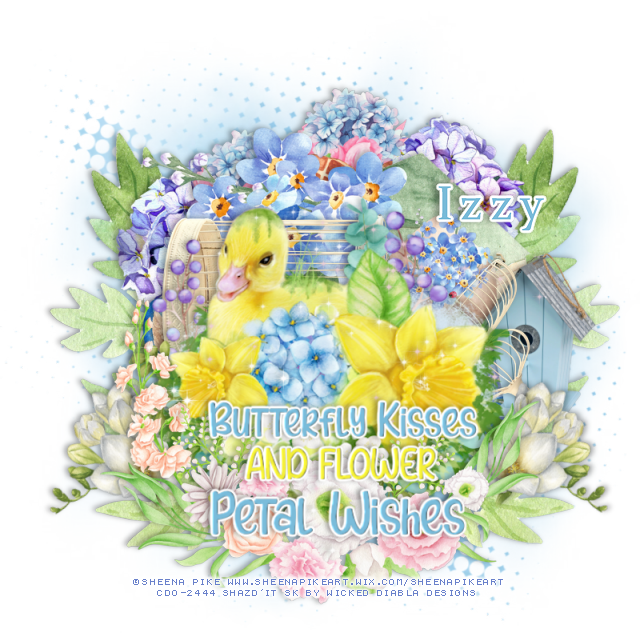
PTU Sheena Pike


This tut was written Nov 26th, 2019 for those with a basic knowledge of psp.
I am using the awesome artwork of Sheena Pike
The tube is NOT included with the kit.
You need a license to use this tube, do not use without a license.
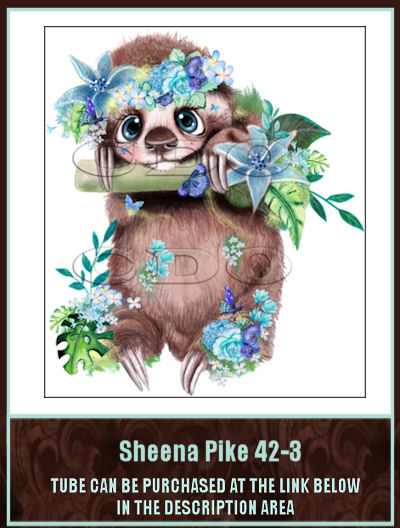
This is Sheena Pike 42-3 tube at CDO HERE

I used PSPX...but any should work.
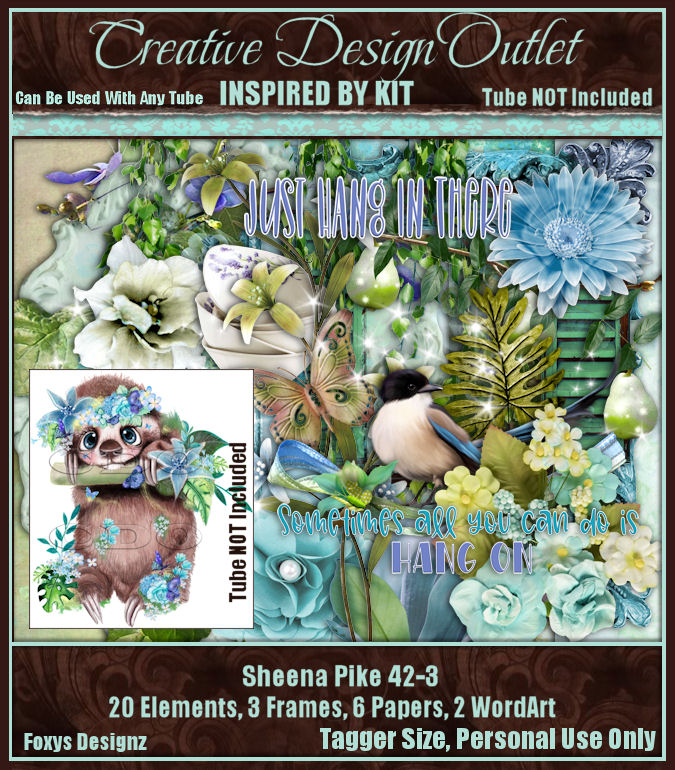
PTU kit "ScrapFoxy_IB Sheena Pike 42-3 at CDO HERE
MizTeeques Mask_151 HERE 
Check out the rest of the blog HERE

Font of choice,  I used Hello Giraffe

Drop shadow is usually V-2 H-2 Black, 50, 5, use what you prefer.
Let's get started
*Remember to add your drop shadow as you go along*

Open a new image 800 x 800
Select all, add a new layer, paste paper 3, apply your mask, 
delete, merge group.

Paste element 1, click inside with your magic wand, expand by 5,
add a new layer, paste paper 6 into selection, select none.

Resize your tube to 55%, paste inside the window.

Resize element 5 to 30%, paste on the frame at the lower left,
duplicate, mirror.
Resize element 6 to 25%, paste at the lower left by the flowers, 
duplicate, mirror.

Resize frame 2 to 50%, paste below the paper layer of the frame on 
the right, duplicate, mirror, duplicate again, flip, move to the top
below the other frames.

Resize element 17 to 75%, paste on the mask layer at the upper left,
duplicate, mirror, flip move to the bottom right.

Resize element 19 to 35%, paste below the flower on the right.
Resize element 10 to 55%, paste in the frame behind the tube.
Resize element 15 to 20%, paste at the bottom left below the white flower,
duplicate, mirror.

Resize element 4 to 50%, paste at the bottom below some of the flowers,
duplicate, mirror.
Resize element 3 to 20%, paste at the bottom being on the top layer, 
duplicate, resize to 75%, paste on one side, duplicate, mirror.

Resize element 9 to 50%, paste on the shutter on one side, duplicate, mirror.
Resize the wordart 1 to 30%, paste at the bottom being on the top layer.
Resize element 14 to 50%, free rotate to the left at 45 degrees, paste 
on the right on the window shutter layer.

Resize element 13 to 30%, paste on the upper left on the shutter.
Resize element 18 to 20%, paste at the upper right, duplicate, mirror.
Resize element 120 to 25%, free rotate to the left at 15 degrees,
paste at the bottom below all the other elements, duplicate, mirror.
Paste element 11 at the bottom being on the top layer, duplicate, move to the top 
below the paper layer of the frame.

Add any other elements you would like, make it your own.
Always remember to adjust the elements before merging to get them like you like.

Once happy with your tag, close off any background, crop your tag to make
sure there are no stray edges, merge visible, resize first.
Add your copyrights and name.

That's it

Hope you enjoyed doing my tut.