
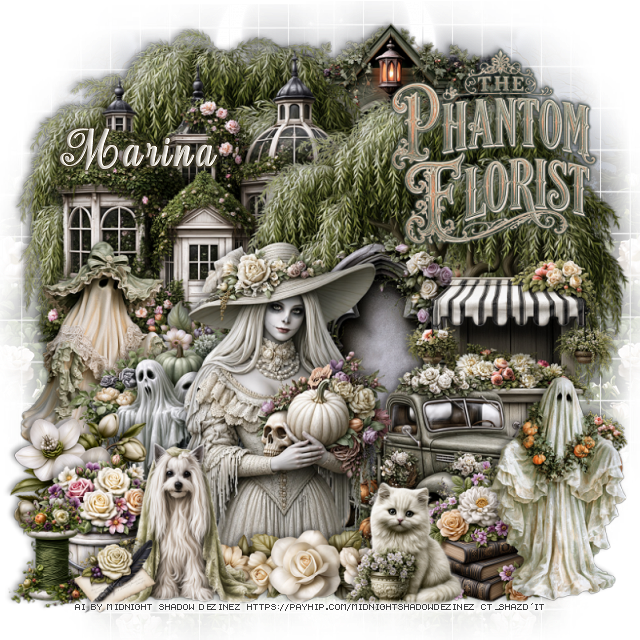
This tut was written September 23rd, 2026 for those with a basic knowledge of psp.
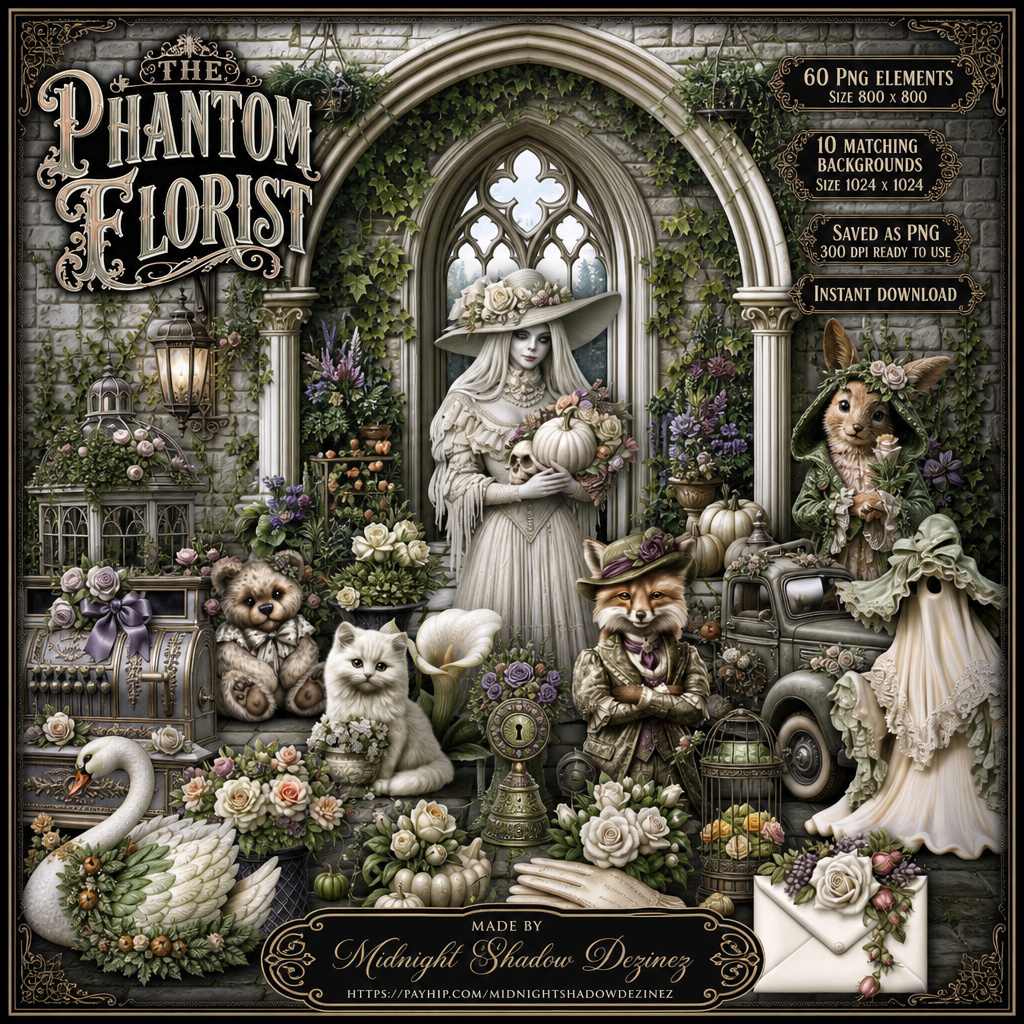
Awesome AI kit and tube by Midnight Shadow Dezinez
Everything is included in the kit
Read the TOU on how to credit your tags
Drop shadow as you go is V -2 H -4, 40, 10, or use what you prefer.
Let's get started
*Remember to add your drop shadow as you go along*
Open a new image 800 x 800, paste paper 7, apply your mask,
move to the left, duplicate, mirror.
Resize 10 to 55%, paste on the upper left.
Resize 9 to 30%, paste on the bottom left above the building.
Resize 2 to 35%, paste on the left above the flowers.
Resize 39 to 65%, paste at the top below the building, duplicate, move
to the right and above the building.
Resize 35 to 50%, paste.
Resize 28 to 50%, paste below the tube on the right.
Resize 48 to 40%, paste on the left below the tube.
Resize 46 to 45%, paste on the right below the tube.
Resize 56 to 40%, paste on the right below the truck.
Resize 52 to 50%, paste at the top below the trees.
Resize 20 to 40%, paste on the bottom right above the truck.
Resize 54 to 25%, paste on the bottom below the ghost.
Resize 38 to 22%, paste at the bottom by the books.
Pick which one you want from 40, resize to 50, paste at the bottom of the tube
below the cat.
Resize 36 to 30%, paste at the bottom on the left of the tube.
Resize 58 to 25%, paste on the bottom left above the cart.
Resize 30 to 25%, paste on the bottom left, move the dog above it.
Resize 50 to 20%, paste on the bottom left.
Resize 4 to 35%, paste at the upper right, add a darker gradient color.
Resize 49 to 15%, paste at the bottom left.
Add any other elements that you would like, make it your own.
Always readjust your mask and elements how you like them before you
merge your tag, resize, sharpen.
Crop your tag to be sure no shadows or lines are on the edges.
Then add your copyright and name.
That's it
Hope you enjoyed doing my tut

No comments:
Post a Comment