Tuesday, February 23, 2021

FTU Bless Our Home


This tut was written February 23th, 2021 for those with a basic knowledge of psp.

I am using the awesome artwork of  Melissa Dawn
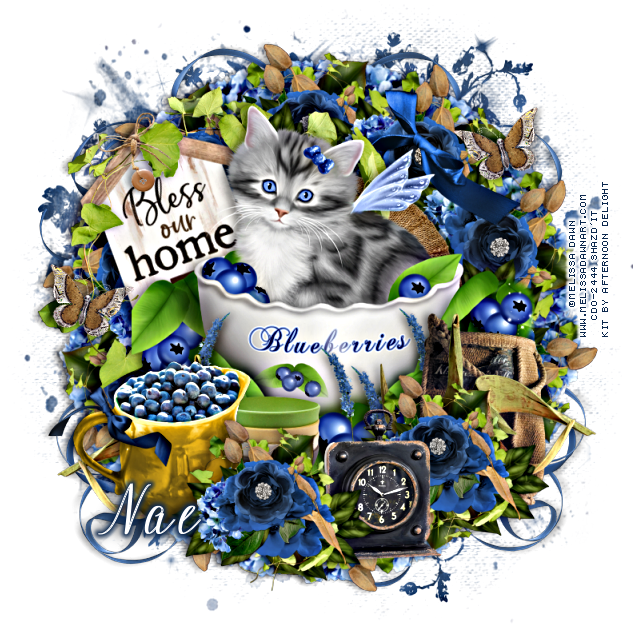
The tube is called "14-2" 
You need a license to use this tube, do not use without a license.
You can find this tube at CDO store  HERE

I used PSPX...but any of them should work.
FTU kit Delish by Afternoon Delight part of a blog train HERE
Check out the rest of the blog HERE
RD Mask 163_2 HERE
Check out the rest of the blog HERE
Filters
Mura Meister Copies-Encircle
xero-Clarity

Font of choice,  I used Nightingale

Drop shadow is  V 0 H -5, 50, 13, or use what you prefer.
Let's get started
*Remember to add your drop shadow as you go along*

Open a new image 800 x 800 or a size you prefer, can always resize later,
fill with white.
Select all, new layer, paste paper 13 into selections, apply your mask, delete,
merge group.

Resize cluster frame to 40%, paste click inside with your magic wand, expand
by 5, resize paper 15 to 22%, paste, invert, delete, move below the frame.
Drop shadow as you go along.

Resize flower 12 to 10%, apply Mura Meister Copies-Encircle, change the 
first 3 numbers to 18, 47, 47 paste below the cluster frame.

Paste your tube on the cluster frame.

Resize the Bless your home sign to 13%, free rotate to the left at 20 degrees, 
paste below the tube layer to the left and up.
Resize the pitcher with the blueberries to 13%, paste at the lower left.
Resize the flower cluster to 35%, paste at the bottom above the pitcher.

Resize the clock to 12%, paste at the bottom below the flower, duplicate the 
flower, move to the right below the clock.
Resize the Vine 1 to 15%, paste on the left above the bless our home sign.
Resize the peels to 15%, paste on the lower right below the flower, duplicate,
mirror, move down under the pitcher of berries on the left.

Resize the tote sack to 20%, paste on the right below the peels.
Resize bow 1 to 7%, paste on the sign.
Resize the bowls to 7%, paste behind the pitcher of berries.

Resize bow 8 to 12%, mirror, paste on the handle of the pitcher.
Resize the butterfly to 4%, free rotate to the right at 20 degrees, paste on the 
left, duplicate, mirror, move up on the right.
Resize ribbon 5 to 35%, paste at the bottom to the left above the mask layer,
duplicate, mirror.

Duplicate the right ribbon, move to the top and over to the left, duplicate
the lower left ribbon, move it to the upper right.
Resize leaves 6 to 10%, paste above the tube by the cup part, duplicate two or
three times and move how you like.

Add any other elements that you would like, make it your own.
Always readjust your mask and elements how you like them before you
 merge your tag, resize.
I then used the xero filter-Clarity instead of sharpening. 
Crop your tag to make sure no shadows or anything on the edges

 Then add your copyright and name.
That's it

Hope you enjoyed doing my tut. 


Saturday, February 20, 2021

FTU Spring Blooms

This tut was written February 20th, 2021 for those with a basic knowledge of psp.

I am using the awesome artwork of  Misticheskaya
The tube is called "Adelina" 
This is an Exclusive tube
You need a license to use this tube, do not use without a license.
You can find this tube at PFD store  HERE

I used PSPX...but any of them should work.
FTU kit by Mythical Designs from Scrappin Your Heart Out Blog Train HERE
Check out the rest of the blog HERE
Miz Teeques Mask 084 HERE
Check out the rest of the blog HERE
Filters
Mura Meister Copies-Encircle
xero-Mistifier (Optional)

Font of choice,  I used La Beauties

Drop shadow is  V 1 H -5, 40, 15, or use what you prefer.
Let's get started
*Remember to add your drop shadow as you go along*

Open a new image 800 x 800 or a size you prefer, can always resize later,
fill with white.
Select all, mirror paper 2, paste into selection, apply your mask, delete, merge group.
Take your free hand tool and draw around the dark part of the mask, delete,
duplicate, mirror, adjust.

Resize frame 4 to 75%, free rotate to the left at 90 degrees, move to the right.
Resize frame 2 to 75%, free rotate to the left at 20 degrees, move below the oval
frame at the upper left, duplicate, mirror, move to the right so just a little of the 
frame shows, duplicate again, move down and below the first frame.
It will look funny at first but keep going.
Remember you can readjust all elements before merging.

Resize element 8 to 70%, paste at the top below the oval frame, duplicate, 
resize to 50%, apply Mura Meister Copies, Encircle first number on 20, move
above all the frames.
Resize element 5 to 50%, paste on the left and up some.
Paste element 21 by the blue flower, duplicate, mirror, move up more on the right.
Paste element 19 about center.

Resize your tube to 35%, if using the same as I am, paste.

Resize element 9 to 50%, free rotate to the right at 15 degrees, paste behind the tube
on the right and up, duplicate, mirror, move up some on the left.
Resize element 22 to 50%, paste on the right below the flower circle you made
earlier, duplicate, mirror.
Duplicate a couple more times and move where you like.

Paste element 24 on the right below the tube, duplicate, mirror.
Resize element 23 to 60%, paste on the right below the tube, duplicate, mirror.
Resize element 12 to 40%, paste at the bottom above the tube.
Resize element 11 to 40%, paste at the lower right, duplicate, mirror.
Resize element 7 to 20%, paste below the flowers, duplicate a couple of times
and move one to the left and the other where you like.

Resize element 18 to 50%, paste on the right below the tube layer.
Resize element 10 to 40%, paste on the right above the watering can.

The birds and butterflies comes with this tube.
You can resize the butterfly in the kit to 10 or 15%, paste and duplicate if
you want butterflies.

Paste element 6 at the bottom below the flowers, duplicate, flip, adust at the top
how you like. I moved mine to the top frame layer.

Resize element 1 to 50%, paste below the tube layer on one side, duplicate,
mirror, duplicate both again and move down on each side.
Paste element 20 below the tube layer above the sparkle layers.
(Optional)
Merge your tube, go to Adjust, Blur, Gaussian Blur, number on 2, change the 
blend mode to Soft Light, merge down.
Apply the xero Filter- Mistifier  with default settings, sharpen once.

Add any other elements that you would like, make it your own.
Always readjust your mask and elements how you like them before you
 merge your tag, resize, sharpen once.
Crop your tag to make sure no shadows or anything on the edges

 Then add your copyright and name.
That's it

Hope you enjoyed doing my tut.