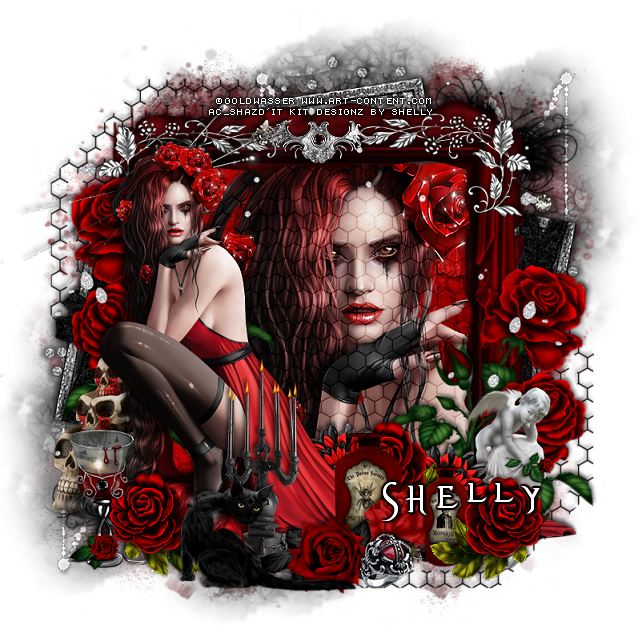
This tut was written April 28th, 2020 for those with a basic knowledge of psp.
I am using the awesome artwork by © Eskada
The tube is "Happy Day"
You need a license to use this tube, do not use without a license.
You can find this tube at Art Content store HERE
(This store has now closed, so try contacting the artist to see where they might
be selling now)
I used PSPX...but any of them should work.
(Was PTU now FTU)
Font of choice, I used Sweetgentle
Drop shadow V-2 H-2 Black, 50, 10, or use what you prefer.
Let's get started
*Remember to add your drop shadow as you go along*
Open a new image 800 x 800
Paste paper 6, apply your mask, delete, merge group.
Resize your tube to 35%, paste about center.
Paste element 104 behind the tube on the left, duplicate,
mirror, click inside the frames, expand by 40, paste paper 5, invert,
delete, keep selected.
Take your resized tube, paste in each frame, mirror one. delete, select none.
Resize element 77 to 50%, paste at the bottom above the mask layer,
duplicate, mirror, move out on each side a little.
Paste element 49 on the left above the frame, duplicate, mirror.
Resize element 51 to 75%, paste below the paper layer of the frame,
duplicate, mirror.
Paste element 48 on the left above the greenery, duplicate, mirror.
Resize element 25 to 50%, paste at the lower left above the tube.
Resize element 29 to 40%, paste by the other flowers.
Resize element 50 to 40%, paste at the bottom above the tube.
Resize element 3 to 40%, paste at the bottom above the flowers.
Resize element 5 to 40%, mirror, paste by the chest.
Resize element 1 to 35%, paste at the bottom below the white flowers.
Resize element 10 to 20%, paste at the bottom above the flower.
Resize element 11 to 20%, paste by the first cup.
Resize element 86 to 50%, paste on the right below the tube.
Go back to the flowers in the pitcher vase, duplicate, mirror, adjust
behind the tube on the right.
Resize element 8 to 40%, paste at the lower right below the cups.
Resize element 73 to 15%, paste at the lower right by the cups, duplicate,
move over more.
Resize element 64 to 15%, paste on the left by the chest, duplicate,
move to the right.
Resize element 43 to 50%, paste at the bottom below the cups and the
little girl, change the word color to match your tube, add a fat white gradient
glow.
Resize element 79 to 50%, paste behind the tube to help cover some
of the other elements behind the tube.
Paste element 97 on the flower below the tube, duplicate, move to the top
and above the greenery.
Resize element 92 to 25%, free rotate to the left at 20 degrees, paste
on the right, duplicate, mirror, duplicate once more, move to the top.
Paste element 109 on the mask layer and move to the top.
Resize element 87 to 75%, paste on the girl part of the tube.
Add any other elements you would like, make it your own.
Always remember to adjust the elements before merging to get them like you like.
Once happy with your tag, close off any background, crop your tag to make
sure there are no stray edges, merge visible, resize first.
Add your copyrights and name.
That's it
That's it
Hope you enjoyed doing my tut.