Showing posts with label DAH. Show all posts

Thursday, July 31, 2025

FTU Sorry


  This tut was written July 31st, 2025 for those with a basic knowledge of psp.

I am using the awesome tube © Jenga Garcia
Tube is called Lonely Star
You need a license to use this tube, please do not use without a license.
You can find the tube at the DAH store HERE

I used PSP2020...but any of them should work.
FTU kit Sorry by Scrap by Chaos Priestess HERE
This is exclusive at her Fan Page on Facebook group
Mask of choice, I used Miz Teeques Mask 54 HERE
and Vivienne's Digital Tagging Mask 18 HERE
Check out the rest of the blogs HERE HERE

Font of choice, I used Atlantis Heart

Drop shadow is  V-1 H-4 Black, 50, 10, use what you prefer.
Let's get started
*Remember to add your drop shadow as you go along*
 
Open a new image 800 x 800, paste paper 8, apply Miz Teeques mask 54.
Paste element 41 above the mask on the upper left, duplicate, mirror,
move down.

Resize element 16 to 115%, paste
Resize element 14 to 165%, paste below the frame at the top, duplicate,
move to the bottom.
Paste element 29 on the bottom layer at the top, duplicate, flip,
move to the bottom.
Paste element 40 above the gears.
Paste element 24 below the gears, resize to fit your tag.

Resize the tube to 80%, paste above the frame, apply mask 18 to the tube.

Paste element 19 at the bottom above the tube on the right, duplicate,
mirror, erase some of the handle.
Resize element 50 to 50%, paste on the left above the tube.
Resize element 3 to 75%, paste on the bottom right below the flower.
Resize element 36 to 45%, paste on the bottom right.
Resize element 37 to 40%, paste on the bottom right.
Resize element 1 to 35%, paste on the bottom right below the glass,
duplicate, mirror.
Resize element 8 to 50%, paste on the bottom right below the bottle.
Resize element 18 to 50%, paste on the bottom right below the bottle,
duplicate, mirror, duplicate, move up on the left below the leaves.
Resize element 49 to 50%, paste on the upper left, duplicate, mirror, move
down on the right.
Paste the wordart at the bottom, add a white gradient.

Add any other elements that you would like, make it your own.
Always readjust your mask and elements how you like them before you
 merge your tag, sharpen once.
Crop your tag to make sure no shadows or anything on the edges

 Then add your copyright and name.
That's it

Hope you enjoyed doing my tut.      

Thursday, June 19, 2025

FTU 4th of July Party


This tut was written June 19th, 2025 for those with a basic knowledge of psp.

I am using the 4th of July kit by Purple Dreams Scraps
I am using Anna Marine tube 56-1 from CDO
That store has closed now 
I did not see this tube at DAH store but some of  her other tubes are there.
You can find some of her tubes at DAH now HERE

I used PSP2020...but any of them should work.
FTU Happy 4th of July by Purple Dreams Scraps  HERE
Check out the rest of the blog  HERE
Mask of choice, I used RD Mask 890 HERE
Check out the rest of the blog HERE
4th of July Template 2 by Millie's PSP Madness HERE
If Millie's link to the template does not work try this one (save as)  HERE
This is the zip file for the temp, try this one also HERE
Check out the rest of the blog HERE

Font of choice, I used Cocktail

Drop shadow is  V-1 H-4 Black, 40, 10, use what you prefer.
Let's get started
*Remember to add your drop shadow as you go along*
 
Open the template, resize canvas size to 800 x 800, 
delete the credits, close off the wordart for now.
Paste paper 2 on the bottom layer, resize larger to 110, apply your mask.

Layer 1, resize paper 9 to 75%, paste, invert, delete.
Resize element 21 to 60%, paste above the stripe paper, add a fat white gradient glow.
Layers 2 and 3, add noise at 50%.
Layer 5, resize paper 9 to 75%, paste, invert, delete,
Resize element 21 to 85%%, paste above the circle, add a fat white gradient glow.
Layer 6, paper 1
Layer 7, paper 1
Layer 9, paper 6
Move element 13 to the left more, add noise.

Paste the large tube on the top layer.

Resize element 16 to 50%, paste on the bottom left above the tube.
Resize element 30 to 25%, paste at the bottom by the bubble bottle.
Resize element 27 to 25%, paste at the bottom.
Resize element 31 to 30%, free rotate to the right at 20, paste at the bottom above the tube.
Resize element 35 to 35%, paste at the bottom right below the apples, duplicate, 
move over to the right a little more.
Resize element 12 to 30%, paste on the bottom left below the bubble bottle,
duplicate, mirror.

Resize element 17 to 25%, paste at the bottom above the apples.
Resize element 26 to 35%, mirror, paste at the bottom left.
Resize element 37 to 25%, paste at the bottom left.
Resize element 20 to 30%, paste at the bottom left.
Resize element 36 to 35%, paste on the right by the arm of the tube.
Resize element 18 to 90%, paste below the tube where you like.
Paste element 10 being on the top layer.
Resize element 34 to 35%, free rotate to the left at 25, paste at the upper left.
Resize element 19 to 50%, paste on the upper left.
Paste element 14 on the bottom layer at the upper left, duplicate, move
to the right and down.
Paste element 32 behind the tube.
Resize element 38 to 30%, free rotate to the right at 25, paste on the right below the tube.
Open the wordarts, add a red gradient glow, move where you like.

Add any other elements that you would like, make it your own.
Always readjust your mask and elements how you like them before you
 merge your tag, sharpen once.
Crop your tag to make sure no shadows or anything on the edges

 Then add your copyright and name.
That's it
Hope you enjoyed doing my tut.   
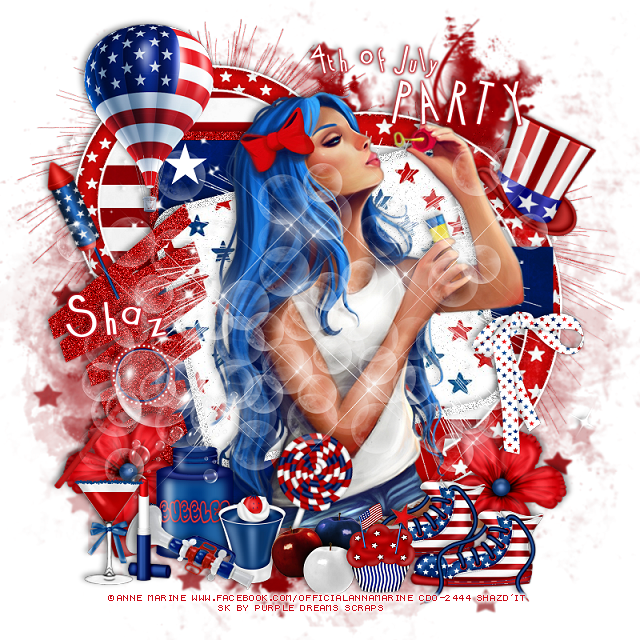
Tag by Pammers, thank you Pammers

sandy


Wednesday, November 6, 2024

CT for Designs By Rens

  ***CT for Designs By Rens ***

I am using the Awesome  tube by © Janna Provirina

Tube is called Bella Bird
You can find the tube at DAH store HERE

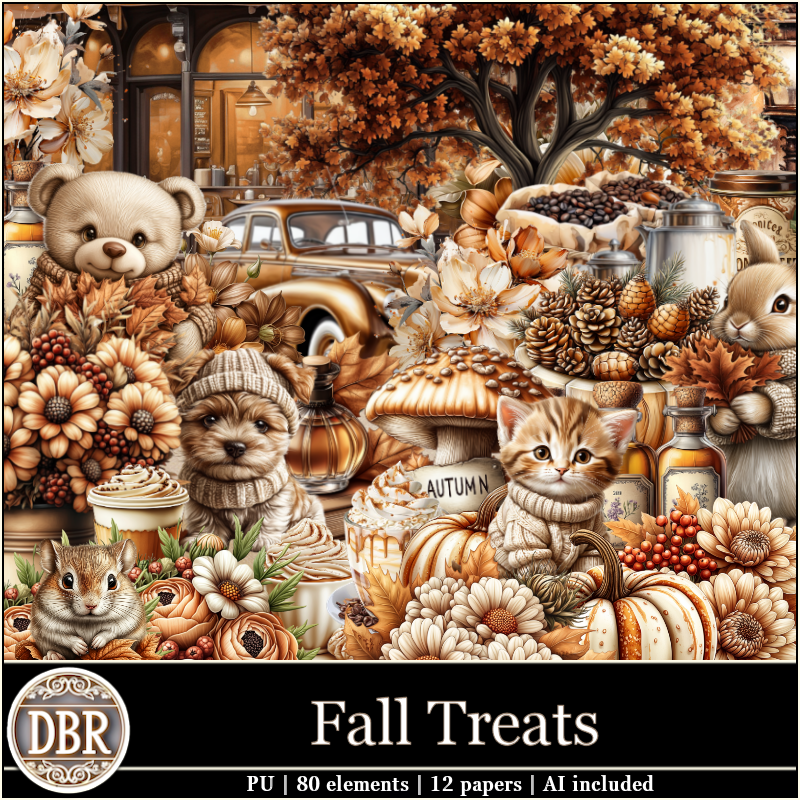
I paired it with the beautiful kit Fall Treats by Designs By Rens
HERE  HERE 


Thursday, January 18, 2024

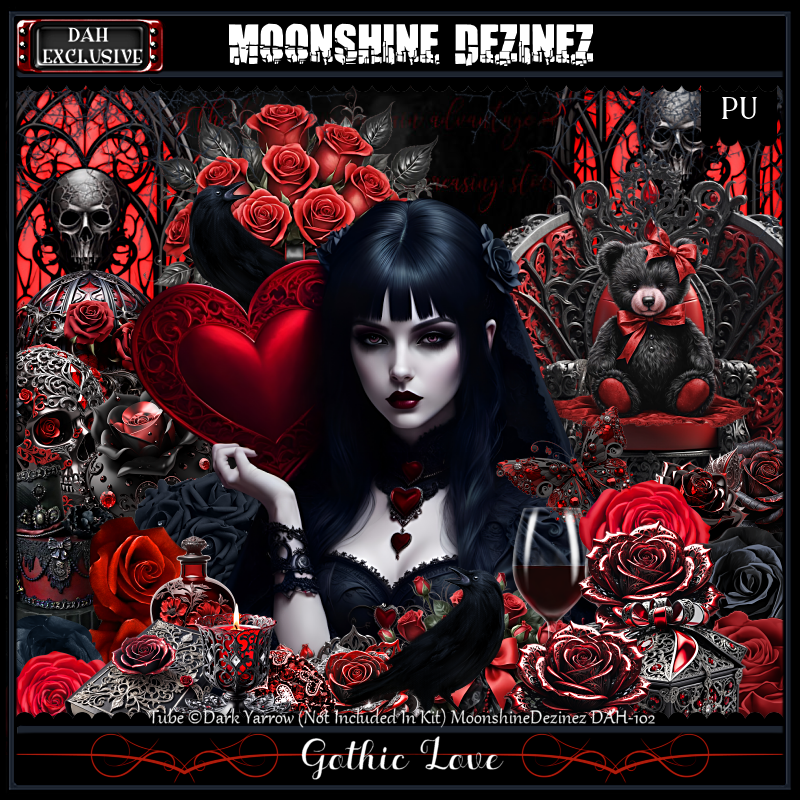
PTU Gothic Love


 This tut was written  January 18th, 2024 for those with a basic knowledge of psp. 

I am using an awesome tube  by ©Dark Yarrow

The tube is called Gothic Love
You need a license to use this tube, please do not use without a license
You can find this tube at DAH HERE

I used PSP2020...but any of them should work.
PTU Scrap Gothic Love by Moonshine Dezinez  HERE  
This kit was made for this tube and is Exclusive at DAH
You can find all the stores she sells at on her blog.
You can find all Moonshine Dezinez kits  HERE
Mask of choice, I used Vivienne's Digital Tagging Mask 41 HERE
Check out the rest of the blog HERE
Filter
Mura Meister Copies-Encircle

 Font of choice, I used Blackadder ITC

Drop shadow as you go is V -2 H -4, 50, 10, or use what you prefer.
Let's get started
*Remember to add your drop shadow as you go along*

Open a new image 800 x 800, paste paper 4, apply your mask, 
duplicate, mirror.

Resize element 26 to 25%, apply Mura Meister-Copies, change the first 3
numbers to 14, 55, 55, paste. 
Resize element 10 to 25%, flip, apply Mura Meister, change the first 3 
numbers to 30, 55, 55, paste.
Resize element 5 to 13, apply Mura Meister, change the first 3 numbers
to 20, 55, 55, paste.
Resize element 38 to 65%, paste below the circles on the left, duplicate,
mirror.
Resize element 63 to 50%, apply Mura Meister, first 3 numbers same 
as last time, move below the top flower circle.

Resize the tube to 55%, paste above the frames.

Resize element 8 to 50%, paste on the left below the tube.
Resize element 37 to 30%, paste at the bottom left above the tube.
Resize element 22 to 30%, paste at the bottom left above the flower.
Resize element 31 to  25%, paste on the bottom left below the flower, duplicate,
move to the right more.

Resize element 15 to 45%, paste on the bottom right.
Resize element 53 to 35%, paste at the bottom above the chair.
Resize element 57 to 20%, paste at the bottom.
Resize element 29 to 30%, paste at the bottom behind the bear.
Resize element 28 to 20%, paste at the bottom above the bear.
Resize element 54 to 20%, paste behind the bear on the right.
Resize element 33 to 25%, paste on the bottom left below the gift box.
Resize element 20 to 25%, paste on the upper right.

Resize element 44 to 65%, add a black fat gradient glow, change the blend
mode to Hard Light, lower the opacity to 50, paste at the bottom.

Add any other elements that you would like, make it your own.
Always readjust your mask and elements how you like them before you
 merge your tag, resize, sharpen.

Crop your tag to be sure no shadows or lines are on the edges.
 Then add your copyright and name.
That's it

Hope you enjoyed doing my tut   

Wednesday, December 13, 2023

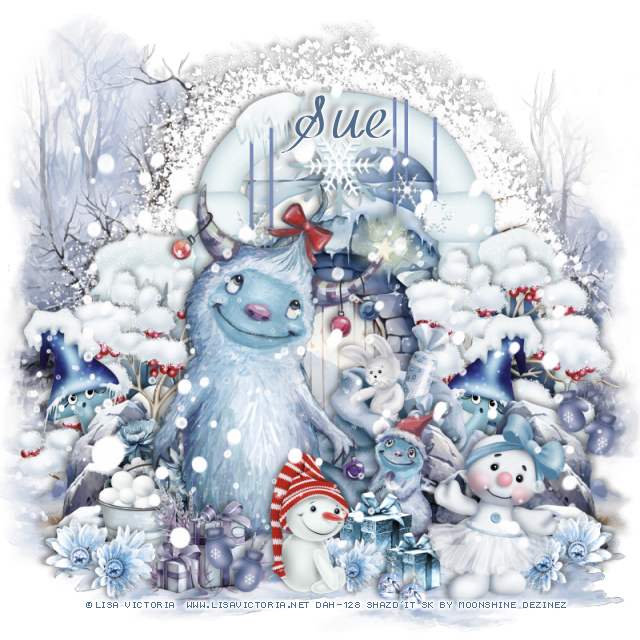
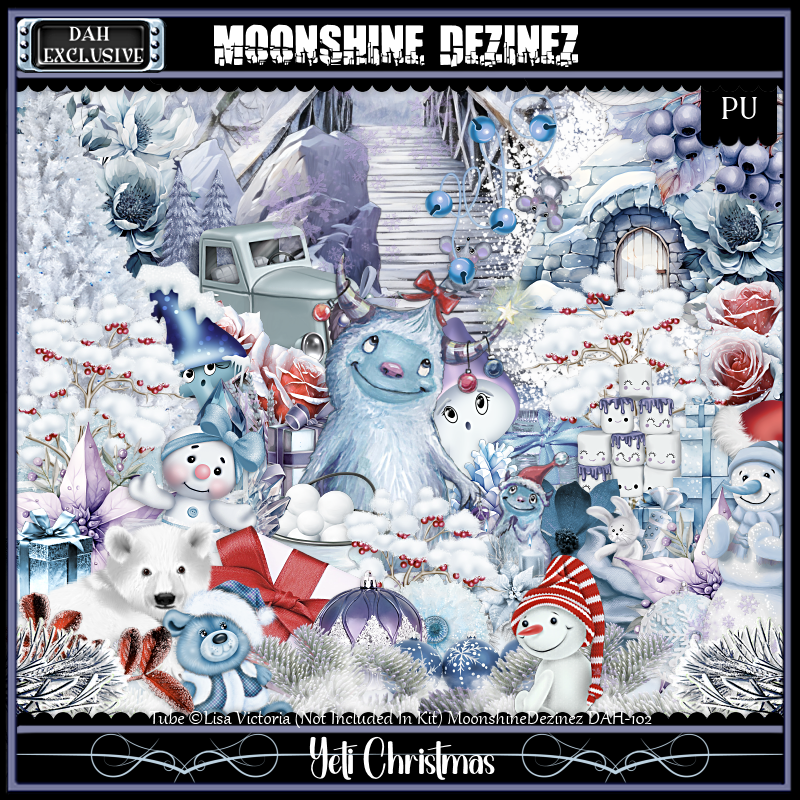
PTU Yeti Christmas


 This tut was written  December 13th, 2023 for those with a basic knowledge of psp. 

I am using an awesome tube by ©Lisa Victoria

The tube is called Yeti Christmas
You need a license to use this tube, please do not use without a license
You can find the tube at DAH HERE

I used PSP2020...but any of them should work.
PTU Scrap Yeti Christmas a match for the tube by the same name by
 Moonshine Dezinez  HERE 
You can find all Moonshine Dezinez kits  HERE

 Font of choice, I used MF Kind & Witty

Drop shadow as you go is V -2 H -4, 40, 10, or use what you prefer.
Let's get started
*Remember to add your drop shadow as you go along*

Open a new image 800 x 800

Resize element 71 to 90%, paste.
Resize element 12 to 90%, paste.
Paste element 41 on the bottom layer, duplicate, move the bottom one 
down more, erase the upper part.
Paste element 9 behind the igloo, erase the truck showing at the bottom.

Resize your tube to 60%, paste.

Resize element 10 to 50%, paste behind the tube to the right,
duplicate, mirror.
Resize element 69 to 40%, paste on the left behind the tube, duplicate,
mirror.
Resize element 65 to 25%, paste on the left behind the rocks, duplicate,
mirror.
Resize element 25 to 30%, paste on the bottom right.

Resize element 56 to 20%, paste at the bottom left below the tube.
Resize element 60 to 35%, paste below the rocks behind the tube to the right.
Resize element 26 to 25%, paste at the bottom left above the bucket.
Resize element 55 to 30%, paste at the bottom above the tubes, 
duplicate, resize to 75%, move over.

Resize element 40 to 25%, paste on the left behind the bucket.
Resize element 49 to 25%, paste at the bottom.
Resize element 22 to 25%, paste at the bottom left, duplicate, mirror,
move behind the snow girl, duplicate again, resize to 75%, move 
behind the snowman with the red hat.
Resize element 48 to 15%, paste on the gift at the left, erase some of 
the string, duplicate, move over to the right on the bushes.
Resize element 22 to 8%, paste at the bottom, duplicate, move over.
Paste element 11 on the top layer.

Add any other elements that you would like, make it your own.
Always readjust your mask and elements how you like them before you
 merge your tag, resize, sharpen.

Crop your tag to be sure no shadows or lines are on the edges.
 Then add your copyright and name.
That's it

Hope you enjoyed doing my tut

Monday, February 20, 2023

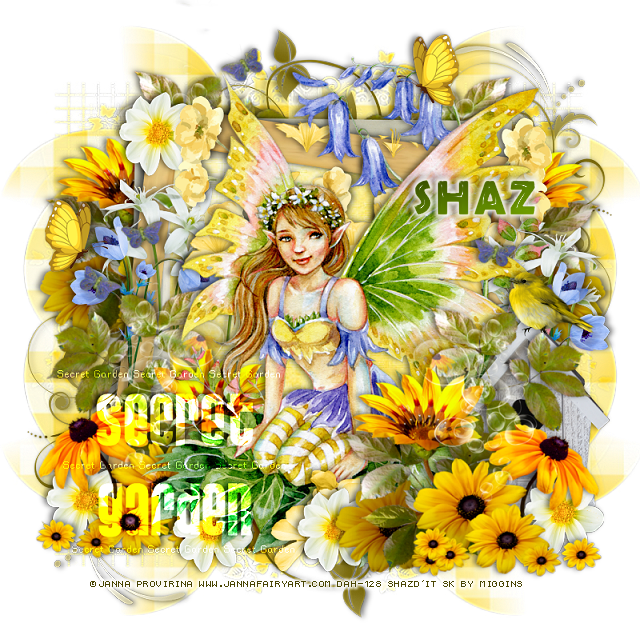
FTU Secret Garden


 This tut was written February 20th, 2023 for those with a basic knowledge of psp. 

I am using the awesome artwork of ©Janna Prosvirina
Tube is Lydia
You need a license to use this tube, do not use without a license.
You can find this tube at DAH Store HERE

I used PSP2020...but any of them should work.
FTU Miggs SYHO23K, thank you Miggins   HERE  
Check out the rest of the blog HERE
Mask of Choice, I used Tres Tags & Tuts Mask 381 HERE
Check out the rest of the blog HERE
Wordart by Chilly's PSP World HERE
Check out the rest of the blog HERE

Font of choice, I used Berlin Sans FB Demi

Drop shadow is V -1 H -4, 40, 10, Black or use what you prefer.
Let's get started
*Remember to add your drop shadow as you go along*

Open a new image 800 x 800, paste paper 4, apply your mask, delete, merge group,
duplicate, change the blend mode to Darken, merge down.
I resized mine larger to 110%.

Resize element 40 to 65%, paste, click inside with the magic wand, expand by 5,
paste paper 10, invert, delete, select none.
Resize element 9 to 55%, paste on the frame.
Paste element 34 below the paper layer of the frame at the top to the right,
duplicate, mirror, flip, move to the bottom left.

Resize element 6 to 75%, paste on the frame at the bottom right, duplicate,
mirror.
Resize element 8 to 40%, paste below the yellow flowers, duplicate, mirror.

Resize your tube to 80%, paste between the flowers, with the right one being on top.

Duplicate both yellow flowers, move the right one up to the left below the paper layer, and 
the left one up to the right, erase the top butterflies.

Resize element 26 to 40%, paste one on the left above the white flowers, duplicate, mirror.
Resize element 7 to 20%, paste at the upper left on the frame layer, duplicate 
a couple of times and move down on each side below the yellow flowers, duplicate one
twice, move above the tube at the bottom and one below the tube to the left.

Resize element 47 to 50%, paste at the top right above the frame, duplicate, 
mirror.
Resize element 32 to 85%, paste behind the tube at the top.
Resize element 45 to 15%, paste at the top, duplicate, mirror, move down on the left.

Resize element 4 to 50%, paste on the right below the small white flower.
Resize element 27 to 20%, paste on the right being on the top layer above the 
bird house.
Paste the wordart at the bottom left being on the top layer, change to blend mode
to Overlay.

Add any other elements you would like, make it your own.
Crop your tag to be sure no shadows or lines are on the edges.
 Then add your copyright and name.
That's it

Hope you enjoyed doing my tut.  

Tag set for Miggins


Wednesday, November 2, 2022

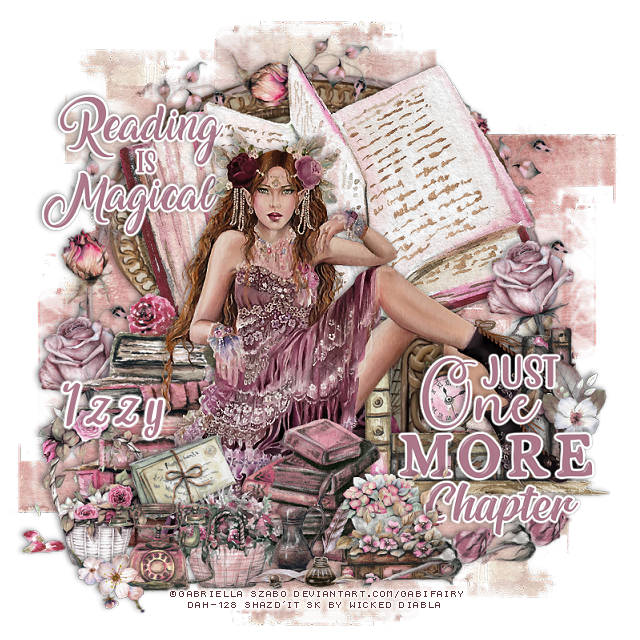
PTU One More Chapter


 This tut was written November 2nd, 2022 for those with a basic knowledge of psp. 

I am using the artist ©Gabriella Szabo

The tube is "Mirusia.

You need a license to use this tube, please do not use without a license.
You can find this art at DAH HERE  


I used PSP2020...but any of them should work.
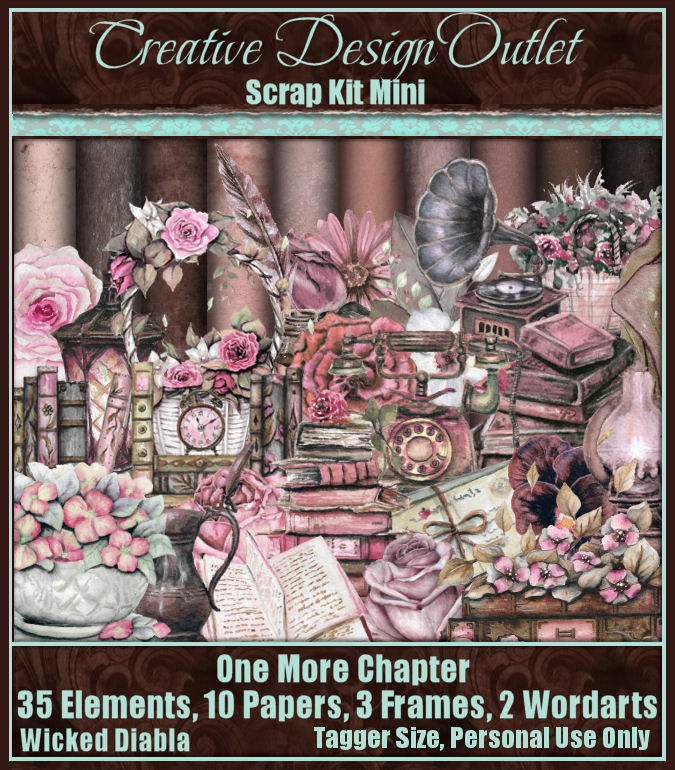
PTU Scrap WD_One More Chapter-mini by Wicked Diabla Designs HERE 
This Beautiful kit has 35 elements, 10 papers,  3 frames and 2 wordart
Mask of choice, I used Sophisticat Simone Mask 239  HERE
Check out the rest of the Blog HERE

Font of choice, I used Believe It

Drop shadow is V -1 H -4, 50, 10, or use what you prefer.
Let's get started
*Remember to add your drop shadow as you go along*

Open a new image 800 x 800, paste paper 3, apply your mask, delete, merge group, 
move to the right, duplicate, mirror, flip.

Resize your full tube to 75%, paste.
Resize frame 2 to 75%, paste above the tube.
Paste element 2 above the frame toward the top.
This tube comes without the chair also, resize the one without the chair to
67%, paste above the book.

Resize element 34 to 65%, paste on the left below the tube layer.
Resize element 4 to 40%, paste at the bottom above the tube.
Resize element 13 to 40%, paste at the lower left.
Resize element 3 to 25%, paste by the basket handle.
Resize element 30 to 25%, paste at the lower left.
Resize element 12 to 30%, paste at the bottom below the phone.

Resize element 8, 19 and 31 to 25%, paste at the bottom.
Resize wordart 1 to 23%, paste at the upper left below the tube, add a fat white
gradient glow.
Paste element 35 below the tube on the lower right.
Resize wordart 2 to 25%, paste at the lower right being on the top layer, add a 
fat white gradient glow.

Resize element 1 to 30%, paste at the bottom above the wordart.
Resize element 14 to 20%, paste behind element 1.
Resize element 129 to 30%, free rotate to the right at 90, paste at the bottom,
duplicate, move to the right more and below the wordart.

Resize element 16 to 20%, paste below the wordart on the right.
Resize element 28 to 30%, paste on the right above the big book,
duplicate, move to the left and down a little.

Add any other elements that you would like, make it your own.
Always readjust your mask and elements how you like them before you
 merge your tag, resize, sharpen.

Crop your tag to be sure no shadows or lines are on the edges.
 Then add your copyright and name.
That's it

Hope you enjoyed doing my tut.     

Tuesday, July 19, 2022

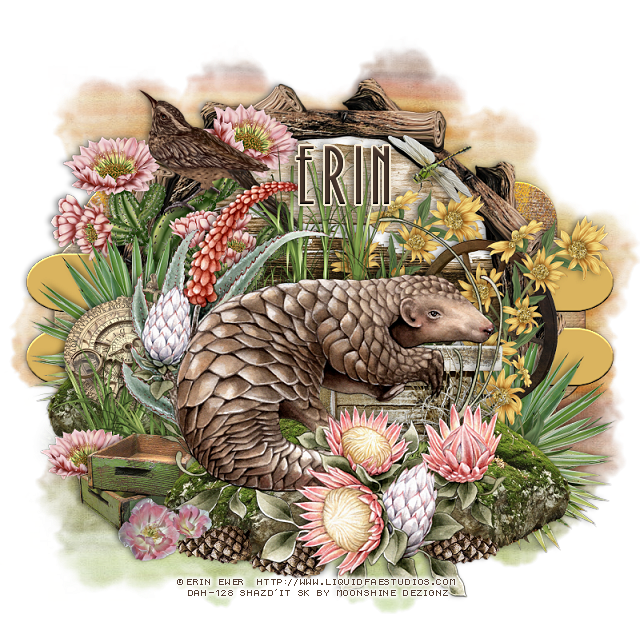
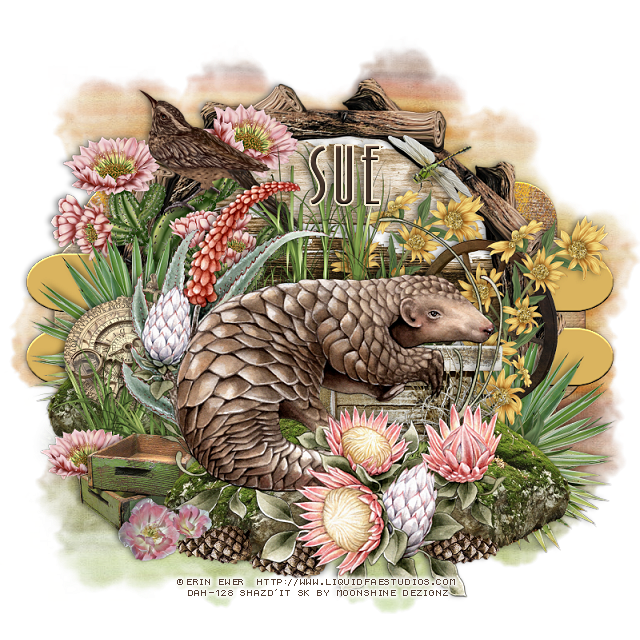
PTU Pangolin


 This tut was written July 19th, 2022 for those with a basic knowledge of psp. 

I am using the awesome artwork of ©Erin Ewer
You need a license to use this tube, do not use without a license.
You can find this tube at DAH HERE

I used PSP2020...but any of them should work.
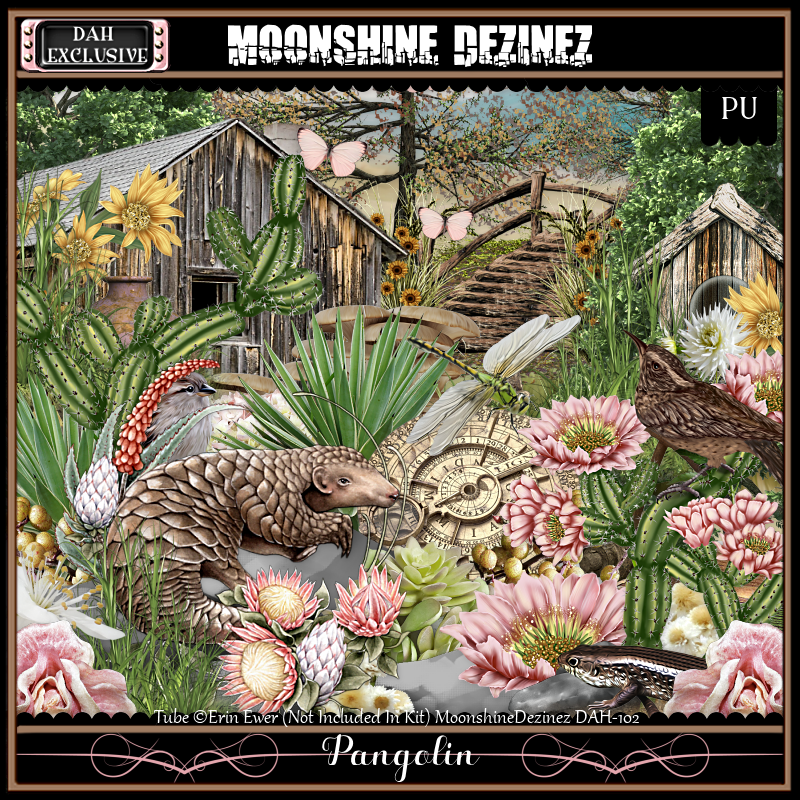
PTU matching kit Pangolin by Moonshine Dezignz HERE 
Tube is not included
Millie's PSP Madness Template 903 HERE
Check out the rest of the blog HERE
Mask of choice, I used Lori's PSP Graphics Mask 1179 HERE
Check out the rest of the blog HERE

Font of choice, I used Paulistana

Drop shadow is V -1 H -4, 50, 10, or use what you prefer.
Let's get started
*Remember to add your drop shadow as you go along*

Open the template, hold shift and hit d to duplicate, close the original.
Delete the credits and layers 1, 2, 11, 12, 13, 14, and 15
Resize larger all layers checked to 800 x 800.
Paste paper 3, apply your mask, delete, merge group, move to the bottom layer,
 mirror, adjust to fit your tag later.

Resize frame 1 to 67%, paste on the top circle.

Select layer 3, resize paper 2 to 75%, paste, invert, delete.
Delete each layer of the templates as you go along.

Select layer 4, resize paper 9 to 75%, paste, invert, delete, select none.
Layer 5, select all, add a new layer, fill with a color of choice, I used #422c1c.
Merge layers 6, 7, 8 and 9 together, select all, add a new layer, fill with color of 
choice, I used #dab45f, select none.

Apply a bevel to each layer with these settings
Bevel shape 2, width 2
0, 4, 0, 0
350, 50, 30 
color white.
Select layer 10, float, defloat, resize paper 4 to 55%, paste, invert, delete.
Resize frame 1 to 67%, paste on the top circle.

Resize element 1 to 45%, paste on the left above the frame and up some.
Resize element 10 to 40%, paste at the lower right, duplicate, mirror, move up more.

Resize your tube to 65%, paste about center.

Resize element 11 to 40%, paste below the tube on the right, duplicate, mirror,
move above the green plant on the left, duplicate the one on the left and move above the
grass and below the tube at the bottom left.
Paste element 33 below the tube to the left a bit.

Resize element 43 to 40%, paste on the right above the green plant, duplicate, move
over to the left more and down.
Resize element 47 to 30%, paste between the yellow flowers.
Resize element 25 to 40%, paste on the right below the tube.
Resize element 7 to 25%, paste on the left below the tall grass on the rock.
Resize element 15 to 25%, paste at the lower left below the rock.

Resize element 3 to 15%, paste on the lower left behind the wood crates.
Resize element 13 to 15%, paste above the crates.
Resize element 19 to 25%, free rotate to the right at 90 degrees, paste at the bottom below
the tube on the right, duplicate, mirror, duplicate, move over a little.
Resize element 30 to 15%, mirror, paste at the upper right.

Add any other elements that you would like, make it your own.
Always readjust your mask and elements how you like them before you
 merge your tag, resize, sharpen.

Crop your tag to be sure no shadows or lines are on the edges.
 Then add your copyright and name.
That's it

Hope you enjoyed doing my tut.  

Tag for Moonshine Dezignz (Sue)