Showing posts with label Creative Disorder. Show all posts

Thursday, November 2, 2023

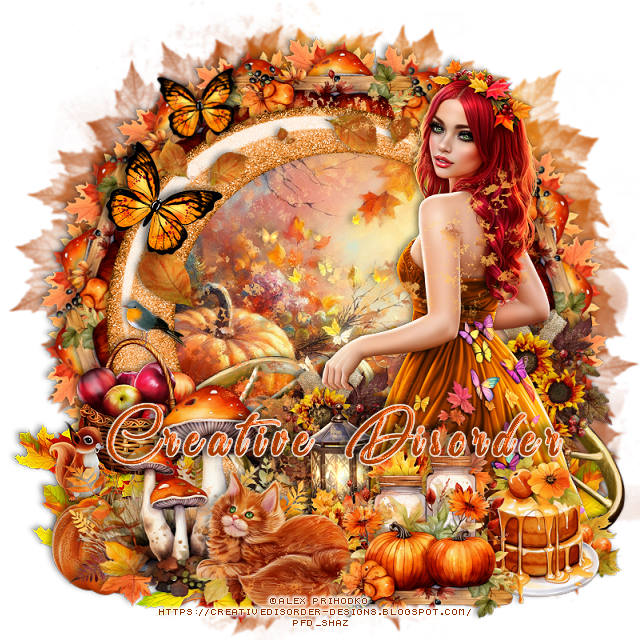
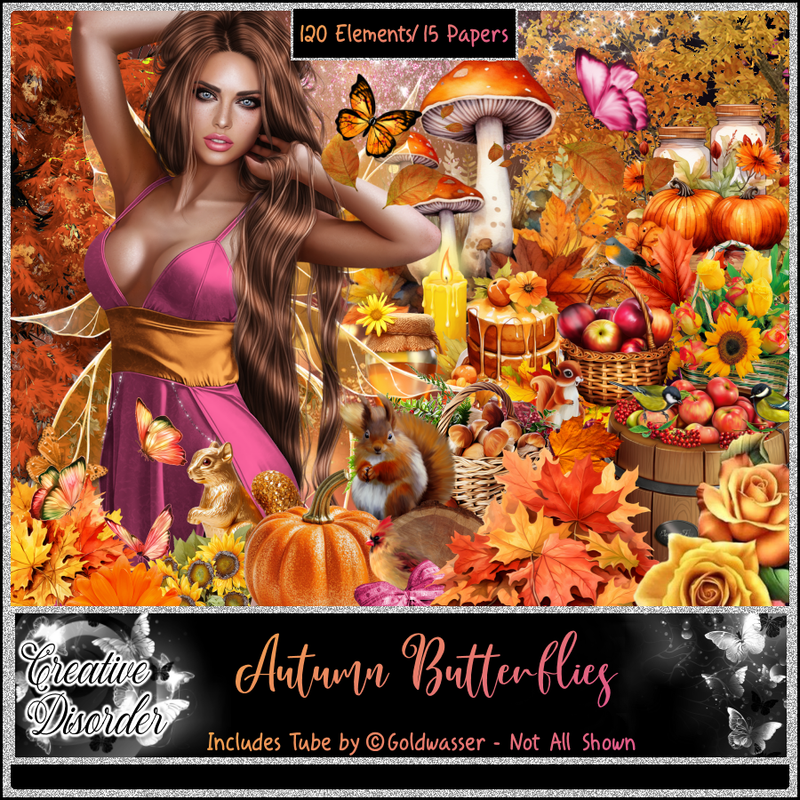
PTU Autumn Butterflies


This tut was written November 2nd, 2023 for those with a basic knowledge of psp. 

I am using the awesome artwork of ©Alex Prihodko
Tube is called Autumn Butterflies
You need a license to use this tube, do not use without a license.
You can find this tube at PFD HERE

I used PSP2020...but any of them should work.
PTU Autumn Butterflies by Creative Disorder  HERE  HERE HERE
Beautiful kit it contains 120 elements, 15 papers and
 tube ©Goldwasser
Check out her blog HERE
Mask of choice, I used RD Mask 683 HERE 
Check out the rest of the blog HERE
Filter
Mura Meister Copies-Encircle

Font of choice, I used Chocolatines

Drop shadow is V -2 H -4, 40, 10, or use what you prefer.
Let's get started
*Remember to add your drop shadow as you go along*

Open a new image 800 x 800, paste paper 4, apply mask.

Resize element 115 to 50%, paste, click inside with the magic wand,
resize paper 2 to 50%, paste, invert, delete.

Resize element 67 to 35%, apply Mura Meister Copies-Encircle, first 3
numbers on 18, 67, 67, move below the paper layer.
Resize element 19 to 35%, apply Mura Meister, change the first 3 
numbers to 18, 60, 60, paste.
Resize element 17 to 40%, flip, apply Mura Meister Copies-Encircle, first
3 numbers on 10, 55, 55, paste.

Resize your tube to 35%, mirror, paste on the right above the frame.

Resize element 19 to 50%, paste at the bottom left below the tube.
Resize element 16 and 17 to 40%, paste at the bottom right above the tube.
Resize element 27 to 30%, paste at the bottom above the tube.
Resize element 10 to 40%, paste on the left below the mushrooms.
Resize element 7 to 40%, flip, paste at the bottom below all the elements to the
left, duplicate, mirror, duplicate again, move under the cat.

Resize element 92 to 50%, paste behind the tube on the right, 
duplicate, move to the left of the tube.
Resize element 71 to 30%, paste under the basket on the left.
Resize element 66 to 25%, paste behind the jars, duplicate, move over
and down behind the cat.

Resize element 14 to 30%, paste on the left, duplicate, resize to 75%,
free rotate to 25, move up.
Resize element 35 to 30%, paste on the right behind the flowers, duplicate,
 move to the left more.
Resize element 28 to 40%, paste at the upper left on the frame, free
rotate to 10.
Paste  element 111 on the top layer, erase off the face.

Add any other elements that you would like, make it your own.
Always readjust your mask and elements how you like them before you
 merge your tag, resize, sharpen.

Crop your tag to be sure no shadows or lines are on the edges.
 Then add your copyright and name.
That's it

Hope you enjoyed doing my tut.      

Wednesday, October 25, 2023

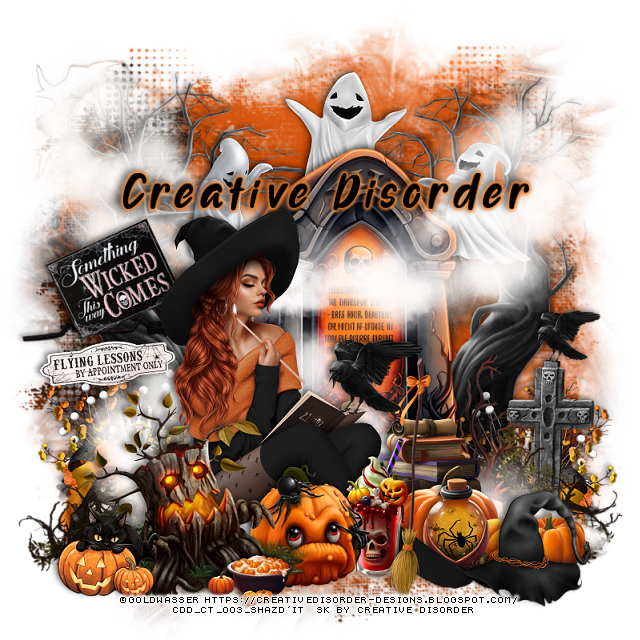
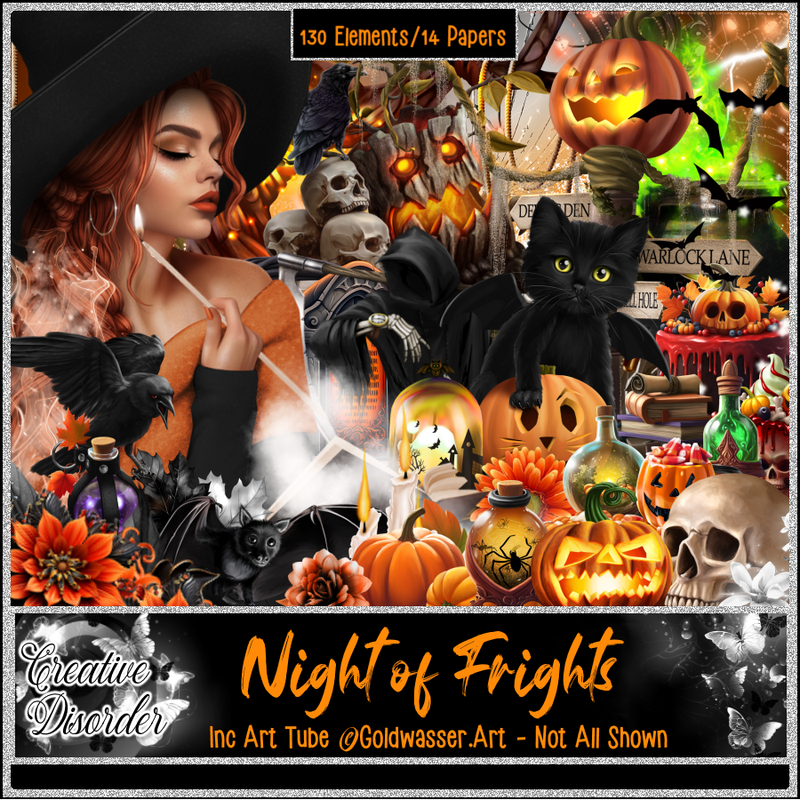
PTU Night of Frights


This tut was written October 24th, 2023 for those with a basic knowledge of psp. 

I am using the awesome artwork of ©Goldwasser
"The tube is included in the kit"
You need a license to use this tube, do not use without a license.
Use the license where you buy the kit.

I used PSP2020...but any of them should work.
PTU Night of Frights by Creative Disorder  HERE  HERE HERE
Beautiful kit it contains 130 elements, 14 papers and
 Tube ©Goldwasser
Check out her blog HERE
Mask of choice, I used Miz Teeques Mask 40 and 125 HERE HERE
Check out the rest of the blog HERE

Font of choice, I used Alenor Font

Drop shadow is V -2 H -4, 50, 10, or use what you prefer.
Let's get started
*Remember to add your drop shadow as you go along*

Open a new image 800 x 800, paste paper 4, apply mask 125, delete, paste
paper 4 again, apply mask 40, delete, merge.

Resize element 94 to 85%, paste.
Resize element 51 to 75%, paste behind the tombstone.
Resize element 122 to 55%, paste behind the tombstone on the left,
duplicate, mirror.

Resize your tube to 30%, paste to the left.
Resize element 16 to 35%, paste at the bottom left above the tube.

Resize element 89 to 25%, paste at the bottom above the tube.
Resize element 106 to 30%, paste at the bottom right below the tube.
Resize element 7 to 25%, paste at the bottom right below the tube.
Resize element 110 to 25%, paste at the bottom above the tube.
Resize element 130 to 40%, paste on the bottom right behind the 
tombstone, duplicate, mirror.

Resize element 18, 19 and 20 to 25%, paste at the top.
Resize element 28 to 60%, paste behind the tube at the bottom, 
duplicate, mirror, move up, duplicate again, mirror, move 
below the tombstone on the left.
Resize element 10 to 25%, paste at the bottom left.
Resize element 2 to 30%, paste behind the tube.

Resize element 42 to 30%, free rotate to the left at 25, paste on the left.
Resize element 66 to 40%, paste below the sign.
Resize element 22 to 25%, paste at the bottom right above the pumpkins.
Resize element 15 to 30%, paste on the right.
Resize element 49 to 30%, paste on the right behind the pumpkins.
Resize element 113 to 15%, paste at the bottom.
Resize element 52 to 25%, paste on the book the tube is holding.

Add any other elements that you would like, make it your own.
Always readjust your mask and elements how you like them before you
 merge your tag, resize, sharpen.

Crop your tag to be sure no shadows or lines are on the edges.
 Then add your copyright and name.
That's it

Hope you enjoyed doing my tut.     
Wednesday, October 11, 2023

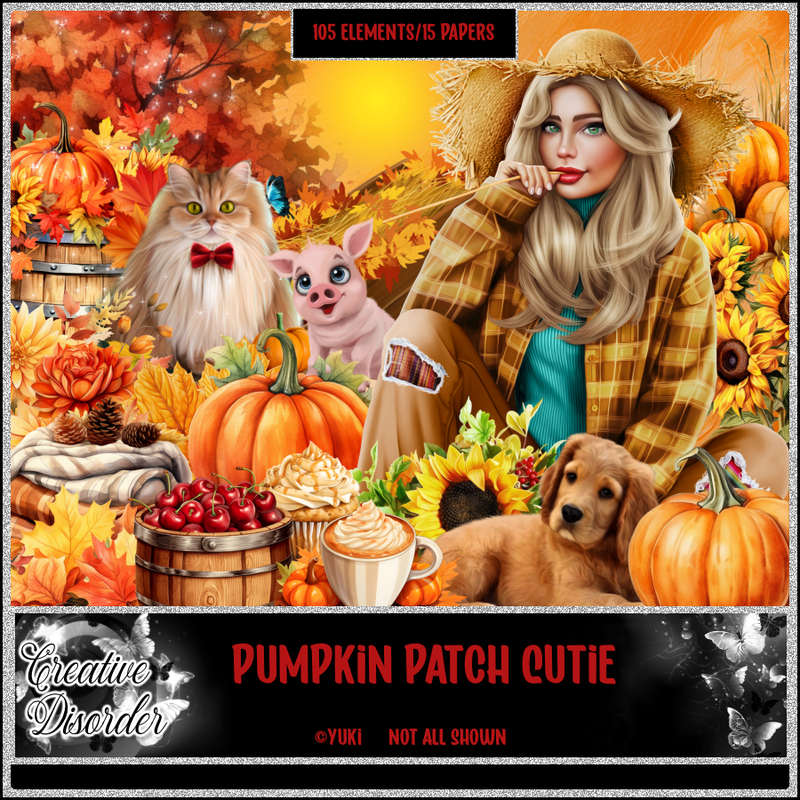
PTU Pumpkin Patch Cutie


This tut was written October 10th, 2023 for those with a basic knowledge of psp. 

I am using the awesome artwork of ©Yuki
"The tube is included in the kit"
You need a license to use this tube, do not use without a license.
Use the license where you buy the kit.

I used PSP2020...but any of them should work.
PTU Pumpkin Patch Cutie by Creative Disorder  HERE  HERE HERE
Beautiful kit it contains 105 elements, 15 papers and
 Tube ©Yuki
Check out her blog HERE
Mask of choice, I used Miz Teeques Mask 125 HERE
Check out the rest of the blog HERE

Font of choice, I used October Moon

Drop shadow is V -2 H -4, 50, 10, or use what you prefer.
Let's get started
*Remember to add your drop shadow as you go along*

Open a new image 800 x 800, paste paper 1 apply your mask.

Resize your tube to 25%, paste to the left.
Resize element 71 to 60%, paste on the right behind the tube.
Resize element 47 to 40%, paste at the bottom behind the tube.
Resize element 45 to 60%, mirror, paste behind the tube.
Resize element 34 to 35%, paste behind the tube on the left.
Resize element 14 to 60%, paste behind the sign.

Resize element 17 to 35%, paste behind the pumpkins.
Resize element 2 to 30%, paste on the right above the sign.
Resize element 32 to 25%, paste on the right between the pumpkins.
Resize element 1 to 35%, paste at the bottom above the tube.
Resize element 3 to 40%, paste on the right above the sign.
Resize element 67 to 25%, paste at the bottom right being on the top layer.

Resize element 73 to 30%, paste on the left behind the tube.
Resize element 84 to 15%, paste at the bottom left above the calf.
Resize element 40 to 25%, paste at the bottom being on the top layer.
Resize element 99 to 30%, paste at the upper left, add a bevel or glass or a 
paper and a background.
Resize element 90 to 30%, mirror, paste on the right behind the hay bales.
Resize element 6 to 20%, paste on top of the sign.
Resize element 15 to 20%, paste at the bottom, duplicate a couple of times, move.
Resize element 12 to 75%, paste below the tube where you like.
Paste element 79 below the mask layer on the bottom right just so the greenery shows,
duplicate, move up to the top, erase the stem, duplicate, mirror, duplicate, move down.

Add any other elements that you would like, make it your own.
Always readjust your mask and elements how you like them before you
 merge your tag, resize, sharpen.

Crop your tag to be sure no shadows or lines are on the edges.
 Then add your copyright and name.
That's it

Hope you enjoyed doing my tut.     
Thursday, August 24, 2023

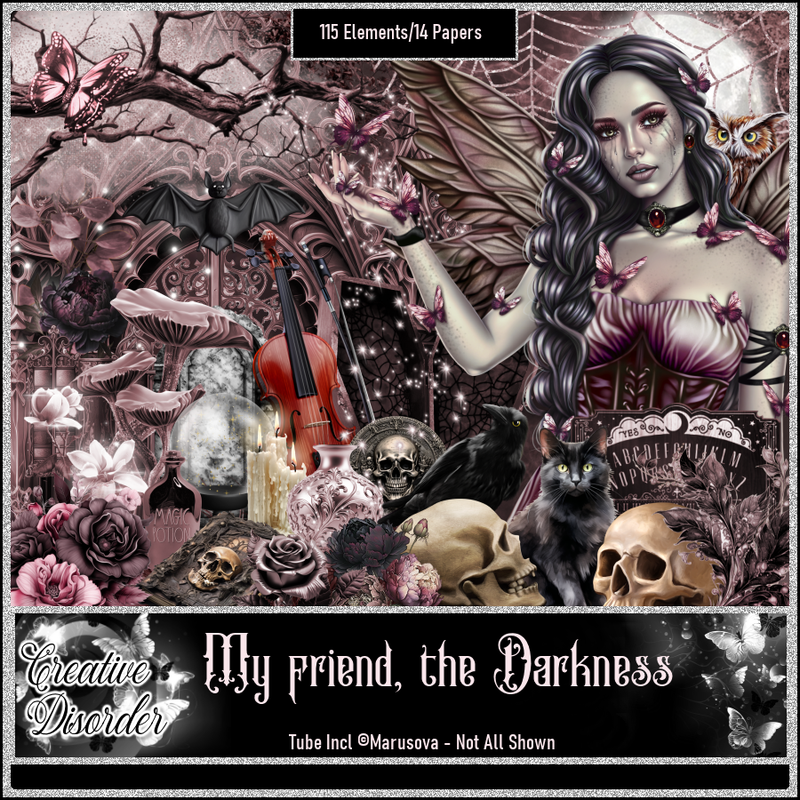
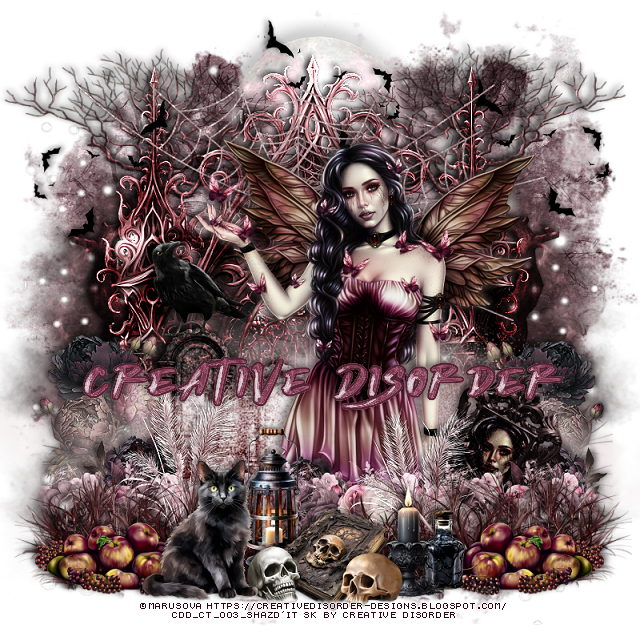
PTU My Friend the Darkness


This tut was written August 24th, 2023 for those with a basic knowledge of psp. 

I am using the awesome artwork of ©Marusova
"The tube is included in the kit"
You need a license to use this tube, do not use without a license.
Use the license where you buy the kit.

I used PSP2020...but any of them should work.
PTU My Friend The Darkness by Creative Disorder  HERE  HERE HERE
Beautiful kit it contains 115 elements, 14 papers and
 Tube by Marusova 
Check out her blog HERE
Mask of choice, I used Miz Teeques Mask 200 HERE
Check out the rest of the blog HERE

Font of choice, I used Shockwave

Drop shadow is V -2 H -4, 50, 10, or use what you prefer.
Let's get started
*Remember to add your drop shadow as you go along*

Open a new image 800 x 800, paste paper 10. apply your mask.

Resize element 95 to 90%, paste, change the blend mode to Hard Light,
sharpen more.
Paste element 55 at the bottom.
Paste element 87 on the mask layer to the right, duplicate, mirror,
change the blend mode on the trees to Hard Light.
Resize element 81 to 50%, paste at the center top below the trees, change the 
blend mode to Luminance(L)
Resize element 60 to 90%, paste above the fence/gate at the bottom.
Resize element 30 to 35%, paste below the fog on one side, duplicate, mirror.
Resize element 111 to 60%, paste above the mask on the left, duplicate, mirror.

Resize your tube to 25%, paste being on the top layer, duplicate, go to Adjust,
Blur, Gaussian blur, number on 5, change the blend mode to Overlay, merge
down.
Resize element 23 to 35%, paste below the tube on the left, duplicate, move over,
change the blend mode on these to Overlay.
Resize element 55 to 55%, paste at the bottom right above the tube, duplicate,
mirror.

Resize element 68 to 25%, paste at the bottom being on the top layer.
Resize element 2 to 35%, paste at the bottom below the book.
Resize element 81 to 25%, draw around the frame, resize your tube to 15%, paste the
face in the frame. Change the blend mode to Hard Light, merge down,
free rotate to the right at 30, move below the grass.
Resize element 4 and 21 to 15%, paste by the book.

Resize element 22 and 29 to 25%, paste at the bottom.
Resize element 51 to 25%, mirror, paste on the tombstone.
Resize element 43 to 30%, paste on the bottom left.
Resize element 10 to 25%, paste above the tube, duplicate a couple of times,
move where you like.
Resize element 98 to 35%, paste at the bottom above the tube where you like,
duplicate once or twice, sharpen more.
Resize element 39 to 30%, paste at the top, duplicate twice, move one to the right,
duplicate, mirror the other one.

Resize element 90 to 30%, apply Mura Meister Copies-Line with the first
3 numbers on 8, 100, 0, paste below the grass, erase the ends, change the blend 
mode to Screen.
Resize element 1 to 30%, paste at the bottom left above the grass, duplicate, 
mirror.
Resize element 64 to 75%, paste at the top behind the tube.
Paste element 114 below the trees.

Add any other elements that you would like, make it your own.
Always readjust your mask and elements how you like them before you
 merge your tag, resize, sharpen.

Crop your tag to be sure no shadows or lines are on the edges.
 Then add your copyright and name.
That's it

Hope you enjoyed doing my tut.     

Thursday, June 22, 2023

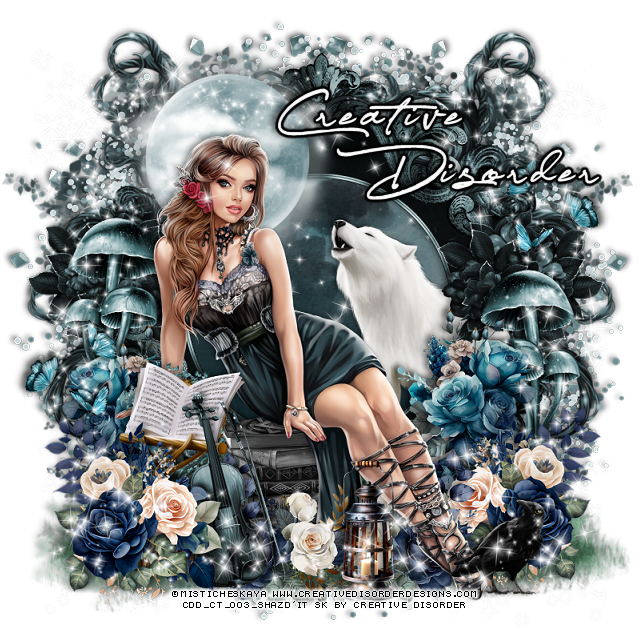
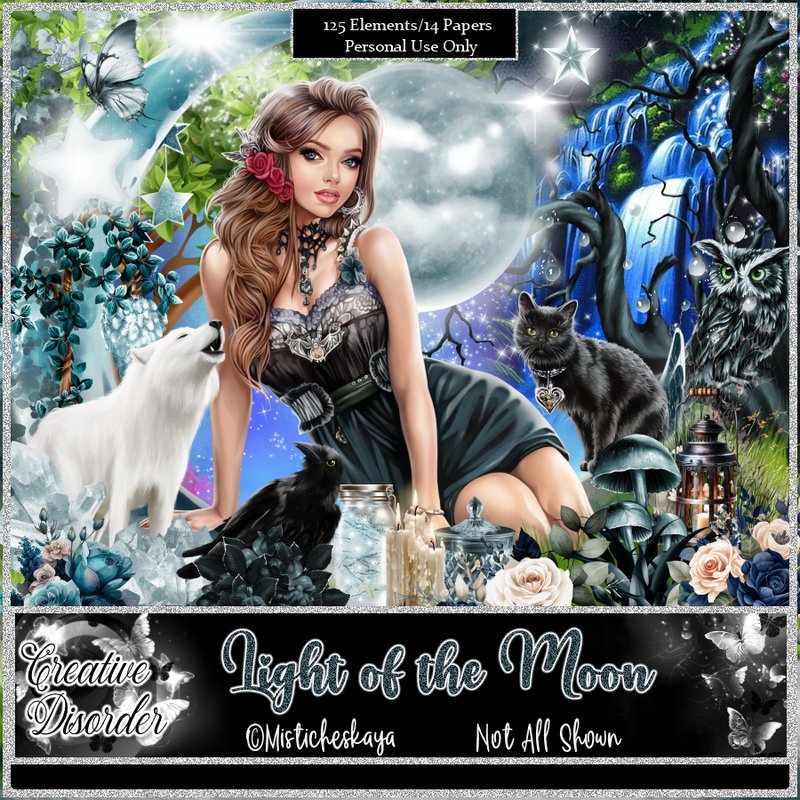
PTU Light of the Moon


 This tut was written June 22nd, 2023 for those with a basic knowledge of psp. 

I am using the awesome artwork of ©Misticheskaya
"The tube is included in the kit"
You need a license to use this tube, do not use without a license.
Use the license where you buy the kit.

I used PSP2020...but any of them should work.
PTU Light of the Moon by Creative Disorder  HERE  HERE HERE
Beautiful kit it contains 125 elements, 14 papers and
 Tube by Misticheskaya 
Check out her blog HERE

Font of choice, I used The Star in the Midnight

Drop shadow is V -2 H -4, 50, 10, or use what you prefer.
Let's get started
*Remember to add your drop shadow as you go along*

Open a new image 800 x 800, paste element 113.
Resize element 118 to 70%, paste, click inside with the magic wand, expand,
resize paper 3 to 60%, paste below the frame.
Paste element 69 below the bottom frame on the right, duplicate, mirror.
Paste element 100 on one side, duplicate, mirror.

Resize element 109 to 75%, paste at the upper left above the frame.
Resize element 84 to 70%, paste between the frames on the left, duplicate, 
mirror.
Resize element 81 to 30%, paste on the frame on one side, duplicate, mirror.
Resize element 40 to 40%, paste above the flowers on the right, duplicate, mirror.

Resize your tube to 28%, paste above the moon.

Resize element 32 to 40%, paste below the tube.
Resize element 91 to 25%, paste on the right below the lighter color flowers,
duplicate, mirror, move below the flower.
Resize element 3 to 80%, paste at the bottom below the tube.
Resize element 14 to 35%, paste at the lower right below the tube, duplicate, mirror.
Resize element 92 to 30%, paste on the bottom left, move the flower above it.
Resize element 82 to 35%, mirror, paste on the music stand.

Resize element 12 to 30%, paste at the bottom below the tube, duplicate, mirror,
move above the tube.
Resize element 4 to 40%, paste on the right above the frame.
Resize element 2 to 35%, paste at the bottom above the tube.
Resize element 10 to 25%, paste at the bottom right.
Resize element 48 to 20%, paste on the left, duplicate, mirror, move up.
Resize element 123 to 80%, paste being on the top layer.

Add any other elements that you would like, make it your own.
Always readjust your mask and elements how you like them before you
 merge your tag, resize, sharpen.

Crop your tag to be sure no shadows or lines are on the edges.
 Then add your copyright and name.
That's it

Hope you enjoyed doing my tut.     
Friday, June 16, 2023

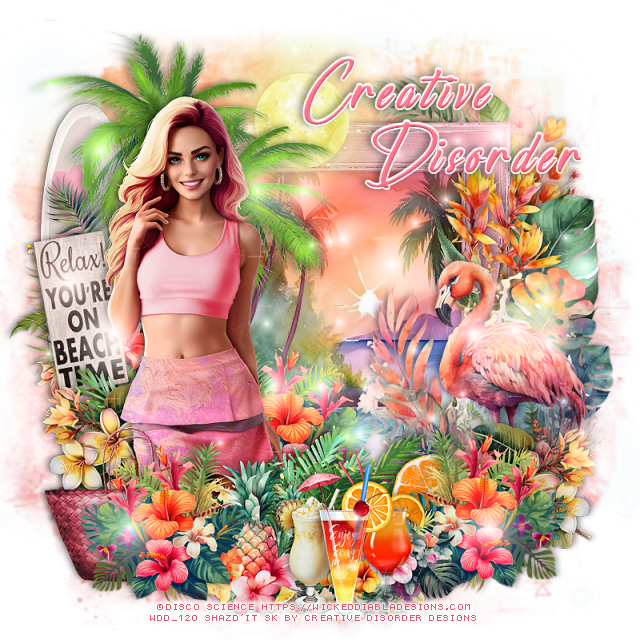
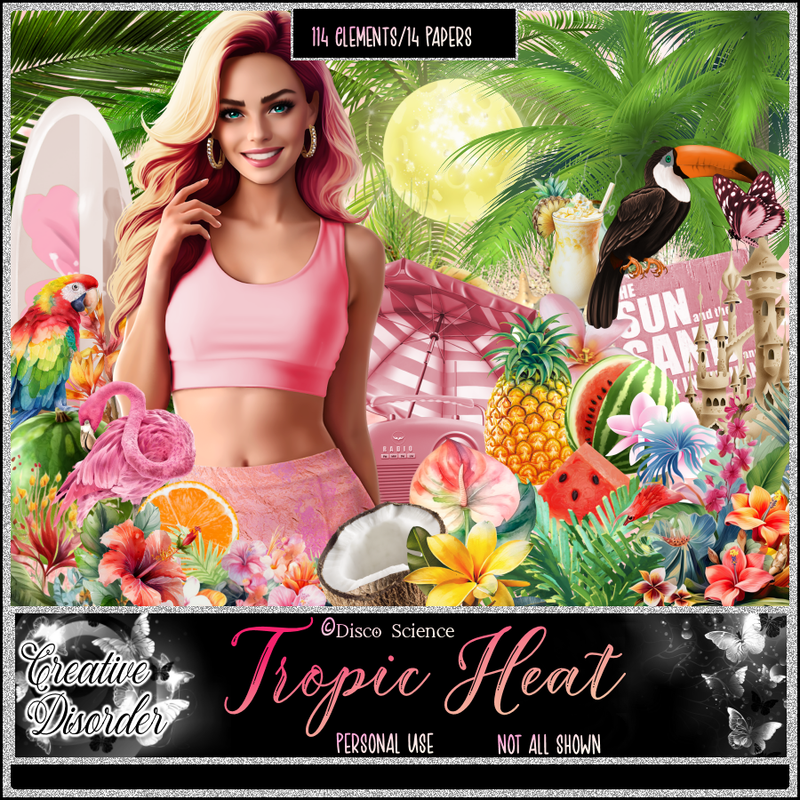
PTU Tropic Heat


 This tut was written June 16th, 2023 for those with a basic knowledge of psp. 

I am using the awesome artwork of ©Disco Science
"The tube is included in the kit"
You need a license to use this tube, do not use without a license.
Use the license where you buy the kit.

I used PSP2020...but any of them should work.
PTU Tropic Heat by Creative Disorder  HERE  HERE HERE
Beautiful kit it contains 114 elements, 14 papers and
1 Tube by Disco Science
Check out her blog HERE
Mask of choice I used Miz Teeque's Mask 284 HERE
Check out the rest of the blog HERE

Font of choice, I used Lack Luster

Drop shadow is V -1 H -3, 40, 10, or use what you prefer.
Let's get started
*Remember to add your drop shadow as you go along*

Open a new image 800 x 800, paste paper 7, apply your mask, delete, merge 
group.

Resize element 113 to 55%, paste, click inside with the magic wand, expand
by 5, resize paper 14 to 50%, paste, invert, delete.
Resize element 54 to 60%, paste on the left on the frame.
Resize element 58 to 30%, mirror, paste on the left below the palm tree.
Mirror element 67, paste below the paper layer of the frame on the right.
 
Resize your tube to 25%, paste to the left.
Resize element 25 to 35%, paste behind the tube at the bottom, duplicate,
move to the center.
Resize element 65 to 50%, paste on the frame on the right about half way.
Resize element 60 to 50%, paste on the right.
Resize element 52 to 35%, paste at the bottom left, duplicate, mirror, duplicate
again, move behind the tube.
Resize element 102 to 35%, paste above the tube at the bottom left,
Resize element 55 to 35%, paste at the bottom below the pineapple.

Resize element 11 to 30%, paste behind the tube to the left, duplicate, mirror.
Resize element 60 to 60%, paste on the right on the frame.
Resize element 66, 69 and 96 to 35%, paste at the bottom being on the top layer.

Resize element 7 to 30%, free rotate to the left at 10, paste on the left below
some of the plants.
Resize element 21 to 50%, paste on the left above the frame behind the 
palm tree.
Resize element 59 to 40%, paste at the top below the tree.
Resize element 3 to 30%, paste on the lower left above the tube.
Resize element 87 to 30%, mirror, paste on the right on the frame behind the flamingo.
Resize element 44 to 20%, paste below some of the flowers on the right
of the drinks.
Paste element 111 at the bottom, duplicate, move to the top being on the 
top layer, erase any parts on the tube you don't want.

Add any other elements that you would like, make it your own.
Always readjust your mask and elements how you like them before you
 merge your tag, resize, sharpen.

Crop your tag to be sure no shadows or lines are on the edges.
 Then add your copyright and name.
That's it

Hope you enjoyed doing my tut.     
Tuesday, May 2, 2023

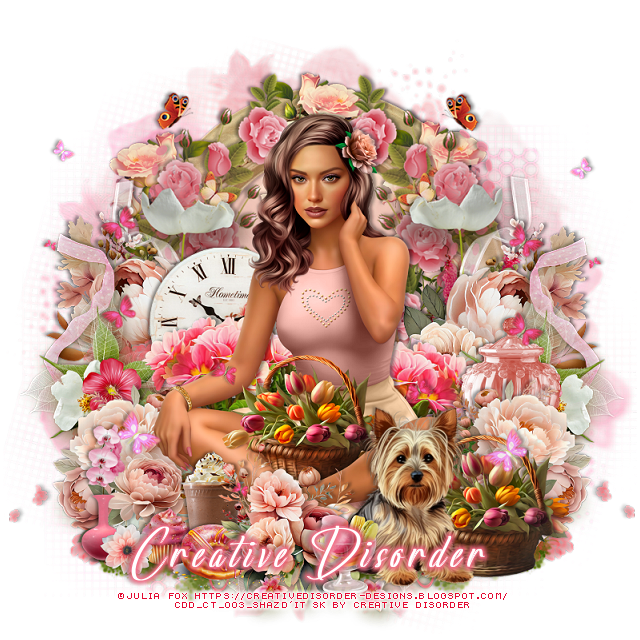
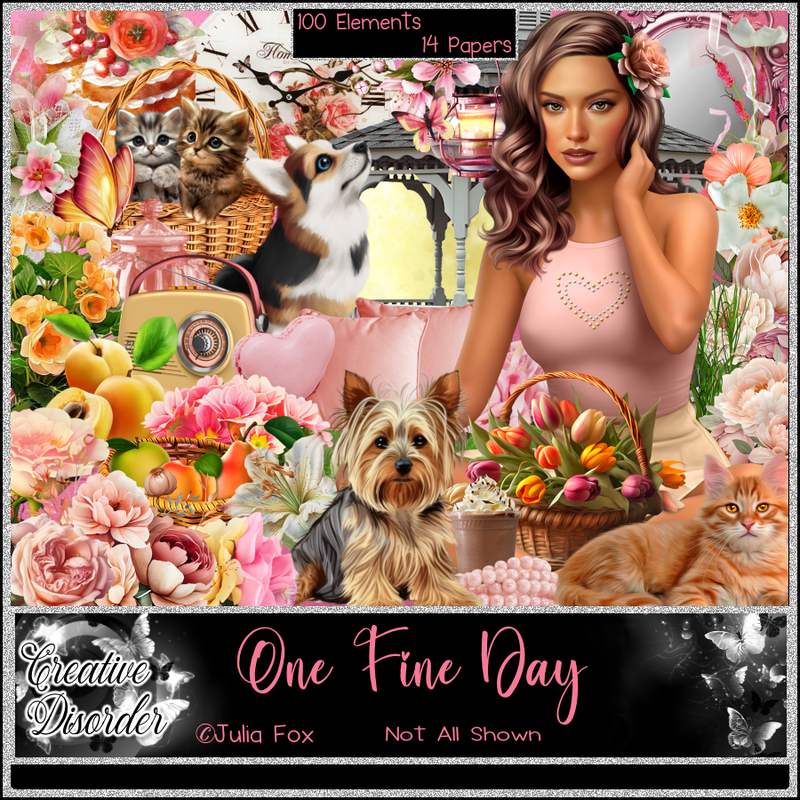
PTU One Fine Day


This tut was written May 2nd, 2023 for those with a basic knowledge of psp. 

I am using the awesome artwork of ©Julia Fox
"The tube is included in the kit"
You need a license to use this tube, do not use without a license.
Use the license where you buy the kit.

I used PSP2020...but any of them should work.
PTU One Fine Day by Creative Disorder  HERE  HERE HERE
Beautiful kit it contains 100 elements and 14 papers and
1 Tube by Julia Fox
Check out her blog HERE
Mask of choice I used Miz Teeque's Mask 84 HERE
Check out the rest of the blog HERE

Font of choice, I used Lack Luster

Drop shadow is V -1 H -3, 40, 10, or use what you prefer.
Let's get started
*Remember to add your drop shadow as you go along*

Open a new image 800 x 800, paste paper 7, apply your mask, delete, merge 
group.
Resize element 95 to 55%, paste, click inside with the magic wand, expand
by 5, paste paper 11, invert, delete, select none.
Resize element 61 to 35%, paste at the top on the frame, duplicate twice, 
move one to each side.
Resize element 10 to 85%, paste on the roses on the left, duplicate, mirror.
Resize element 20 to 25%, paste on the right, duplicate, mirror.
Resize element 91 to 60%, paste on the frame on the right, erase the top yellow
butterfly, duplicate, mirror.

Resize your tube to 20%, paste above the flowers.

Resize element 3 to 50%, paste on the left, duplicate, mirror.
Resize element 69 to 50%, paste behind the tube on the left, duplicate, mirror.
Resize element  2 to 30%, paste on the left behind the pink flowers.
Resize element 28 to 30%, paste at the bottom above the tube.
Resize element 33 to 30%, paste at the bottom left below the tube, duplicate,
mirror.
Resize element 81 to 30%, paste on the right below the flower.
Resize element 94 to 35%, paste at the lower right above the tube.

Resize element 39 to 30%, paste at the bottom above the basket.
Paste element 100 on the left being on the top layer, duplicate, mirror.
Resize element 78 to 25%, paste at the bottom by the dog.

Resize element 21 to 25%, paste at the bottom to the left below the flower.
Resize element 18 and 19 to 17%, paste at the bottom.
Resize element 62 to 30%, paste at the bottom left.
Resize element 59 to 20%, paste at the bottom left by the vase.

Add any other elements that you would like, make it your own.
Always readjust your mask and elements how you like them before you
 merge your tag, resize, sharpen.

Crop your tag to be sure no shadows or lines are on the edges.
 Then add your copyright and name.
That's it

Hope you enjoyed doing my tut.