This tut was written May 26th, 2026 for those with a basic knowledge of psp.
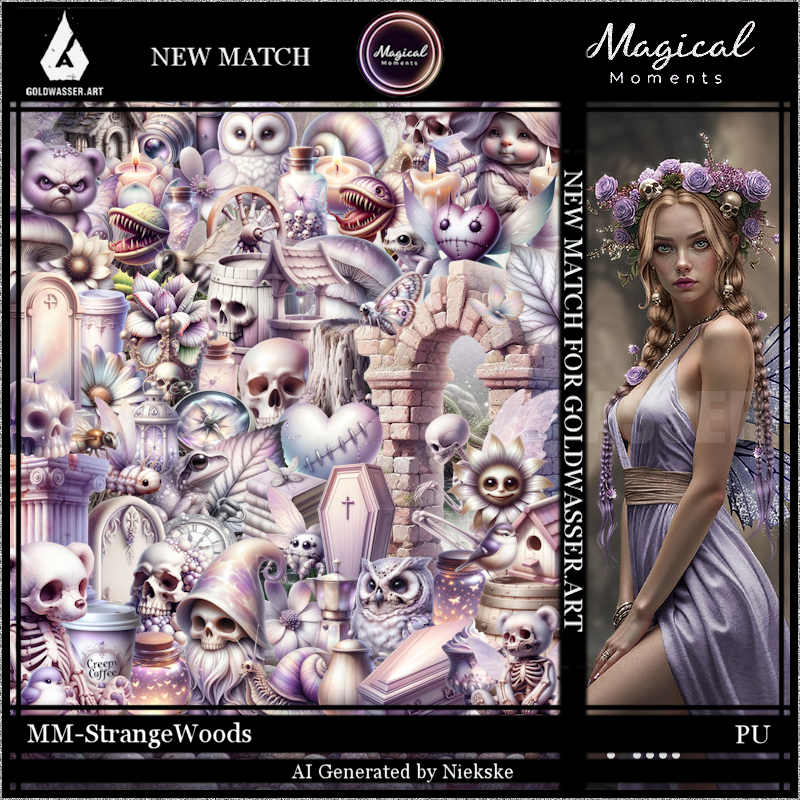
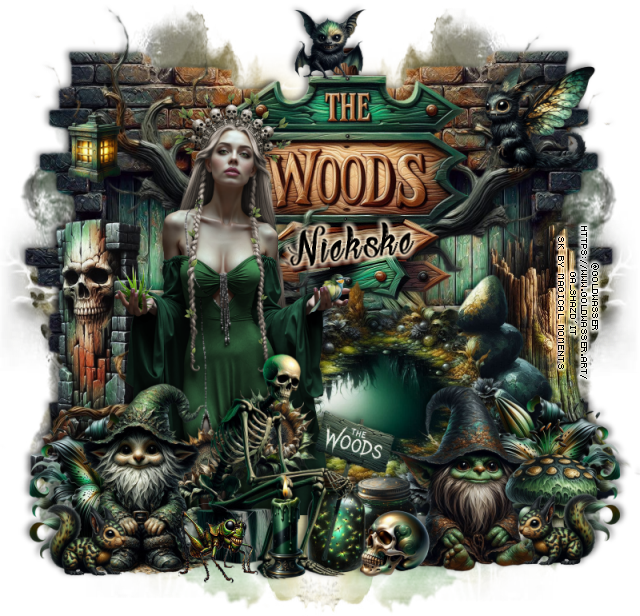
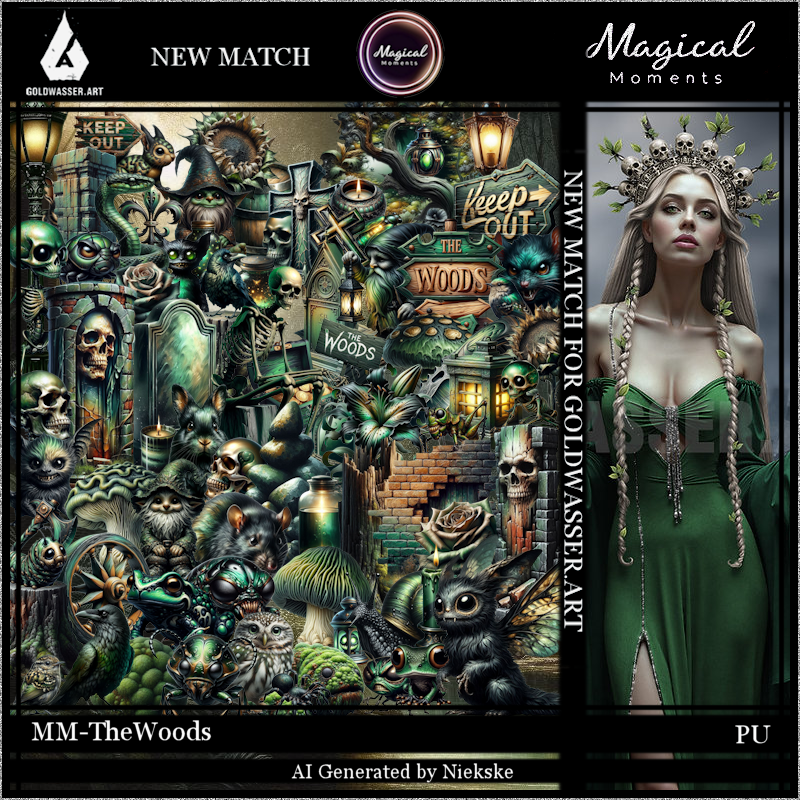
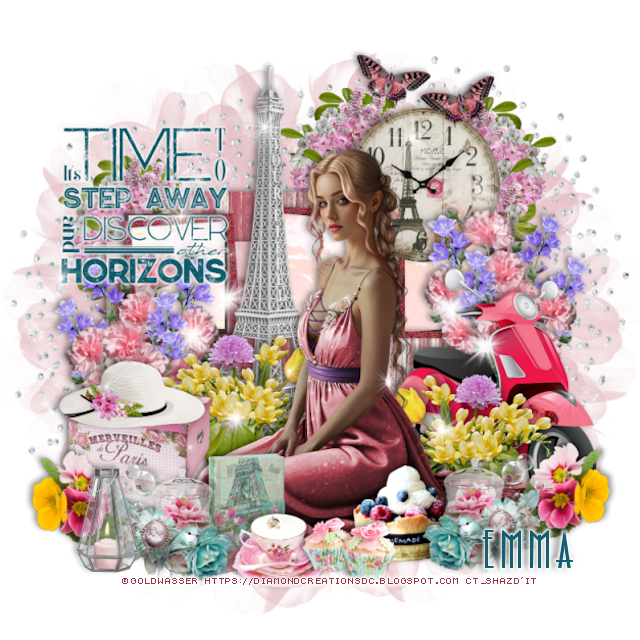
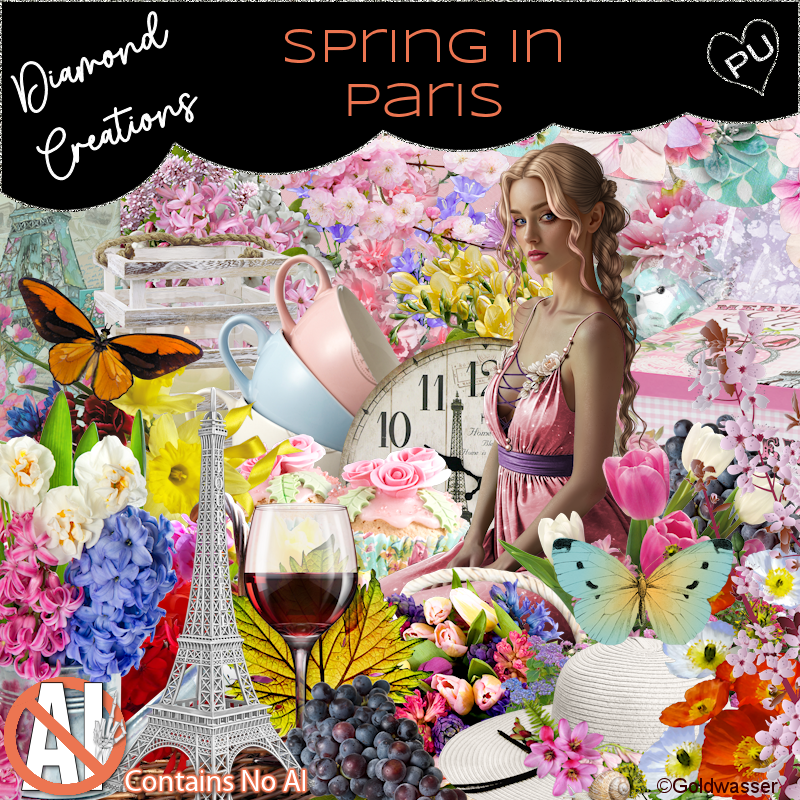
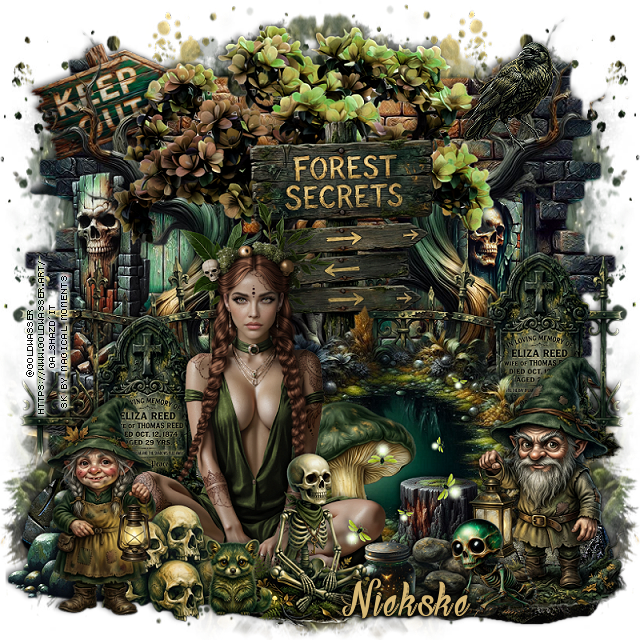
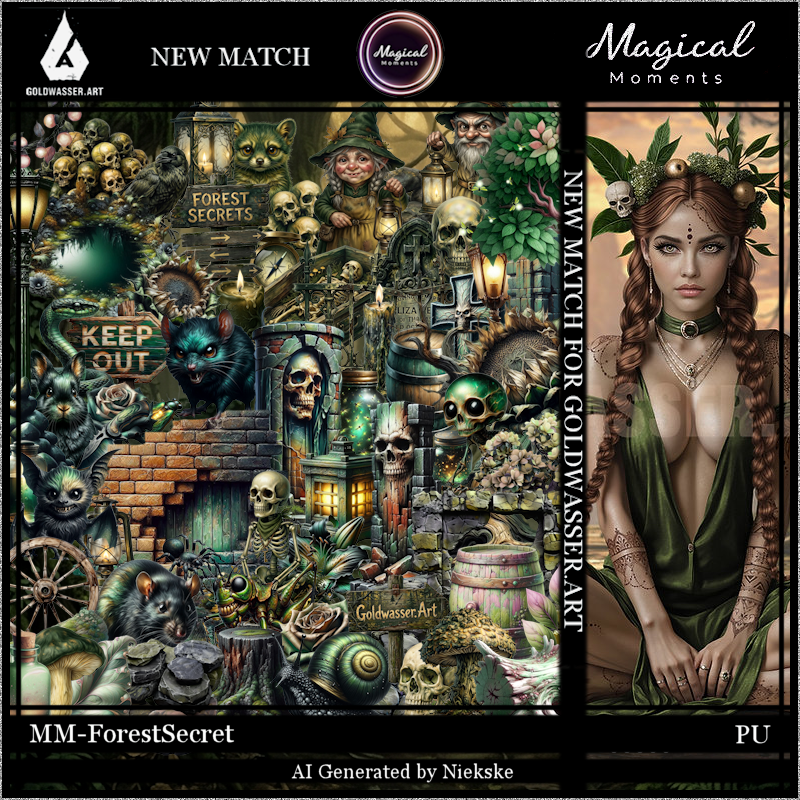
I am using the awesome tube ©GoldwasserThe tube is called DruanthiaThe tube is NOT includedYou need a license to use this tube, please do not use without a licenseYou can find the tube at their store HERE
Drop shadow is V -2 H 4, 50, 10, color Black or use what you prefer.
Let's get started
*Remember to add your drop shadow as you go along*
Open a new layer 800 x 800, paste paper 3, apply your mask, move
to the left, duplicate, mirror.
Resize 20 to 75%, paste on the right, duplicate, mirror.
Resize 12 to 55%, paste at the top, duplicate, change the blend mode
to Multiply, merge down.
Resize 39 to 60%, paste on the left below the tree, erase the pointed
part at the bottom, duplicate, mirror.
Resize 46 to 50%, paste at the bottom above the trees.
Paste 11 at the bottom above the mask layer, erase the top part showing.
Resize 33 to 25%, paste on the right below the curved tree.
Resize 16 to 30%, paste on the left below the curved tree.
Resize 52 to 35%, paste on the right below the pond, duplicate, mirror.
Resize the tube to 30%, paste at the bottom above the pond to the left.
Resize 53 to 30%, paste on the right below the pond, duplicate, move
to the left below the tube.
Resize 29 to 30%, paste below the tube on the bottom left.
Resize 58 to 30%, paste on the bottom right.
Resize 18 to 20%, paste at the bottom below the little man.
Resize 56 to 30%, paste on the bottom left above the tube.
Resize 65 to 25%, paste below the tube on the right.
Resize 63 to 25%, paste at the bottom below the girl.
Resize 69 to 25%, paste at the bottom to the right.
Resize 44 to 13%, paste at the bottom by the rocks.
Resize 67 to 30%, mirror, paste at the bottom.
Resize 55 to 30%, paste below the pond in the center more.
Resize 42 to 20%, free rotate to the left at 20, paste at the upper left
below the trees.
Resize 15 to 50%, paste at the bottom by the jar being on the top layer.
Resize 22 to 13%, paste on the bottom right.
Resize 57 to 17%, paste on the upper right.
Resize 68 to 12%, paste at the bottom.
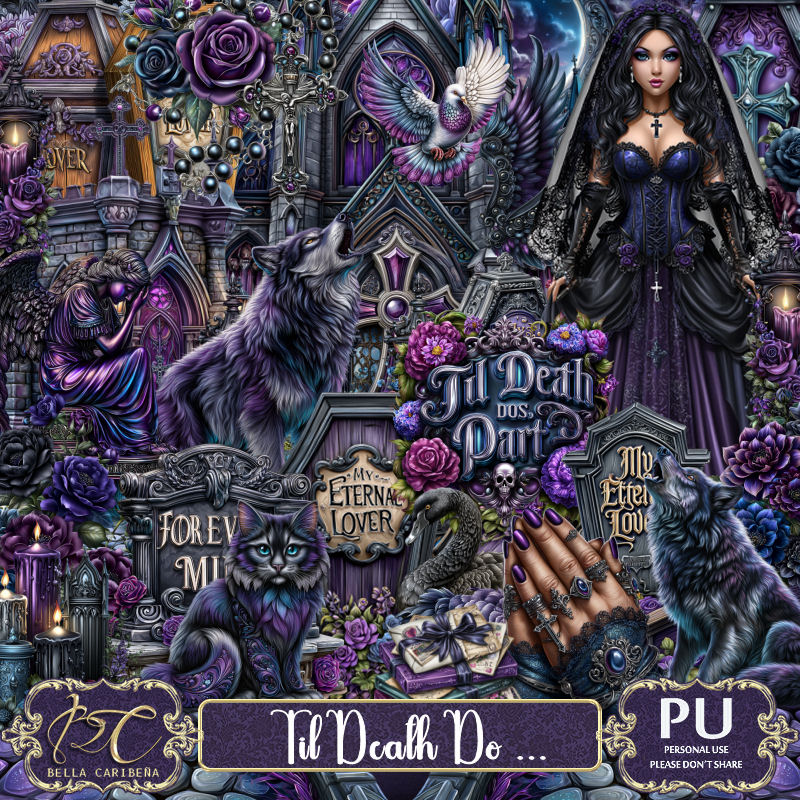
Add any other elements that you would like, make it your own.
Always readjust your mask and elements how you like them before you
merge your tag, resize, sharpen.
Crop your tag to be sure no shadows or lines are on the edges.
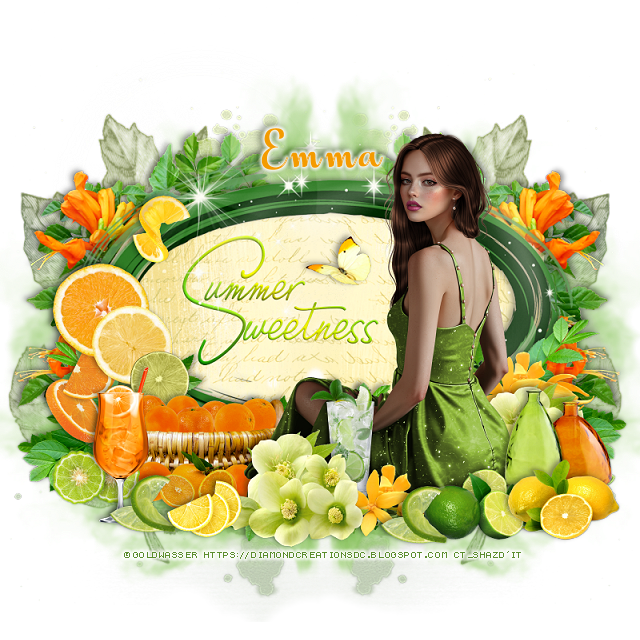
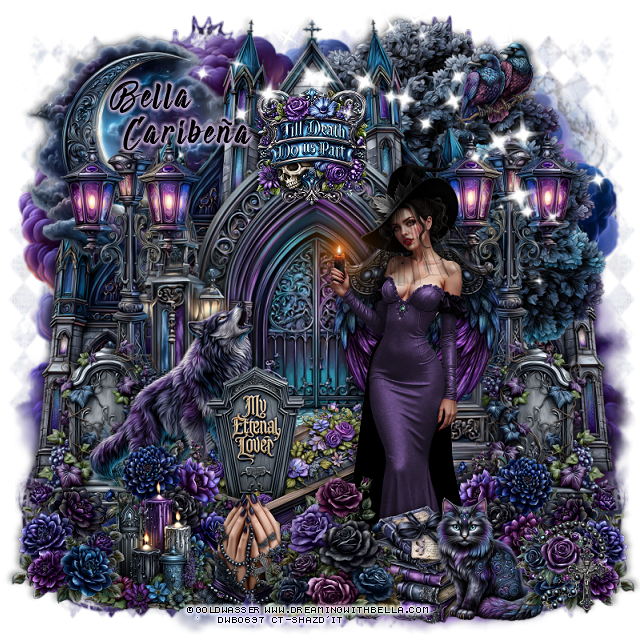
Then add your copyright and name.
That's it
Hope you enjoyed doing my tut.