Showing posts with label Anna Liwanag. Show all posts

Sunday, April 26, 2026

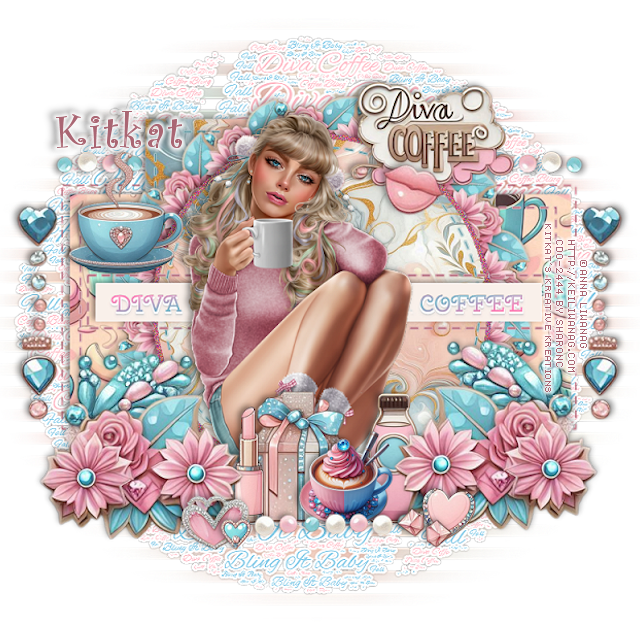
FTU Diva Coffee

 This tut was written April 26th, 2026 for those with a basic knowledge of psp. 

I am using the beautiful tube by © Anna Liwanag

Tube 137-1 when was sold at CDO
I bought mine at CDO but the are closed now
You need a license to use this tube, please do not use without a license
You can find this tube at DAH now under Nocturne HERE


I used PSP2020...but any of them should work.
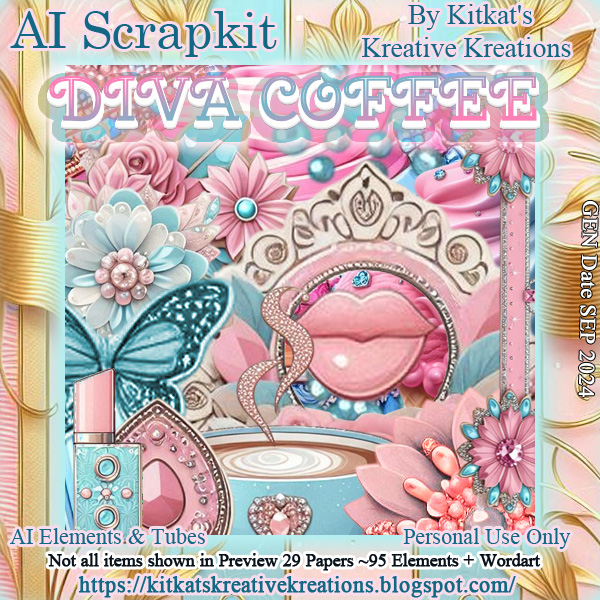
FTU Scrap Diva Coffee by Kitkat's Kreative Kreations  HERE
You can find all Kitkat's kits on her blog HERE
Donna's Template 527 HERE
Check out the rest of the blog HERE
Monti's Blind Mask 1 HERE
Check the blog out HERE

Font of choice, I used CurlzMT

Drop shadow as you go is V -2 H -4, 40, 10, or use what you prefer.
Let's get started
*Remember to add your drop shadow as you go along*

Open the template, delete the credits, resize all layers to 130, then go 
to Canvas size and resize to 800 x 800.
Paste paper 25, go to Adjust, Blur, Gaussian blur, number on 10,
apply your mask, resize to fit your tag.
Paste wordart 3 on the mask, add a fat white gradient glow with
EyeCandy 4000

Select raster 9, select all, float, defloat, add a new layer, fill with a 
color from the tube, delete the template part.
Select raster 2, resize paper 3 to 60%, paste, invert, delete, delete the template
layer as you go along on each one.
Raster 5 fill with a color from your tube.

Merge copy of raster 6 down to raster 6, select all, float, defloat, resize
paper 1 to 60%, paste, invert, delete.
Merge copy of raster 7 down to raster 7, select all, fill with a color of choice.

Tap raster 7 with the magic wand, resize paper 1 to 50%, paste, invert,
delete.
Take the magic wand and click on the white circle part, add a color of choice,
 and add noise at 59%.
Select raster 4, fill with a color of choice.
Fill raster 10 with a color of choice.
Select raster 8, fill with #f9f0ea.
Resize wordart 2 to 40%, paste on the strip to the left, duplicate, 
move to the right.

Resize the tube to 35%, paste above the wordart, erase some of the
wordart behind the tube so only Diva shows on the left and coffee on the right.

Resize 70 to 25%, apply Mura Meister Copies-Encircle, first 3 numbers
on 16, 50, 50, paste below the circle layer.

Resize 70 to 40%, paste at the bottom left above the tube, duplicate, mirror.
Paste 18 below the flower on the left, duplicate, mirror.
Resize 64 to 40%, paste on the left, duplicate, mirror.
Resize 39 to 50%, paste at the bottom, duplicate, move to the top left below
the template layers, duplicate, mirror.
Resize 68 to 30%, paste on the upper right.
Resize 3 to 25%, paste at the bottom above the tube to the left.
Resize 63 to 27%, paste at the bottom below the lipstick.
Resize 86 to 15%, paste at the bottom above the lipstick.

Resize 58 to 15%, paste on the upper left.
Resize 71 to 20%, paste at the bottom below the flowers and coffee.
Resize 77 to 25%, paste at the bottom left by the lipstick.
Resize 10 to 25%, paste on the heart at the bottom.
Resize 11 to 50%, free rotate to the right at 20, paste on the upper 
right by the sign.
Resize 15 to 30%, paste at the bottom right by the flowers.
Resize 9 to 25%, paste at the bottom right below the pink diamonds.

Add any other elements that you would like, make it your own.
Always readjust your mask and elements how you like them before you
 merge your tag, resize, sharpen.

Crop your tag to be sure no shadows or lines are on the edges.
 Then add your copyright and name.
That's it

Hope you enjoyed doing my tut   

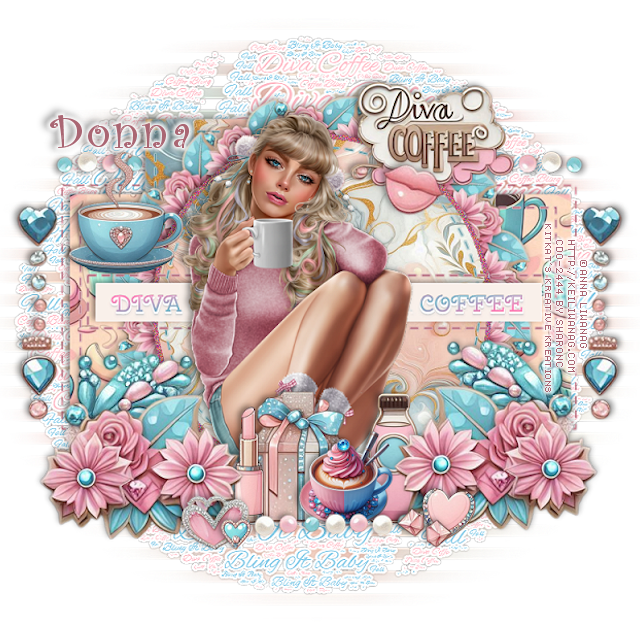
Tag for Donna    


Saturday, May 13, 2023

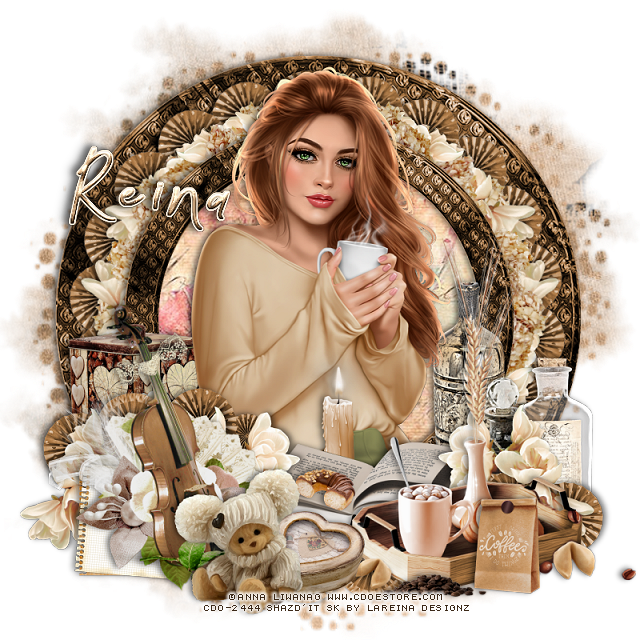
PTU Lil Me Time


This tut was written  May 13, 2023 for those with a basic knowledge of psp. 

I am using the awesome artist ©Anna Liwanag

Tube is 134-1

You need a license to use this tube, please do not use without a license.

You can find this tube at CDO HERE

I used PSP2020...but any of them should work.
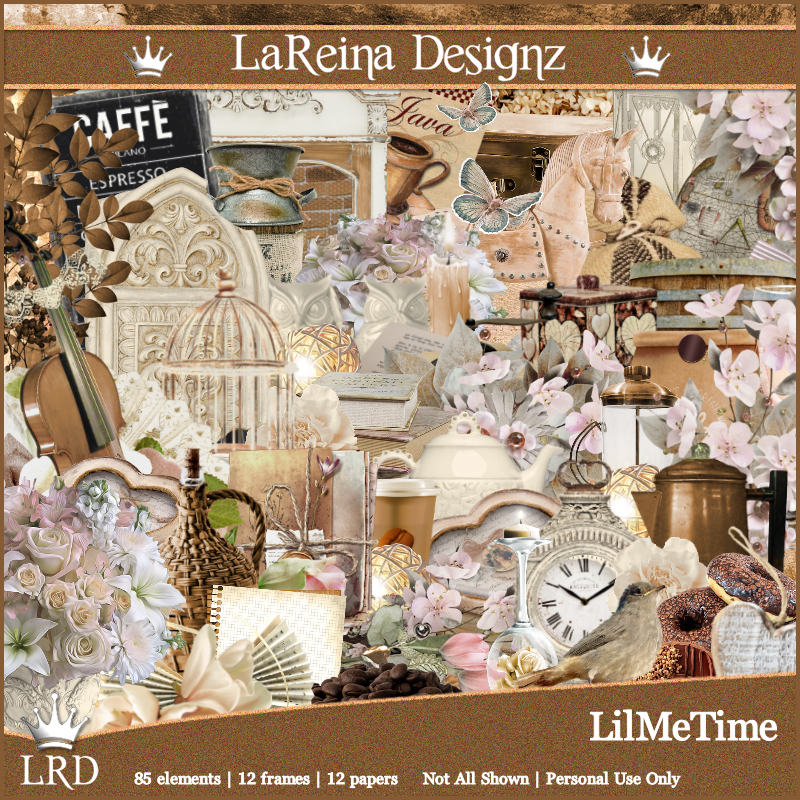
PTU Scrap Lil Me Time by LaReina Designz HERE  HERE HERE
Kit includes 85 elements, 12 frames and 12 papers
Mask of choice, I used Miz Teeque's Mask 70 HERE
Check out the rest of the blog HERE
Filters
Mura Meister Copies-Encircle

 Font of choice, I used Reilly-Beck

Drop shadow as you go is V -1 H -4, 50, 10, or use what you prefer.
Let's get started
*Remember to add your drop shadow as you go along*

Open a new image 800 x 800, paste paper 12, apply your mask.

Resize frame 12 to 85%, paste, duplicate, resize smaller to 75%, 
click inside with the magic wand, expand by 5, paste paper 6, invert, delete.

Open a new layer, resize element 67 to 50%, and element 8 to 30%, paste
element 30 below the basket and to the left a little, duplicate, mirror, merge 
together. 
You may have to try this a couple of times to get the look you want.
Apply Mura Meister Copies-Encircle first 3 numbers on 6, 50, 50, duplicate, mirror
merge these 2 together, paste behind the top frame below the paper layer.
Resize element  68 to 25%, apply Mura Meister, change the first 3 
numbers to 22, 42, 42, paste below the flower circle.

Resize your tube to 50%, paste below the frame, duplicate, move above the frame,
erasing the bottom parts of the tube.

Resize element 5 to 75%, paste above the frame on the right.
Resize element 36 to 60%, paste below the tray.
Resize element 8 to 30%, free rotate to the right at 90, paste behind the tray.
Resize element 18 to 60%, paste on the left above the tray.
Go back to the beige flower, duplicate twice, mirror, move one by the book and 
the other behind the violin on the left.

Resize element 14 to 60%, paste on the right above the frame.
Resize element 32 to 35%, paste on the left above the frame.
Resize element 60 to 15%, paste on the book.
Resize element 78 to 30%, paste at the bottom above the violin.
Resize element 28 to 20%, paste at the bottom by the tray.
Resize element 7 to 20%, paste at the bottom right.
Resize element 51 to 25%, paste on the lower left behind the violin.
Resize element 49 to 20%, paste at the bottom below the bear.
Resize element 68 to 25%, free rotate 90 degrees, paste on the left below the 
flowers behind the violin, duplicate, mirror, adjust behind the tray, 
duplicate, flip, move down to the bottom.

Add any other elements that you would like, make it your own.
Always readjust your mask and elements how you like them before you
 merge your tag, resize, sharpen.

Crop your tag to be sure no shadows or lines are on the edges.
 Then add your copyright and name.
That's it

Hope you enjoyed doing my tut.    

Friday, April 7, 2023

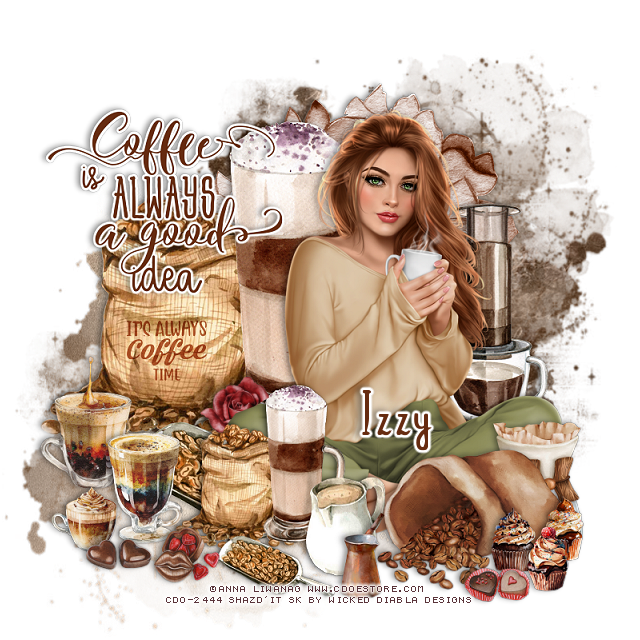
PTU Coffee First


This tut was written April 7th, 2023 for those with a basic knowledge of psp. 

I am using the beautiful tube by ©Anna Liwanag
Tube is 134-1
You need a license to use this tube, please use your license
You can find this tube at CDO HERE

I used PSP2020...but any of them should work.
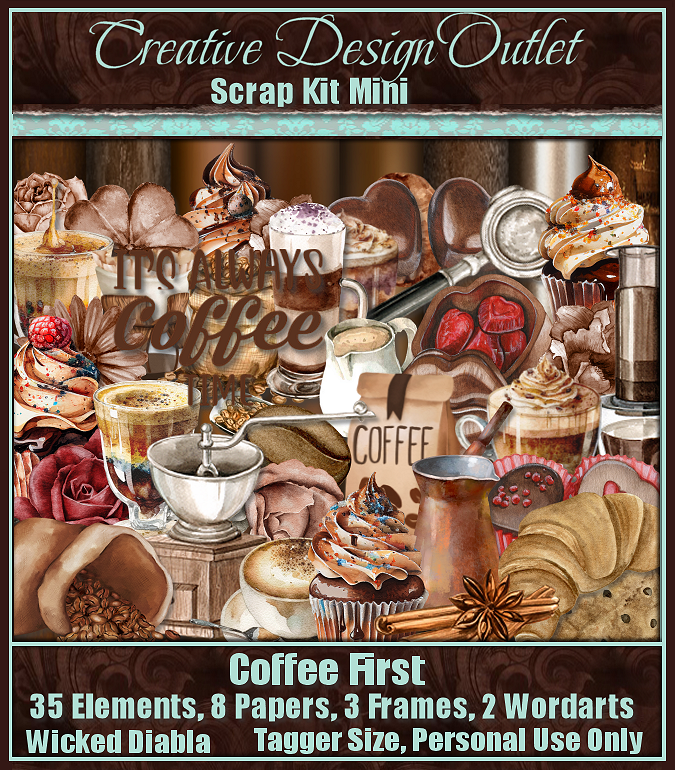
PTU Scrap Coffee First mini kit by Wicked Diabla Designs  HERE 
This awesome mini kit has 35 elements, 8 papers, 3 Frames and 2 Wordarts
Mask of choice, I used Miz Teeque's Mask 247 HERE
Check out the rest of the Blog HERE

Font of choice, I used Bitter Coffee

Drop shadow is V -1 H -4, 50, 10, color black or use what you prefer.
Let's get started
*Remember to add your drop shadow as you go along*

Open a new image, 800 x 800, paste paper 7, apply your mask, delete, merge group,
move up on the right.
Paste paper 2, apply the mask, delete, merge group, move to the left more 
and down.

Paste element 16 on the mask layer to the left.
Resize your tube to 40%, paste above element 16 to the right.
Duplicate element 16, resize to 50%, paste above the tube at the bottom.
Paste element 27 on the left below the leg of the tube.

Resize element 19 to 50%, paste behind the tube on the right.
Resize element 30 to 30%, paste on the left above the tube layer.
Resize element 31 to 25%, paste on the left by the other cup.
Resize element 34 to 15%, paste at the bottom left.

Resize element 15 to 45%, paste at the bottom right above the tube.
Resize element 13 to 30%, paste on the right behind the bag.
Resize element 33 to 20%, paste at the bottom being on the top layer.

Resize element 6, 9 and 10 to 15%, paste at the bottom right by the bag.
Resize elements 3, 4 and 5 to 15%, paste at the bottom where you like.
Mirror element 25, paste on the mask layer at the top behind the tube.

Resize wordart 1 to 30%, paste on the upper left, add a fat white gradient
glow.
Resize wordart 2 to 10%, paste on the bag on the left, change the blend mode
to Hard Light.

Add any other elements that you would like, make it your own.
Always readjust your mask and elements how you like them before you
 merge your tag, resize, sharpen.

Crop your tag to be sure no shadows or lines are on the edges.
 Then add your copyright and name.
That's it

Hope you enjoyed doing my tut.  


Saturday, January 15, 2022

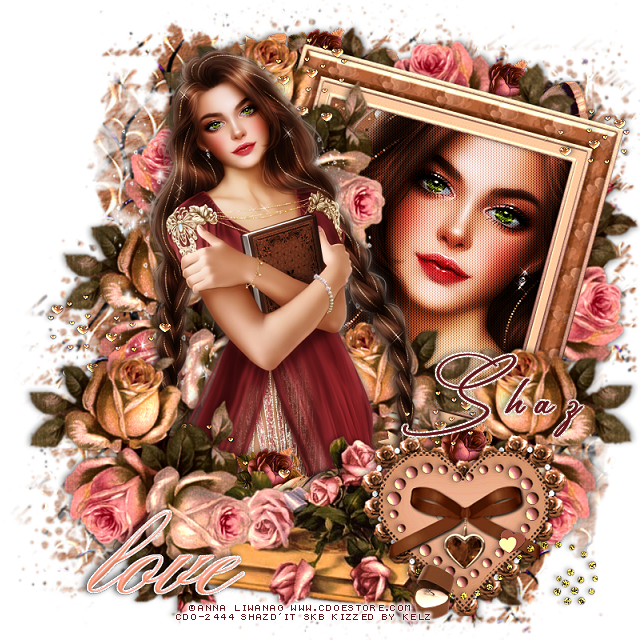
FTU Love


This tut was written January 15th, 2022 for those with a basic knowledge of psp. 

I am using the awesome artwork of Anna Liwanag
The tube is "131-1"
You need a license to use this tube, do not use without a license.
You can find this art at CDO Store HERE

I used PSP2020...but any of them should work.
FTU kit Sweet Christine by Kizzed by Kelz HERE
Miz Teeques Mask 354 HERE 
Check out the rest of the Blog HERE
Filter
Screen Works-Dot Screen

Font of choice, I used Glamour Line

Drop shadow is V -1 H -4, 50, 10, or use what you prefer.
Let's get started
*Remember to add your drop shadow as you go along*

Open a new image 800 x 800, paste paper 4, apply your mask, delete, merge group.
Resize larger to 115.

Paste element 3, mirror, free rotate to the right at 15, click inside with your magic wand, 
expand by 5, paste paper of choice, invert, delete, keep selected, paste your tube,
delete, select none.
Change the blend mode to Overlay or one you prefer.
Duplicate, go to Adjust, Blur, Gaussian blur, number on 5, 
apply Screen Works-Dot Screen, merge down.

Resize your tube to 45%, mirror, paste on the left above the frame, this will make 
it easier to place the flowers.
Duplicate the tube, go to Adjust, Blur, Gaussian blur, number on 5, change 
the blend mode to Soft Light, merge down.

Resize element 64 to 75%, paste at the upper left, above the frame, 
duplicate, move down more, duplicate, move above the tube at the lower left.
Go back to the flower before this one, duplicate, mirror, duplicate, move down more.
Duplicate this last flower, free rotate to the left at 45 degrees, move to the mask 
layer and adjust how you like, duplicate this one, free rotate to the left at 90 degrees, 
move to the top.

Resize element 56 to 75%, paste at the bottom above the tube layer.
Paste element 69 at the lower right being on the top layer.
Paste element 42 behind the heart, adjust to fit.
Paste element 21 above the heart.
Element 37, take your free hand tool, draw around the hanging heart, resize to
90%, paste on the heart.

Resize element 44 to 30%, paste at the bottom by the heart.
Resize element 7 to 50%, paste at the lower left, add a white background.
Paste element 52 on the left above the tube layer, duplicate, move to the top below
the tube layer, erase the ones you don't want. 
Duplicate more if you like and place where you like.
Paste element 22 on the flowers behind the tube how you like.

Element 55, duplicate two or three times or so and place where you like.

Add any other elements that you would like, make it your own.
Always readjust your mask and elements how you like them before you
 merge your tag, resize, sharpen.

Crop your tag to be sure no shadows or lines are on the edges.
 Then add your copyright and name.
That's it

Hope you enjoyed doing my tut.    

Tuesday, April 27, 2021

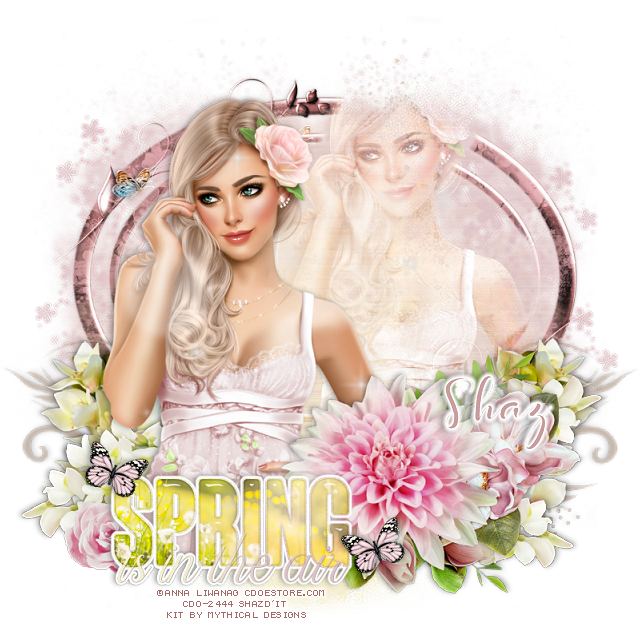
FTU Spring is Around


This tut was written April 27th, 2021 for those with a basic knowledge of psp.

I am using the awesome artwork of  Anna Liwanag
The tube is called "88-2" 
You need a license to use this tube, do not use without a license.
You can find this tube at CDO store  HERE

I used PSPX6...but any of them should work.
FTU kit  Scrappin Your Heart Out Blog Train by Mythical Designs HERE
Check out the rest of the Blog  HERE
Miz Teeque Mask 349  HERE
Check out the rest of the blog HERE

Font of choice,  I used With Rose

Drop shadow is  V -1 H -4, 35, 10, or use what you prefer.
Let's get started
*Remember to add your drop shadow as you go along*

Open a new image 800 x 800 or a size you prefer, can always resize later.
Paste paper 4, apply your mask, delete, merge group, duplicate, mirror, move
a little more to the left.
Select the mask on the right, select all, float defloat, invert, paste your
tube, delete, select none.
Change the blend mode to Overlay.

Resize frame 2 to 80%, paste above the mask layers, change the blend mode
to Overlay, erase the part over the face of the tube.
Recolor the frame using #ecdddd.

Paste your tube to the left.

Paste element 11 above the tube to the right, erase the stem part, resize to 
85%.
Resize element 12 to 40%, paste behind the tube at the lower left, 
duplicate, mirror, duplicate again, flip, move up some above the tube on the mask.
Paste element 21 on the mask layer on the left, duplicate, mirror.
Resize element 14 to 35%, paste at the bottom below the big pink flower.
Resize element 15 to 50%, paste on the lower right above the white flowers.

Resize wordart 1 to 50%, paste at the bottom being on the top layer.
Add a fat white gradient glow.
Resize element 9 to 25%, paste on the left below the wordart.
Resize element 13 to 75%, free rotate to the left at 20 degrees, paste above the
frame layer on the left, erase the stem showing, duplicate, mirror.

Resize element 18 to 15%, free rotate to the right at 20 degrees, paste on the 
wordart, duplicate, mirror.
Paste element 30, being on the top layer.
Resize element 29 to 75%, paste on the left below all the flowers, duplicate, 
mirror.

Add any other elements that you would like, make it your own.
Always readjust your mask and elements how you like them before you
 merge your tag, resize, sharpen.

 Then add your copyright and name.
That's it

Hope you enjoyed doing my tut.

Tag for Mythical    


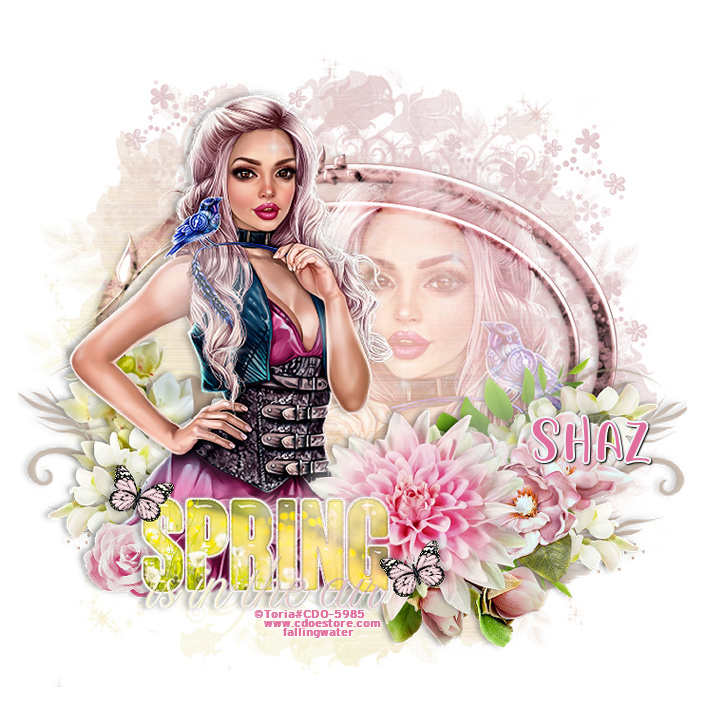
This tag below was made by Fallinwater (Lavada)
Thank you Lavada, love it...