Showing posts with label Magical Moments. Show all posts

Thursday, August 20, 2026

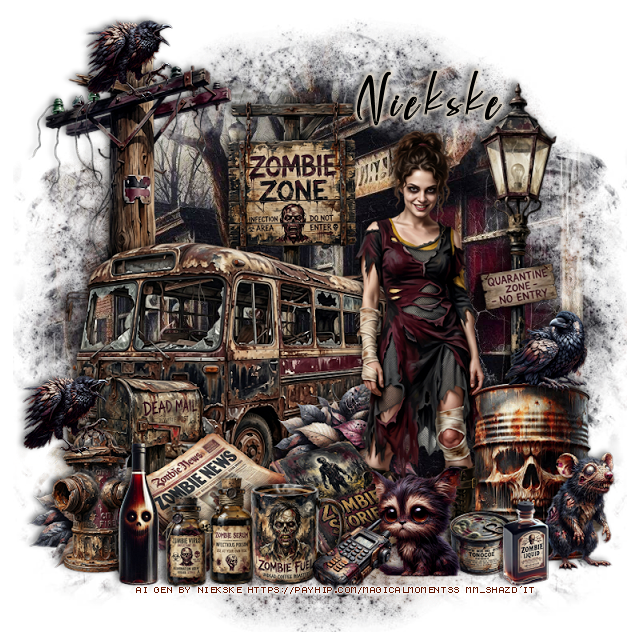
PTU Zombie Stories

 This tut was written August 20th, 2026 for those with a basic knowledge of psp.

I am using the awesome Al gen kit by Niekske
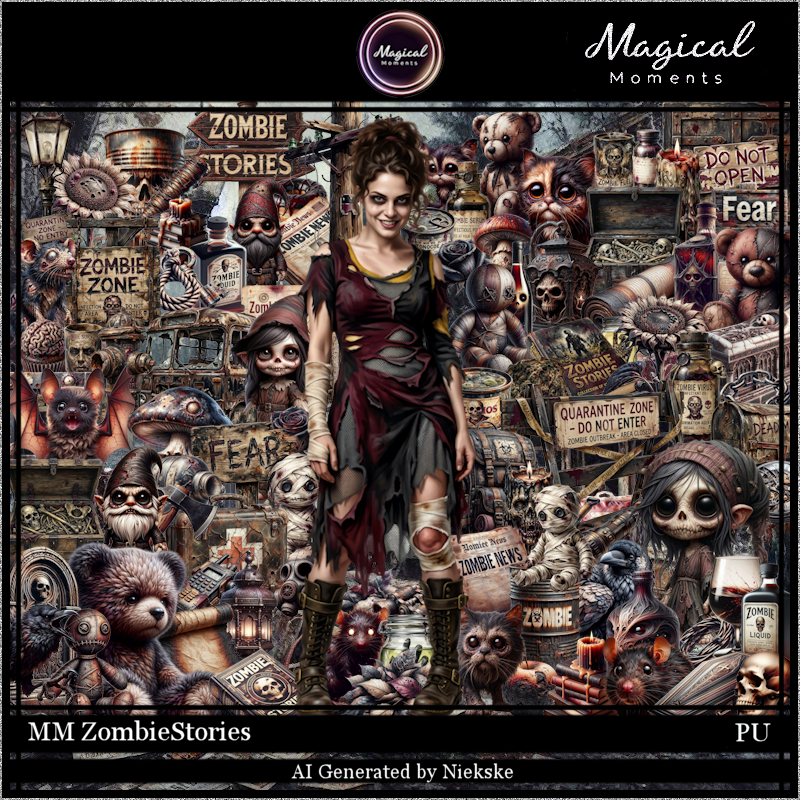
Awesome Zombies kit
Everything is included in the kit
Read the TOU on how to credit your tags


I used PSP2020...but any of them should work.
PTU Scrap Zombie Stories by Magical Moments HERE  
Check out the rest of her store HERE   
Lori's PSP Graphics Mask 1226 HERE
Check the rest of the blog HERE

Font of choice, I used Back Street 

Drop shadow is V -2 H 4, 50, 10, color Black or use what you prefer.
Let's get started
*Remember to add your drop shadow as you go along*

Open a new image 800 x 800, resize paper 5 to 75%, apply your mask,

Resize 47 to 45%, paste.
Resize 45 to 35%, paste behind the bus.

Resize the tube to 25%, paste to the right.
Resize 2 to 17%, paste at the bottom above the tube.
Resize 93 to 15%, paste at the bottom above the book.
Resize 88 to 15%, paste at the bottom.
Resize 77 to 22%, paste at the bottom right below the tube.
Resize 35 to 60%, paste on the right below the barrel.
Resize 80 to 20%, paste at the bottom left below the cup.

Resize 46 to 20%, paste at the bottom left above the bus.
Resize 54 to 20%, paste at the top below the bus.
Resize 41 to 17%, paste below the news paper.
Resize 85 to 20%, paste on the bottom left below the mailbox, duplicate,
move over behind the tube.
Resize 90 to 15%, paste at the bottom by the cup.
Resize 89 to 10%, paste on the bottom right below the cat.
Resize 78 to 10%, paste on the left on the fire hydrant, duplicate, move
up on the power pole.

Resize 53 to 15%, paste at the bottom right.
Resize 24 to 10%, paste on top of the barrel.
Resize 52 to 12%, paste on the bottom left.
Resize 69 to 20%, paste on the bottom left.
Resize 64 to 12%, paste on the bottom right.
Resize 29 to 10%, paste at the bottom by the cup.

Add any other elements that you would like, make it your own.
Always readjust your mask and elements how you like them before you
 merge your tag, resize, sharpen.

Crop your tag to be sure no shadows or lines are on the edges.
 Then add your copyright and name.
That's it

Hope you enjoyed doing my tut.            

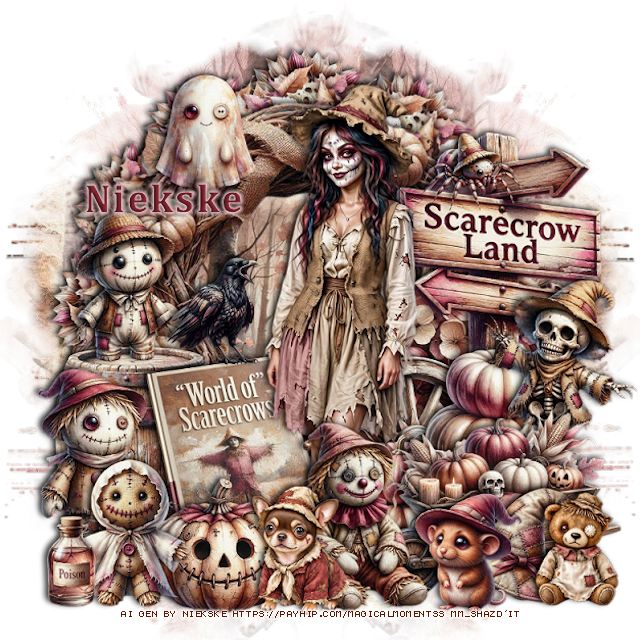
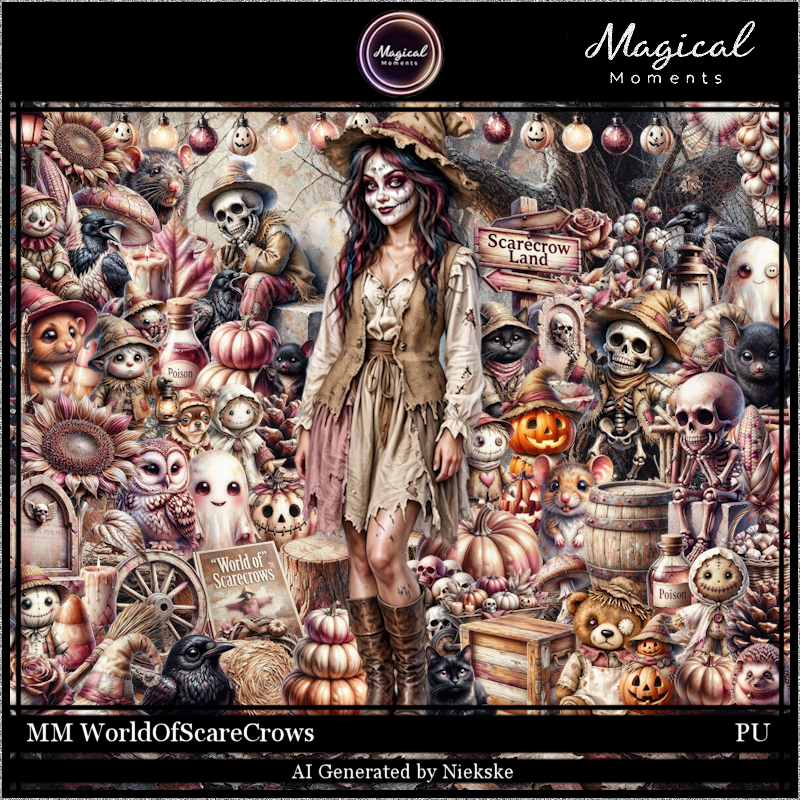
PTU World of Scarecrows


  This tut was written August 19th, 2026 for those with a basic knowledge of psp.

I am using the awesome Al gen kit by Niekske
Awesome Scarecrow kit
Everything is included in the kit
Read the TOU on how to credit your tags


I used PSP2020...but any of them should work.
PTU Scrap World of Scarecrows by Magical Moments HERE  
Check out the rest of her store HERE   
Vivienne's Digital Tagging Mask 45 HERE
Check the rest of the blog HERE

Font of choice, I used Cambria

Drop shadow is V -2 H 4, 50, 10, color Black or use what you prefer.
Let's get started
*Remember to add your drop shadow as you go along*

Open a new image 800 x 800, paste paper 2, apply your mask,
move to the left, duplicate, mirror, duplicate both and move down.

Resize 72 to 25%, apply Mura Meister Copies-Encircle, first 3 
numbers on 12, 50, 50, paste.
Resize 27 to 25%, apply Mura Meister Copies-Encircle, first 3 
numbers on 12, 50, 50, paste below the leaves circle.
Resize 34 to 63%, paste above the leaves circle, click inside, resize paper 1
to 40%, paste, invert, delete.
Resize 79 to 30%, paste on the right above the frame.
Resize 4 to 30%, paste on the bottom right above the sign.

Resize the tube to 32%, paste above the pumpkin.

Resize 54 to 20%, paste at the bottom right below the tube.
Resize 35 to 25%, paste on the bottom left below the tube.
Resize 25 to 30%, paste at the bottom right above the pumpkins.
Resize 49 to 25%, paste at the bottom above the books.
Resize 23 to 25%, paste on the left below the book.
Resize 28 to 25%, paste below the pumpkins on the right.

Resize 46 to 25%, paste on the bottom left above the pumpkin.
Resize 55 to 25%, paste at the bottom.
Resize 40 to 25%, paste on the right below the wheel barrel.
Resize 5 to 20%, paste on the left on the barrel.
Resize 52 to 17%, paste at the bottom right above the wheel barrel.
Resize 39 to 15%, mirror, paste at the bottom right by the hat.
Resize 61 to 15%, paste on the sign.
Resize 9 to 20%, paste on the bottom left.
Resize 57 to 17%, paste at the upper left above the frame.
Resize 44 to 23%, mirror, paste at the bottom.
Resize 14 to 15%, paste on the bottom left.
Resize 11 to 20%, paste at the bottom right.
Resize 67 to 15%, paste on the book.

Add any other elements that you would like, make it your own.
Always readjust your mask and elements how you like them before you
 merge your tag, resize, sharpen.

Crop your tag to be sure no shadows or lines are on the edges.
 Then add your copyright and name.
That's it

Hope you enjoyed doing my tut.            
Tuesday, August 18, 2026

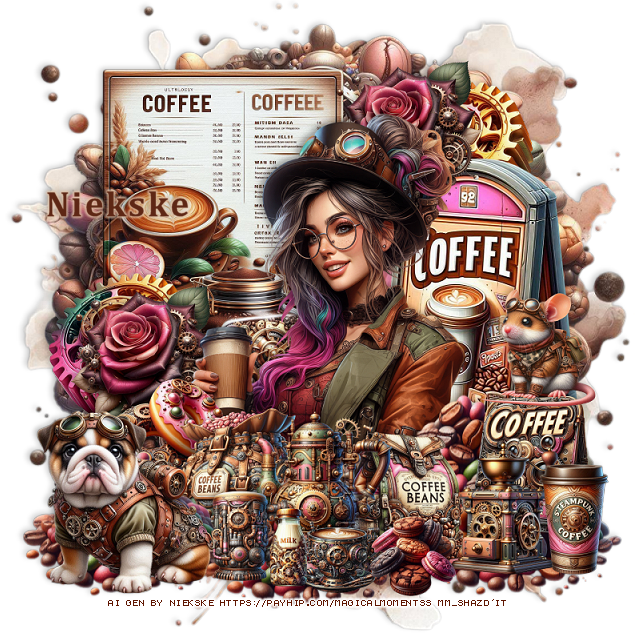
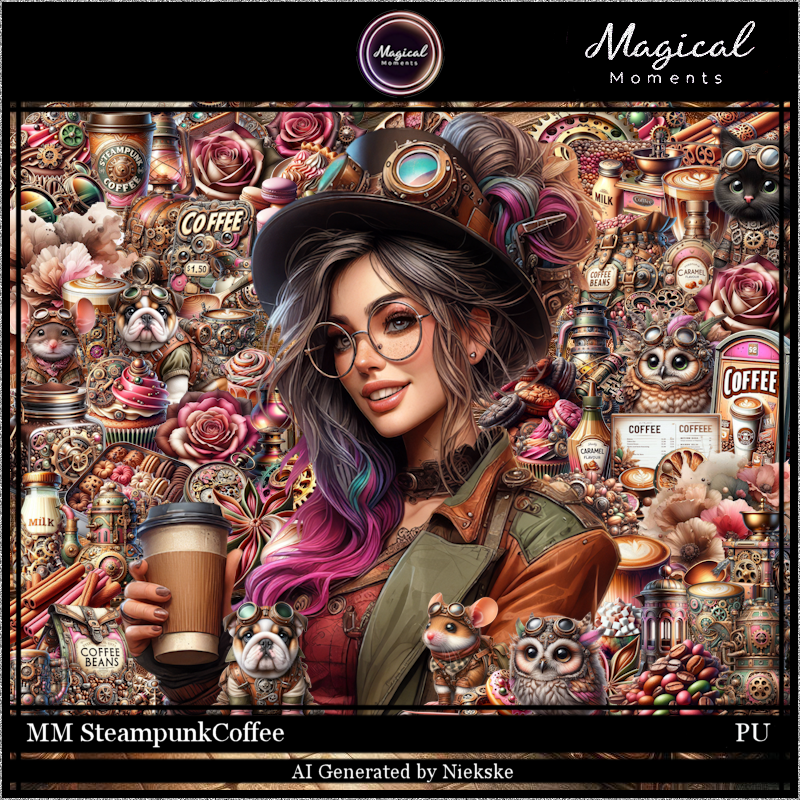
PTU Steampunk Coffee

 This tut was written August 18th, 2026 for those with a basic knowledge of psp.

I am using the awesome Al gen kit by Niekske
Awesome Steampunk kit
Everything is included in the kit
Read the TOU on how to credit your tags


I used PSP2020...but any of them should work.
PTU Scrap Steampunk Coffee by Magical Moments HERE  
Check out the rest of her store HERE   

Font of choice, I used Cambria

Drop shadow is V -2 H 4, 50, 10, color Black or use what you prefer.
Let's get started
*Remember to add your drop shadow as you go along*

Open a new image 800 x 800, resize 50 to 80%, paste.

Resize 19 to 70%, paste.
Resize 21 to 50%, paste on the right.
Resize 20 to 35%, paste at the upper left.
Resize 52 to 20%, paste on the bottom right.

Resize the tube to 35%, paste above the signs.

Resize 28 to 18%, paste on the left below the tube.
Resize 4 to 35%, paste at the bottom below the small sign.
Resize 3 to 30%, paste at the bottom by the sign.
Resize 9 to 30%, paste at the bottom right.
Resize 56 to 15%, paste at the bottom right.
Resize 14 to 30%, paste at the bottom by the bean bag.
Resize 64 to 20%, paste on the left at the bottom of the sign,
duplicate, move up behind the tube.
Resize 22 to 20%, paste at the top right below the flower and sign,
duplicate, move down on the left below the flower.

Resize 67 to 15%, paste on the left above the tube.
Resize 42 to 30%, paste on the bottom below the coffee pot on the left.
Resize 2 to 20%, paste at the bottom above the coffee pot.
Resize 41 to 17%, paste at the bottom.
Resize 16 to 17%, paste at the bottom.
Resize 33 to 12%, paste at the bottom by the cup.
Resize 37 to 23%, paste on the bottom left.
Go back and duplicate the coffee beans twice, move to the left below the dog
with one and move the other to the center more.
Resize 68 to 15%, paste on top of the small sign.

Add any other elements that you would like, make it your own.
Always readjust your mask and elements how you like them before you
 merge your tag, resize, sharpen.

Crop your tag to be sure no shadows or lines are on the edges.
 Then add your copyright and name.
That's it

Hope you enjoyed doing my tut.            
Saturday, August 8, 2026

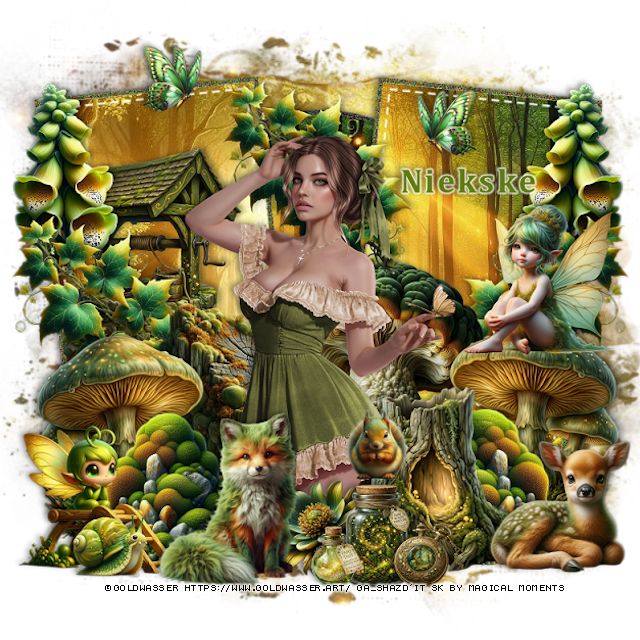
PTU Beauty of the Woods

  This tut was written August 8th, 2026 for those with a basic knowledge of psp.

I am using the awesome tube ©Goldwasser
The tube is called Henrietta
The tube is NOT included
You need a license to use this tube, please do not use without a license
You can find the tube at their store HERE


I used PSP2020...but any of them should work.
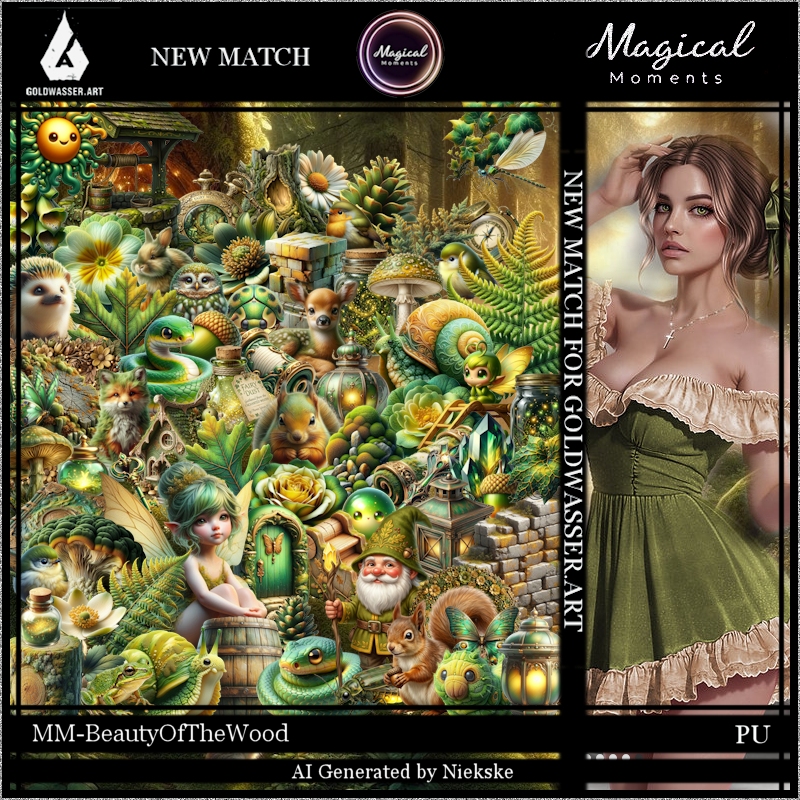
PTU Scrap Beauty of the Woods by Magical Moments HERE  
Donna's Template 689 HERE 
Check the rest of the blog HERE
Check out the rest of her store HERE   
Mask of choice, I used RD Mask 675 Here
Check the blog Here

Font of choice, I used Cambria

Drop shadow is V -2 H 4, 50, 10, color Black or use what you prefer.
Let's get started
*Remember to add your drop shadow as you go along*

Open the template, delete the credits, go to Image, resize layers, all layers
checked, then Canvas size 800 x 800.

Click in the white area of Raster 3, paste paper 4, invert, delete, click 
on the dark circle part, fill with #646437, add noise at 50%.
Delete Raster 4.
Select Copy 2 of Raster 2, click in the gray area, paste paper 3, invert, delete.
Click on the white frame part, fill with the same color and noise as before.
Delete Raster 5.

Click on the gray area of Raster 2, paste paper 5, invert, delete.
Copy of Raster 2, click the gray, paste paste paper 4, invert, delete.
On both of the white frame part, click and fill with the same color and noise.
Keep the dotted lines if you like.

Resize 60 to 25%, paste at the upper right, duplicate, mirror.
Resize 65 to 25%, paste on the right, duplicate, mirror, duplicate again, move 
to the center top.

Resize the tube to 30%, paste.

Resize 23 to 25%, paste below the tube on the right.
Resize 33 to 35%, paste on the bottom left, duplicate, mirror.
Resize 46 to 25%, paste below the mushroom on the left.
Resize 37 to 25%, paste on the bottom left above the mushroom, duplicate,
mirror, move above the mushroom.
Resize 72 to 30%, paste below the tube on the bottom right.
Resize 70 to 30%, mirror, paste on the left below the leaves and plant.

Resize 41 to 23%, paste at the bottom left above the tube.
Resize 24 to 20%, mirror, paste on the mushroom on the right.
Resize 55 to 20%, paste at the bottom right.
Resize 62 to 15%, paste at the bottom by the stump.
Resize 39 to 20%, mirror, paste at the bottom left below the fox.
Resize 66 to 13%, paste at the bottom below the fox and jar.
Resize 42 to 10%, paste on top of the jar.
Paste paper 5 on the bottom layer above the white background, apply your
mask, adjust to fit your tag.
Resize 45 to 10%, paste at the upper left, duplicate, mirror.
Resize 71 to 10%, paste at the bottom being on the top layer.
Resize 47 to 10%, paste at the bottom by the jar.
Resize 13 to 10%, paste at the bottom left.

Add any other elements that you would like, make it your own.
Always readjust your mask and elements how you like them before you
 merge your tag, resize, sharpen.

Crop your tag to be sure no shadows or lines are on the edges.
 Then add your copyright and name.
That's it

Hope you enjoyed doing my tut.            
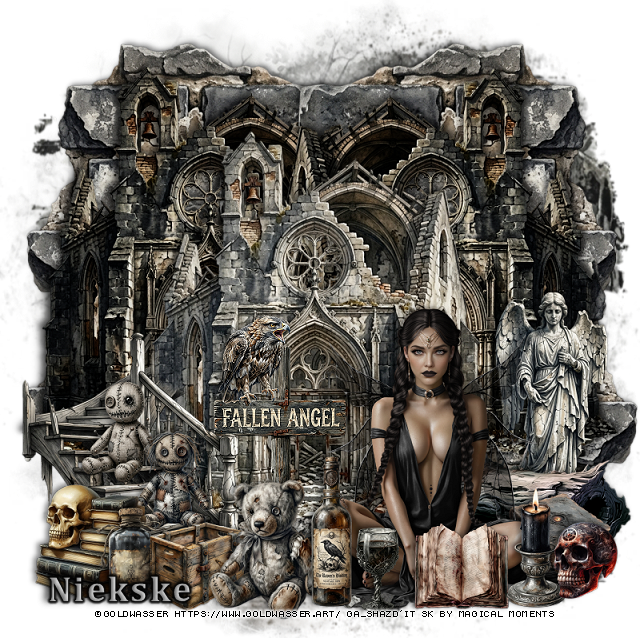
PTU Fallen Angel


  This tut was written August 8th, 2026 for those with a basic knowledge of psp.

I am using the awesome tube ©Goldwasser
The tube is called Druanthia
The tube is NOT included
You need a license to use this tube, please do not use without a license
You can find the tube at their store HERE


I used PSP2020...but any of them should work.
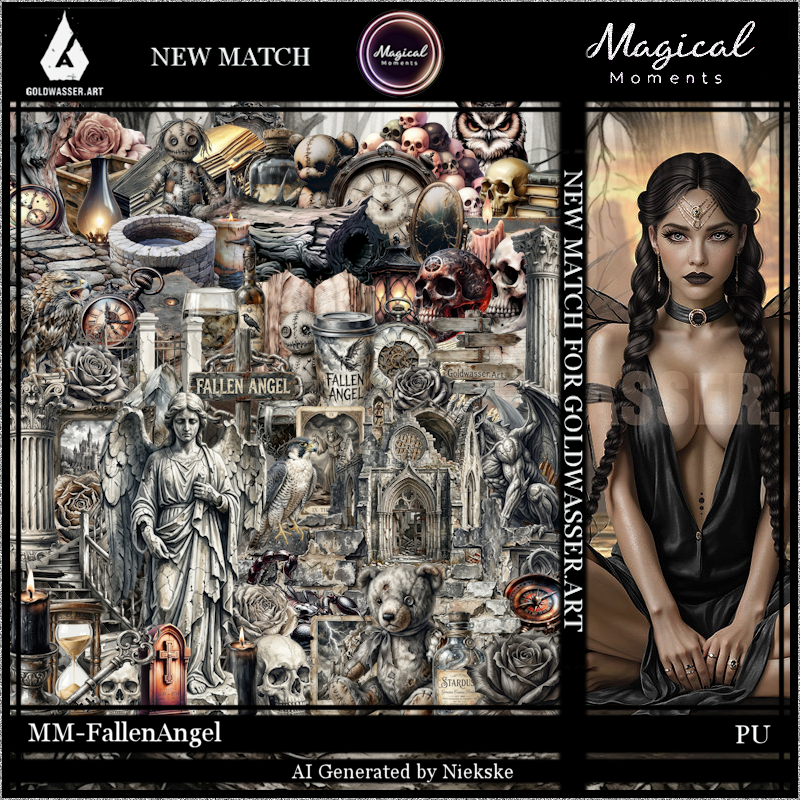
PTU Scrap Fallen Angel by Magical Moments HERE  
Check out the rest of her store HERE   
Mask of choice, I used RD Mask 671 aka Mask Set 168 Here
Check the blog Here

Font of choice, I used Cambria

Drop shadow is V -2 H 4, 50, 10, color Black or use what you prefer.
Let's get started
*Remember to add your drop shadow as you go along*

Open a new image 800 x 800, paste paper 4, apply your mask.

Resize 22 to 55%, duplicate 2 more times for a total of 3, 
close off the top layer, move one to the left and the other to the right,
merge these 2 together, duplicate, change the blend mode to Multiply, 
merge.
Resize 18 to 65%, paste on the mask layer on the right, 
duplicate, mirror, move below the first one, duplicate both, move 
to the bottom.
Resize 9 to 30%, paste on the bottom right.
Resize 11 to 40%, paste on the left above the castle, erase some of
the railing over the castle.
Resize 54 to 25%, paste at the bottom right above the angel.

Resize the tube to 25%, paste at the bottom.

Resize 24 to 20%, paste at the bottom below the tube on the left 
and below the stairs.
Resize 32 to 13%, paste at the bottom above the tube.
Resize 38 to 20%, paste at the bottom.
Resize 19 to 12%, paste on the post sign.
Resize 6 to 22%, paste at the bottom below the bottle.

Resize 45 to 13%, paste on the bottom right below the tube.
Resize 65 to 15%, paste at the bottom left below the bear.
Resize 1 to 20%, paste at the bottom right above the tube.
Resize 62 to 12%, paste on the bottom left below the crate.
Resize 43 to 13%, paste at the bottom right.
Resize 39 to 12%, paste at the bottom above the tube.
Resize 64 to 15%, paste on the bottom left below the bottle.
Resize 37 to 15%, paste on the steps.
Resize 70 to 15%, paste on the steps behind the crate.

Add any other elements that you would like, make it your own.
Always readjust your mask and elements how you like them before you
 merge your tag, resize, sharpen.

Crop your tag to be sure no shadows or lines are on the edges.
 Then add your copyright and name.
That's it

Hope you enjoyed doing my tut.            
Sunday, August 2, 2026

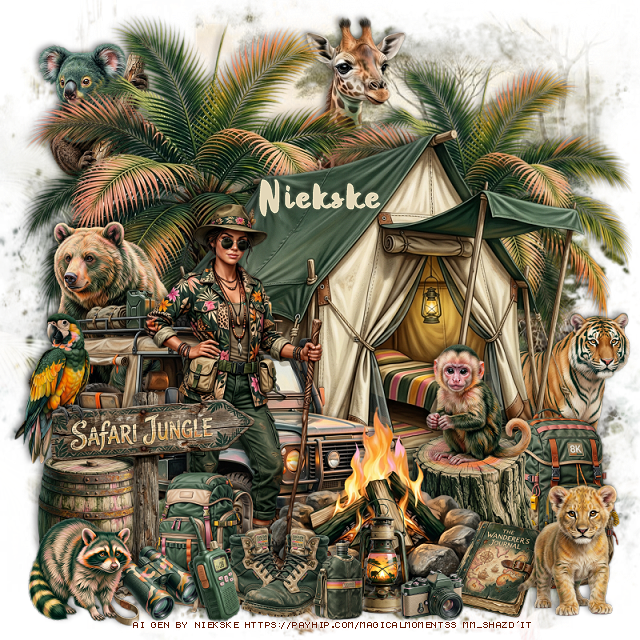
PTU Safari Jungle

This tut was written August 2nd, 2026 for those with a basic knowledge of psp.

I am using the awesome Al tube gen by Niekske
Everything is included in the kit
Please read the TOU on how to credit your tags


I used PSP2020...but any of them should work.
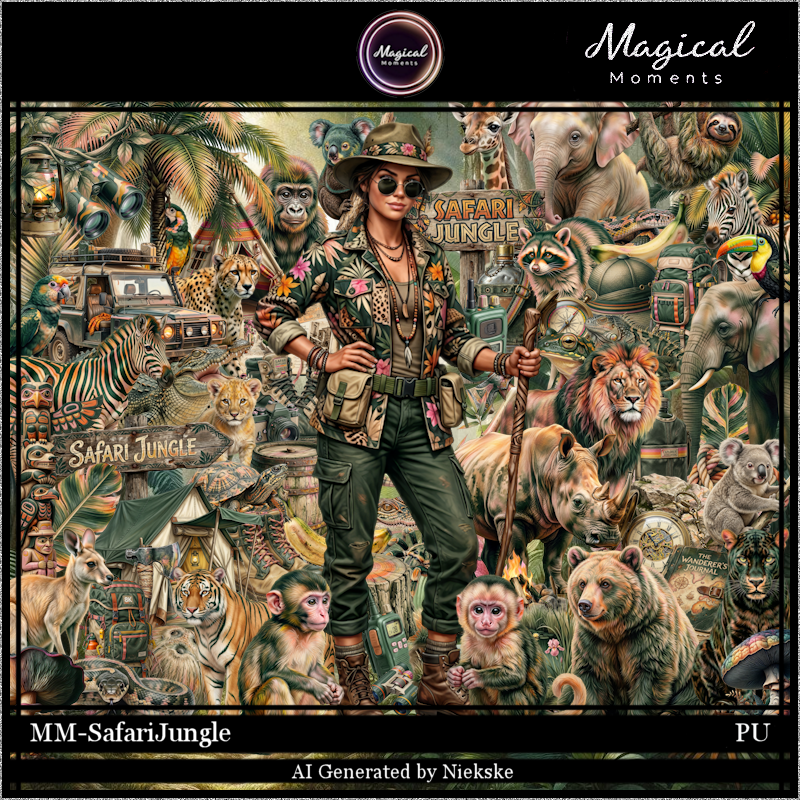
PTU Scrap Safari Jungle by Magical Moments HERE  
Kit has 76 elements, 5 papers and 1 Al tube
Check out the rest of her store HERE   
Mask of choice, I used RD Mask 656  Here
Check the blog Here

Font of choice, I used Jungle 

Drop shadow is V -2 H 4, 50, 10, color Black or use what you prefer.
Let's get started
*Remember to add your drop shadow as you go along*

Open a new layer 800 x 800, paste paper 2, apply your mask.

Resize 51 to 50%, paste on the bottom left.
Resize 21 to 60%, paste below the jeep to the right.
Resize 56 to 60%, paste on the upper left below the tent, duplicate, resize
to 85%, move to the right and down.
Resize 8 to 40%, paste at the bottom in front of the jeep.

Resize the tube to 25%, paste to the left.

Resize 25 to 30%, paste on the bottom left above the tube.
Resize 67 to 20%, paste on the sign.
Resize 70 to 60%, mirror, paste at the top below the tree.
Resize 57 to 20%, paste at the bottom above the sign.
Resize 59 to 15%, paste at the bottom above the back pack.
Resize 55 to 13%, paste at the bottom left.
Resize 32 to 20%, paste on the bottom left below the sign.

Resize 28 to 20%, paste on the bottom right below the fire.
Resize 24 to 15%, paste at the bottom above the fire.
Resize 20 to 15%, paste at the bottom by the boots.
Resize 18 to 15%, paste at the bottom by the stump.
Resize 7 to 25%, paste on the bottom right below the stump.
Resize 4 to 25%, paste on the left below the jeep.

Resize 1 to 30%, mirror, paste on the right below the tent.
Resize 44 to 20%, paste at the upper left below the tree.
Resize 42 to 20%, paste on the stump.
Resize 62 to 15%, mirror, paste at the bottom left.
Resize 34 to 20%, paste at the bottom right.
Resize 37 to 12%, paste at the bottom by the boots.
Resize 38 to 10%, paste at the bottom.

Add any other elements that you would like, make it your own.
Always readjust your mask and elements how you like them before you
 merge your tag, resize, sharpen.

Crop your tag to be sure no shadows or lines are on the edges.
 Then add your copyright and name.
That's it

Hope you enjoyed doing my tut.