
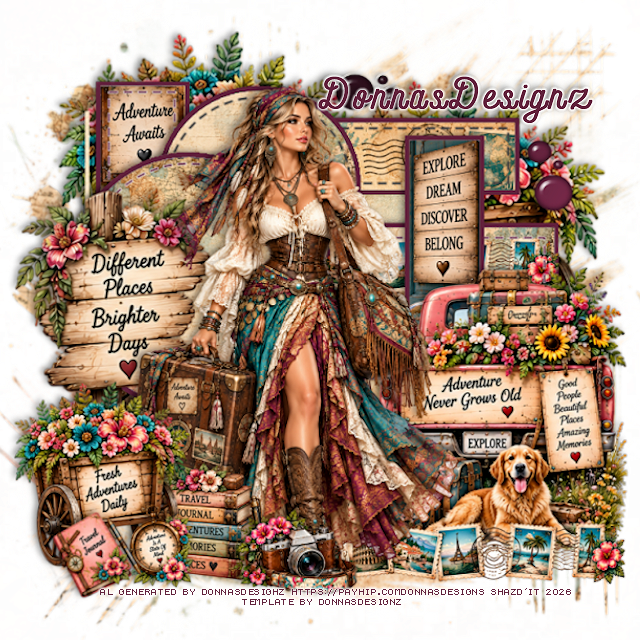
This tut was written September 19th, 2026 for those with a basic knowledge of psp.
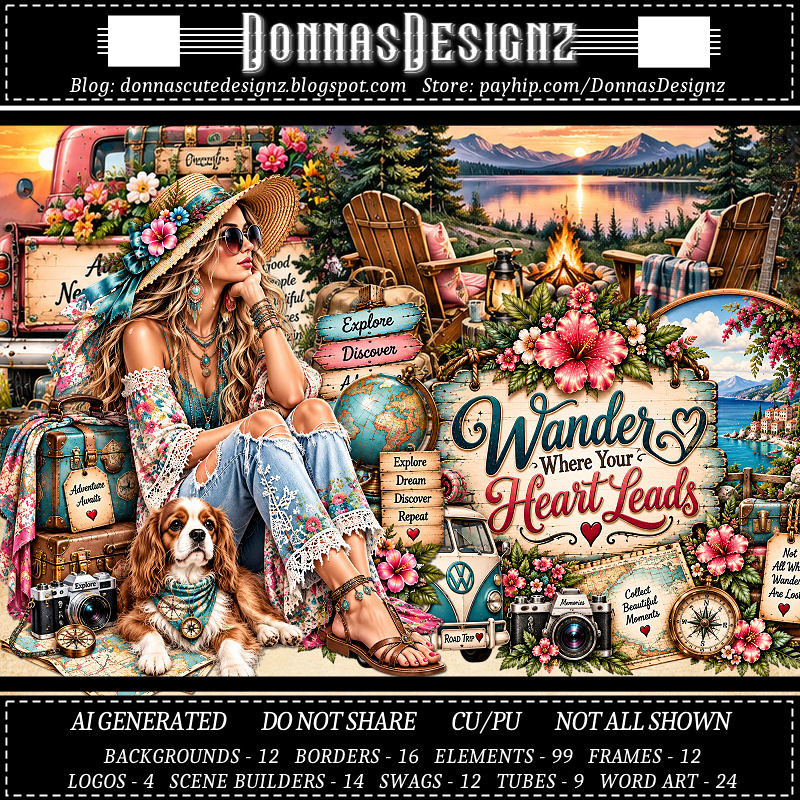
I am using the Awesome Al kit/Tubes by Donna Designz
Everything used is included in the kit
Please read the TOU on how to credit your tags
Drop shadow as you go is V -2 H 4, 50, 10, or use what you prefer.
Let's get started
*Remember to add your drop shadow as you go along*
Open the template, go to Image, resize to 125, all layers checked, then
Canvas 800 x 800, delete the credits.
Resize paper 5 to 80%, paste above the white background, apply your mask,
resize to fit your tag.
On each template layer, you will click the gray area first to fill or
paste your paper, then click on the white frame part and fill.
I filled the frame part with #62223c on all of them.
I will not repeat this on each one, so when I say select raster #, do that
each time.
Dotted lines your choice if you want to keep them or not.
Copy of Raster 4, select, resize paper 9 to 50%, paste, invert, delete.
Raster 2, resize paper 2 to 50%, paste so the word part shows, invert,
delete, do the frame.
Merge Copy of Raster 11 down with Raster 11, resize paper 4
to 40%, paste, invert, delete, do the frame.
Copy of Raster 2, resize paper 5 to 40%, paste, move how you like,
invert, delete.
Resize border 4 to 50%, paste on the paper.
Raster 3, resize paper 5 to 40%, paste, invert, delete.
Do the same with Copy of Raster 3.
Raster 5, resize paper 2 to 50%, paste so the words shows at the top.
Raster 4, resize paper 5 to 50%, paste, move to your liking, invert, delete.
Raster 16, paste paper 8, invert, delete.
Merge all the circles together, select all, float, defloat, fill with a color
or paste a paper.
Add Eye Candy 4000, Glass with these settings
Bevel Width 8.98
Smoothness 45
30, 35, 50, 0, 50
Lighting 135, 45
Resize 14 to 75%, paste on the bottom right.
Resize tube 3 to 38%, paste to the left of the truck.
Resize border 4 to 50%, paste at the bottom below the tube to the right.
Resize 83 to 45%, paste at the bottom above the tube.
Resize 51 to 95%, paste on the left below the tube.
Resize 42 to 50%, paste at the bottom below the camera on the left.
Resize 15 to 65%, paste on the bottom left.
Resize 2 to 35%, paste on the bottom left.
Resize 12 to 35%, free rotate to the left at 20, paste at the bottom left.
Resize 15 to 115%, paste at the upper left below the template layers,
duplicate, move to the right and down.
Add any other elements that you would like, make it your own.
Always readjust your mask and elements how you like them before you
merge your tag, resize, sharpen.
Crop your tag to be sure no shadows or lines are on the edges.
Then add your copyright and name.
That's it
Hope you enjoyed doing my tut.

No comments:
Post a Comment