Showing posts with label Stella Felice7. Show all posts

Monday, May 29, 2023

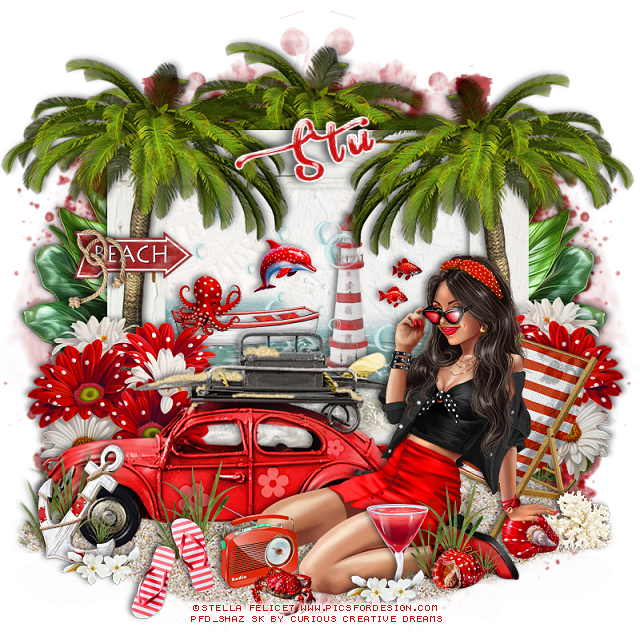
PTU Spot by the Sea


This tut was written  May 29th, 2023 for those with a basic knowledge of psp. 

I am using the awesome tube by ©Stella Felice 7

The tube is called Adela
You need a license to use this tube, please do not use without a license.
You can find the tube at PFD store HERE

I used PSP2020...but any of them should work.
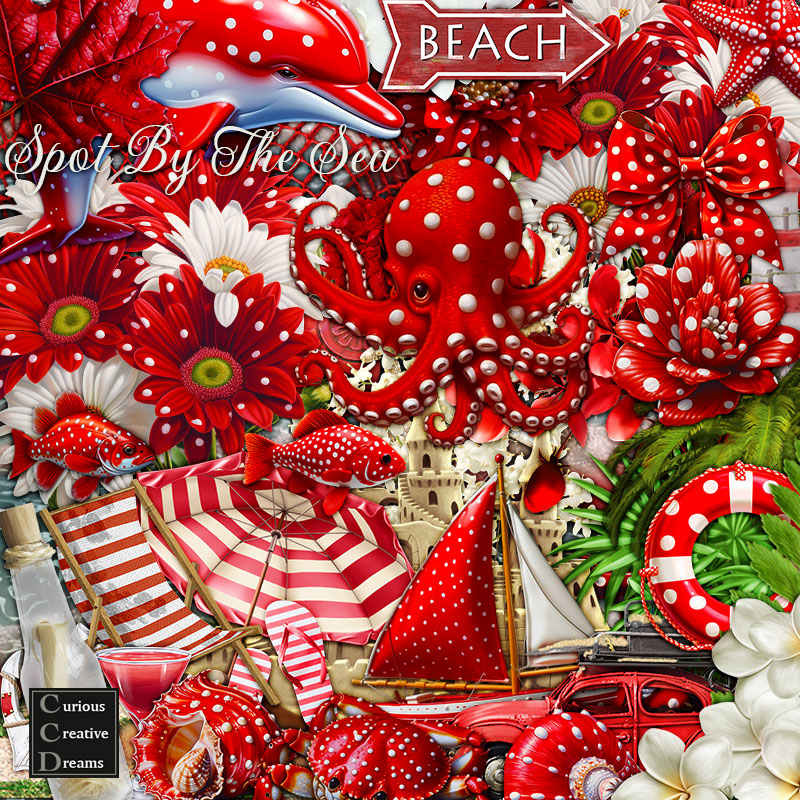
PTU Scrap Spot by the Sea by Curious Creative Dreams  HERE
"Tube is NOT included"
You can find all Curious Creative Dreams kits HERE
 Mask of choice, I used RD Mask 892 HERE
Check out the rest of the blog HERE

 Font of choice, I used Pacific Again

Drop shadow as you go is V -1 H -4, 50, 10, or use what you prefer.
Let's get started
*Remember to add your drop shadow as you go along*

Open a new image 800 x 800, paste paper 1, apply your mask, delete, merge
group.
Resize Frame 10 to 85%, paste, click inside with the magic wand, expand by
5, paste paper 1, invert, delete, keep selected.
Resize element 35 to 50%, paste below the frame, delete, select none.
Resize element 5 to 40%, paste at the bottom above the frame, duplicate, 
mirror.
Resize element AI(1) to 30%, paste above the frame at the lower left,
duplicate, mirror.

Resize your tube to 25%, paste above the frame on the sand.

Resize element 29 to 55%, paste behind the tube on the right.
Resize element 15 to 55%, paste behind the tube to the left.
Resize element 32 to 30%, paste on the left above the car.
Resize element AI(7) to 10%, paste at the bottom right below the hand of the tube.
Resize element AI(19) 10%, paste at the bottom above the tube.
Resize element AI(3) paste at the bottom.

Resize element 28 to 25%, paste at the bottom.
Resize element 17 to 40%, paste inside the frame.
Resize element 14 to 10%, paste inside the frame.
Resize element AI(2) to 10%, paste on the boat.
Resize element AI(13) to 15%, paste inside the frame.
Paste element 74 behind the chair on the right, duplicate, mirror, duplicate
once more, move to the mask layer top center.

Resize element 2 to 15%, paste on the lower right above the chair.
Paste element 76 on the left above the mask, duplicate, mirror.
Resize element 37 to 25%, paste on the sand in front of the car, duplicate, move
above the tube by the drink, duplicate once more move to the left below the
anchor.
Resize element 10 to 25%, paste at the bottom above the anchor.
Resize element 9 to 10%, duplicate, paste both at the bottom where you like.
Resize element 31 to 50%, paste inside the frame.
Resize element 18 to 15%, paste on the tree.
Resize element 8 to 20%, paste on the beach sign.

Resize a couple of the fishes to 5%, paste inside the frame.

Add any other elements that you would like, make it your own.
Always readjust your mask and elements how you like them before you
 merge your tag, resize, sharpen.

Crop your tag to be sure no shadows or lines are on the edges.
 Then add your copyright and name.
That's it

Hope you enjoyed doing my tut.   

Tag for Stu  

Tuesday, July 5, 2022

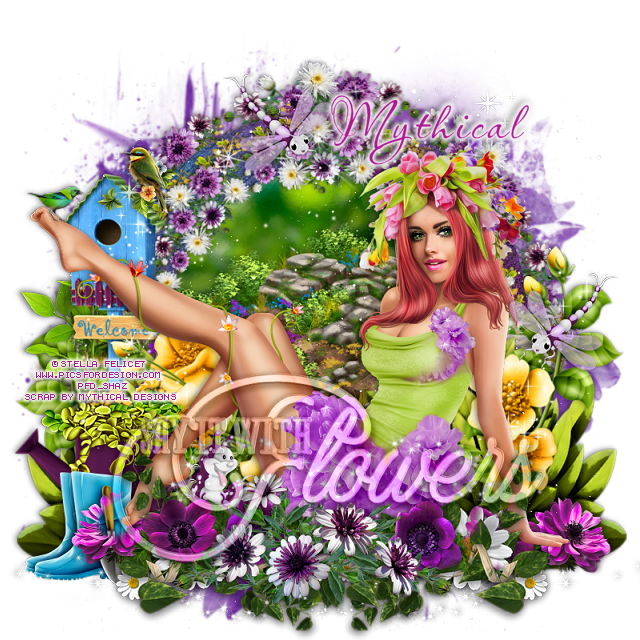
PTU Say it with Flowers


 This tut was written July 5th, 2022 for those with a basic knowledge of psp. 

I am using the awesome artwork of ©Stella Felice7
Tube is called Spring Girl
You need a license to use this tube, do not use without a license.
You can find this tube at PFD store HERE

I used PSP2020...but any of them should work.
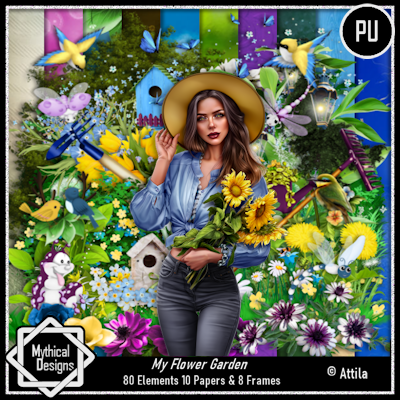
PTU kit My Flower Garden by Mythical Designs HERE HERE HERE
Beautiful kit with 80 elements, 10 papers, and 6 frames 
and a tube by Attila is included with the kit
Check out her blog HERE
Mask of choice, I used RD Mask 934 HERE
Check out the rest of the blog HERE
Wordart by DD HERE
Check out the rest of the blog HERE

Font of choice, I used Aquarelle

Drop shadow is V -1 H -4, 50, 10, or use what you prefer.
Let's get started
*Remember to add your drop shadow as you go along*

Open a new image 800 x 800, paste paper 7, apply your mask, delete, 
merge group.

Resize frame 2 to 80%, paste, click inside with the magic wand, expand by 5,
resize paper 6 to 75%, paste, invert, delete, select none.
Resize frame 7 to 65%, paste on the flower frame.
Duplicate the flower frame, move above the round frame, resize smaller to 
80%.
Resize frame 6 to 77%, paste below the smaller flower circle.

Resize element 1 to 75%, paste at the lower left being on the top layer, 
duplicate, mirror.

Resize your tube to 50%, paste.

Resize element 40 to 85%, paste on the left below the tube.
Resize element 26 to 40%, mirror, paste on the left below the tube.
Resize element 78 to 50%, paste at the bottom left below the tube, duplicate,
mirror. Duplicate both flowers, move above the tube, erase the part over the foot
and hand.

Paste element 74 above the green bushes and move to the right more.
Duplicate, mirror, move below the bird house, erase any on the right you don't want.
Resize element 52 to 60%, paste behind the tube and below the top flower circle.
Resize element 2 to 15%, paste on the bird house.

Paste element 16 below the tube layer.
Resize element 17 to 25%, paste below the flowers at the left of the tube.
Resize element 76 to 90%, paste above the insect you just pasted, duplicate, mirror.
Resize element 41 to 50%, paste on the left behind the birdhouse.
Resize element 18 to 25%, paste on the right of the tube, duplicate, mirror, move 
up to the top.
Resize element 48 to 40%, mirror, paste at the lower left below the foot of the tube.
Paste the wordart of choice, change the blend mode to Luminance(L) and lower the
opacity to 65 or so.

Add any other elements that you would like, make it your own.
Always readjust your mask and elements how you like them before you
 merge your tag, resize, sharpen.

Crop your tag to be sure no shadows or lines are on the edges.
 Then add your copyright and name.
That's it

Hope you enjoyed doing my tut.   

Sunday, July 3, 2022

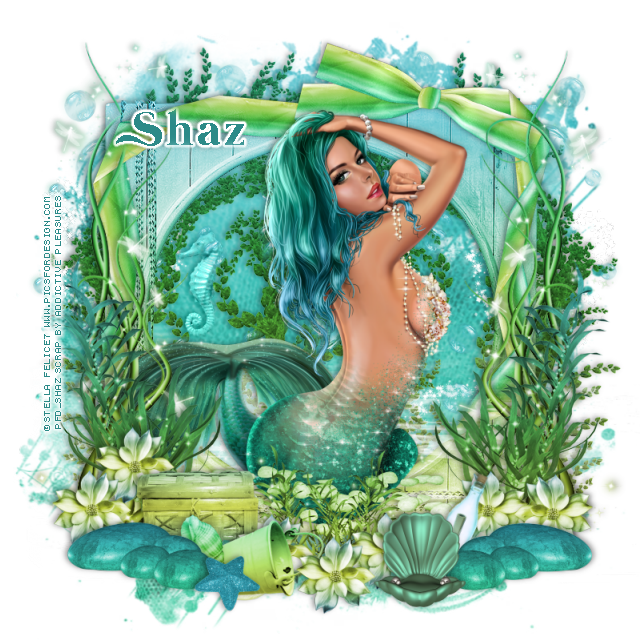
FTU Mermaid Beauty


 This tut was written July 3rd, 2022 for those with a basic knowledge of psp. 

I am using the awesome artwork of Stella Felice7
The tube is "Mermaid"
You need a license to use this tube, do not use without a license.
You can find this art at PFD Store HERE

I used PSP2020...but any of them should work.
FTU kit Mermaid by Addictive Pleasures HERE
Check out the rest of the blog HERE
RD Mask 897 HERE 
Check out the rest of the Blog HERE

Font of choice, I used Mermaid Swash Caps

Drop shadow is V -1 H -4, 40, 10, or use what you prefer.
Let's get started
*Remember to add your drop shadow as you go along*

Open a new image 800 x 800, select all, new layer, paste paper 1 into selection, 
apply your mask, delete, merge group.

Paste the bubbles on the left, duplicate, mirror, change the drop shadow to a dark green
or blue.
Paste frame 3 above the bubbles.
Paste the ribbon frame, erase the bottom part that is showing in the frame.
Paste deco 3 at the bottom.
Resize deco 2 to 95%, paste on the left, duplicate, mirror.
Paste the green vine below the square frame on one side, duplicate, mirror.

Paste seaweed 3 at the bottom.
Resize the chest to 30%, paste on the lower left.
Resize the bucket to 60%, paste by the chest.
Resize the rocks to 40%, paste at the lower left above the bucket, duplicate, mirror.
Resize the seahorse to 40%, paste below the bubbles on the left, change the blend
mode to Luminance(L).

Resize your tube to 30%, paste below the seaweed layer.

Resize the shell to 50%, paste on the left below the rocks.
Resize the clam to 30%, paste at the lower right above the rocks.
Resize flower 2 to 30%, paste on the left below the rock, duplicate, mirror, duplicate
 as many more as you like, move 3 to the center below the bucket and clam.
Resize the bottle to 40$, free rotate to the right at 25 degrees, paste at the lower right
behind the clam.

Resize starfish 3 to 30%, paste at the bottom above the rocks.

Add any other elements that you would like, make it your own.
Always readjust your mask and elements how you like them before you
 merge your tag, resize, sharpen.

Crop your tag to be sure no shadows or lines are on the edges.
 Then add your copyright and name.
That's it

Hope you enjoyed doing my tut.      

Thursday, December 5, 2019

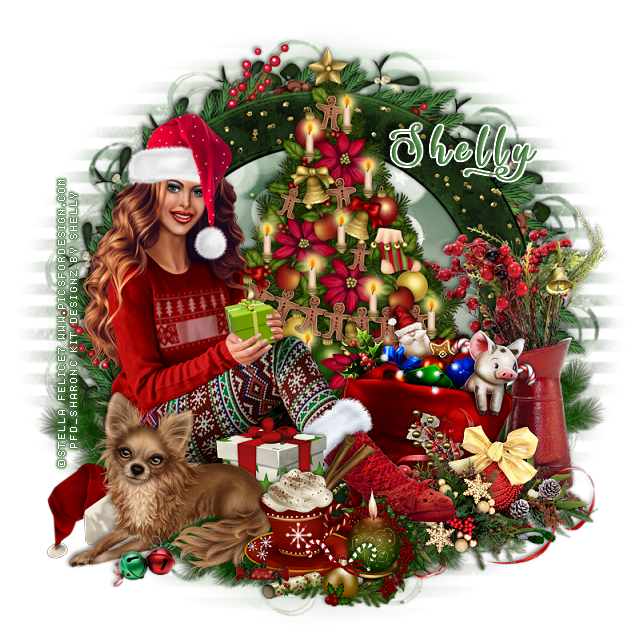
FTU Christmas Traditions


This tut was written Dec. 5th, 2019,  for those with a basic knowledge of psp.
I am using the awesome artwork of  ©Stella Felice7
The tube is  "Christmas Mood
You need a license to use this tube, do not use without a license.
You can find this tube at PFD store  HERE

I used PSPX...but any of them should work.
(Was PTU now FTU)
PTU Christmas Traditions by Designz by Shelly 
HERE
Mask of choice I used WSL_Mask_353 HERE

Font of choice,  Easy November

Drop shadow is usually V-2 H-2 Black, 50, 5, use what you prefer.
Let's get started
*Remember to add your drop shadow as you go along*

Open a new image 800 x 800
Paste paper 18, apply your mask, delete, merge group.
Then paste paper 2, apply the mask, delete, merge group, merge down.

Resize element 147 to 75%, paste, click inside with the magic wand,
expand by 5, paste paper 2, invert, delete, select none.
Paste element 95 on the frame, resize larger to 115%.
Resize element 92 to 92%, paste on the mask layer.

Resize element 93 to 90%, paste below the paper layer of the frame.
Resize element 4 to 75%, paste above the frame about center.

Resize your tube to 40%, paste on the left.

Resize element 8 to 50%, paste behind the tube on the right.
Resize element 6 to 30%, paste above the tube at the bottom.
Resize element 24 to 25%, paste at the bottom above the cup.

Resize element 68 to 40%, paste at the lower left below the cup layer.
Resize element 81 to 50%, paste on the right below the tube.
Resize element 25 to 30%, paste under the dog on the left.

Resize element 10 to 20%, paste at the bottom being on the top layer.
Resize element 18 to 15%, paste at the lower left above the dog.
Resize element 13 and 14 to 15%, paste at the bottom.
Resize element 16 to 60%, mirror, paste on the right below the bag.

Resize element 107 to 60%, paste on the left behind the tube, duplicate,
mirror, move below the pitcher.
Resize element 12 to 25%, paste behind the dog.

Add any other elements you would like, make it your own.
Always remember to adjust the elements before merging to get them like you like.

Once happy with your tag, close off any background, crop your tag to make
sure there are no stray edges, merge visible, resize first.
Add your copyrights and name.

That's it
Hope you enjoyed doing my tut.