Showing posts with label Creative Designs. Show all posts

Monday, January 15, 2024

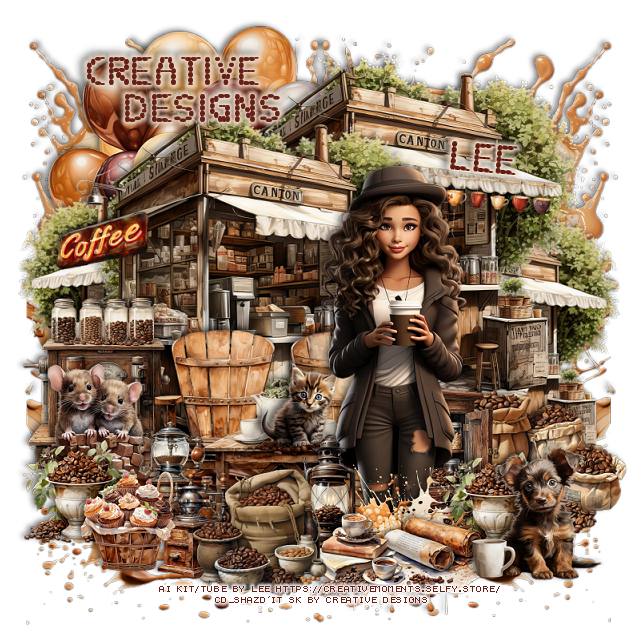
PTU Coffee Life


 This tut was written January 14th, 2024 for those with a basic knowledge of psp. 

I am using an awesome AI generated tube by Lee
"The tube is included with the kit"
You need a license to use this tube, do not use without a license.
Read TOU how to use with a license.

I used PSP2020...but any of them should work.
PTU Coffee Life by Creative Designs  HERE  HERE
This awesome kit has 80 elements, 5 papers and a awesome tube by Lee
This is no longer available at this time
Font of choice, I used Coffee Beans

Drop shadow is V -2 H 2, 50, 10, Black or use what you prefer.
Let's get started
*Remember to add your drop shadow as you go along*

Open a new image 800 x 800

Resize element 80 to 50%, paste on the upper right, duplicate,
move to the left and down, duplicate again, resize to 75%, paste on the
right behind the other ones and down a little, duplicate, mirror.
Resize element 5 to 10%, free rotate to the right at 3, paste on the awning on
the right.
Resize element 6 to 20%, free rotate to the right at 5, paste on the awning 
being the tube on the right.
Resize element 42 to 35%, paste at the bottom.

Resize element 19 to 25%, paste on the right behind the chair.
Resize element 2 to 20%, paste behind the chair by the beans.
Resize element 77 to 15%, paste at the bottom right above the chair.
Resize element 1 to 20%, paste on the left.

Resize the girl tube to 25%, paste to the right above the chairs.
Resize element 50 to 15%, paste at the bottom right above the tube.
Resize element 52 to 15%, paste at the bottom.
Resize element 47 to 17%, paste at the bottom above the tube.

Resize element 39 to 20%, paste on the bottom left.
Resize element 38 to 18%, paste at the bottom.
Resize element 16 to 15%, paste at the bottom to the left
Resize element 27 and 28 to 15%, paste at the bottom.
Resize element 38 to 15%, paste on the table behind the tube.
Go back to the planter on the right, duplicate, move to the left by the mice.
Resize element 44 to 20%, paste on the bottom right.
Resize element 31 to 20%, paste at the bottom above the tube.

Resize element 13 to 50%, paste at the upper left behind the buildings.
Resize element 30 to 50%, paste at the bottom right on the bottom layer,
duplicate, mirror.
Resize element 32 to 50%, paste at the upper right on the bottom layer, 
duplicate, mirror.

Add any other elements you would like, make it your own.
Crop your tag to be sure no shadows or lines are on the edges.
 Then add your copyright and name.
That's it

Hope you enjoyed doing my tut.     

Thursday, January 11, 2024

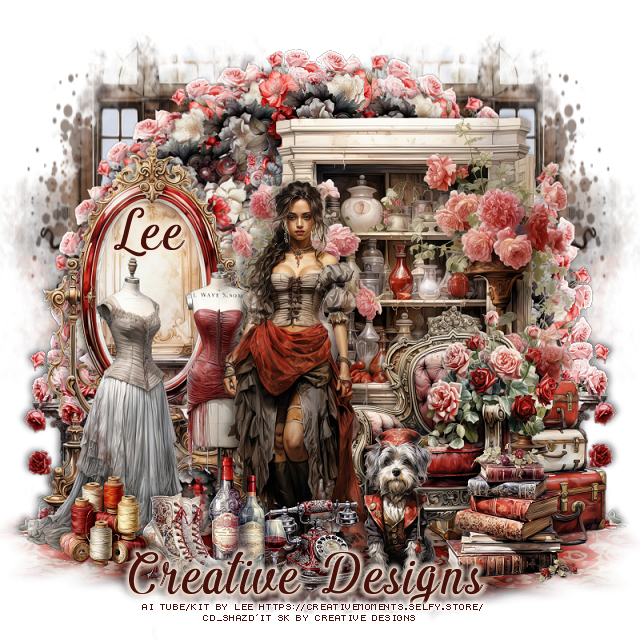
PTU Victorie


 This tut was written January 11th, 2024 for those with a basic knowledge of psp. 

I am using an awesome AI generated tube by Lee
"The tube is included with the kit"
You need a license to use this tube, do not use without a license.
Read TOU how to use with a license.

I used PSP2020...but any of them should work.
PTU Victorie by Creative Designs  HERE  HERE HERE
This awesome kit has 80 elements, 5 papers and a beautiful tube by Lee
This is no longer available at this time
Mask of Choice, I used Vivienne's Digital Tagging Mask 17 and 78 HERE
Check out the rest of the blog HERE

Font of choice, I used Pamega

Drop shadow is V -2 H 2, 40, 10, Black or use what you prefer.
Let's get started
*Remember to add your drop shadow as you go along*

Open a new image 800 x 800, resize paper 1 to 75%, paste mask 17,
duplicate, mirror, erase some of the bottom.

Resize element 39 to 20%, duplicate, close one, apply Mura Meister Copies-Encircle,
 first 3 number on 18, 55, 55, paste.
Open the closed one, flip, apply Mura Meister Copies, first 3 number on 
16, 50, 50, paste.
Resize element 33 to 25%, apply Mura Meister Copies-Encircle,
 first 3 number on 16, 55, 55, paste below the other circles.

Resize paper 1 to 75%, apply mask 78 on the bottom part, invert,
delete, paste at the bottom left, duplicate, mirror.
Resize element 30 to 45%, paste to the right.
Resize element 31 to 35%, mirror, paste to the right.

Resize element 60 to 40%, mirror, move to the left behind the tube.
Resize element 72 to 30%, paste behind the chair.
Resize element 69 to 50%, paste on the left.
Resize element 60 to 40%, paste on the left.

Resize the tube to 25%, paste to the left.

Resize element 66 to 13%, paste on the bottom left.
Resize element 79 to 13%, paste on the bottom left.
Resize element 1 to 15%, paste at the bottom above the tube.
Resize element 2 to 15%, paste at the bottom above the tube.
Resize element 41 to 20%, paste at the bottom above the chair.

Resize element 70 to 15%, paste at the bottom.
Resize element 20 to 20%, paste at the bottom.
Resize element 33 to 25%, paste on the left behind the mirror,
duplicate, mirror, move behind the suitcases.

Add any other elements you would like, make it your own.
Crop your tag to be sure no shadows or lines are on the edges.
 Then add your copyright and name.
That's it

Hope you enjoyed doing my tut.     
Tuesday, May 23, 2023

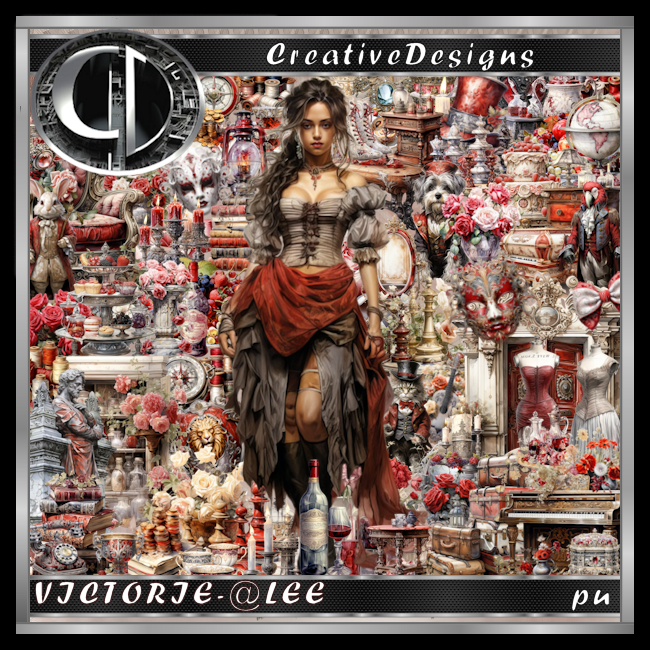
PTU Twinkelstar


This tut was written May 9th, 2023 for those with a basic knowledge of psp. 

I am using the awesome Ai generated artwork by Lee
"The tube is included with the kit"
You need a license to use this tube, do not use without a license.
Read TOU how to use with a license

I used PSP2020...but any of them should work.
PTU Twinkelstar by Creative Designs  HERE  HERE HERE
This awesome kit has 80 elements, 10 papers and a beautiful tube by Lee
This is no longer available at this time
Mask of Choice, I used Vivienne's Digital Tagging Mask 23  HERE
Check out the rest of the blog HERE

Font of choice, I used Memories

Drop shadow is V -2 H 2, 40, 10, Black or use what you prefer.
Let's get started
*Remember to add your drop shadow as you go along*

Open a new image 800 x 800, add a new layer, select all, paste paper 10
into selection, select none.

Resize element 4 to 90%, paste to the left and up, no drop shadow.
Resize element 44 to 35%, paste on the left behind the tree.
Paste element 1 a little to the right, apply your mask, delete, merge group, 
duplicate, merge down, no drop shadow.

Resize element 28 to 35%, paste at the top behind the house.
Resize element 55 to 40%, paste at the bottom right, duplicate, mirror.
Resize element 22 to 30%, paste on the right behind the mushrooms.
Resize element 7 to 35%, paste behind the mushrooms to the left.

Resize element 54 to 40%, paste on the left behind the mushrooms, duplicate, 
mirror, 
Resize element 50 to 20%, paste on the left.
Resize element 40 to 20%, paste below the wheel layer on the steps.

Resize the tube to 40%, paste about center being on the top layer.
Resize element 13 to 30%, paste at the bottom left below the tube.
Resize element 25 to 15%, paste at the bottom above the tube, duplicate, resize
smaller to 90%, move over a little.
Resize element 12 to 25%, paste at the bottom below the flowers.

Resize element 16 to 25%, paste at the bottom left.
Resize element 43 to 30%, paste at the bottom right.
Resize element 17 to 15%, paste on the right.
Resize element 24 to 10%, duplicate a couple of times and past where you like
on the bottom.
Resize element 48 to 25%, paste at the upper left on the tree.

Add any other elements you would like, make it your own.
Crop your tag to be sure no shadows or lines are on the edges.
 Then add your copyright and name.
That's it

Hope you enjoyed doing my tut.     
Tuesday, May 9, 2023

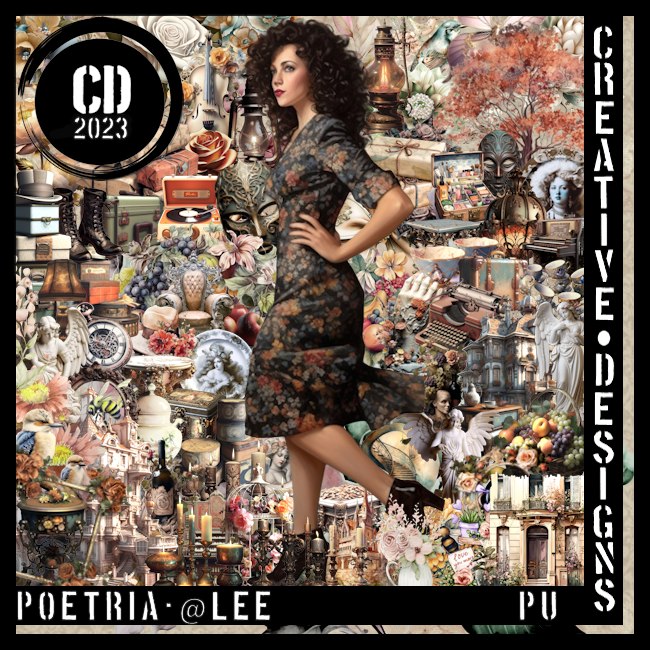
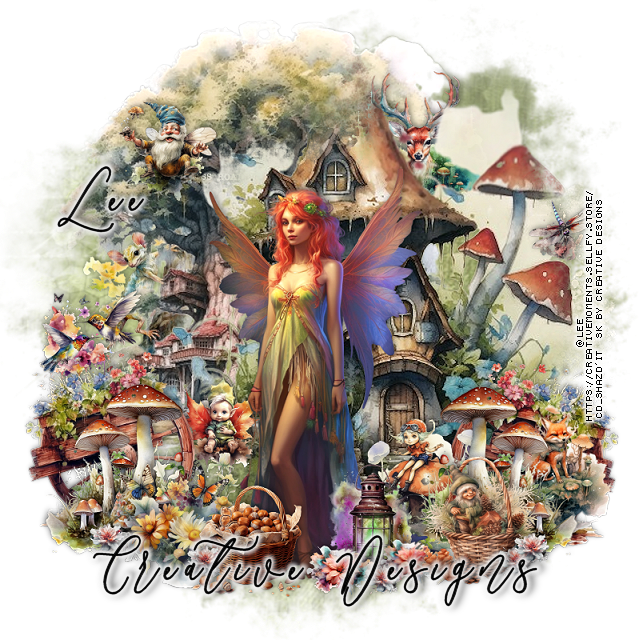
PTU Poetria


This tut was written May 9th, 2023 for those with a basic knowledge of psp. 

I am using the awesome artwork of @Lee
"The tube is included with the kit"
You need a license to use this tube, do not use without a license.
Read TOU how to use with a license

I used PSP2020...but any of them should work.
PTU Poetria by Creative Designs  HERE  
This awesome kit has 80 elements, 10 papers and a beautiful tube @Lee
This is no longer available at this time
Mask of Choice, I used Miz Teeques 93  HERE
Check out the rest of the blog HERE

Font of choice, I used Broken Heart

Drop shadow is V -1 H -4, 50, 10, Black or use what you prefer.
Let's get started
*Remember to add your drop shadow as you go along*

Open a new image 800 x 800
Resize element 18 to 75%, paste, move up a little.
Resize element 54 to 85%, paste below the frame.
Resize element 10 to 50%, paste inside the frame.

Select all, new raster layer, paste paper 8 into selection, apply your mask, 
move to the upper right, duplicate, mirror.
We will go back later to move it down to the bottom.

Resize element 21 to 50%, paste on the frame on the left, duplicate, move 
to the right and down.
Resize element 6 to 45%, paste on the right behind the statue.
Resize element 39 to 45%, paste on the lower left above the statue.
Resize element 36 to 30%, paste on the right below the table layer.

Resize your tube to 65%, paste above the boxes.
Resize element 22 to 50%, paste above the tube.
Resize element 60 to 35%, paste at the bottom behind the tube, below 
the statue.
Resize element 51 to 25%, paste at the bottom behind the tube.

Now go back to your upper right mask, duplicate, move down and to the 
left, duplicate the upper left one, move down on the right.

Resize element 49 to 30%, paste at the bottom left being on the top layer.
Resize element 5 to 25%, paste at the lower right.
Resize element 64 to 25%, paste above the frame down behind the
statue on the right, duplicate a couple of times and move around.

Resize element 41 to 20%, paste at the bottom left below the candles.
Resize element 40 to 25%, paste at the bottom above the tube.
Resize element 72 to 30%, paste on the left on the boxes.

Add any other elements you would like, make it your own.
Crop your tag to be sure no shadows or lines are on the edges.
 Then add your copyright and name.
That's it

Hope you enjoyed doing my tut.     
Tuesday, May 2, 2023

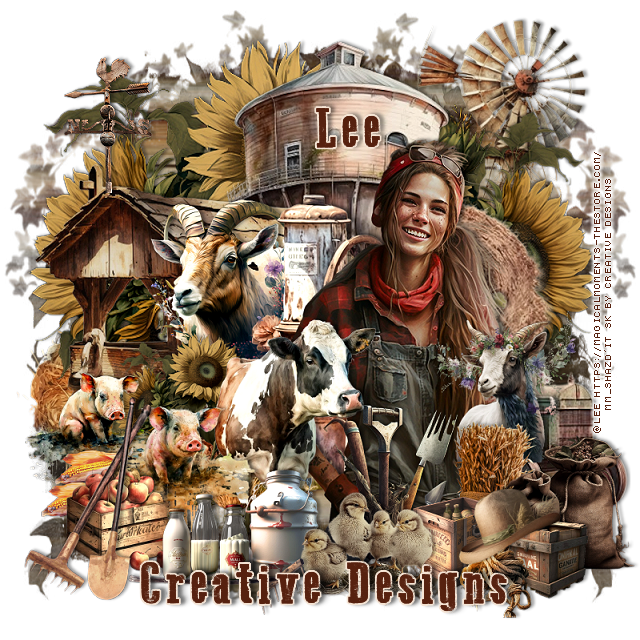
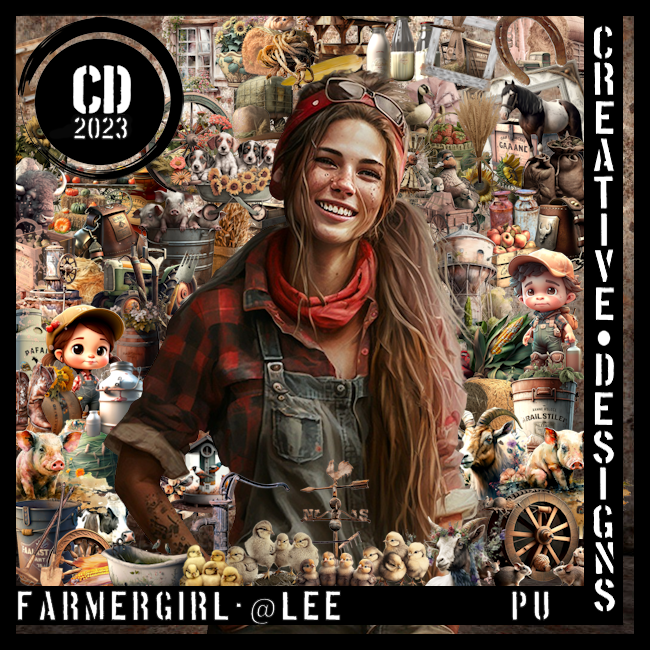
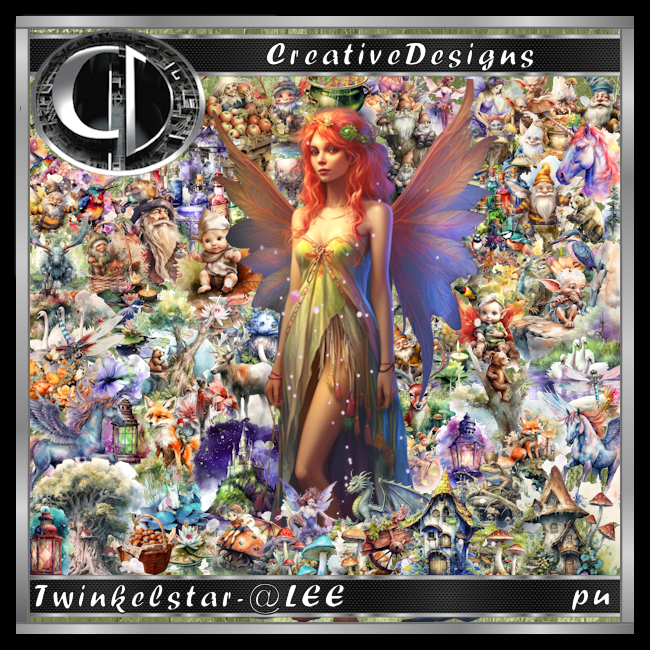
PTU Farmer Girl


This tut was written May 2nd, 2023 for those with a basic knowledge of psp. 

I am using the awesome artwork of @Lee
"The tube is included with the kit"
You need a license to use this tube, do not use without a license.
Read TOU how to use with a license

I used PSP2020...but any of them should work.
PTU Farmer Girl by Creative Designs  HERE  
This awesome kit  has 80 elements, 10 papers and a beautiful tube @Lee
This kit is no longer available at this time
Mask of Choice, I used Miz Teeques 194 HERE
Check out the rest of the blog HERE

Font of choice, I used Go To Old Western

Drop shadow is V -1 H -4, 50, 10, Black or use what you prefer.
Let's get started
*Remember to add your drop shadow as you go along*

Open a new image 800 x 800, select all, new layer, paste paper 8, apply 
your mask, delete, merge group, duplicate, mirror.

Resize element 17 to 90%, paste toward the top.
Resize element 28 to 85%, paste at the top right.
Paste element 46 on the mask layer toward the left, duplicate, resize to 80%,
mirror, move down a little.

Resize element 71 to 75%, paste to the left.
Resize element 27 to 50%, mirror, paste behind the building.
Resize element 8 to 35%, paste above the wood building you just pasted.
Resize element 78 to 20%, paste on top of the building.
Paste element 23 to the right of the animal.

Resize your tube to 50%, paste to the right.

Resize element 24 to 35%, paste above the tube.
Resize element 46 to 35%, paste behind the tube to the left.
Resize element 9 to 40%, paste above the tube to the left.
Mirror element 69, paste on the right above the flower layer, so some of the
truck shows.

Resize element 4 and 5 to 30%, being on the top layer now, paste both 
on the left.
Resize element 65 to 15%, paste at the bottom left by the pigs, duplicate, move
over a little.
Resize element 7 to 30%, paste above the tube to the right a bit.
Resize element 43 and 44 to 30%, paste above the goat.
Resize element 19 to 25%, paste above the cow at the bottom.
Resize element 53 to 20%, paste at the lower right above the bags.
Resize element 30 to 20%, paste at the bottom behind the bags.
Resize element 22 to 20%, paste at the bottom right above the box.

Resize element 29 to 30%, paste on the bottom left above the pigs.
Resize element 36 to 30%, paste at the bottom being on the top layer.
Resize element 61 to 25%, free rotate to the left at 20, paste on the boxes.
Resize element 49 to 20%, paste at the bottom left above the apples.
Resize element 75 to 35%, paste at the bottom.
Resize element 70 to 30%, paste on the left.

Add any other elements you would like, make it your own.
Crop your tag to be sure no shadows or lines are on the edges.
 Then add your copyright and name.
That's it

Hope you enjoyed doing my tut.     
Friday, April 28, 2023

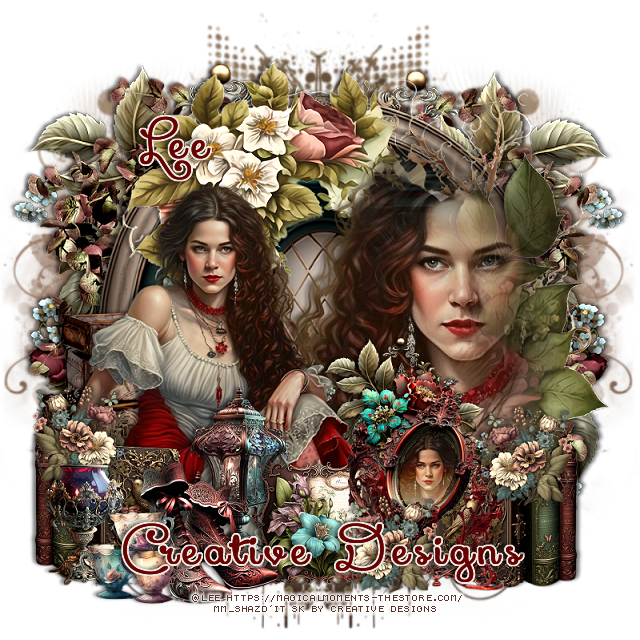
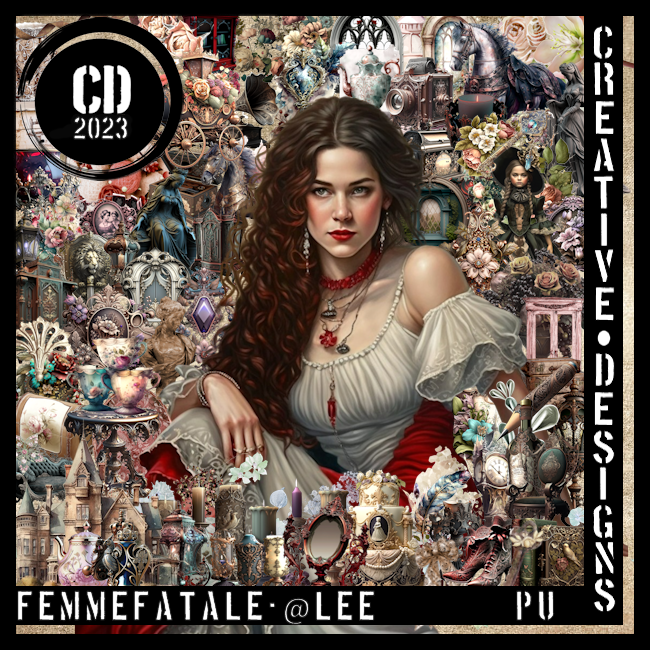
PTU FemmeFatale


This tut was written April 28th, 2023 for those with a basic knowledge of psp. 

I am using the awesome artwork of @Lee
"The tube is included with the kit"
You need a license to use this tube, do not use without a license.
Read TOU how to use with a license

I used PSP2020...but any of them should work.
PTU FemmeFatale by Creative Designs  HERE  
This awesome kit 
has 80 elements, 10 papers and a beautiful tube @Lee
This kit is no longer available at this time
Mask of Choice, I used Vivienne's Digital Tagging Mask 7 and 18 HERE
Check out the rest of the blog HERE

Font of choice, I used Xiomara

Drop shadow is V -1 H -4, 50, 10, Black or use what you prefer.
Let's get started
*Remember to add your drop shadow as you go along*

Open a new image 800 x 800, select all, new layer, paste paper 4, apply 
your mask, delete, merge group, duplicate, mirror.
Paste element 22 on the left on the mask, duplicate, mirror.

Resize element 27 to 90%, paste.
Paste element 34 on the window.

Paste element 80 on the left below the window, erase the stem at the top,
duplicate, mirror.
Paste your tube on the right on the flowers and window, apply mask 18,
delete, merge group. 
You might have to try this a couple of times to get the tube how you like.

Resize your tube to 45%, mirror, paste on the left.

Resize element 11 to 35%, paste above the tube.
Resize element 6  to 30%, paste on the left by the lamp.
Resize element 3 to 30%, paste on the left behind the shoes, duplicate, mirror.
Resize element 2 to 40%, paste to the right, click on the mirror with your 
magic wand, resize your tube to 25%. paste in the mirror, invert, delete, select
none, change the blend mode to Overlay or one you prefer.

Resize element 17 to 40%, paste on the left behind the tube.
Resize element 44 to 25%, paste on the left.
Resize element 8 to 25%, paste at the bottom left above the shoes.
Resize element 22 to 40%, paste behind the tube to the right.
Resize element 28 to 25%, paste at the bottom below the mirror.
Resize element 74 to 20%, paste at the bottom above the mirror, duplicate, 
move up on the right on the books, duplicate, mirror.

Add any other elements you would like, make it your own.
Crop your tag to be sure no shadows or lines are on the edges.
 Then add your copyright and name.
That's it

Hope you enjoyed doing my tut.     
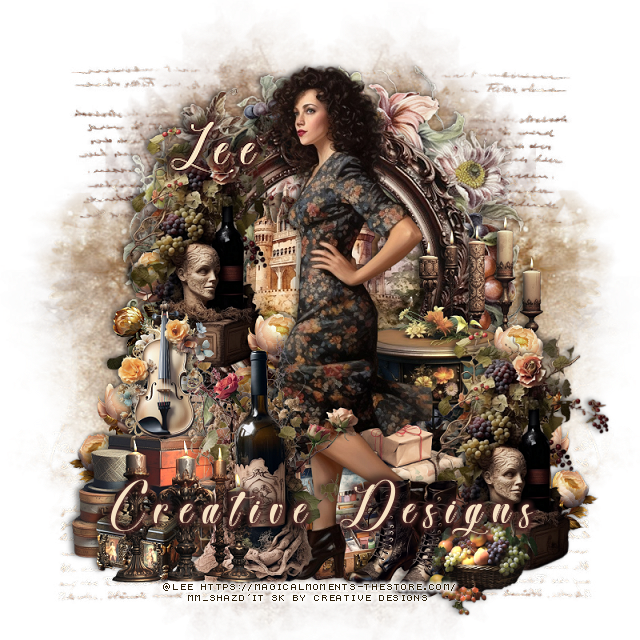
Tuesday, April 25, 2023

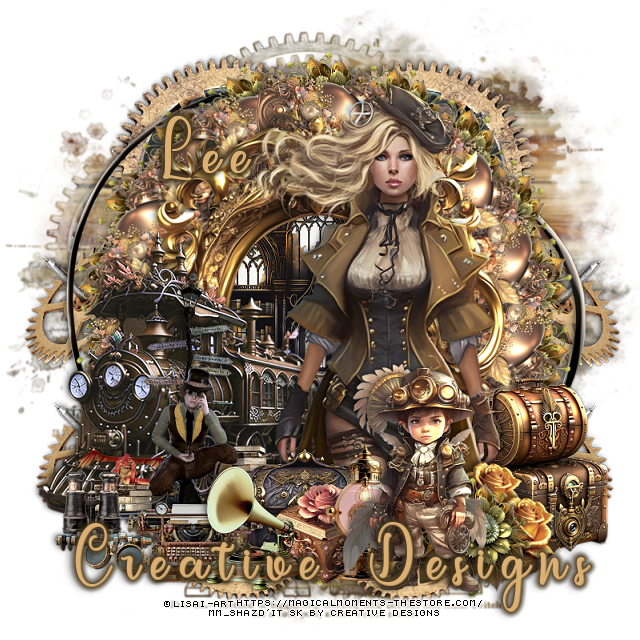
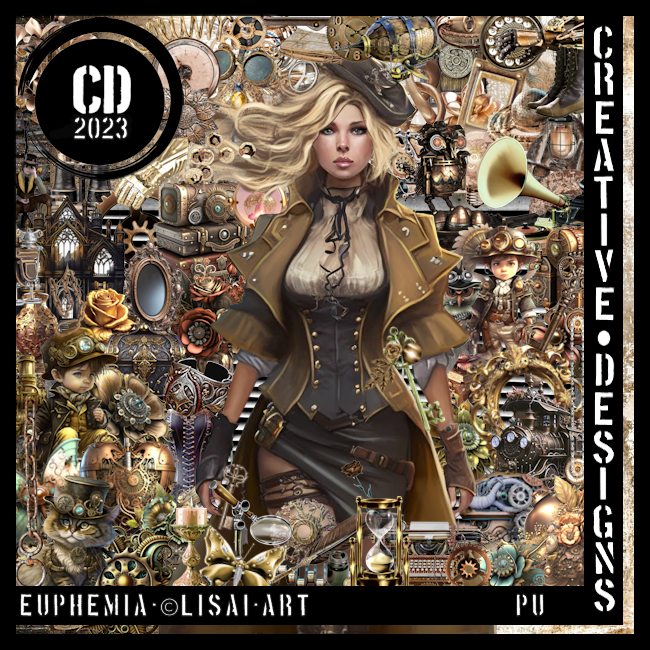
PTU Euphemia


This tut was written April 25th, 2023 for those with a basic knowledge of psp. 

I am using the awesome artwork of ©LisAi-Art
"The tube is included with the kit"
You need a license to use this tube, do not use without a license.
Read TOU how to use with a license

I used PSP2020...but any of them should work.
PTU Euphemia by Creative Designs  HERE  
This awesome kit 
has 80 elements, 10 papers and a beautiful tube by LisAi-Art
This kit is no longer available at this time
Mask of Choice, I used Vivienne's Digital Tagging Mask 70 HERE
Check out the rest of the blog HERE
Filter
Mura Meister Copies-Encircle

Font of choice, I used Letterbest

Drop shadow is V -1 H -4, 40, 10, Black or use what you prefer.
Let's get started
*Remember to add your drop shadow as you go along*

Open a new image 800 x 800, select all, new layer, paste paper 5, apply your 
mask, delete, merge group.

Resize element 15 to 85%, paste, click inside with the magic wand, 
expand by 5, paste paper 6, invert, delete, select none.
Resize element 19 to 50%, paste inside the frame.

Resize element 7 to 30%, free rotate to the right at 90, apply Mura Meister
Copies-Encircle, first 3 numbers on 16, 55, 60, move below the paper layer.
Resize element 21 to 25%, apply Mura Meister, changing the first 3 numbers
to 18, 60, 65, move below the first circle.
Paste element 32 on the mask layer.

Resize your tube to 60%, paste on the right above the frame.

Resize element 11 to 60%, paste on the left behind the tube.
Resize element 40 to 50%, paste at the bottom left below the tube.
Resize element 26 to 40%, move behind the tube on the right.
Resize element 21 to 25%, paste at the bottom above the tube to the right.

Resize element 24 to 50%, paste at the bottom above the flower.
Resize element 18 to 30%, paste behind the little boy.
Resize element 14 to 25%, paste behind the lantern.

Resize element 17 to 20%, free rotate to the right at 20, paste behind the boy on
the right, duplicate, move up a little.
Resize element 27 to 20%, paste at the bottom behind the lantern.
Resize element 28 to 25%, paste at the bottom.
Resize element 72 to 30%, paste at the bottom below the record player.
Resize element 41 to 15%, paste on the lower left.
Resize element 55 to 20%, paste at the bottom left.
Resize element 59 to 15%, paste at the bottom left.
Paste element 66 on the mask later on the right, duplicate, mirror, duplicate
each and move down to the bottom.

Add any other elements you would like, make it your own.
Crop your tag to be sure no shadows or lines are on the edges.
 Then add your copyright and name.
That's it

Hope you enjoyed doing my tut.