Showing posts with label Romance. Show all posts

Tuesday, July 21, 2026

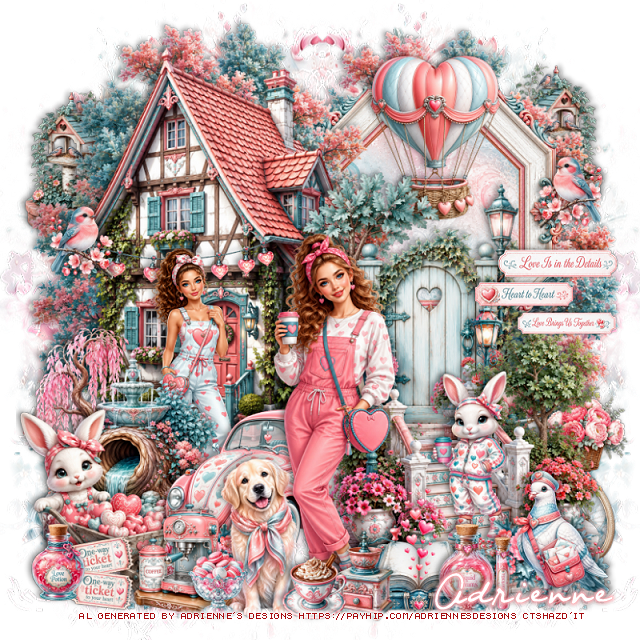
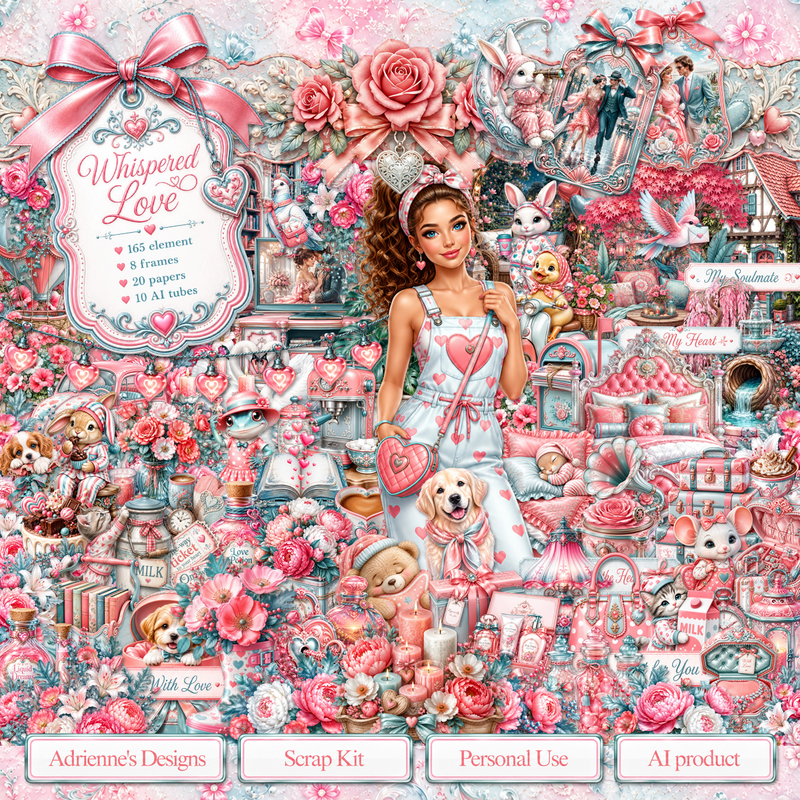
PTU Whispered Love

  This tut was written July 21th, 2026,  for those with a basic knowledge of psp. 

I am using the beautiful Al kit by Adrienne's Designs
Everything used is in the kit 
Read the TOU on how to credit your tags

I used PSP2020...but any of them should work.
PTU Scrap Whispered Love by Adrienne's Designs  HERE
Check out the rest of her store  HERE
or
you can find all her kits on her blog  HERE
Mask of choice, I used RD Mask 731 HERE 
Check the blog out HERE

Font of choice I used Night Wind Sent Sample

 Drop shadow as you go is V -2 H 4, 40, 10, or use what you prefer.
Let's get started

*Remember to add your drop shadow as you go along* 

Open a new image  800 x 800, paste paper 19, apply your mask,
move to the left, duplicate, mirror.

Resize 26 to 85%, paste on the upper left, duplicate, move
to the right.
Resize frame 7 to 55%, paste at the upper right below the left tree, 
click inside, resize paper 18 to 40%, paste, invert, delete.
Resize 53 to 30%, paste at the top above the frame.
Resize 31 to 75%, paste on the upper left.
Resize 81 to 35%, paste on the house.
Resize 36 to 25%, paste at the upper left below the tree, duplicate, 
mirror, adjust behind the tree on the right.

Resize 32 to 55%, paste on the right above the house.
Resize 37 to 55%, paste at the bottom above the gate.
Resize 38 to 40%, paste on the bottom left.
Resize tube 4 to 25%, paste below the water fountain.
Resize 51 to 40%, paste at the bottom to the left below the stairs.
Resize 108 to 35%, paste at the bottom left.
Resize 5 to 25%, paste at the bottom below the rabbit, duplicate, mirror,
move above the stairs.

Resize tube 5 to 35%, paste at the bottom being on the top layer.

Resize 52 to 35%, mirror, paste on the bottom right below the stairs.
Resize 104 to 30%, paste on the steps below the flower.
Resize 90 to 28%, paste at the bottom above the tube.
Resize 72 to 25%, paste at the bottom above the tube.
Resize 74 to 17%, paste at the bottom.
Resize 112 to 25%, paste at the bottom right above the flowers.
Resize 76 to 15%, paste at the bottom left.
Resize 96 to 15%, paste at the upper right on the frame, duplicate,
mirror, move down on the house.

Resize 117 to 18%, paste at the bottom above the book.
Resize 118 to 20%, paste at the bottom to the left of the dog.
Resize 132 to 13%, paste at the bottom by the dog.
Resize 71 to 15%, paste at the bottom left.

Pick the ones you want on element 165, resize 25 to 30%, depending
on where you paste them.
Resize 156 to 13%, paste at the bottom by the dog.

Add any other elements that you would like, make it your own.
Always readjust your mask and elements how you like them before you
 merge your tag, resize, sharpen.

Crop your tag to be sure no shadows or lines are on the edges.
 Then add your copyright and name.
That's it

             Hope you enjoyed doing my tut                

Sunday, July 12, 2026

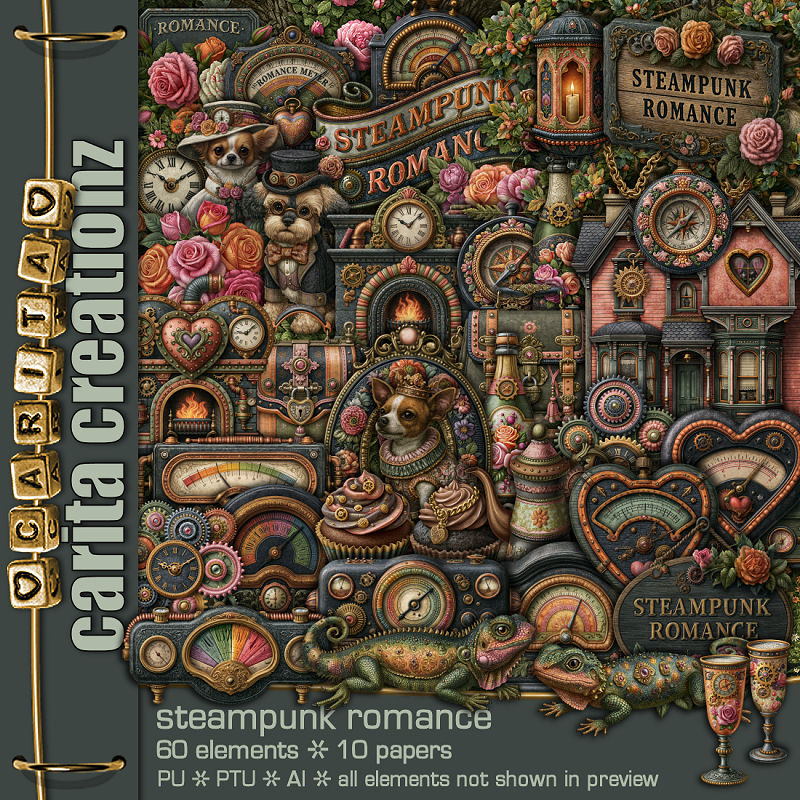
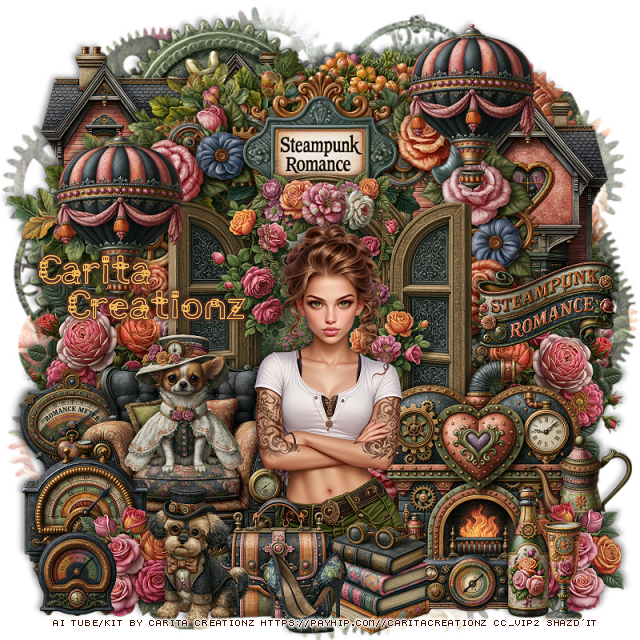
PTU Steampunk Romance


  This tut was written July 12th, 2026 for those with a basic knowledge of psp. 

I am using the awesome Al tube and kit gen by Carita Creations
Tube is NOT included
Tube is called Jenna and you can get it HERE
Please read the TOU on how to credit your tags.

I used PSP2020...but any of them should work.
PTU Scrap Steampunk Romance by Carita Creationz  HERE
Kit has 60 elements and 10 papers 
Check her store out to see all her other kits and tubes HERE
Miz Teeques Mask 198 HERE
Check the rest of the blog HERE

Font of choice, I used Angot

Drop shadow as you go is V -2 H 4, 50, 10, or use what you prefer.
Let's get started
*Remember to add your drop shadow as you go along*

Open a new image 800 x 800, paste paper 8, apply your mask.

Resize 9 to 105%, paste.
Resize 55 to 90%, paste on the upper right, erase the bottom.
Resize 13 to 90%, paste on the upper left, erase the bottom.
Resize 33 to 50%, paste on the upper left below both trees, duplicate,
move to the right, move between the trees.
Resize 57 to 55%, paste center above the tree.
Resize 26 to 85%, paste below the window.
Resize 43 to 25%, paste on the top of the window.

Resize 42 to 30%, paste on the left below the window, duplicate, mirror.
Resize 27 to 40%, paste at the bottom above the window.
Resize 56 to 40%, paste at the bottom above the window.

Resize the tube to 40%, paste at the bottom above the chair and fireplace.
Resize 36 to 23%, paste at the bottom above the tube.
Resize 58 to 20%, paste at the bottom below the purse.
Resize 40 to 25%, paste on the chair.
Resize 41 to 25%, paste at the bottom above the purse.
Resize 28 to 23%, paste at the bottom right above the fireplace.
Resize 38 to 18%, paste at the bottom right.
Resize 31 to 22%, paste at the bottom below the books and bottle.
Resize 12 to 15%, paste at the bottom by the books and purse.

Resize 50 to 20%, paste at the bottom left above the chair, duplicate, mirror.
Resize 53 to 25%, paste on the bottom left below the flowers.
Resize 52 to 20%, paste on the left below the chair.
Resize 8 to 20%, paste on the right below the flowers.
Resize 16 to 15%, paste on the bottom left above the flowers.
Resize 47 to 30%, paste at the upper right, duplicate, move down on the left.
Resize 51 to 25%, paste on the right.

Add any other elements that you would like, make it your own.
Always readjust your mask and elements how you like them before you
 merge your tag, resize, sharpen.
Crop your tag to be sure no shadows or lines are on the edges.
 Then add your copyright and name.
That's it

Hope you enjoyed doing my tut.       

Monday, June 22, 2026

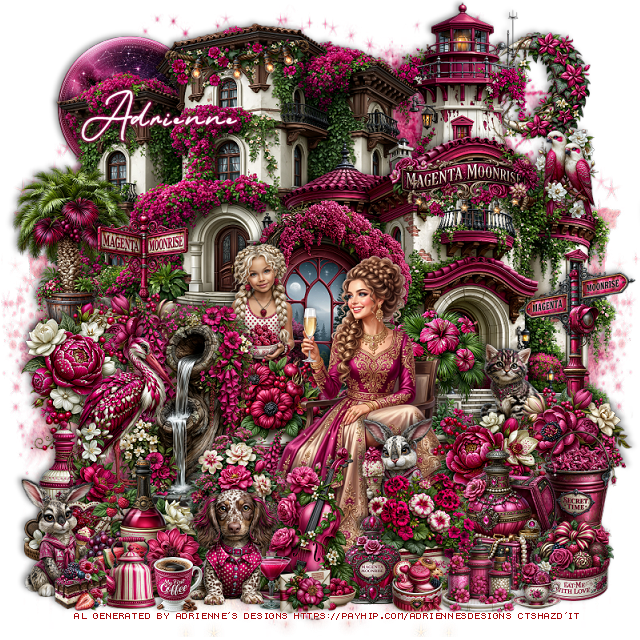
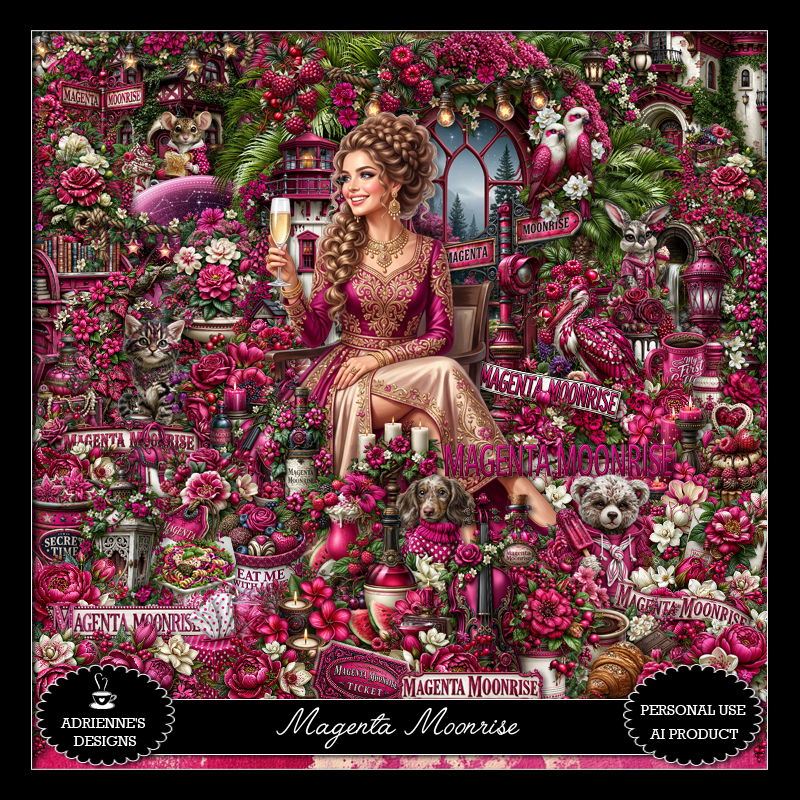
PTU Magenta Moonrise


 This tut was written June 22nd, 2026,  for those with a basic knowledge of psp. 

Beautiful Al kit and tubes by Adrienne's Designs
Everything is included
Read the TOU on how to credit tags

I used PSP2020...but any of them should work.
PTU Scrap Magenta Moonrise by Adrienne's Designs  HERE
Check out the rest of her store  HERE
or
you can find all her kits on her blog  HERE
Mask of choice, I used Miz Teeques 77 HERE 
Check the blog out HERE

Font of choice I used Donatellia

 Drop shadow as you go is V -2 H 4, 50, 10, or use what you prefer.
Let's get started

*Remember to add your drop shadow as you go along* 

Open a new image  800 x 800, paste paper 1, paste, apply your mask,
move to the right, duplicate, mirror, adjust.

Resize 58 to 65%, paste at the upper left.
Resize 60 to 65%, mirror, paste on the right.
Resize 61 to 50%, paste above the house at the bottom.
Resize 73 to 50%, paste below the houses on the upper right.
Resize 65 to 35%, paste on the left of the window.
Resize 44 to 30%, paste on the left above the house.
Resize 9 to 20%, paste on the left above the palm tree, duplicate,
mirror, move at the bottom of the house.

Resize 85 to 30%, paste on the right below the flower.
Resize 84 to 25%, paste on the left above the palm tree.
Resize 153 to 25%, mirror, paste by the water fountain.
Resize 98 to 25%, paste at the upper left on the house, free rotate it 
to 5 to the left.
Resize 89 to 25%, paste on the house on the right.
Resize 97 to 20%, paste below the magenta sign.
Resize 45 to 30%, paste on the bottom right of the window.

Resize tube 8 to 30%, paste above the window at the bottom.

Resize 51 to 22%, paste at the bottom above the tube.
Resize 24 to 25%, paste below the tube above the window.
Resize 6 to 25%, paste on the left below the flamingo.
Resize 188 to 25%, paste on the bottom left above the flamingo.
Resize 118 to 27%, paste at the bottom above the plant by the tube.
Resize 176 to 25%, paste at the bottom left.
Resize 141 to 20%, paste at the bottom to the left.
Resize 33 to 22%, paste below the violin on the right.
Resize 143 to 20%, paste on the bottom left.
Resize 135 to 15%, paste at the bottom by the violin.

Resize 137 to 25%, mirror, paste at the bottom right below the box flowers.
Resize 158 to 15%, paste on the steps of the house on the right below the flowers.
Resize 203 to 15%, paste at the bottom right by the chest.
Resize 116 to 20%, paste on the right below the candy box.
Resize 144 to 20%, paste on the bottom right above the tube behind
the flower box.
Resize 11 to 20%, paste on the bottom right below the rabbit.
Resize 125 to 13%, paste at the bottom right.
Resize 159 to 13%, paste at the bottom left.
Resize 165 to 10%, paste at the bottom.
Resize 162 to 10%, paste at the bottom right.
Resize 196 to 10%, paste at the bottom.
Resize 127 to 10%, paste at the bottom.
Resize 151 to 15%, mirror, paste at the upper right on the house.
Resize 93 to 18%, paste at the upper right below the light house.
Resize 78 to 25%, paste at the upper left below the house.
Resize 195 to 10%, paste at the bottom left.
Resize tube 15, tap the window, paste to the left above the window.

Add any other elements that you would like, make it your own.
Always readjust your mask and elements how you like them before you
 merge your tag, resize, sharpen.

Crop your tag to be sure no shadows or lines are on the edges.
 Then add your copyright and name.
That's it

             Hope you enjoyed doing my tut               
Tuesday, April 16, 2024

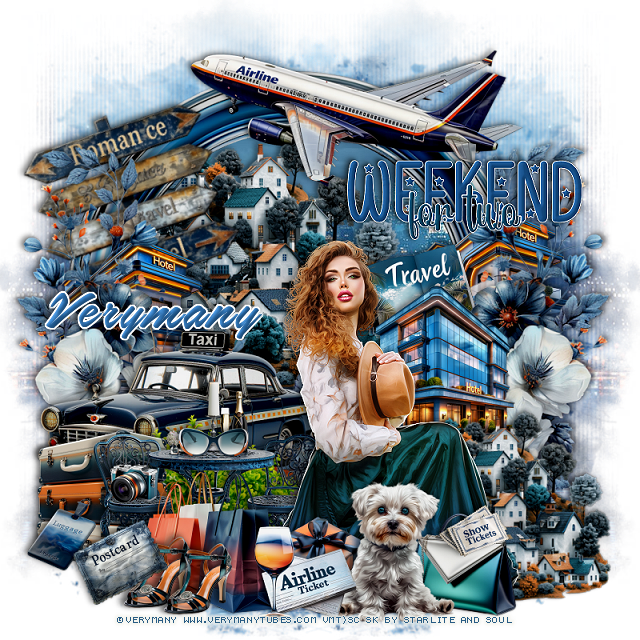
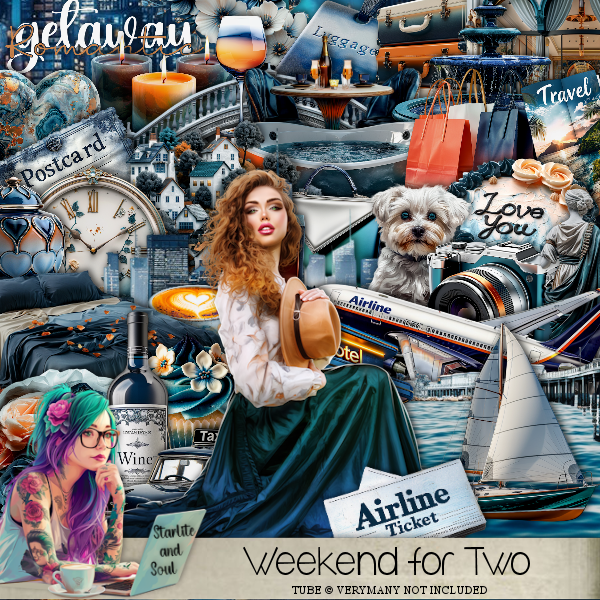
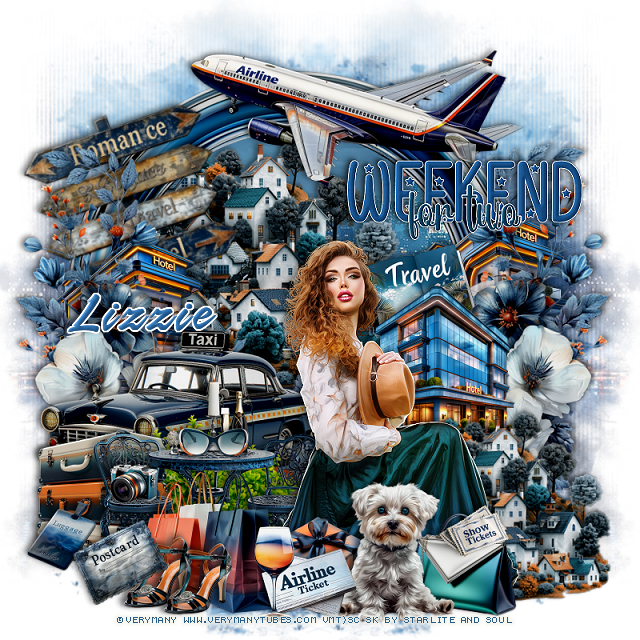
PTU Weekend for Two


This tut was written  April 16th, 2024 for those with a basic knowledge of psp. 

I am using a beautiful tube by ©Verymany
The tube is called Romantic Spring
You need a license to use this tube, do not use without a license
You can find this tube at VMT HERE

I used PSP2020...but any of them should work.
PTU Scrap Weekend for Two by Starlite and Soul  HERE
Check her store out to see all her other kits HERE
Mask of choice I used RD Mask 673 HERE
Check out the rest of the blog HERE

 Font of choice, I used Airways

Drop shadow as you go is V -2 H -4, 50, 10, or use what you prefer.
Let's get started
*Remember to add your drop shadow as you go along*

Open a new image 800 x 800, paste paper 12, apply your mask, move to
the right, duplicate, mirror.

Resize frame 4 to 90%, paste, click inside with the magic wand, paste 
paper 9, move where you like, invert, delete.
Resize element 64 to 65%, paste in the frame on the left.
Resize element 120 to 85%, paste on the frame on the bottom left, duplicate,
mirror.
Resize element 77 to 60%, paste at the bottom above the frame.
Resize element 23 to 50%, paste at the bottom above the taxi.
Resize element 5 to 45%, paste at the bottom behind the table and chairs.

Resize your tube to 30%, paste to the right.

Resize element 1 to 40%, paste on the right below the tube.
Resize element 44 to 30%, paste at the bottom left above the tube.
Resize element 88 to 60%, paste at the top right.
Resize element 85 to 40%, paste on the right below the flower.
Resize element 82 to 30%, paste at the bottom above the tube.
Resize element 79 to 20%, paste at the bottom.
Resize element 56 to 35%, paste behind the tube on the right.

Resize element 50 to 35%, paste below the flowers on the left, duplicate,
move to the right below the flowers.
Resize element 36 to 30%, paste at the bottom above the tube.
Resize element 14 to 10%, paste on the chair.
Resize element 34 to 15%, paste on the table.
Resize element  22 to 40%, free rotate to the left at 20, paste at the upper
left above the frame.
Resize element 24 to 20%, paste at the bottom behind the dog and bags.
Go back to the house in the frame, duplicate, resize to 75%, move to the 
bottom right below the tube.

Resize element 16 to 20%, paste at the bottom above the tickets.
Resize element 11 to 25%, paste at the bottom below the dog.
Resize element 31 to 15%, paste at the bottom left, duplicate, move over.
Resize element 43 to 15%, paste on the handle of the suitcases.
Resize element 41 to 15%, paste on the purse.
Resize element 75 to 20%, paste on the bottom left by the shoes.
I resized wordart 2 to 50%, add a white background, move up on the right.

Add any other elements that you would like, make it your own.
Always readjust your mask and elements how you like them before you
 merge your tag, resize, sharpen.

Crop your tag to be sure no shadows or lines are on the edges.
 Then add your copyright and name.
That's it

Hope you enjoyed doing my tut.    

Tag for Lizzie


Friday, March 24, 2023

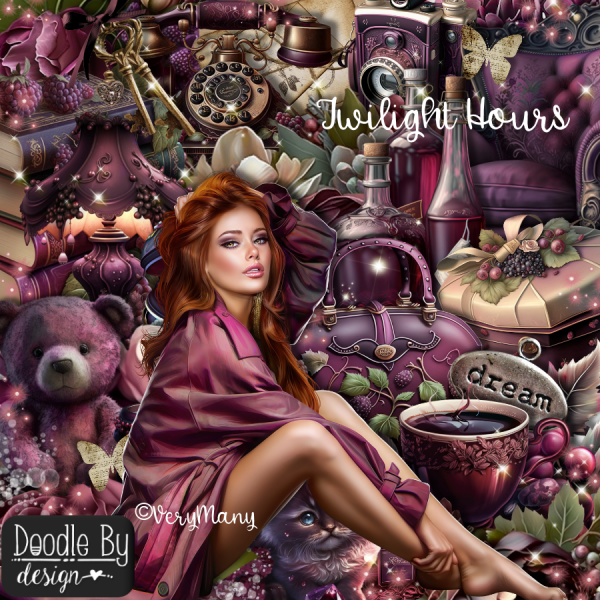
PTU Twilight Hour


This tut was written March 24th, 2023 for those with a basic knowledge of psp. 

I am using the awesome artwork of ©Verymany
Tube is Jade
You need a license to use this tube, do not use without a license.
You can find this tube at Verymany Store HERE

I used PSP2020...but any of them should work.
PTU Twilight Hour by Doodle by Design HERE  
Gorgeous kit with lots of beautiful elements to tag with
Kit has 35 AI elements, 95 elements, 8 Frames and 22 Papers
Tube is not included
Mask of Choice, I used Miz teeque's Mask 78 HERE
Check out the rest of the blog HERE

Font of choice, I used La Pointe's Road

Drop shadow is V -1 H -4, 50, 10, Black or use what you prefer.
Let's get started
*Remember to add your drop shadow as you go along*

Open a new image 800 x 800, paste paper 4, apply your mask.

Resize frame 7 to 45%, free rotate to the left at 10 degrees, duplicate,
mirror, move down on the right.
Click inside with the magic wand, expand by 5, paste paper 14, invert, delete,
keep selected, resize your tube to 40%, paste in the frame, mirror one, delete,
select none.

Resize your tube to 40%, paste above the frames.

Resize element 77 to 40%, paste at the top behind the tube, duplicate, move
down on the left, duplicate, mirror, move down on the frame on the right.
Resize element 16 to 50%, paste below the tube at the bottom, duplicate, flip,
move  to the upper right above the mask.
Resize element 78 to 35%, paste on the left below the flower, duplicate, mirror,
move down a little behind the flower.

Resize element 11 to 40%, paste on the right below the tube, duplicate, mirror.
Resize element 88 to 30%, paste at the upper left on the frame.
Resize element 107 to 40%, paste at the top left below the frame behind
the flower, duplicate, move behind the flower behind the tube.

Resize element 12 to 30%, paste on the left behind the bottles.
Resize element 40 to 30%, paste at the bottom left above the tube.
Resize element 8 to 25%, paste below the cake on the left.
Resize element 7 to 30%, paste above the cake layer to the right.
Resize element 28 to 20%, paste at the bottom above the books.
Resize element 29 to 30%, paste at the bottom by the cup.

Resize element 37 to 25%, paste at the bottom being on the top layer.
Resize element 35 and 36 to 15%, paste on the right by the cup.
Resize element 19 to 25%, paste at the bottom below the cat.
Resize element 54 to 30%, erase the loop, free rotate to the left at 10 degrees,
paste on the left below the flower at the top.
Resize element 26 to 20%, paste at the bottom by the cake being on the
top layer.
Resize element 51 to 20%, paste on the right on the bottles.
Paste element 121 below the tube toward the top, duplicate, move above
the tube and down.

Add any other elements you would like, make it your own.
Crop your tag to be sure no shadows or lines are on the edges.
 Then add your copyright and name.
That's it

Hope you enjoyed doing my tut. 

Tag for Lizzy


Monday, February 14, 2022

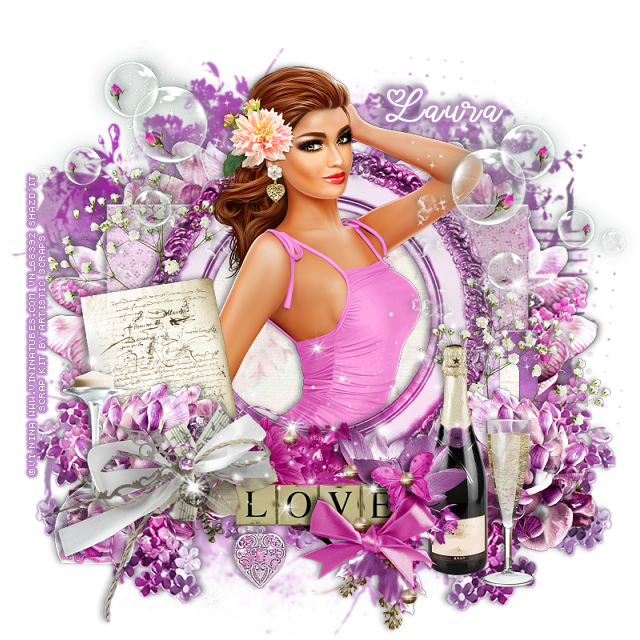
PTU Romantic Love


 This tut was written February 14th, 2022 for those with a basic knowledge of psp. 

I am using the awesome artwork of Vi Nina
The tube is called Maggie
You need a license to use this tube, do not use without a license.
You can find the tube at Vi Nina Store HERE

I used PSP2020...but any of them should work.
PTU kit Romantic Past by Artistic Studio HERE HERE
Template 478 by Millies PSP Madness HERE
Check out the rest of the blog HERE
RD Mask 757 HERE
Check out the rest of the blog HERE

Font of choice, I used Lovely Valentine

Drop shadow is V -1 H -4, 50, 10, or use what you prefer.
Let's get started
*Remember to add your drop shadow as you go along*

Open the template, delete the credits, hearts and wordart, resize canvas to 800 x 800 
paste paper 21 on the bottom layer, apply your mask, delete merge group.

Layer one of template, select all, float, defloat, paste paper 6, invert, delete, select none.
Delete the template layer.
Go to Effect, 3D Effects, Inner Bevel with these settings
Bevel Shape 2, Width4
6, 3, 3, 25,
0, 49, 51
Color White
Do this on each layer of the templates.

Layer 2, paste paper 21, invert, delete, apply the same bevel settings.
Layer 3, paste paper 22, do as in the other layers.
Layer 4, paste paper 5, do all the above to this layer also.
Layer 5, paste paper 8, delete, select none, don't bevel this one.

Resize element 178 to 70%, paste on the circle.
Resize your tube to 50%, move below the frame, duplicate, move above the frame,
erase all the two tubes you don't want showing.

Resize element 125 to 95%, paste above the mask layer on the left, duplicate, mirror.
Resize element 104 to 75%, paste at the bottom right above the larger flower,
duplicate, mirror.
Resize element 125 to 50%, paste at the lower right above the frame layer, duplicate, mirror.
Resize element 72 to 40%, paste on the left below the flower.
Resize element 6 to 50%, paste on the left above the flower.
Resize element 10 to 55%, paste on the left above the candle.

Resize element 1 to 50%, paste at the lower right.
Resize element 36 to 35%, paste by the bottle.
Resize element 69 to 60%, paste at the bottom above the bottle, move the ribbon
on the left above this.

Resize element 39 to 50%, paste on the right below the flower behind the bottle,
duplicate, mirror, move up on the left.
Resize element 20 to 15%, paste at the bottom below the wordart sign.

Resize element 150 to 65%, paste on the right above the tube, 
duplicate, mirror, move below the tube.
Paste element 170 being on the top layer where you like.

Add any other elements that you would like, make it your own.
Always readjust your mask and elements how you like them before you
 merge your tag, resize, sharpen.

Crop your tag to be sure no shadows or lines are on the edges.
 Then add your copyright and name.
That's it

Hope you enjoyed doing my tut.