Monday, October 31, 2022

PTU Autumn Skies and Apple Pie

 This tut was written October 31st, 2022 for those with a basic knowledge of psp. 

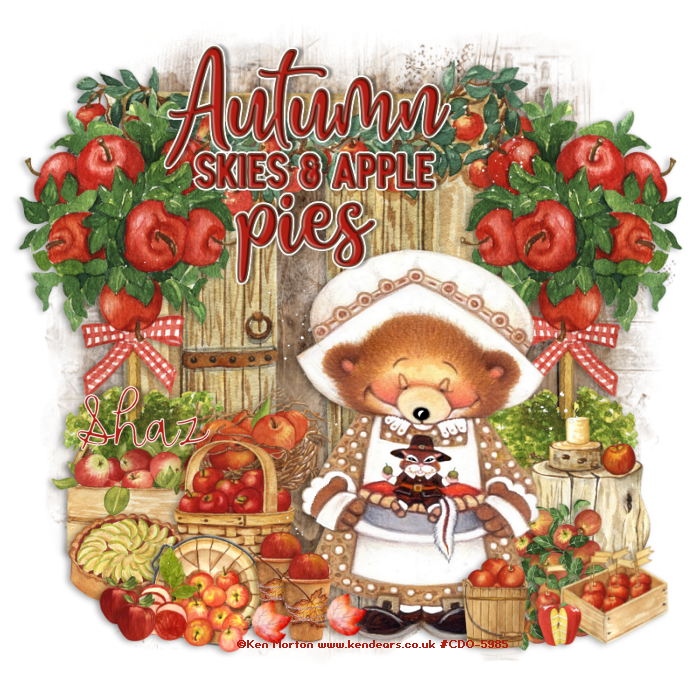
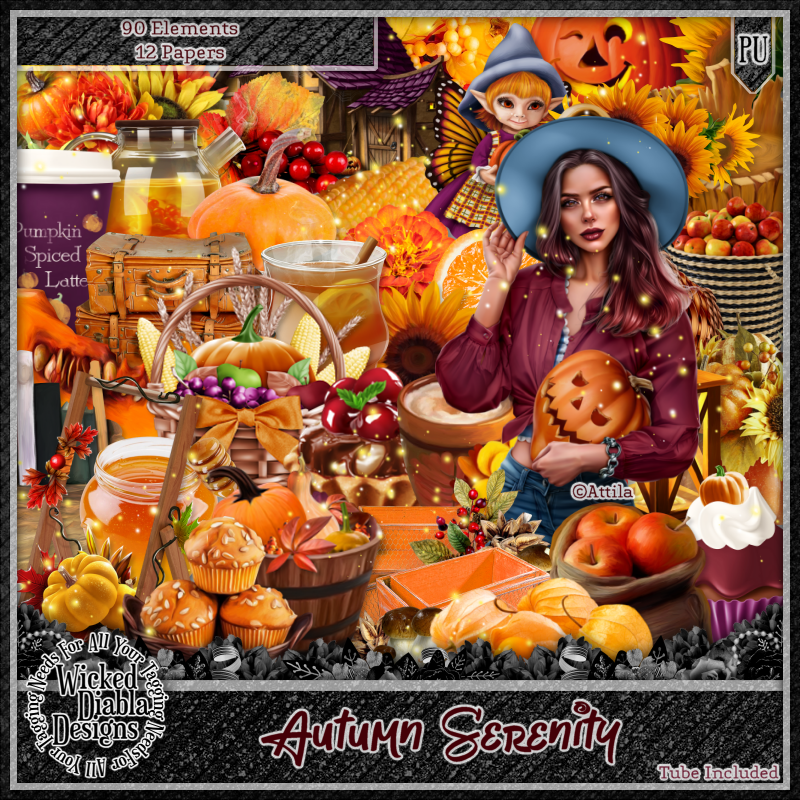
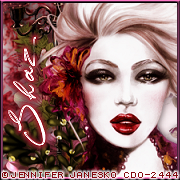
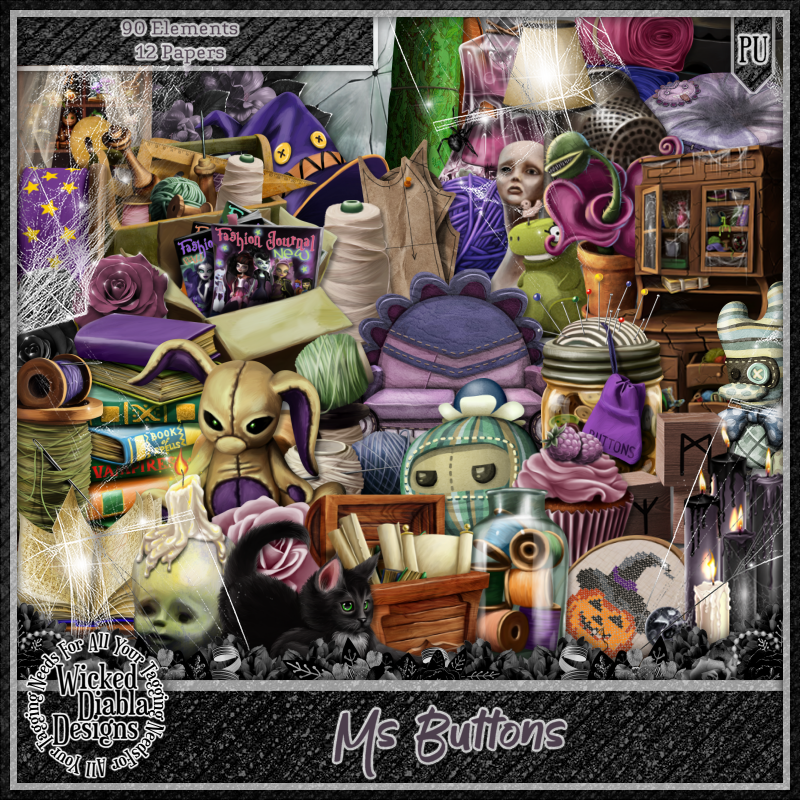
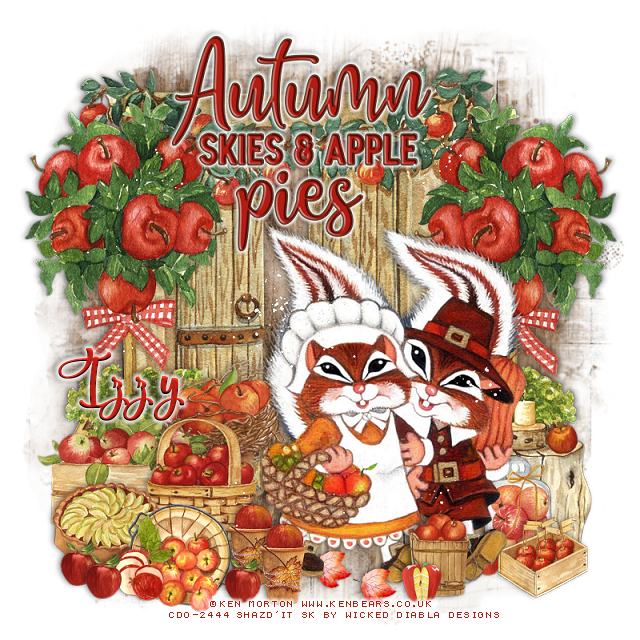
I am using the artist Ken Morton

The tube is "123-2.

You need a license to use this tube, please do not use without a license.
You can find this art at CDO HERE  


I used PSP2020...but any of them should work.
PTU Scrap WB_IB-Ken Morton-123-2 by Wicked Diabla Designs HERE 
This kit has 20 elements, 6 papers and 2 frames and 1 wordart
Mask of choice, I used Miz Tee Ques Mask 284  HERE
Check out the rest of the Blog HERE

Font of choice, I used Pacific Again

Drop shadow is V -1 H -4, 50, 10, or use what you prefer.
Let's get started
*Remember to add your drop shadow as you go along*

Open a new image 800 x 800, paste paper 2, apply your mask, delete, merge group.

Paste element 12 off center to the left.
Paste element 24 on the left, duplicate, mirror.
Resize element 10 to 40%, paste at the lower left.
Resize element 9 to 30%, paste at the lower left.
Resize element 21 to 25%, paste at the lower left.
Resize element 2 to 25%, paste at the lower left.
Resize element 11 to 20%, paste at the lower left.
Resize element 25 to 10%, paste at the lower left, duplicate move over a little.

Resize element 3 to 40%, paste at the lower right.
Resize your tube to 70%, paste off center to the right.
Resize element 23 to 20%, paste at the bottom, duplicate, move over a little.
Paste element 8 being on the top layer.
Resize element 1 and 22 to 25%, paste at the lower right below the tube.
Resize element 16 to 20%, paste at the bottom above the tube.
Resize element 17 to 35%, paste below the other elements on the left below the tube.
Resize element 20 to 10%, paste at the bottom above the bucket.
Resize element 13 to 10%, duplicate, paste at the bottom.
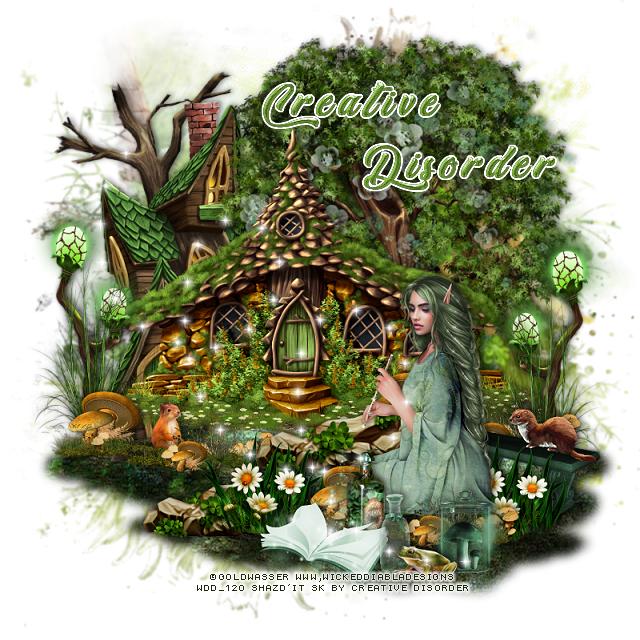
Resize the wordart to 35%, paste at the top, add a white gradient glow.

Add any other elements that you would like, make it your own.
Always readjust your mask and elements how you like them before you
 merge your tag, resize, sharpen.

Crop your tag to be sure no shadows or lines are on the edges.
 Then add your copyright and name.
That's it

Hope you enjoyed doing my tut. 

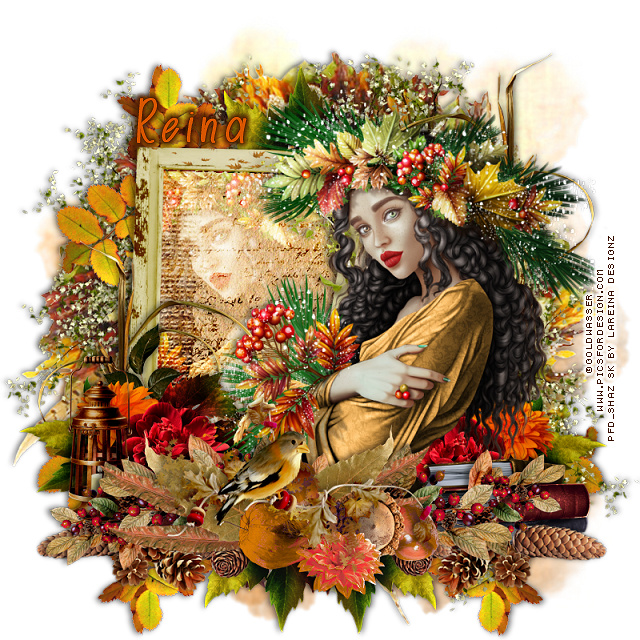
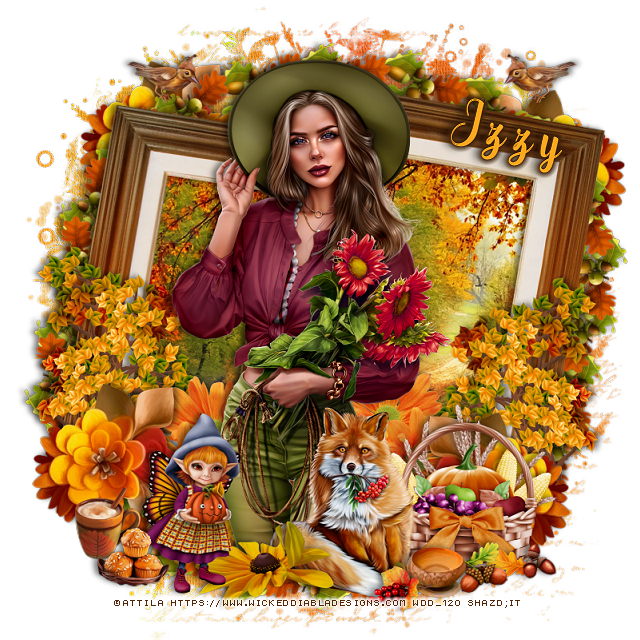
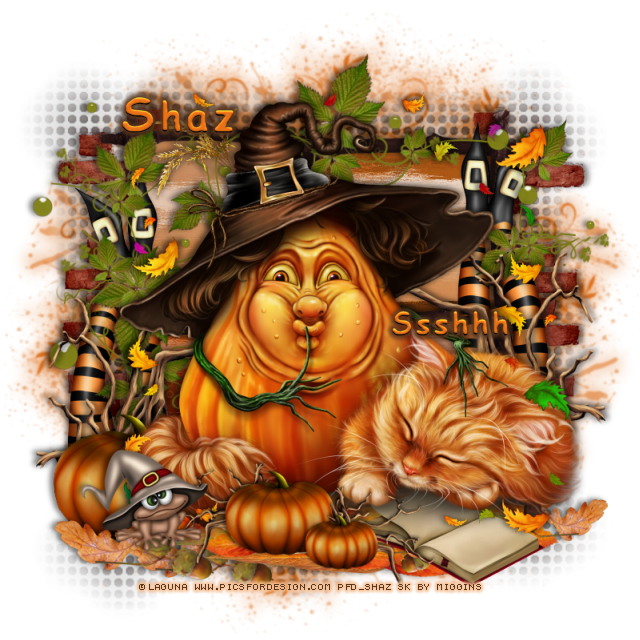
Here is a tag made by Lavada doing my tut
Love it thank you Lavada 


PTU Colors of Fall


This tut was written October 30th, 2022 for those with a basic knowledge of psp. 

I am using the artist ©Goldwasser

There are 2 tubes that are included in this kit.

You need a license to use this tube, please do not use without a license.

Use your license where you bought the kit.  


I used PSP2020...but any of them should work.
PTU Scrap Colors of Fall by LaReina Designz HERE HERE
This kit contains 105 elements, 6 frames and 12 matching papers!
2 Tubes by ©Goldwasser are included!
Mask of choice, I used Lori's PSP Graphics Mask 1179 HERE
Check out the rest of the blog HERE

 Font of choice, I used Autumn Days

Drop shadow as you go is V -1 H -5, 50, 10, or use what you prefer.
Let's get started
*Remember to add your drop shadow as you go along*

Open a new image 800 x 800, paste paper 12, apply your mask, delete, merge group.

Resize frame 4 to 70%, paste, click inside with the magic wand, expand by 5,
paste paper 8, invert, delete, select none.

Resize your tube to 75%, duplicate, move the bottom tube below the frame
to the left, change the blend mode to  Overlay.
Move the other tube to the right more, duplicate, move below the frame, erase, the 
bottom parts of both tubes.
Paste element 87 at the bottom being on the top layer.

Paste element 77 on the mask at the upper left, duplicate, mirror, move
down on the right.
Paste element 25 next at the top, duplicate, mirror, flip move to the lower
right, duplicate, mirror.
Resize element 27 to 50%, paste on the lower right below the tube, duplicate, mirror.
Resize element 18 to 85%, paste at the bottom below the leaves, duplicate, mirror.

Resize element 7 to 50%, paste on the left on the frame and down, duplicate,
mirror, move up on the right behind the tube.
Resize element 96 to 50%, paste at the bottom being on the top layer.
Resize element 98 to 35%, paste at the lower left below some of the leaves.
Resize element 105 to 35%, paste on the right below some of the leaves.
Paste element 67 on the mask layer.

Add any other elements that you would like, make it your own.
Always readjust your mask and elements how you like them before you
 merge your tag, resize, sharpen.

Crop your tag to be sure no shadows or lines are on the edges.
 Then add your copyright and name.
That's it

Hope you enjoyed doing my tut.    

Thursday, October 27, 2022

PTU Autumn Serenity


This tut was written October 27th, 2022 for those with a basic knowledge of psp. 

I am using the artist Attila, 2 tubes is included in the kit

You need a license to use this tube, please do not use without a license.

I used PSP2020...but any of them should work.
PTU Scrap Autumn Serenity by Wicked Diabla Designs  HERE 
This kit has 90 elements and 12 papers
Mask of choice, I used DD Mask NFM2020_1  HERE
Check out the rest of the Blog HERE

Font of choice, I used Wolf Bane Pro

Drop shadow is V -1 H -4, 50, 10, color black or use what you prefer.
Let's get started
*Remember to add your drop shadow as you go along*

Open a new image 800 x 800, paste paper 3, apply your mask, delete, merge group.
Duplicate mask, move down more.

Resize element 66 to 60%, paste on the left and down, click inside with your
magic wand, expand by 5, resize paper 6 to 60%, paste below the frame,
invert, delete, select none.
Merge the frame and paper together, duplicate, move up on the right.

Resize your tube to 25%, paste above the frames.

Resize element 19 to 15%, free rotate to the right, flip, apply Mura Meister Copies-
Encircle, first 3 numbers on 
20, 75, 55, move below the paper layers of the frames at the top, duplicate,
move down.

Resize element 6 to 30%, paste above the tube at the bottom.
Resize element 44 to 25%, paste behind the tube on the right, duplicate, mirror,
move down a little more on the left.

Resize element 1 to 20%, paste on the lower right above the flower, duplicate, mirror.
Duplicate both, flip, move both below the circle at the top.
Resize element 7 to 25%, paste on the right below the fox.
Resize element 88 to 10%, paste at the bottom right.

Resize elements 10, 13, and 54 to 10%, paste at the bottom right.
Resize element 12 to 25%, paste to the left of the fox.
Resize element 64 to 20%, paste at the bottom above the fox and below the little elf.

Resize element 68 to 10%, paste at the bottom left.
Resize element 79 to 10%, paste by the cup.
Resize element 78 to 10%, paste at the top left, duplicate, mirror.
Resize element 38 to 40%, paste on the frame on the left, duplicate, mirror.

Add any other elements that you would like, make it your own.
Always readjust your mask and elements how you like them before you
 merge your tag, resize, sharpen.

Crop your tag to be sure no shadows or lines are on the edges.
 Then add your copyright and name.
That's it

Hope you enjoyed doing my tut.    

Monday, October 24, 2022

PTU Magic Elf


This tut was written October 24th, 2022 for those with a basic knowledge of psp. 

I am using the awesome artwork of ©Goldwasser
You need a license to use this tube, do not use without a license.
Tube by Goldwasser is included in the kit.

I used PSP2020...but any of them should work.
PTU Magic Elf by Creative Disorder  HERE  
Kit contains 1 stunning tube by ©Goldwasser & 112 Elements/14 Papers
Check out her blog HERE
RD Mask 797 HERE
Check out the rest of the blog HERE
Vivienne's Digital Tagging Mask 85  HERE
Check out the rest of the blog HERE

Font of choice, I used Cheetah Kick

Drop shadow is V -1 H -4, 50, 10, or use what you prefer.
Let's get started
*Remember to add your drop shadow as you go along*

Open a new image 800 x 800, paste paper 13, apply your mask, delete, merge group.
Paste mask 85, select all, float, defloat, paste paper 5 and move up so the 
darker part is in the mask, invert, delete, select none, delete, the mask.
Move to the bottom left, duplicate, move to the right and down a bit more.

Resize element 19 to 65%, paste at the top.
Paste element 60 on the tree, erase any past the tree at the top.
Resize element 95 to 50%, paste above the tree.
Resize element 2 to 35%, paste on the left, duplicate, mirror.

Resize the tube to 45%, mirror, paste at the lower right being on the top layer.

Resize element 65 to 25%, paste at the lower right behind the tube.
Resize element 15 to 60%, paste on the left behind the tree.
Resize element 100 to 30%, paste behind the bench on the right, duplicate, move
to the left, duplicate once more, move above the tube.

Resize element 51 to 30%, paste on the right above the lights, duplicate, mirror.
Resize element 1, 6 and 50 to 20%, paste at the bottom above the mushroom layer.
Resize element 43 to 25%, paste at the bottom by the bottles.

Resize element 13 to 25%, paste below the tube to the left, duplicate, move to the right.
Resize element 93 to 15%, mirror, paste on the bench below the flower layer.
Resize element 92 to 20%, paste at the bottom being on the top.
Resize element 104 to 15%, paste on the left below the mushroom layer.
Resize element 17 to 25%, paste at the bottom behind the tube, duplicate, move
down and to the left behind the daisy flowers.
Paste element 46 being on the top layer where you like.

Add any other elements that you would like, make it your own.
Always readjust your mask and elements how you like them before you
 merge your tag, resize, sharpen.

Crop your tag to be sure no shadows or lines are on the edges.
 Then add your copyright and name.
That's it

Hope you enjoyed doing my tut.           

Sunday, October 23, 2022

FTU Janesko Beauty


 This tut was written October 23rd, 2022 for those with a basic knowledge of psp. 

I am using the awesome artwork of Jennifer Janesko
Tube used is "164-2 Rush"
You need a license to use this tube, do not use without a license.
You can find this art at CDO Store HERE

I used PSP2020...but any of them should work.
FTU Scrappin Your Heart Out Blog Train October by Mythical Designs  HERE
Mask of choice, I used DDNFM2020_1 HERE
Check out the rest of the blog HERE
Filter
Mura Meister Copies-Encircle
xero-Porcelain

Font of choice, I used The Star in the Midnight

Drop shadow is V -1 H -4, 50, 10, color of choice or use what you prefer.
Let's get started
*Remember to add your drop shadow as you go along*

Open a new image 800 x 800, paste paper 5, apply your mask, delete, merge group.
Duplicate, change the blend mode to Multiply, duplicate again, merge the 
3 mask together.
Paste frame 1, resize to 83%, free rotate to the right at 45 degrees.

Resize frame 3 to 80%, paste, click inside with the magic wand, expand by 5,
paste paper 4, invert, delete, keep selected.
Mirror your close up tube, paste, move to the right a bit, delete, select none,
Apply the xero filter-Porcelain.

Element 24, take your free hand tools and draw around the leaves and delete,
paste below the paper layer of the frame, apply Mura Meister Copies-Encircle
with the first 3 numbers on 22, 53, 53
Resize element 23 to 60%, apply Mura Meister Copies-Encircle, change the 
first 3 numbers to 22, 45, 45, move below the first circle.
Resize element 15 to 40%, apply Mura Meister, change the first 3 numbers to
24, 70, 70 move above the bottom frame.

Resize element 35 to 50%, paste below the tube in the frame to the left, duplicate, move
to the right and down a bit.

Paste your tube on the top frame on the left, erase a little of the straight hair on top.

Paste element 21 on the left behind the tube, duplicate, mirror, move down,
erase some of the stem.
Paste element 12 on the right below the flower, erase the left part, duplicate, mirror.
Paste element 24 on the left above the pink flower, duplicate, mirror, move
above the frame on the right.

Resize element 5 to 30%, paste at the bottom being on the top layer.
Resize element 4 to 40%, paste at the bottom.
Resize element 6 to 30%, paste between the letters and jewel box, duplicate, move
to the left and above the jewel box.
Resize element 1 to 30%, paste at the bottom to the right, duplicate one of the
purple flowers and move over by the pumpkin.
Resize element 14 and 15 to 30%, paste at the bottom, duplicate once or twice and 
move where you like.

Resize element 22 to 40%, paste above the letters by the pumpkin.
Paste element 28 at the bottom right below the top flower, duplicate, mirror,
move below the jewel box on the left.
Resize element 3 to 40%, paste at the bottom being on top.

Add any other elements that you would like, make it your own.
Always readjust your mask and elements how you like them before you
 merge your tag, resize, sharpen.
(Optional)
Duplicate your merged tag, go to Adjust, Blur, Gaussian blur, number on 5, 
change the blend mode to Soft Light, merge down, sharpen.

Crop your tag to be sure no shadows or lines are on the edges.
 Then add your copyright and name.
That's it

Hope you enjoyed doing my tut.            

Friday, October 21, 2022

FTU Ssshhh


This tut was written October 21th, 2022 for those with a basic knowledge of psp. 

I am using the awesome artwork of Laguna
Tube used is "Halloween Pumpkin and Sleeping Kitty"
You need a license to use this tube, do not use without a license.
You can find this art at PFD Store HERE

I used PSP2020...but any of them should work.
FTU Scrappin Your Heart Out Blog Train October by Miggins  HERE
Mask of choice, I used Trese Mask 0035 HERE
Check out the rest of the blog HERE
Filter
Unplugged Tools-Spice Dots

Font of choice, I used Comic Sans

Drop shadow is V -1 H -4, 50, 10, color of choice or use what you prefer.
Let's get started
*Remember to add your drop shadow as you go along*

"This is a Quickie"

Open a new image 800 x 800, add a new layer, fill with #dd6d17, paste
your mask, delete, merge group.

Paste element 1, duplicate, being on the bottom frame, go to Adjust, Blur,
Gaussian blur, number on 20, apply 
Unplugged tools, Spiced Dots, with default settings or play around with them 
to get what you like, resize larger to 105%.
Change the blend mode to Multiply.
Resize element 24 to 50%, paste on the left above the Spice Dots layer,
duplicate, mirror.

Being on the top frame, click inside with the magic wand, expand by 4,
paste paper 21, invert, delete, select none.
Paste element 4 on the frame.

Resize just the pumpkin of the tube to 35%, paste below the frame on the right,
mirror, adjust in the right side of frame, erase any part outside the frame.

Resize the full tube to 30%, paste above the frame to the left.

Paste element 38 at the bottom below the tube, move to one side, duplicate,
move over to the other side.
Resize element 35 to 35%, paste on the left behind the tube, duplicate, move above the
tube, resize to 65%, move down, duplicate, resize to 65%, move over a little.

Resize element 28 to 50%, paste on the left behind the pumpkin, duplicate, mirror.
Duplicate the left one, free rotate to the right at 90, resize to 50%, move to
the bottom below the pumpkins, duplicate, mirror.
Resize element 29 to 30%, paste at the lower left.
Resize element 9 to 25%, paste at the bottom right below the tube layer.
Resize element 36 to 30%, paste on the right above the frame layer, 
duplicate, mirror, move down more on the left.

Add any other elements that you would like, make it your own.
Always readjust your mask and elements how you like them before you
 merge your tag, resize, sharpen.

Crop your tag to be sure no shadows or lines are on the edges.
 Then add your copyright and name.
That's it

Hope you enjoyed doing my tut.            

Tuesday, October 18, 2022

CT Tag Ms Buttons/kit by Wicked Diabla

   **CT Tag FOR *** Wicked Diabla Designs***

***NEW kit match for Ms Buttons by Queen Uriel
by Wicked Diabla Designs ***

You can find the KIT  HERE
Awesome kit with 90 elements and 12 papers

Below is the tag I made with this kit 


FTU Haunted Garden


This tut was written October 18th, 2022 for those with a basic knowledge of psp. 

I am using the awesome artwork of Goldwasser
Tube used is Rosalind"
You need a license to use this tube, do not use without a license.
You can find this art at Goldwasser Store HERE

I used PSP2020...but any of them should work.
FTU Haunted Garden by Addictive Pleasures  HERE
Check out the rest of the blog HERE
Mask of choice, I used Mask 673 by RD HERE
Check out the rest of the blog HERE

Font of choice, I used Queeny

Drop shadow is V -1 H -4, 50, 10, color of choice or use what you prefer.
Let's get started
*Remember to add your drop shadow as you go along*

Open a new image 800 x 800, add a new layer, select all, paste paper 6 into 
selection, apply your mask, delete, merge group.
Duplicate, mirror, merge down.

Paste frame 2, take your free hand tool, draw around the frame, paste your tube,
invert, delete, select none. Change the blend mode to Lighten.
Resize element 4 to 90%, paste on the right, duplicate, mirror, move below the 
tube on the left.

Resize your tube to 35%, mirror, paste on the right above the column.

Resize element 1 to 60%, paste at the bottom left above the tube.
Resize the cross to 50%, paste below the log, duplicate, move to the left more,
duplicate, move to the right below the tube.

Resize the bench to 75%, paste below the log and top tombstone, sharpen a 
couple of times.
Resize the pond to 30%, duplicate 2 more time and paste all 3 at the bottom above
the tube layer.

Resize deco 2 to 25%, paste at the bottom in front of the log, free rotate to the 
left at 20 degrees.
Resize deco 5 to 25%, paste at the bottom below deco 2.
Resize the gargoyle to 40%, paste at the bottom.

Resize element 11 to 30%, paste on the lower right below the flowers.
Flip element 12, move to the bottom below the log layer, change the color by
going to Adjust, Hue and Saturation, Colorize, both numbers on 0.
Resize the smoke to 75%, paste on the lantern of the tube, lower the
opacity to 40 or so.
Paste doodle 2 on the right above the mask, duplicate, mirror.

Add any other elements that you would like, make it your own.
Always readjust your mask and elements how you like them before you
 merge your tag, resize, sharpen.

Crop your tag to be sure no shadows or lines are on the edges.
 Then add your copyright and name.
That's it

Hope you enjoyed doing my tut.