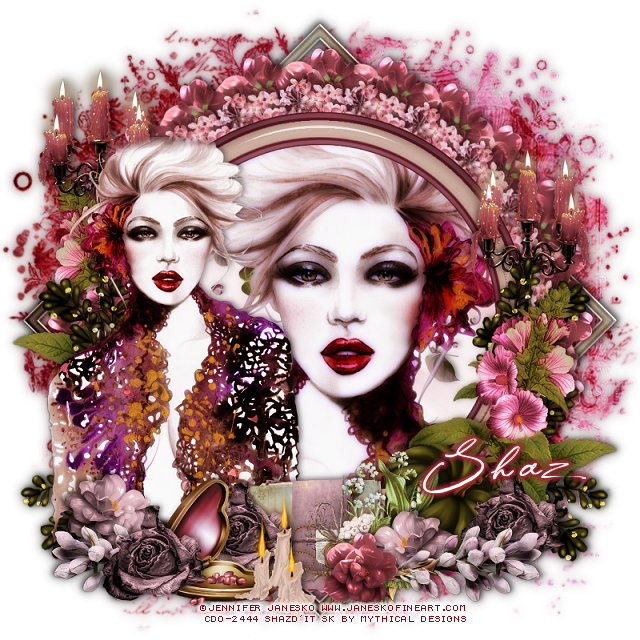
This tut was written October 23rd, 2022 for those with a basic knowledge of psp.
I am using the awesome artwork of Jennifer Janesko
Tube used is "164-2 Rush"
You need a license to use this tube, do not use without a license.
You can find this art at CDO Store HERE
Drop shadow is V -1 H -4, 50, 10, color of choice or use what you prefer.
Let's get started
*Remember to add your drop shadow as you go along*
Open a new image 800 x 800, paste paper 5, apply your mask, delete, merge group.
Duplicate, change the blend mode to Multiply, duplicate again, merge the
3 mask together.
Paste frame 1, resize to 83%, free rotate to the right at 45 degrees.
Resize frame 3 to 80%, paste, click inside with the magic wand, expand by 5,
paste paper 4, invert, delete, keep selected.
Mirror your close up tube, paste, move to the right a bit, delete, select none,
Apply the xero filter-Porcelain.
Element 24, take your free hand tools and draw around the leaves and delete,
paste below the paper layer of the frame, apply Mura Meister Copies-Encircle
with the first 3 numbers on 22, 53, 53
Resize element 23 to 60%, apply Mura Meister Copies-Encircle, change the
first 3 numbers to 22, 45, 45, move below the first circle.
Resize element 15 to 40%, apply Mura Meister, change the first 3 numbers to
24, 70, 70 move above the bottom frame.
Resize element 35 to 50%, paste below the tube in the frame to the left, duplicate, move
to the right and down a bit.
Paste your tube on the top frame on the left, erase a little of the straight hair on top.
Paste element 21 on the left behind the tube, duplicate, mirror, move down,
erase some of the stem.
Paste element 12 on the right below the flower, erase the left part, duplicate, mirror.
Paste element 24 on the left above the pink flower, duplicate, mirror, move
above the frame on the right.
Resize element 5 to 30%, paste at the bottom being on the top layer.
Resize element 4 to 40%, paste at the bottom.
Resize element 6 to 30%, paste between the letters and jewel box, duplicate, move
to the left and above the jewel box.
Resize element 1 to 30%, paste at the bottom to the right, duplicate one of the
purple flowers and move over by the pumpkin.
Resize element 14 and 15 to 30%, paste at the bottom, duplicate once or twice and
move where you like.
Resize element 22 to 40%, paste above the letters by the pumpkin.
Paste element 28 at the bottom right below the top flower, duplicate, mirror,
move below the jewel box on the left.
Resize element 3 to 40%, paste at the bottom being on top.
Add any other elements that you would like, make it your own.
Always readjust your mask and elements how you like them before you
merge your tag, resize, sharpen.
(Optional)
Duplicate your merged tag, go to Adjust, Blur, Gaussian blur, number on 5,
change the blend mode to Soft Light, merge down, sharpen.
Crop your tag to be sure no shadows or lines are on the edges.
Then add your copyright and name.
That's it
Hope you enjoyed doing my tut.


No comments:
Post a Comment