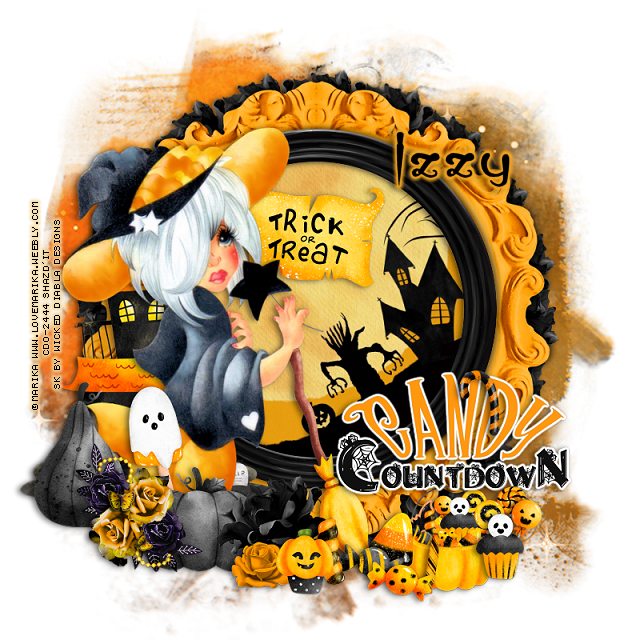
This tut was written September 29th, 2022 for those with a basic knowledge of psp.
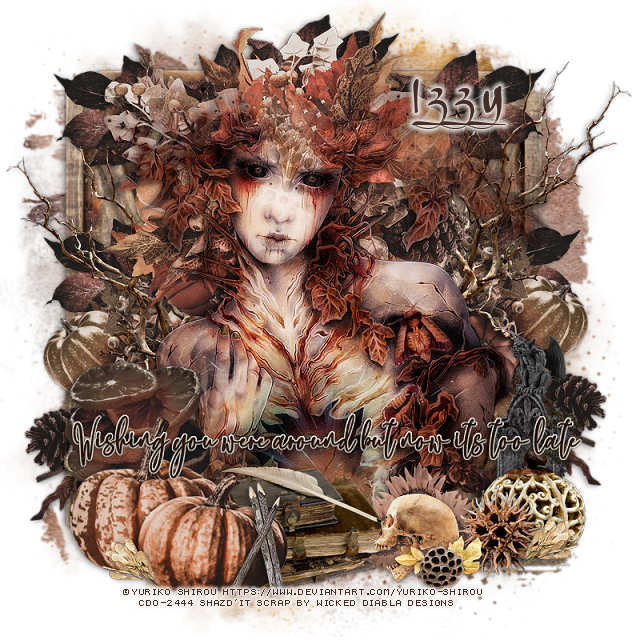
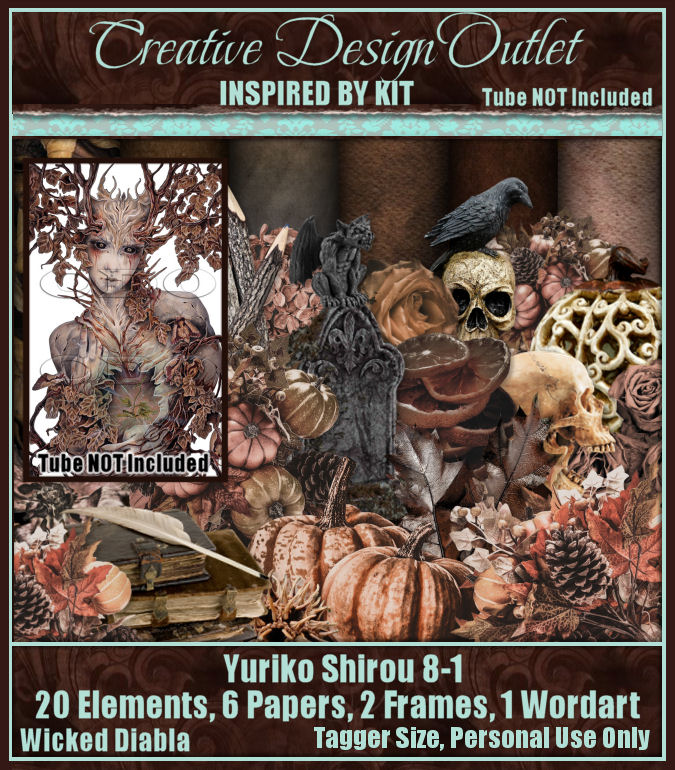
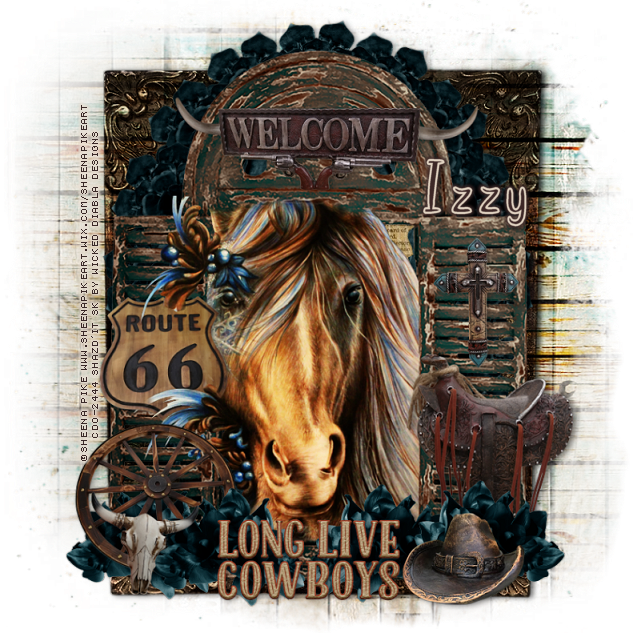
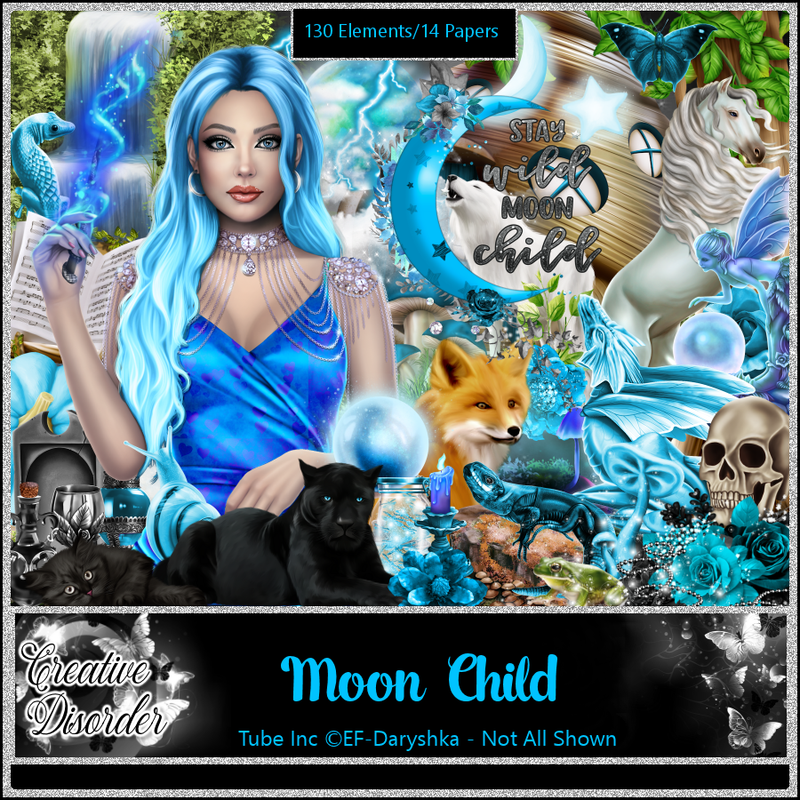
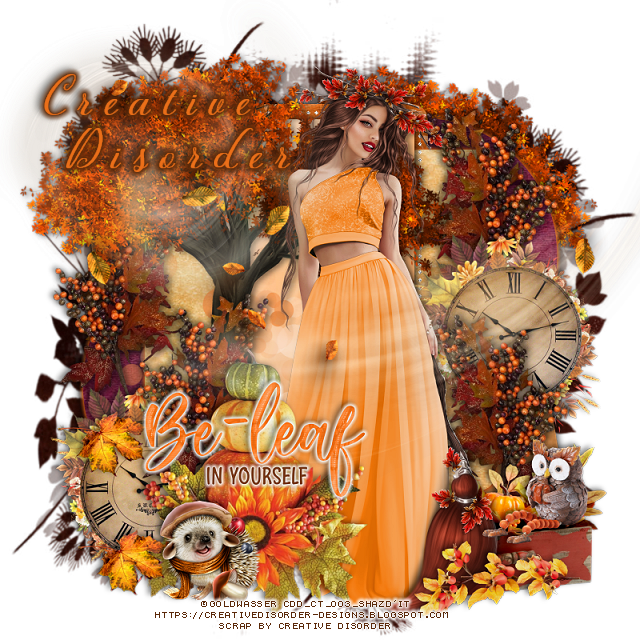
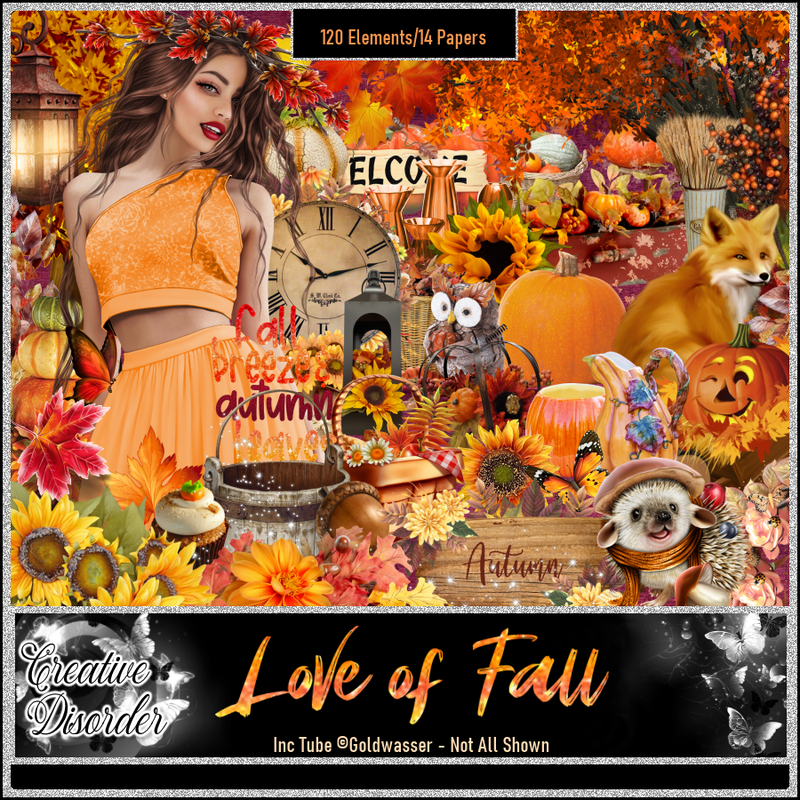
I am using the awesome artwork of ©Goldwasser
You need a license to use this tube, do not use without a license.
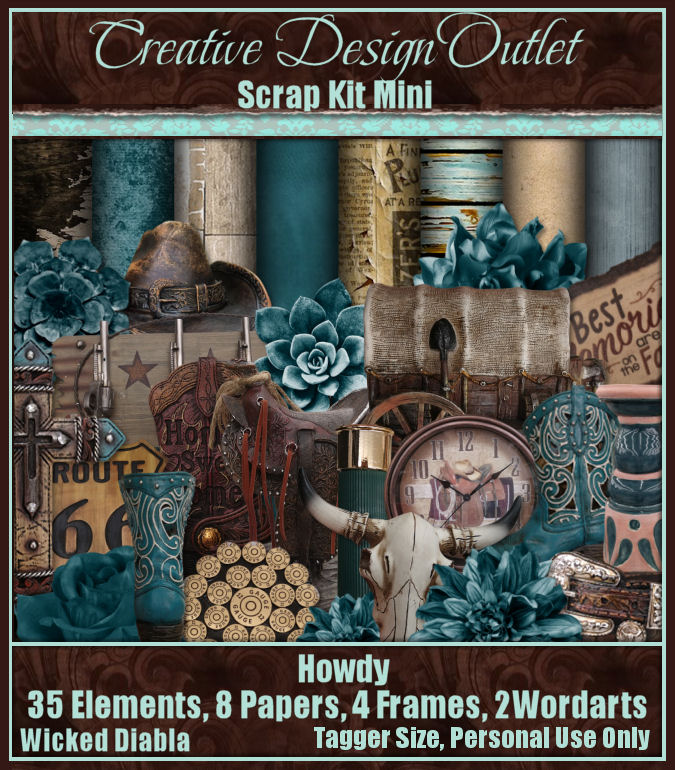
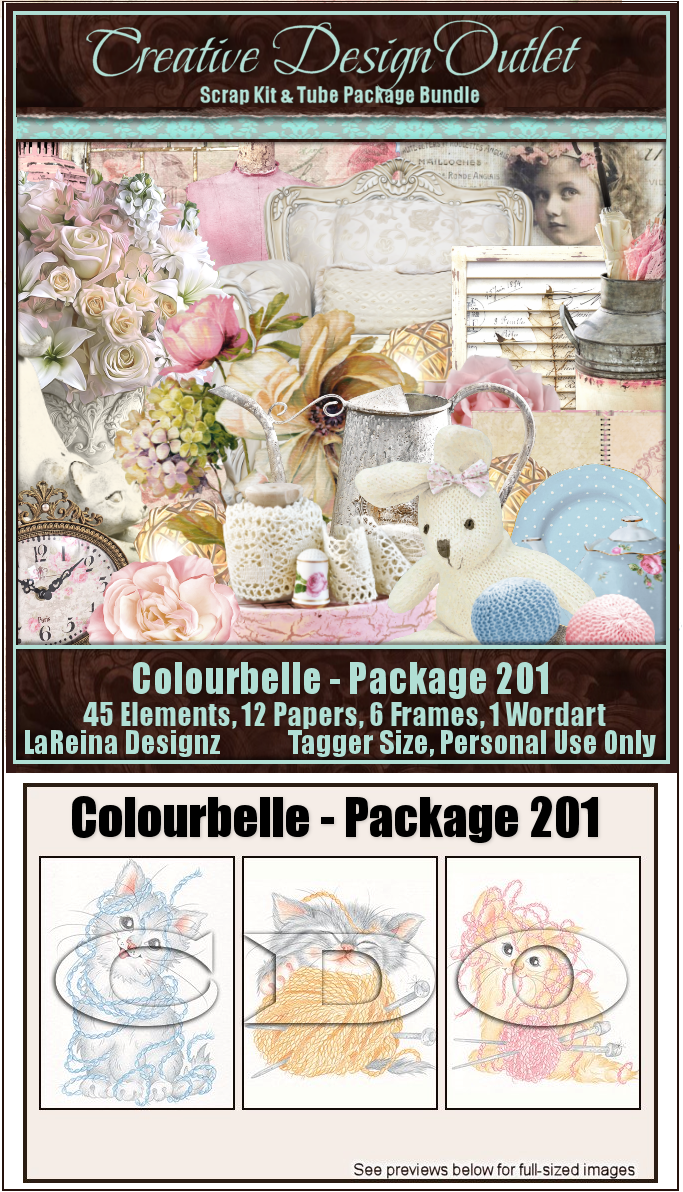
Tube by Goldwasser is included in the kit.
I used PSP2020...but any of them should work.
Drop shadow is V -1 H -4, 50, 10, or use what you prefer.
Let's get started
*Remember to add your drop shadow as you go along*
Open the template, hold the shift and hit d to duplicate, close the original.
Delete the credits.
Go to Image, Canvas size 800 x 800
Paste paper 7 above the white background, apply your mask, delete, merge group.
Resize larger to 115%.
Merge template layer 2 down with 1, select all, float, defloat, paste paper 2,
invert, delete, select none.
Add a fat orangish gradient glow.
Delete the template layer also, you will do this each time.
Merge layer 4 down with layer 3, select all, paste paper 6, invert, delete, select none.
Select layer 5, paste paper 1, invert, delete.
Add noise at 100% on layer 8.
Merge layer 7 down with layer 6, paste paper 10, invert, delete.
Add the same fat gradient glow as you did before.
Select layer 9, paste paper 11, move where you want, invert, delete.
Resize element 87 to 60%, paste on the left being on the top layer, duplicate,
mirror, move above the mask on the right.
Resize element 44 to 70%, paste below the top tree.
Resize your tube to 30%, paste off center above the tree.
Resize element 58 to 50%, paste on the left above the tree, duplicate, mirror.
Resize element 94 to 60%, paste at the lower left above the tube.
Resize element 3 to 35%, paste on the left below the berry branch, duplicate, move
to the right and up a bit.
Duplicate the berry branch, move up on the right and below the clock,
duplicate, mirror, adjust on the left where you like.
Resize element 99 to 40%, paste on the lower right below the tube.
Resize element 47 to 25%, paste on the box on the right.
Resize element 95 to 30%, paste at the lower right above the box.
Resize element 60 to 30%, paste on the left, duplicate, move where you like.
Resize element 72 to 25%, paste at the lower left being on the top layer.
Resize element 119 to 25%, paste on the left, add a gradient glow.
Paste element 16 where you like.
Add any other elements that you would like, make it your own.
Always readjust your mask and elements how you like them before you
merge your tag, resize, sharpen.
Crop your tag to be sure no shadows or lines are on the edges.
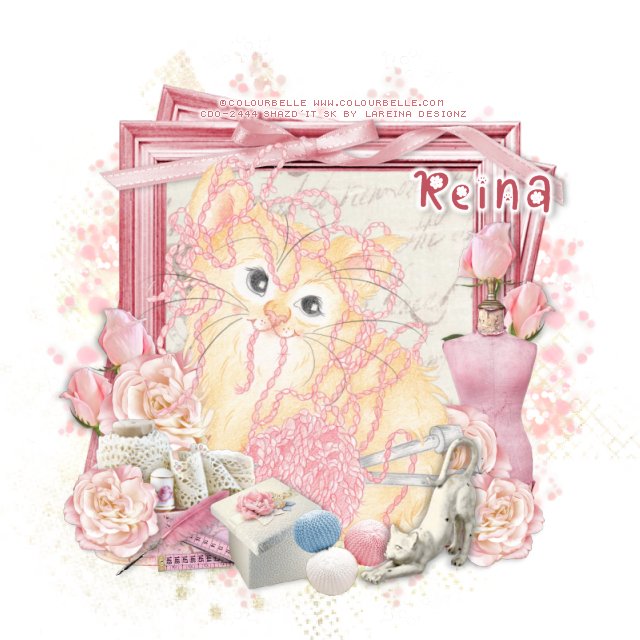
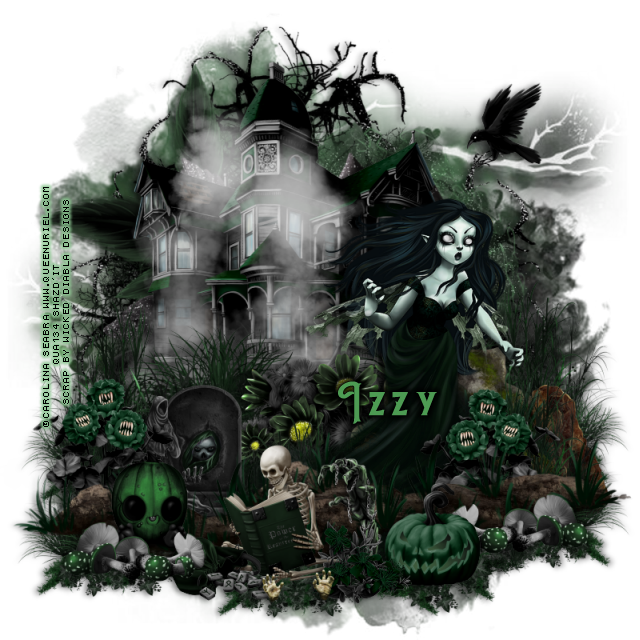
Then add your copyright and name.
That's it
Hope you enjoyed doing my tut.