Showing posts with label Celestial. Show all posts

Thursday, October 15, 2026

PTU Celestial Realm


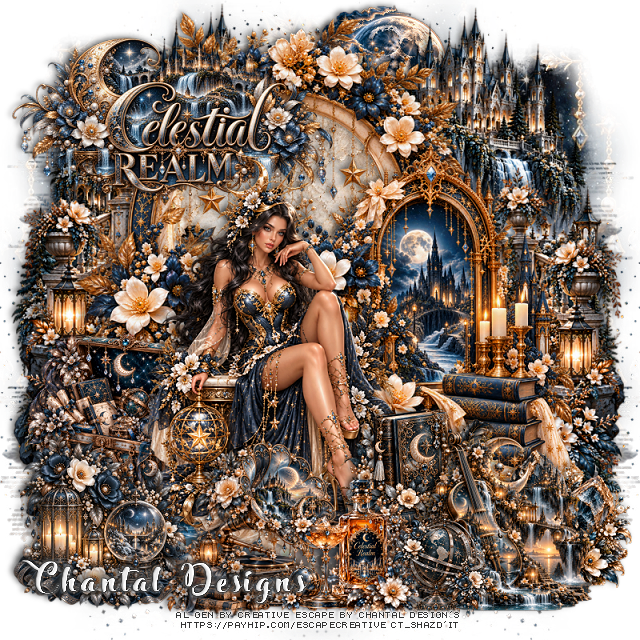
Tag I made also, no tut for this one
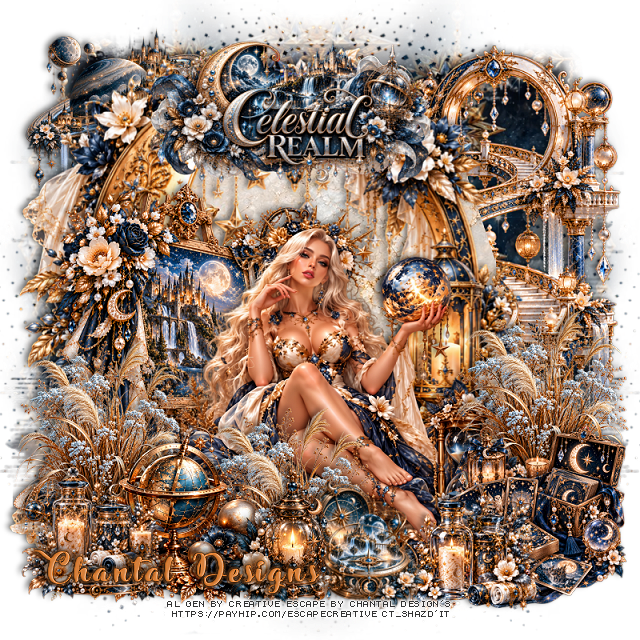
 This tut was written October 14th, 2026 for those with a basic knowledge of psp. 

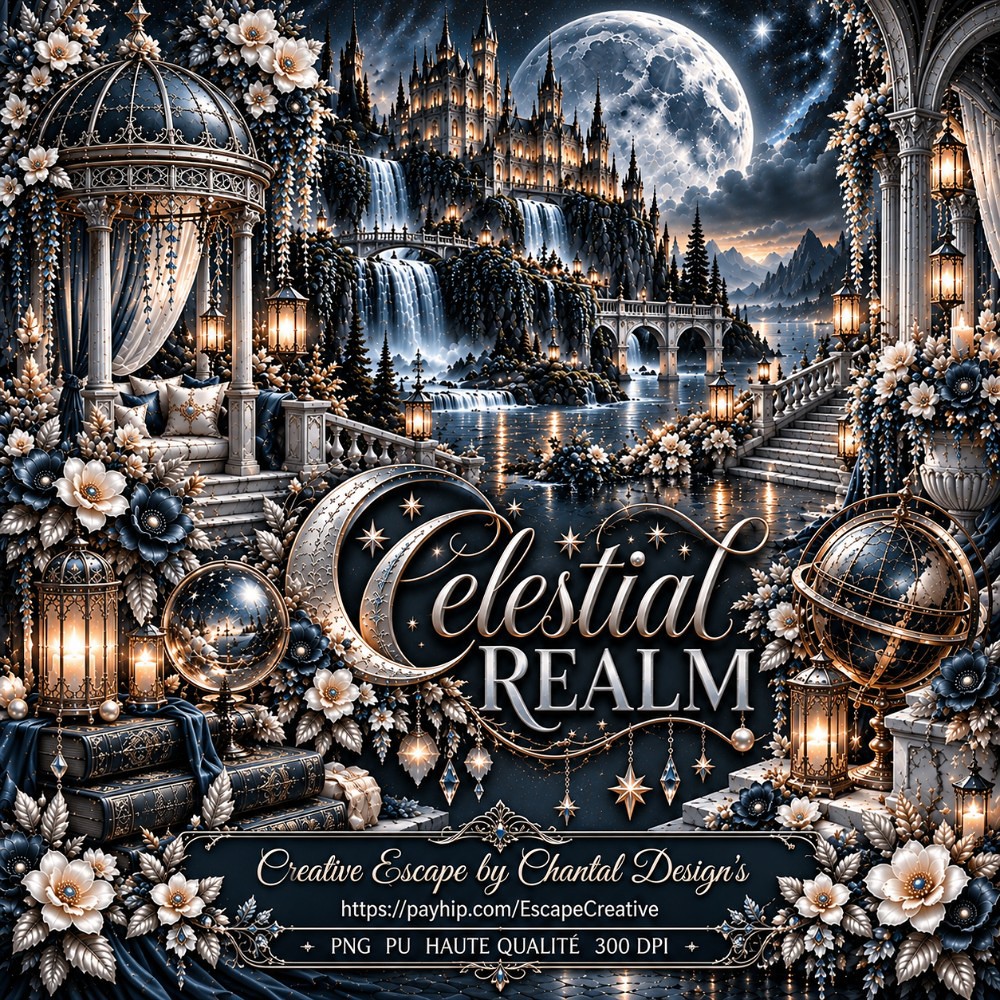
Awesome AI kit and tube by Creative Escape by Chantal Design's

Awesome kit

The character tubes shown in the preview are NOT included in the kit.
I paired it with Celestial Realm Tubes 2 HERE

Read the TOU on how to credit your tags


I used PSP2020...but any of them should work.
PTU Scrap Celestial Realm by 
Creative Escape by Chantal Design's  HERE HERE HERE
You can find all Creative Escape by Chantal Design's kits HERE
Vivienne's Digital Tagging Mask 12 and  30 HERE
Check the rest of the blog HERE

Font of choice, I used Stardust Adventure

Drop shadow as you go is V -2 H -4, 50, 10, or use what you prefer.
Let's get started
*Remember to add your drop shadow as you go along*

Open a new image 800 x 800, paste paper 17, apply mask 30, move to the 
upper left, duplicate, mirror, merge, duplicate, move to the bottom.
Paste paper 17 again, apply mask 12, move to the left, duplicate, mirror.

Resize cluster 4 to 60%, paste on the upper left, draw around the frame,
resize paper 10 to 50%, paste, invert, delete.
Resize cluster 8 to 50%, paste to the right and down.
Resize 38 to 50%, paste below the frame on the right, duplicate, mirror.
Resize 53 to 75%, paste on the bottom layer at the upper left, duplicate, move 
to the right.
Resize 21 to 20%, paste at the upper right below the castle.

Resize tube 4 to 30%, paste to the left.

Resize 101 to 25%, paste at the bottom right above the tube.
Resize 186 to 20%, paste on the bottom right below the books.
Resize 64 to 25%, paste on the left below the tube.
Resize 44 to 25%, paste on the bottom left above the tube.
Resize 8 to 25%, paste at the bottom.
Resize 7 to 25%, paste at the bottom right.
Resize 185 to 20%, paste at the bottom.
Resize 42 to 15%, paste at the bottom right.
Resize wordart 5 to 45%, paste on the upper left below the tube.

Add any other elements that you would like, make it your own.
Always readjust your mask and elements how you like them before you
 merge your tag, resize, sharpen.

Crop your tag to be sure no shadows or lines are on the edges.
 Then add your copyright and name.
That's it

                 Hope you enjoyed doing my tut       

Tuesday, May 12, 2026

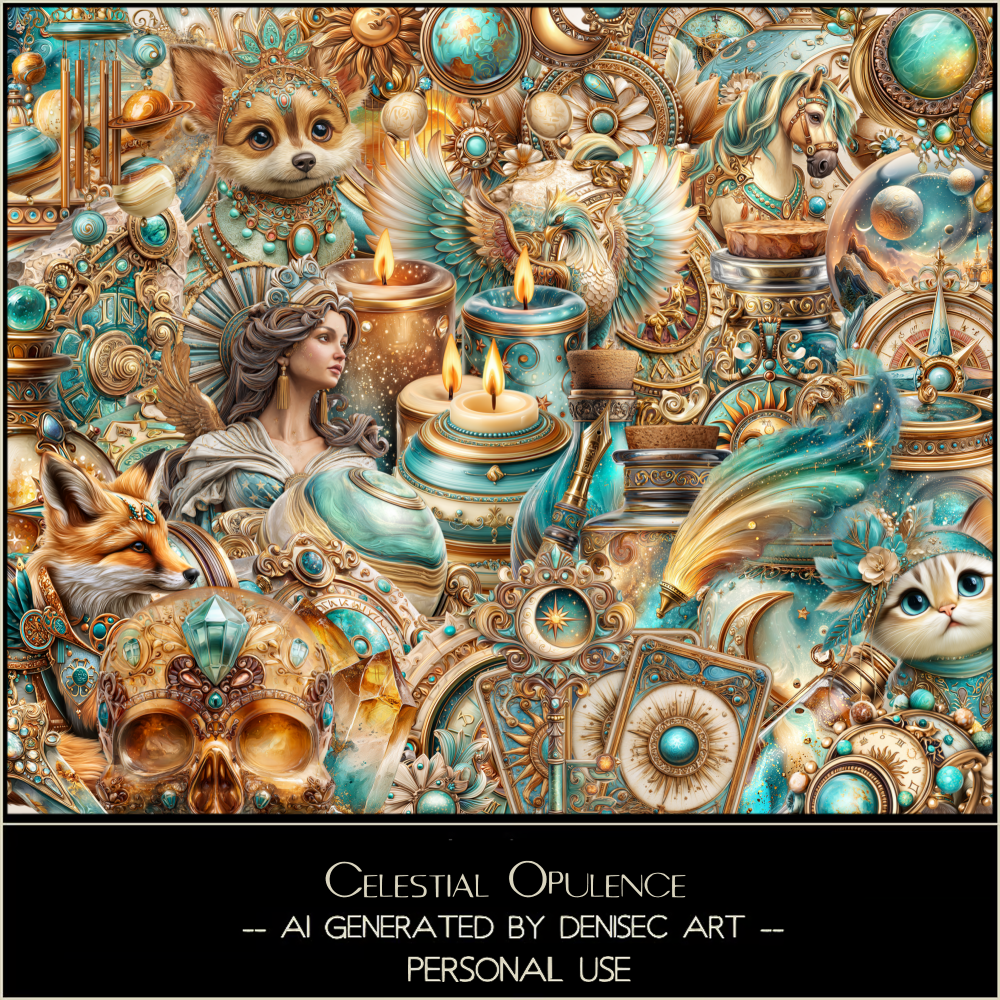
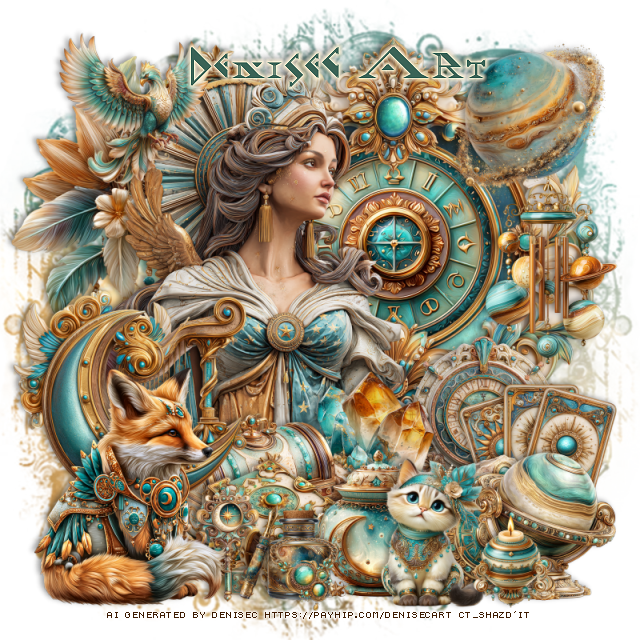
PTU Celestial Opulence


  This tut was written May 12th, 2026 for those with a basic knowledge of psp. 

I am using the beautiful Al kit/tube by DeniseC Art

Everything is included in the kit
Please read their TOU on how to credit your tags

I used PSP2020...but any of them should work.
PTU Scrap Celestial Opulence by DeniseC Art HERE
Check out her store here for more of her kits  HERE 
Mask of choice, I used Miz Teeque Mask 186  HERE
Check out the rest of the blog HERE

Font of choice, I used Fadgod

Drop shadow as you go is V -2 H 4, 40, 10, or use what you prefer.
Let's get started
*Remember to add your drop shadow as you go along*

Open a new image 800 x 800,  paste paper 6, apply your mask. 

Resize 34 to 55%, paste on the upper right.
Resize 43 to 50%, paste below the frame.
Resize 9 to 50%, paste on the left above the frame.
Resize 44 to 50%, paste on the upper left below the frame behind the lady.
Resize 38 to 30%, paste on the bottom left above the lady.

Resize 8 to 35%, paste below the wolf on the left.
Resize 53 to 25%, paste at the bottom below the wolf.
Resize 16 to 20%, paste at the bottom above the chest.
Resize 51 to 15%, paste by the book.
Resize 30 to 20%, paste at the upper right above the frame.
Resize 42 to 20%, paste at the bottom above the book.
Resize 25 to 20%, paste below the chest to the right.
Resize 4 to 20%, paste below the crystals.

Resize 45 to 15%, paste at the bottom.
Resize 5 to 20%, paste on the bottom right below the round jar.
Resize 29 to 20%, paste on the bottom right.
Resize 49 to 25%, paste on the right below the orbit.
Resize 3 to 25%, mirror, paste at the bottom.
Resize 7 to 20%, paste on the right below the globe.
Resize 46 to 10%, paste on the bottom on the bottle.
Resize 19 to 20%, paste on the upper left.
Resize 15 to 13%, paste on the bottom right.

Add any other elements that you would like, make it your own.
Always readjust your mask and elements how you like them before you
 merge your tag, resize, sharpen.

Crop your tag to be sure no shadows or lines are on the edges.
 Then add your copyright and name.
That's it

Hope you enjoyed doing my tut   
Friday, May 8, 2026

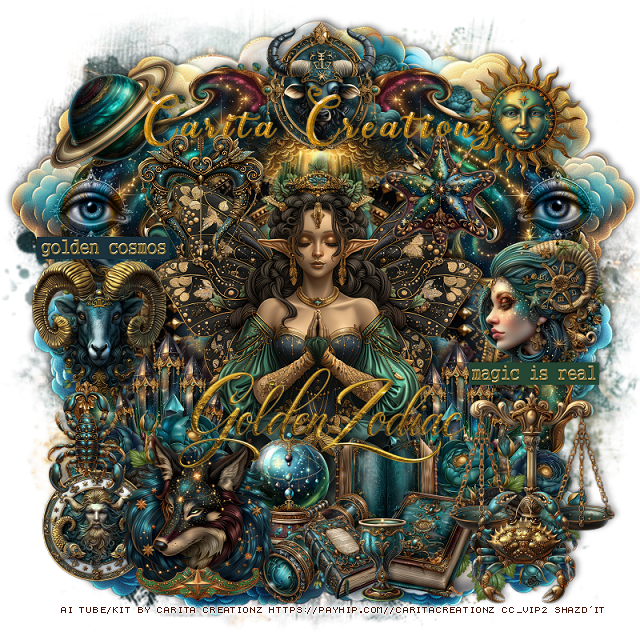
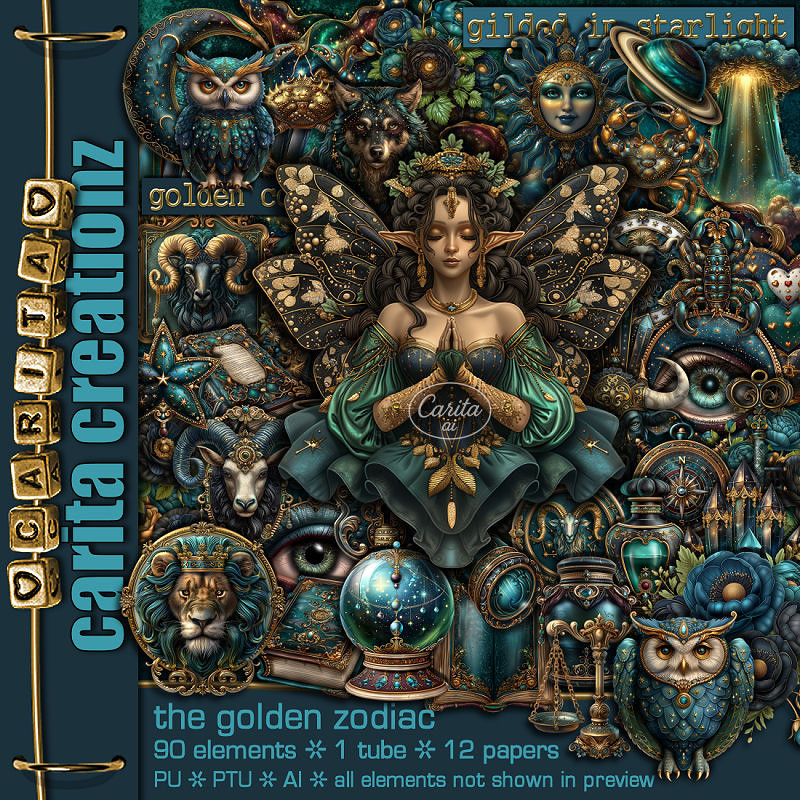
PTU The Golden Zodiac

 This tut was written May 8th, 2026 for those with a basic knowledge of psp. 

I am using the Awesome Al kit by Carita Creationz
The beautiful tube is Al gen by Carita
Read the TOU how to credit your tags.

I used PSP2020...but any of them should work.
PTU Scrap The Golden Zodiac kit by Carita Creationz  HERE
Kit comes with 90 elements, 12 papers and  1 tube
Check her store out to see all her other kits and tubes HERE
Miz Teeques Mask 283 HERE
Check out the rest of the blog HERE
Filter 
Mura Meister Copies-Encircle.

Font of choice, I used Wedding Paradise

Drop shadow as you go is V -2 H 4, 50, 10, or use what you prefer.
Let's get started
*Remember to add your drop shadow as you go along*

Open a new image 800 x 800, paste paper 6, apply your mask.

Resize 24 to 20%, apply Mura Meister Copies-Encircle, first 3 
numbers on 20, 68, 68, paste.
Resize 70 to 15%, apply Mura Meister, first 3 numbers on 18, 60, 60,
paste above the circle.
Resize 61 to 68%, paste on the flower circle.
Paste 54 at the top on the mask layer, erase the bottom side parts.
Paste 88 on the upper right of the clouds, duplicate, mirror.

Resize the tube to 50%, paste on the frame.
Resize 49 to 60%, paste below the tube so some of the light shows.

Resize 36 to 40%, paste at the upper left below the tube, duplicate, mirror.
Resize 47 to 40%, paste at the bottom left, duplicate, mirror.
Resize 55 to 30%, paste on the bottom right, duplicate, mirror.
Resize 5 to 25%, paste on the left below the flowers, duplicate, mirror.
Resize 40 to 22%, paste at the upper left.
Resize 31 to 25%, paste on the right about center.
Resize 34 to 25%, paste on the left about center.
Resize 68 to 22%, paste on the upper right.

Resize 17 to 20%, paste at the bottom above the flowers.
Resize 10 to 20%, paste at the bottom above the book.
Resize 11 to 20%, paste at the bottom above the books.
Resize 32 to 15%, paste at the bottom above the books.
Resize 84 to 20%, paste at the bottom below the telescope.
Resize 7 to 30%, paste on the bottom right.
Resize 20 to 20%, paste at the bottom right.
Resize 46 to 30%, paste at the bottom left above the telescope.
Resize 39 to 23%, paste at the top.
Resize 28 to 20%, paste on the left down by the wolf.

Resize 29 to 23%, paste on the upper left above the tube's wing.
Resize 48 to 20%, paste on the upper right above the wing.
Resize 44 to 20%, paste on the bottom left below the wolf.
Resize 16 to 15%, paste at the bottom above the books.
Resize 15 to 15%, paste on the upper right, change the blend mode
to Luminance(L), duplicate, mirror.
Resize 87 to 25%, paste on the left below the eye.
Resize 86 to 25%, paste on the right below the lady's head.
Resize 83 to 40%, paste where you like.

Add any other elements that you would like, make it your own.
Always readjust your mask and elements how you like them before you
 merge your tag, resize, sharpen.
Crop your tag to be sure no shadows or lines are on the edges.
 Then add your copyright and name.
That's it

Hope you enjoyed doing my tut.              

Friday, December 27, 2024

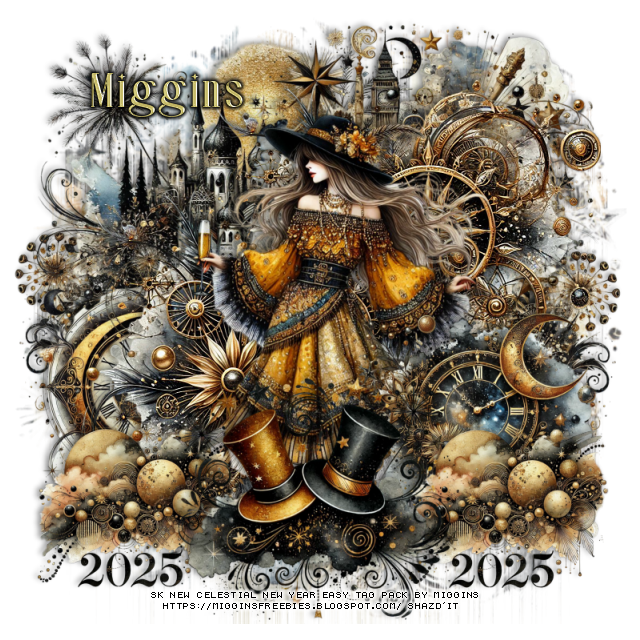
FTU New Celestial New Year Easy tag pack

  This tut was written December 27th, 2024 for those with a basic knowledge of psp.

Al generated tube and kit by Miggins
Several tubes, elements, templates, mask and more
Awesome Celestial New Year kit

I used PSP2020...but any of them should work.
FTU kit New Celestial New Year Easy tag pack by Miggins HERE
Check out the rest of the blog HERE

Font of choice,  I used  Starlight Rune

Drop shadow is  V-1 H-4 Black, 40, 10, use what you prefer.
Let's get started
*Remember to add your drop shadow as you go along*

Open a new image 800 x 800, resize paper 38 to 40%, apply mask 
4 included in the kit.

Resize element 38 to 50%, paste on the right and up, sharpen, duplicate, 
move to the left and down.
Resize element 54 to 30%, paste on the lower left below the gear element.
Resize element 73 to 50%, paste at the upper left above the mask.
Resize element 20 to 40%, paste at the upper right.

Resize image tube 2 to 50%, paste center.

Resize element 22 to 30%, paste on the bottom right above the tube.
Resize element 64 to 35%, paste at the bottom above the tube.
Resize element 37 to 25%, paste at the bottom left below the hats, duplicate,
move to the right.
Resize element 45 to 35%, paste on the mask layer on the right about half way 
down, duplicate, mirror.

Add any other elements that you would like, make it your own.
Always readjust your mask and elements how you like them before you
 merge your tag, sharpen once.
Crop your tag to make sure no shadows or anything on the edges

 Then add your copyright and name.

That's it

Hope you enjoyed doing my tut.