Friday, January 31, 2025

CT FB Timeline and Tag for Yude's Kreationz

    *~*CT  FB Timeline and Tag for Yude's Kreationz*~*

I am using her Awesome Scrap kit  
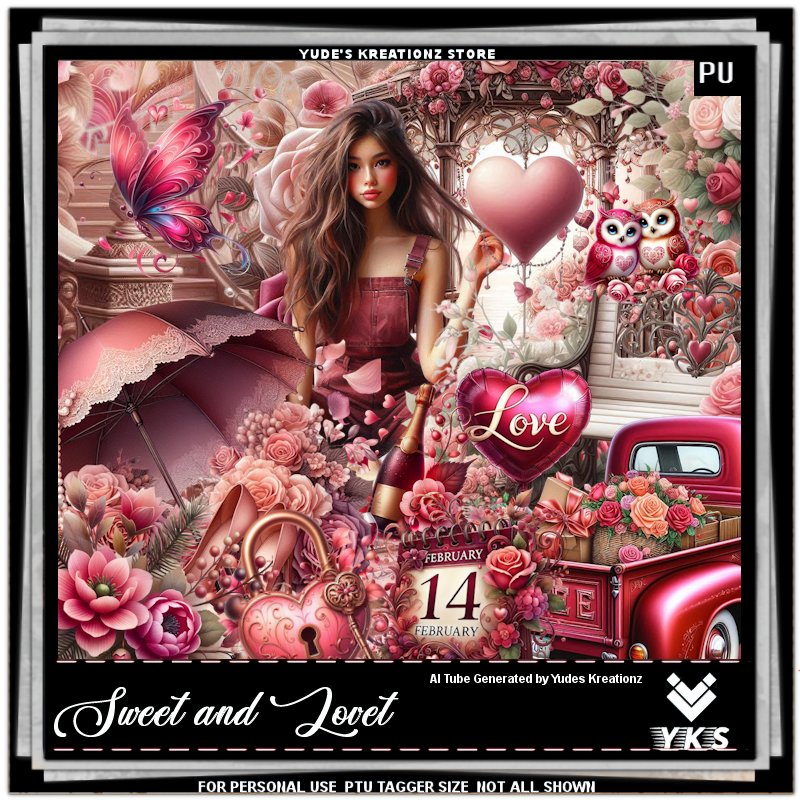
 "YKS- Sweet and Lovet" by Yude's Kreationz 
Al generated tubes is included

Kit:  HERE  HERE HERE

Click on the banner to get the full size  


PTU Shadowed Hearts


  This tut was written January 31st, 2025 for those with a basic knowledge of psp. 

I am using the beautiful tube by ©Lady Mishka

The tube is Gothic Valentine
You need a license to use this tube, please do not use without a license
You can find the tube at VMA HERE

I used PSP2020...but any of them should work.
PTU Scrap Shadowed Hearts by Starlite and Soul  HERE
You can find all Starlite and Soul kits  HERE
Mask of choice, I used RD Mask 720 HERE
Check out the rest of the blog HERE 

Font of choice, I used Mothica Bold

Drop shadow as you go is V -2 H 4, 50, 10, or use what you prefer.
Let's get started
*Remember to add your drop shadow as you go along*

Open a new image 800 x 800, paste paper 14, apply your mask.

Resize frame 2 to 75%, paste to the left, click inside with the magic wand, 
resize paper 4 to 50%, paste, invert, delete.
Resize element 120 to 65%, paste on the frame on the left,
duplicate, mirror.
Paste element 97 below the frame.
Paste element 77 on the mask layer, adjust to fit your tag.

Resize your tube to 25%, paste to the right.

Resize element 48 to 55%, paste below the tube on the left.
Resize element 5 to 40%, paste on the bottom left above the tube.
Resize element 18 to 40%, paste at the bottom above the books.
Resize element 19 to 30%, paste at the bottom,
Resize element 31 to 30%, paste at the bottom left.
Resize element 16 to 40%, paste at the upper left.
Resize element 17 to 40%, paste on the upper right below the tube.
Resize element 38 to 25%, paste on the bottom right below the candles.

Resize element 40 to 25%, paste on the bottom left below the shoes.
Resize element 71 to 25%, free rotate to the right at 25, paste below the tube 
on the right.
Resize element 54 to 20%, paste at the bottom.
Resize element 28 to 25%, paste at the bottom right.
Resize element 52 to 17%, paste at the bottom.
Resize element 24 to 15%, paste at the bottom.
Resize element 7 to 40%, paste behind the tube on the right.
Resize element 2 to 30%, paste on the bottom left above the shoes.

Add any other elements that you would like, make it your own.
Always readjust your mask and elements how you like them before you
 merge your tag, resize, sharpen.

Crop your tag to be sure no shadows or lines are on the edges.
 Then add your copyright and name.
That's it

Hope you enjoyed doing my tut

Tag for Lizzie 


PTU A Gothic Garden Night


 This tut was written January 29th, 2025,  for those with a basic knowledge of psp. 

I am using Al generated tube by Bella Caribeña
Tubes are included in the kit
Read the TOU on how to credit your tags

I used PSP2020...but any of them should work.
PTU Scrap A Gothic Garden Night by Bella Caribeña  HERE 
Gothic Theme kit
 This kit contains 3 Al dolls107 elements and 14 papers.
Mask of choice, I used Miz TeeQue's Mask 125 HERE
Check out the rest of the blog HERE 

Font of choice, I used Mistral

 Drop shadow as you go is V -2 H 4, 50, 10, or use what you prefer.
Let's get started
*Remember to add your drop shadow as you go along*

Open a new image 800 x 800, paste paper 12, apply your mask.

Resize element 44 to 75%, paste on the upper left, duplicate, mirror.
Paste element 109 at the top.
Resize element 27 to 75%, paste on the upper right below the tree, duplicate
move to the bottom left, duplicate, mirror,
Resize element 85 to 80%, paste on the upper left above the tree.
Resize element 86 to 65%, mirror, paste on the right below the house.
Resize element 37 to 60%, paste on the right at the bottom.
Erase any of the tree trunk showing at the bottom.

Resize element 38 to 40%, paste on the left up a little, duplicate, 
move to the center more.
Resize element 45 to 50%, paste at the bottom center.
Resize element 52 to 40%, paste  below the carriage to the left.
Resize element 75 to 25%, paste on the left above the street light.
Resize element 56 to 37%, mirror, paste at the bottom left by the carriage.
Resize element 55 to 30%, mirror, paste on the bottom right.
Resize element 69 to 35%, mirror, paste on the right below the bridge, duplicate,
mirror, move up behind the street light.

Resize element 74 to 35%, paste on the left below the horse.
Resize element 52 to 40%, paste  below the carriage to the left.
Resize element 4 to 25%, paste at the bottom above the carriage.
Resize element 82 to 25%, paste below the carriage by the bridge.
Paste element 10 below the carriage.
Resize element 58 to 25%, paste at the bottom left below the horse.
Resize element 68 to 15%, paste on the bench.

Add any other elements you would like, resize.
Crop your tag to be sure no shadows or lines are on the edges.
 Then add your copyright and name.
That's it

Hope you enjoyed doing my tut                

PTU Champagne Wishes


  This tut was written January 30th, 2025 for those with a basic knowledge of psp. 

I am using the beautiful tube by © MaryArt

Tube is called Lavanda
You need a license to use this tube, please do not use without a license
You can find this tube at VMA HERE

I used PSP2020...but any of them should work.
PTU Scrap Champagne Wishes by Doodle by Design  HERE
You can find all Doodle by Design kits  HERE
 Mask of choice, I used RD Mask 927 HERE
Check out the rest of the blog HERE 

Font of choice, I used Modesty Fresh Style

Drop shadow as you go is V -2 H 4, 40, 10, or use what you prefer.
Let's get started
*Remember to add your drop shadow as you go along*

Open a new image 800 x 800, paste paper 2, apply your mask.

Resize element 65 to 90%, paste on the right.
Resize element 17 to 75%, paste on the bottom left.
Paste element 8 at the top below the arch element, erase the part showing
in the arch.

Resize the tube to 25%, paste above the carriage.

Resize element 114 to 30%, paste on the bottom left above the carriage,
duplicate, mirror.
Resize element 11 to 40%, paste at the bottom left.
Resize element 50 to 30%, paste on the bottom left.
Resize element 49 to 50%, paste on the upper left.
Resize element 10 to 30%, paste on the bottom right above the arch.
Resize element 23 to 30%, paste on the bottom right below the flower.
Resize element 102 to 30%, paste at the bottom above the tube, duplicate,
move to the right a little.
Resize element 12 to 25%, paste at the bottom.
Resize element 32 to 40%, paste at the bottom below the shoes.
Resize element 2 to 30%, paste at the bottom.

Resize element 29 to 35%, paste on the right below the tube.
Resize element 26 to 35%, paste at the bottom above the shoe layer to the left.
Resize element 27 to 23%, paste at the bottom left.
Resize element 94 to 23%, paste at the bottom left above the books.
Resize element 33 to 25%, paste at the bottom left.
Resize element 7 to 20%, paste on the bottom right.
Resize element 36 to 20%, paste on the bottom left.
Resize element 20 to 10%, paste at the bottom right.
Resize element 16 to 10%, paste at the bottom left.
Resize element 4 to 10%, paste at the bottom.
Resize element 14 to 12%, paste at the bottom by the dog.
Paste element 136 on the mask layer on the left, duplicate, mirror, move
into the arch opening.
Paste element 160, mirror, move to the left being on the top layer.

Add any other elements that you would like, make it your own.
Always readjust your mask and elements how you like them before you
 merge your tag, resize, sharpen.

Crop your tag to be sure no shadows or lines are on the edges.
 Then add your copyright and name.
That's it

Hope you enjoyed doing my tut

Tag for Lizzy 


PTU Love Is Sweet


 This tut was written January 29th, 2025,  for those with a basic knowledge of psp. 

I am using the beautiful tube ©Julia Fox
Tubes are included in the kit
Read the TOU on how to credit your tags

I used PSP2020...but any of them should work.
PTU Scrap Love Is Sweet by Bella Caribeña  HERE 
Valentine Theme kit
 This kit contains 1 ©Julia Fox tube, 3 Al dolls by Bella Caribena,
89 elements and 12 papers.

Font of choice, I used Beauty Sleep

 Drop shadow as you go is V -2 H 4, 40, 10, or use what you prefer.
Let's get started
*Remember to add your drop shadow as you go along*

Open a new image 800 x 800, paste element 4.

Paste element 81.
Resize your tube to 20%, paste to the right.
Paste element 18 on the right below the tube.
Resize element 3 to 50%, paste at the bottom of the tube.
Resize element 2 to 50%, paste on the left on the envelope.
Resize element 20 to 30%, paste at the bottom above the hearts.
Paste element 59 below the envelope on the upper left, duplicate, mirror, 
move down on the right.
Resize element 63 to 55%, paste on the bottom left below the cupcake.

Resize element 58 to 25%, paste at the bottom left.
Resize element 48 to 20%, paste at the bottom on the hearts.
Resize element 83 to 20%, paste at the bottom left.
Resize element 19 to 25%, paste at the bottom.
Resize element 87 to 25%, paste at the bottom below the bag of candy.
Resize element 89 to 60%, paste at the upper left, add a fat gradient glow.
Resize element 62 to 30%, paste on the right above the hearts.
Resize element 78 to 25%, paste on the bottom right above the small envelope.
Resize element 73 to 20%, paste at the bottom above the hearts.
Resize element 40 to 25%, paste at the bottom left below the bottle.
Resize element 73 to 20%, paste at the bottom.
Paste element 33 below the sloth animals about center.

Add any other elements you would like, resize.
Crop your tag to be sure no shadows or lines are on the edges.
 Then add your copyright and name.
That's it

Hope you enjoyed doing my tut               

Thursday, January 30, 2025

PTU A Fiery Gothic Night


 This tut was written January 29th, 2025,  for those with a basic knowledge of psp. 

I am using the Awesome tube ©Goldwasser
Tubes are included in the kit
Read the TOU on how to credit your tags

I used PSP2020...but any of them should work.
PTU Scrap A Fiery Gothic Night by Bella Caribeña  HERE 
Gothic Theme kit
 This kit contains 2 ©Goldwasser tubes, 93 elements and 15 papers.
Mask of choice, I used Miz TeeQue's Mask 125 HERE
Check out the rest of the blog HERE 

Font of choice, I used Magical Shiny Script

 Drop shadow as you go is V -2 H 4, 50, 10, or use what you prefer.
Let's get started
*Remember to add your drop shadow as you go along*

Open a new image 800 x 800, paste paper 4, apply your mask.

Resize the tube to 25%, paste at the bottom.
Resize element 72 to 65%, paste below the tube.
Resize element 22 to 75%, mirror, paste at the upper right below the gate.
Resize element 8 to 30%, paste below the tube on the right.
Resize element 92 to 85%, paste at the upper left on the bottom layer,
click inside with the magic wand, resize paper 2 to 60%, paste, invert, delete.
Paste element 47 below the frame at the upper right.

Resize element 62 to 60%, paste on the left below the paper layer of 
the frame.
Resize element 61 to 60%, paste below the rock path on the upper left.
Resize element 40 to 60%, paste at the upper left on the bottom layer.
Resize element 25 to 50%, paste on the bottom right below the flowers.
Resize element 70 to 35%, paste at the bottom left.
Resize element 50 to 35%, mirror, paste below the water fountain on the left.
Resize element 76 to 25%, paste below the tube.
Resize element 34 to 25%, paste at the bottom left above the fountain, duplicate,
mirror.
Resize element 64 to 45%, mirror, paste above the tube on the right.
Resize element 87 to 25%, paste at the top above the frame.
Resize element 86 to 25%, mirror, paste at the upper right above the frame.
Resize element 73 to 25%, paste at the bottom left.
Resize element 29 to 20%, paste at the bottom.
Resize element 15 to 35%, paste below the window and flowers on the right.
Resize element 57 to 35%, paste on top of the window.
Resize element 21 to 40%, paste on the left on the steps below the frame.
Paste element 4 below the frame on the paper layer.

Add any other elements you would like, resize.
Crop your tag to be sure no shadows or lines are on the edges.
 Then add your copyright and name.
That's it

Hope you enjoyed doing my tut               

PTU Gothic Dreams


  This tut was written January 29th, 2025 for those with a basic knowledge of psp. 

AI generated kit and tube by DeniseC Art

Everything used is included in the kit
Read the TOU on how to credit your tags

I used PSP2020...but any of them should work.
PTU Scrap Gothic Dreams by DeniseC Art  HERE  
You can find all DeniseC Art kits  HERE
Miz Teeques Mask 56 HERE
Check the rest of the blog HERE
 
Font of choice, I used Starlight Rune

Drop shadow as you go is V -2 H -4, 40, 10, or use what you prefer.
Let's get started
*Remember to add your drop shadow as you go along*

Open a new image 800 x 800, resize paper 3 to 60%, paste, apply your mask.

Resize element 26 to 50%, paste, click inside with the magic wand, resize 
paper 1 to 50%, invert, delete.
Resize element 24 to 40%, paste.
Resize element 39 to 30%, paste on the left below the tube.
Resize element 7 to 35%, paste below the tube on the right.
Resize element 36 to 30%, paste on the left above the tube.
Resize element 35 to 25%, paste on the bottom left.

Resize element 36 to 20%, paste at the bottom above the tube.
Resize element 11 to 20%, paste at the bottom.
Resize element 40 to 30%, paste on the left below the tube.
Resize element 51 to 25%, paste on the frame on the right.
Resize element 29 to 25%, paste at the bottom left.

Resize element 12 to 30%, paste on the right below the tube.
Resize element 5 to 20%, paste at the bottom right.
resize element 20 to 20%, paste on the bottom left.
Resize element 21 to 25%, paste at the top below the tube.
Resize element 9 to 25%, paste on the right below the car.

Add any other elements that you would like, make it your own.
Always readjust your mask and elements how you like them before you
 merge your tag, resize, sharpen.

Crop your tag to be sure no shadows or lines are on the edges.
 Then add your copyright and name.
That's it

Hope you enjoyed doing my tut           

Wednesday, January 29, 2025

PTU Dark Valentine


 This tut was written January 29th, 2025 for those with a basic knowledge of psp. 

I am using the beautiful tube ©Vi Nina
Tube is called Dark Angel
You need a license to use this tube, please do not use without a license
You can find this tube at her store HERE

I used PSP2020...but any of them should work.
PTU Scrap Dark Valentine by Carita Creationz  HERE
The kit includes 60 elements, 10 papers
"Tube is not included"
Check her store out to see all her other kits and tubes HERE
Mask of choice, I used RD Mask 720 HERE
Check out the rest of the blog HERE 

Font of choice, I used Sunrise Place

Drop shadow as you go is V -2 H 4, 50, 10, or use what you prefer.
Let's get started
*Remember to add your drop shadow as you go along*

Open a new image 800 x 800, paste paper 9, apply your mask.

Resize frame 4 to 70%, paste.
Resize frame 5 to 65%, paste on the left below the frame, duplicate, mirror.
Draw around all the frames, paste paper 4, invert, delete, erase the frame showing
in the center frame.
Paste element 12 below the frames on the left, duplicate, mirror.

Resize your tube to 50%, paste.

Resize element 41 to 45%, mirror, flip, paste at the bottom below the tube.
Resize element 50 to 30%, paste at the bottom above the tube.
Resize element 45 to 25%, paste at the bottom, duplicate, move over.
Resize element 52 to 20%, paste at the bottom left below the purse.
Resize element 23 to 40%, paste on the bottom right below the tube.
Resize element 27 to 13%, paste on the bottom left.
Resize element 22 to 40%, paste on the frame below the tube on the right,
duplicate, mirror, duplicate again, flip, move behind the tube to the left.

Resize element 24 to 50%, paste below the flower on the upper left, duplicate, 
mirror, duplicate both, move the left below the umbrella and the right above
the box.
Resize element 42 to 25%, paste at the bottom.
Resize element 29 to 20%, paste on the bottom right below the greenery.
Resize element 28 to 12%, paste at the bottom above the greenery on the right.
Resize element 26 to 10%, paste at the bottom.
Resize element 8 to 10%, paste at the bottom.
Resize element 11 to 15%, paste at the bottom.
Resize element 19 to 25%, paste on the right below the greenery behind the tube.
Resize element 33 to 15%, paste at the bottom.
Resize element 9 to 12%, paste at the bottom left.
Resize element 47 and 58 to 30%, paste on the right.

Add any other elements that you would like, make it your own.
Always readjust your mask and elements how you like them before you
 merge your tag, resize, sharpen.
Crop your tag to be sure no shadows or lines are on the edges.
 Then add your copyright and name.
That's it

Hope you enjoyed doing my tut.   

Tag for Nina