Thursday, May 30, 2019

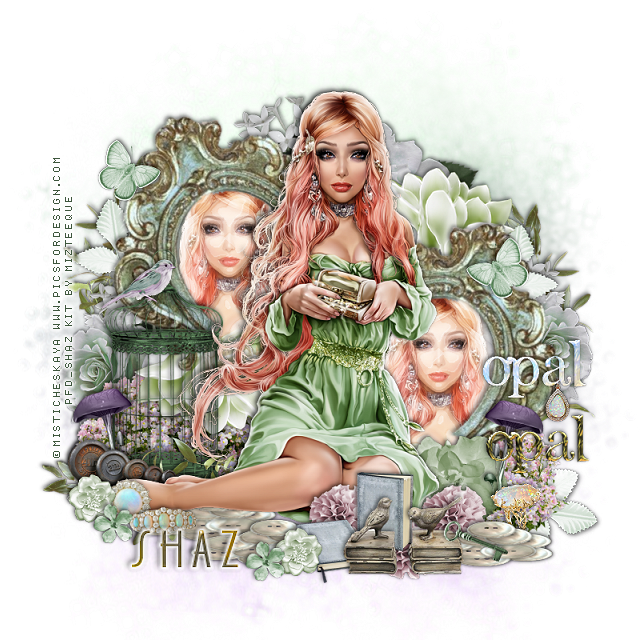
FTU Opal Chest


This tut was written May 30th, 2019 for those with a basic knowledge of psp.
I am using the awesome artwork of  Misticheskaya
The tube is called "Violetta" 
You need a license to use this tube, do not use without a license.
You can find this tube at PFD store  HERE

I used PSPX...but any of them should work.
FTU kit Opal by MizTeeque  HERE
Check out the rest of the blog HERE
WSL_Mask 535 HERE
Filters
xero-Simplicity

Font of choice,  I used DK Soerabaja

Drop shadow is usually V-2 H-2 Black, 50, 5, use what you prefer.
Let's get started
*Remember to add your drop shadow as you go along*

Open a new image 800 x 800 or a size you prefer.
Paste paper 4, apply your mask, delete, merge group.

Paste element 42 on the right and down some, duplicate, mirror,
move to the upper left.

Resize your tube to 40%, paste above the frame how you like, then adjust
the frame better behind the tube.
Duplicate the tube, move to the lower right frame, duplicate, mirror, move
up to the left frame. 
Erase the parts outside the frame on both tubes, merge the tubes in the frame 
together. 
Duplicate, go to Adjust, Blur, Gaussian blur, number on 4, change the blend
mode to Screen, apply the xero filter, 
Simplicity, 30, Outlining Style-Emboss
Natural checked
50, 25
merge down
Paste element 41 on the mask layer behind the frame on the right,
erase the stem showing below.
Duplicate, flip, mirror, adjust at the lower left behind the tube.

Resize element 4 to 40%, paste at the bottom on the mask layer to the left,
duplicate, move to the right.

Resize element 15 to 65%, paste on the left below the tube.
Resize element 20 to 25%, paste at the lower right above the tube.
Resize element 48 to 15%, mirror, paste on the birdcage.
Resize element 11 to 25%, paste below the tube layer and frame on the left,
duplicate, mirror, duplicate, flip, free rotate to the right at 90 degrees

Resize element 24 to 20%, paste at the lower right behind the tube.
Resize element 52 to 40%, paste at the lower right under the bird books,
duplicate, move to the center under the tube, duplicate two more times, move 
one to the left under the legs of the tube and the other one below the birdcage.

Resize element 28 to 50%, paste on the mask layer on the right so just 
a little of the flower shows, duplicate, mirror, duplicate again, move to the top
so just a little of the green shows and a little bit of the flowers.

Resize element 49 to 15%, paste at the lower right being on the top layer.
Resize element 38 to 25%, paste at the lower right below the buttons.
Resize element 37 to 25%, paste at the lower left above the tube.
Resize element 3 to 20%, paste at the lower left below the other jewel.

Resize element 21 to 20%, paste below the tube at the lower left.
Resize element 44 to 50%, paste below the flowers on the right, duplicate, mirror,
duplicate again, free rotate to the left at 90 degrees, move above the birdcage at 
the bottom.
Resize element 39 to 25%, paste at the bottom below the birds on the books.
Resize element 46 to 20%, paste at the lower right below the ring, duplicate, mirror.
Resize element 12 to 15%, paste on one side, duplicate, mirror.
Resize element 34 to 15%, paste at the bottom below the book layer, duplicate, move 
to the left more, duplicate once more and move down below the books at the
bottom so just a little shows.

Resize element 16 to 10%, paste at the lower left being on the top layer.
Resize element 8 to 10%, paste below the first flower, duplicate both and move
over by the books.
Resize element 55 to 65%, paste on the right where you like.
Resize element 36 to 20%, paste below the wordart and erase the clasp.

Add any other elements that you would like, make it your own.
Always readjust your mask and elements how you like them before you merge your tag.

Once happy with your tag, close off any background used, 
crop your tag to make sure no shadows or anything on the edges, merge visible.
Resize your tag first, then add your copyright and name.

That's it
Hope you enjoyed doing my tut.

Saturday, May 25, 2019

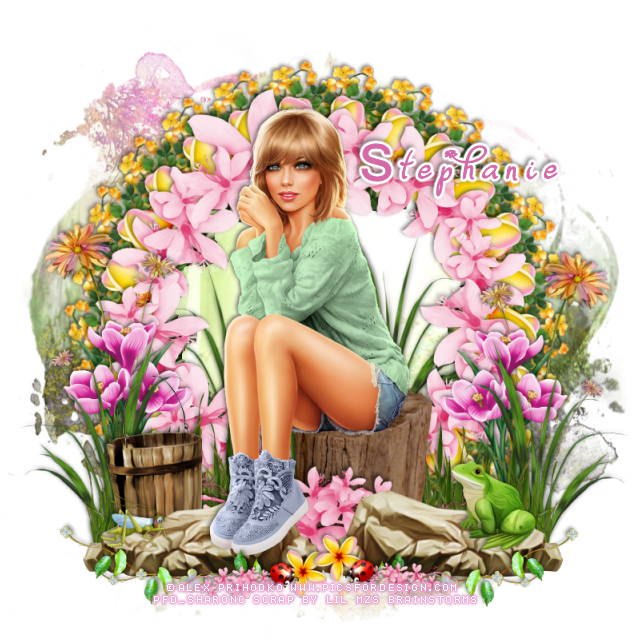
PTU Spring Lady


This tut was written May 25th, 2019, for those with a basic knowledge of psp.
I am using the awesome tube by artist  ©  Alex Prihodko
Tube is called "Marta"
 You need a license to use this art, please do not use without a license.
You can get this tube at PFD store HERE

I used PSPX...but any of them should work.
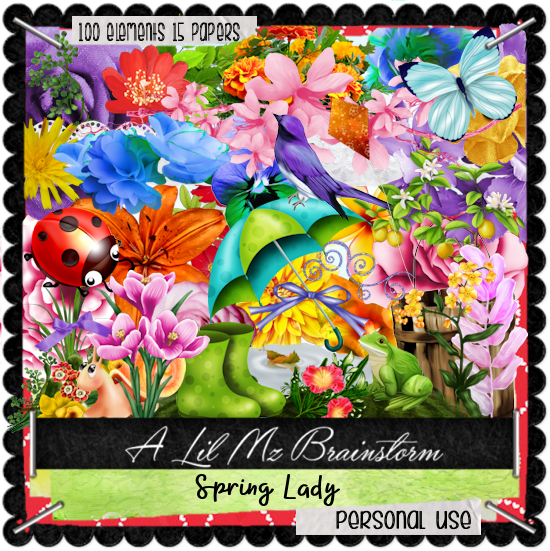
PTU kit Spring Lady by LMB exclusive at S&CO  HERE 
DD Assorted Mask_1 HERE Check out the rest of the blog HERE
Filters
Mura Meister Copies-Encircle

Font of choice,  I used Dafodyl

Drop shadow is usually V-2 H-2 Black, 50, 5, use what you prefer.
Let's get started
*Remember to add your drop shadow as you go along*

Open a new image 800 x 800
Paste paper 9, apply your mask, delete, merge group.

Resize element 44 to 50%, apply Mura Meister Copies-Encircle, first 
number on 25, paste on the mask layer, resize smaller to 90%.
Resize element 10 to 50%, apply the same setting using Mura Meister Copies-Encircle.
Resize element 24 to 25%, apply Mura Meister Copies-Encircle,
same settings.
Paste element 69, click inside with your magic wand, expand by 5, click on each
circle and delete each one, then paste paper 9, invert again if needed, delete, 
select none.

Resize element 27 to 45%, paste at the bottom being on the top layer.
Resize your tube to 50%, paste on the stump.

Paste element 38 at the bottom below the stump.
Resize element 7 to 35%, paste below the grass on one side, duplicate, mirror.
Resize element 64 to 50%, paste below the feet of the tube on the left, 
duplicate, mirror.

Resize element 70 to 75%, paste below the rocks in the center.
Resize element 19 to 20%, paste on the rocks on the right.
Resize element 91 to 50%, paste inside the frame on one side behind the tube,
duplicate, mirror.

Resize element 13 to 35%, paste behind the rock on the left.
Resize element 31 to 15%, paste on the rocks on the left.
Resize element 29 to 50%, flip, paste at the bottom above the rocks, duplicate, mirror.

Resize element 24 to 10%, paste at the bottom, duplicate, move over a little.
Resize element 70 to 25%, duplicate, paste one on each side of the flowers.
Duplicate the grass blades in the frame, move above the pink flowers on 
each side.
Resize element 17 to 50%, paste below the pink flower on the left, duplicate, mirror.
Resize element 22 to 7%, paste at the bottom being on the top layer, 
duplicate, mirror.

Add any other elements you would like, make it your own.
Always remember to adjust the elements before merging to get them like you like.

Once happy with your tag, close off any background, crop your tag to make
sure there are no stray edges, merge visible, resize first.
Add your copyrights and name.

That's it
Hope you enjoyed doing my tut.

Friday, May 24, 2019

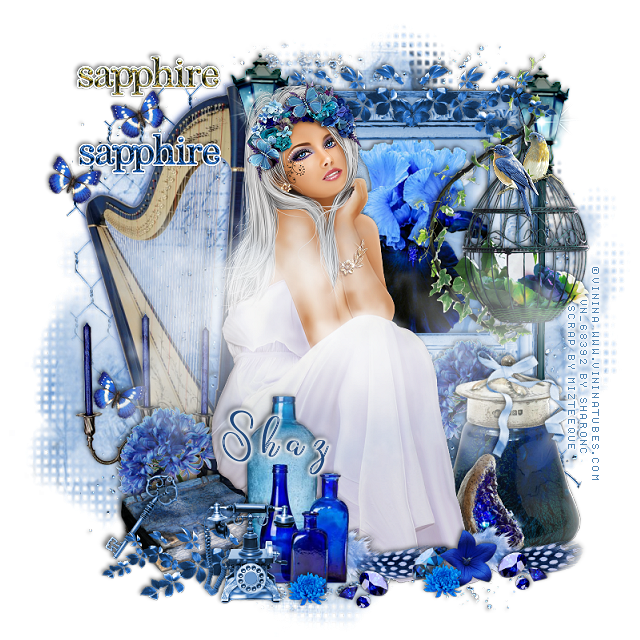
FTU Sapphire


This tut was written May 22nd, 2019 for those with a basic knowledge of psp.
I am using the awesome artwork of  Vi Nina
The tube is called "Anna" 
You need a license to use this tube, do not use without a license.
You can find this tube at her store  HERE

I used PSPX...but any of them should work.
FTU kit Sapphire by MizTeeque  HERE
Check out the rest of the blog HERE
DD Assorted Mask_4 HERE
Check out the rest of the blog HERE

Font of choice,  I used Geisty

Drop shadow is usually V-2 H-2 Black, 50, 5, use what you prefer.
Let's get started
*Remember to add your drop shadow as you go along*

Open a new image 800 x 800 or a size you prefer.
Paste paper 9, apply your mask, delete, merge group.

Resize element 37 to 75%, mirror, paste to the left.

Resize your tube to 50%, paste by the harp.

Resize frame 3 to 50%, paste below the harp on the right, click inside with your
magic wand, expand by 5, paste paper 1, invert, delete, keep selected.
Resize element 15 to 40%, paste in the frame, delete, select none.

Resize element 38 to 55%, paste on the frame on the right, erase a little of the 
hook on the frame.
Resize element 27 to 45%, paste in front of the tube and at the bottom.
Resize element 26 to 40%, paste below the tube on the right.
Resize element 35 to 25%, paste at the lower left below the bottles.

Resize element 40 to 25%, free rotate to the right at 90 degrees, move to the
lower right below the tube, duplicate, move above the tube and to 
the left a little behind the bottles.
Resize element 16 to 30%, paste below the pot on the right behind the tube,
duplicate, move to the left below the book.
Resize element 47 to 30%, paste at the lower left above the bottles.

Resize element 59 to 30%, paste at the lower left above the books,
duplicate, move to the top of the frame behind the tube, duplicate, mirror.
Resize element 43 to 20%, paste on the bird cage.

Resize element 18 to 10%, free rotate to the right at 25 degrees, place on the 
left and down some, duplicate, move to the top left above the harp, duplicate
once more, mirror, place by the other one at the top.

Paste element 21 being on the top layer about center or how you prefer.
Resize element 3 to 10%, paste at the bottom by the bottles.
Resize element 5 to 20%, paste at the lower right below the feather.
Resize element 52 to 20%, paste at the lower left on the book.

Resize element 44 to 75%, paste on the left below the mask, duplicate, mirror
and move down more on the right.
Resize element 53 to 25%, free rotate to the right at 25 degrees,
place on the vase on the right.

Resize element 51 to 50%, paste on the left above the harp.
Paste element 46 on the mask at the top, duplicate, flip.
Paste element 58 on the blue frame on the right, duplicate, move above the
harp behind the tube.

Resize element 11 to 15, paste at the lower right by the feather.
Resize element 12 to 15%, paste at the bottom by the phone, duplicate, move to
the right by the dark flower.
Resize element 1 to 15%, paste at the bottom below the flowers.
Go back to the other small gems, duplicate, mirror, adjust on the right.
Resize element 57 to 50%, paste at the upper left between the butterflies, add a
white background to the wordart.

Add any other elements that you would like, make it your own.
Always readjust your mask and elements how you like them before you merge your tag.

Once happy with your tag, close off any background used, 
crop your tag to make sure no shadows or anything on the edges, merge visible.
Resize your tag first, then add your copyright and name.

That's it
Hope you enjoyed doing my tut.
Thursday, May 23, 2019

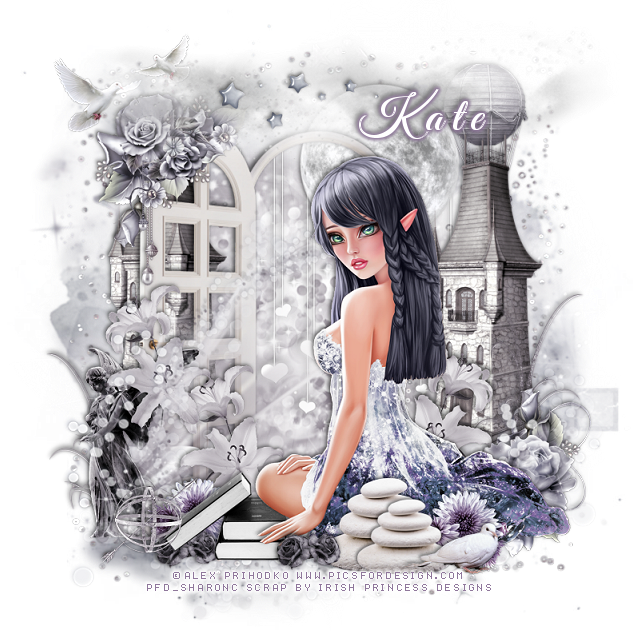
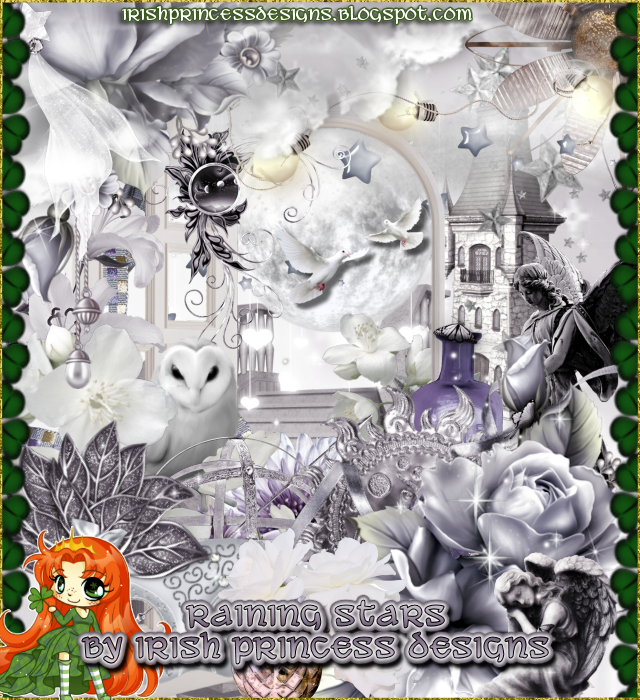
PTU Raining Stars


This tut was written May 23rd, 2019 for those with a basic knowledge of psp.
I am using the awesome artwork of  Alex Prihodko
The tube is called "Autumn Fairy" 
You need a license to use this tube, do not use without a license.
You can find this tube at PFD store  HERE

I used PSPX...but any of them should work.
PTU kit Raining Stars by Irish Princess Designs  HERE HERE or HERE
Rachel Designs Mask 853 HERE
Check out the rest of the blog HERE

Font of choice,  I used Good Vibrations

Drop shadow is usually V-2 H-2 Black, 50, 5, use what you prefer.
Let's get started
*Remember to add your drop shadow as you go along*

Open a new image 800 x 800 or a size you prefer.
Select all, add a new layer, paste paper 11 into selection, apply your mask, 
delete, merge group.

Resize element 42 to 65%, paste a little to the left.

Resize your tube to 60%, paste to the right more.

Resize element 150 to 50%, paste on the right below the window layer behind the tube,
duplicate, move to the left behind the window how you like.

Resize element 31 to 30%, paste below the tube at the lower right.
Resize element 33 to 30%, paste at the upper left on the window.

Resize element 86 to 25%, paste at the upper right behind the castle.
Resize element 89 to 85%, paste at the top above the window layer.
Resize element 125 to 85%, paste at the bottom below the tube layer.

Resize element 22 to 30%, paste under the hand of the tube.
Resize element 28 to 25%, paste at the upper right behind the castle.
Resize element 104 to 25%, paste on the lower right below the flower, duplicate, 
mirror, move by the door of the window.

Resize element 140 to 25%, paste on the left below the leaf layer you just pasted,
duplicate, move to the right more, duplicate, mirror, move to the right behind the tube.
Resize element 24 to 30%, mirror, paste at the lower left below the flowers.

Resize element 19 to 10%, paste at the bottom by the books, duplicate, move under
the books and to the left a little.
Resize element 26 to 25%, paste at the top where you like.
Resize element 129 to 50%, paste on the mask so some shows thru the window, sharpen.

Resize element 165 to 25%, paste at the upper left below the cloud.
Resize element 152 to 80%, paste on the mask layer, erase the part showing inside
the window part.
Paste element 114 on the mask layer.
Resize element 134 to 45%,  paste at the lower left below the statue.

Resize element 8 to 20%, paste at the bottom above the tube, duplicate, resize to 
80%, paste in front of the first rock.
Resize element 136 to 15%, paste by the rocks at the bottom.

Resize element 83 to 15%, paste at the lower left above the books.
Resize element 146 to 15%, paste below the books at the lower left, duplicate, move 
to the right behind the rocks.

Add any other elements that you would like, make it your own.
Always readjust your mask and elements how you like them before you merge your tag.

Once happy with your tag, close off any background used, 
crop your tag to make sure no shadows or anything on the edges, merge visible.
Resize your tag first, then add your copyright and name.

That's it
Hope you enjoyed doing my tut.