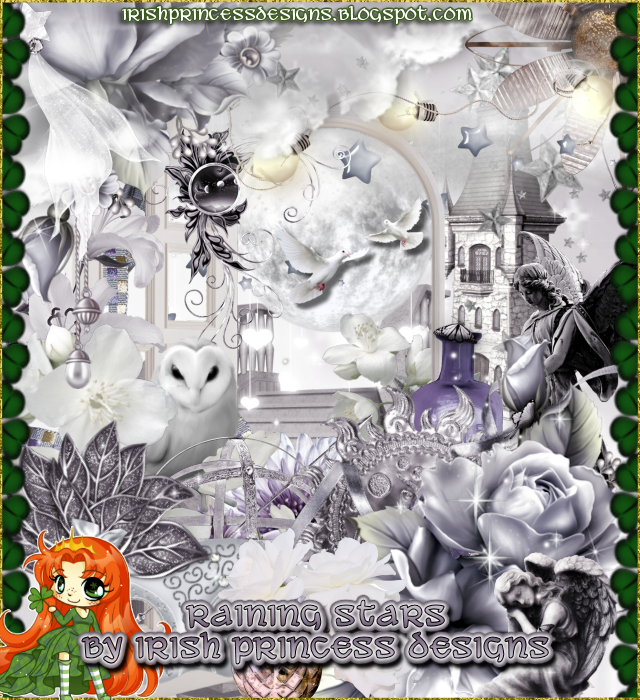
This tut was written May 23rd, 2019 for those with a basic knowledge of psp.
I am using the awesome artwork of Alex Prihodko
The tube is called "Autumn Fairy"
You need a license to use this tube, do not use without a license.
You can find this tube at PFD store HERE
Drop shadow is usually V-2 H-2 Black, 50, 5, use what you prefer.
Let's get started
*Remember to add your drop shadow as you go along*
Open a new image 800 x 800 or a size you prefer.
Select all, add a new layer, paste paper 11 into selection, apply your mask,
delete, merge group.
Resize element 42 to 65%, paste a little to the left.
Resize your tube to 60%, paste to the right more.
Resize element 150 to 50%, paste on the right below the window layer behind the tube,
duplicate, move to the left behind the window how you like.
Resize element 31 to 30%, paste below the tube at the lower right.
Resize element 33 to 30%, paste at the upper left on the window.
Resize element 86 to 25%, paste at the upper right behind the castle.
Resize element 89 to 85%, paste at the top above the window layer.
Resize element 125 to 85%, paste at the bottom below the tube layer.
Resize element 22 to 30%, paste under the hand of the tube.
Resize element 28 to 25%, paste at the upper right behind the castle.
Resize element 104 to 25%, paste on the lower right below the flower, duplicate,
mirror, move by the door of the window.
Resize element 140 to 25%, paste on the left below the leaf layer you just pasted,
duplicate, move to the right more, duplicate, mirror, move to the right behind the tube.
Resize element 24 to 30%, mirror, paste at the lower left below the flowers.
Resize element 19 to 10%, paste at the bottom by the books, duplicate, move under
the books and to the left a little.
Resize element 26 to 25%, paste at the top where you like.
Resize element 129 to 50%, paste on the mask so some shows thru the window, sharpen.
Resize element 165 to 25%, paste at the upper left below the cloud.
Resize element 152 to 80%, paste on the mask layer, erase the part showing inside
the window part.
Paste element 114 on the mask layer.
Resize element 134 to 45%, paste at the lower left below the statue.
Resize element 8 to 20%, paste at the bottom above the tube, duplicate, resize to
80%, paste in front of the first rock.
Resize element 136 to 15%, paste by the rocks at the bottom.
Resize element 83 to 15%, paste at the lower left above the books.
Resize element 146 to 15%, paste below the books at the lower left, duplicate, move
to the right behind the rocks.
Add any other elements that you would like, make it your own.
Always readjust your mask and elements how you like them before you merge your tag.
Once happy with your tag, close off any background used,
crop your tag to make sure no shadows or anything on the edges, merge visible.
Resize your tag first, then add your copyright and name.
That's it
Hope you enjoyed doing my tut.


No comments:
Post a Comment