
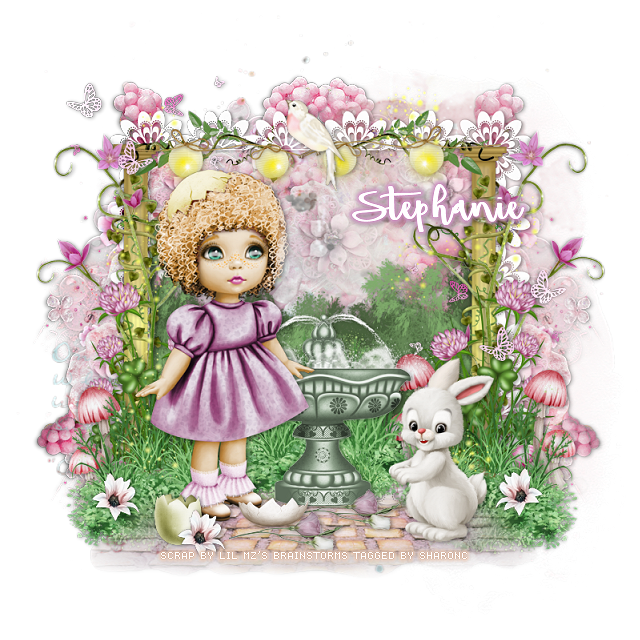
This tut was written March 24th, 2019, for those with a basic knowledge of psp.
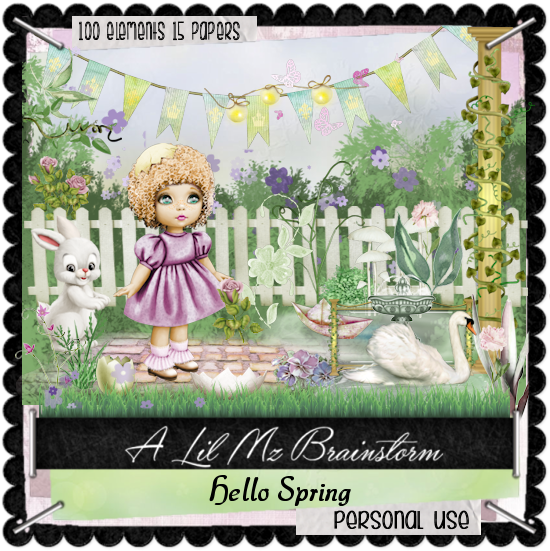
I am using the beautiful kit Hello Spring by LMB, everything used
in the tutorial is included with the kit.
This personal use scrap kit contains 100 elements and 15 matching papers.
in the tutorial is included with the kit.
This personal use scrap kit contains 100 elements and 15 matching papers.
Drop shadow is usually V-2 H-2 Black, 50, 5, use what you prefer.
Let's get started
*Remember to add your drop shadow as you go along*
Open a new image 800 x 800, fill with white.
Paste element 80, resize larger to 125%.
Paste element 9 on this element.
Resize element 19 to 71%, paste below the frame layer.
Resize element 68 to 115%, paste at the bottom.
Resize element 25 to 40%, paste at the bottom below the brick element center,
duplicate, move to the left, duplicate, mirror.
Resize element 81 to 45%, paste on the brick, center.
Resize element 3 to 75%, paste on the left of the water fountain.
Resize element 2 to 15%, paste at the bottom in front of the girl.
Resize element 4 to 20%, paste at the bottom by the girl.
Resize element 18 to 40%, paste on the right below the grass, duplicate, mirror.
Resize element 20 to 30%, paste below the grass on the right, duplicate,
mirror, duplicate again move back toward the right so you can see it past the
water fountain.
Resize element 27 to 75%, paste on the left above the frame layer, duplicate, mirror.
Resize element 48 to 75%, paste on the frame on one side, duplicate, mirror.
Resize element 30 to 60%, paste at the top being below the little girl, move to one side,
duplicate, mirror, adjust how you like and erase the overlapping parts in the center.
Resize element 28 to 40%, paste at the top below the lights, duplicate, mirror,
erase the wood stem part showing.
Resize element 7 to 40%, paste at the top on the light strings.
Paste element 17 on the bottom layer above the white background, duplicate,
mirror.
Resize element 53 to 40%, paste at the upper left, duplicate, mirror,
move down some on the right.
Resize element 6 to 40%, paste at the lower right on the bricks.
Resize element 90 to 25%, paste at the bottom on the bricks, duplicate, adjust
both to your liking.
Resize element 11 to 10%, paste at the bottom being on the top layer, duplicate
a couple of times and move where you like.
Paste element 24 below the girl.
Add any other elements you would like, make it your own.
Always remember to adjust the elements and the mask before merging
to get them like you like. I always use my Pick tool to pull the mask out
more to fit the tag better.
to get them like you like. I always use my Pick tool to pull the mask out
more to fit the tag better.
Once happy with your tag, close off any background, crop your tag to make
sure there are no stray edges, merge visible, resize first.
Add your copyrights and name.
That's it
That's it
Hope you enjoyed doing my tut.
Hello i love this tag and bought the scrapset but the numbers are not matching with your tag. I think it is not your fault the scrap is not in order all the numbers are scrambelt so i make your tag but with a little twist.love Elly
ReplyDelete