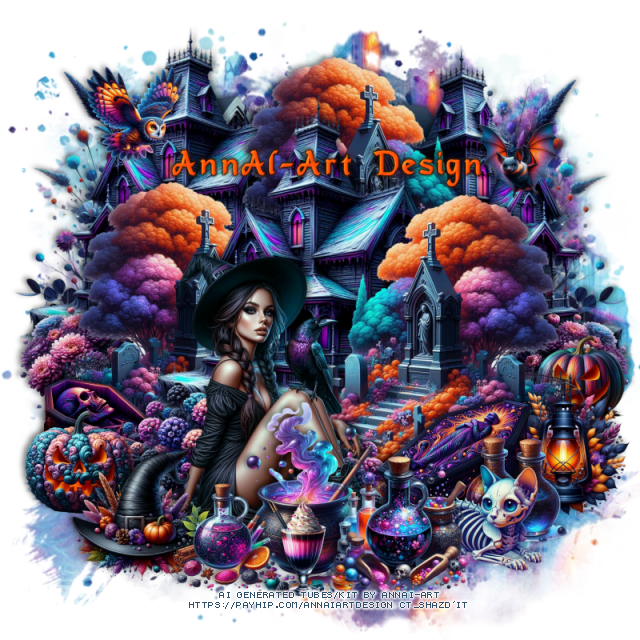
This tut was written October 4th, 2024 for those with a basic knowledge of psp.
I am using Al generated tube by AnnAl-Art
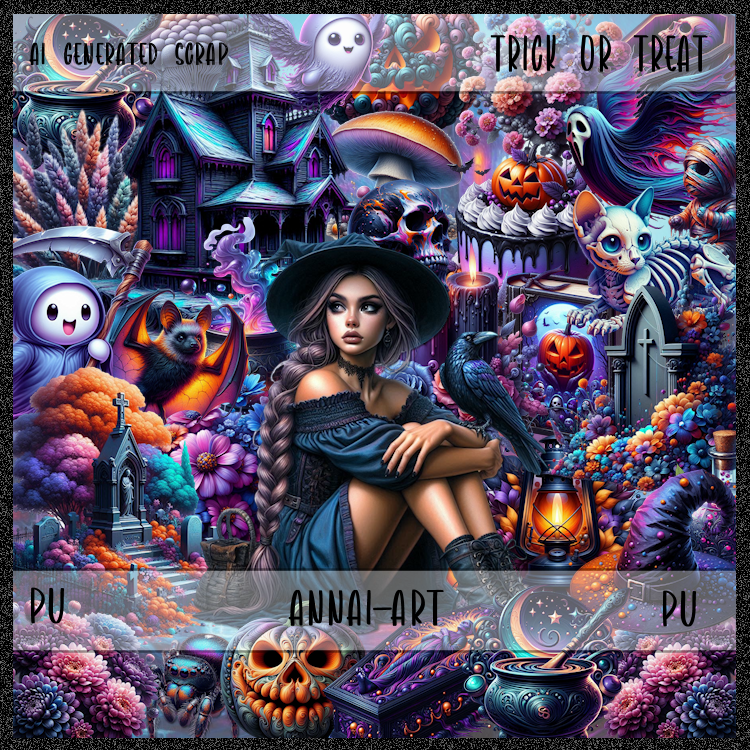
There are 4 Al tubes included
Read the TOU on how to credit your tags
Drop shadow as you go is V -2 H 4, 50, 10, or use what you prefer.
Let's get started
*Remember to add your drop shadow as you go along*
Open a new image 800 x 800, paste paper 4, apply your mask.
Resize element 46 to 50%, paste at the upper right, duplicate, mirror,
duplicate again, move to the center and down.
Resize element 53 to 40%, paste at the top above the 2 houses, duplicate,
mirror, move down on the right above the house at the bottom, duplicate again,
mirror, move below the house on the left.
Resize your tube to 35%, mirror, paste at the bottom.
Resize element 44 to 20%, paste behind the tube on the left, duplicate, mirror.
Resize element 41 to 20%, paste on the bottom right.
Resize element 23 to 15%, mirror, paste on the left below the flowers.
Resize element 9 to 12%, paste on the right above the house.
Resize element 26 to 25%, paste at the bottom above the tube.
Resize element 43 to 20%, paste at the bottom.
Resize element 4 to 15%, paste at the bottom.
Resize element 15 to 15%, paste on the bottom right below the bottles.
Resize element 58 to 15%, paste below the cat.
Resize element 49 to 20%, paste on the bottom left below the bottle.
Resize element 36 to 20%, paste on the bottom right below the bottles.
Resize element 7 to 15%, paste on the bottom left below the hat.
Resize element 40 to 13%, paste at the bottom.
Resize element 37 to 15%, paste on the bottom left above the house,
duplicate, mirror, move behind the pumpkin.
Resize element 51 to 13%, paste at the top.
Resize element 1 to 10%, mirror, paste at the upper right.
Resize element 28 to 50%, paste on the left above the mask, duplicate, mirror.
Add any other elements that you would like, make it your own.
Always readjust your mask and elements how you like them before you
merge your tag, resize, sharpen.
Crop your tag to be sure no shadows or lines are on the edges.
Then add your copyright and name.
That's it
Hope you enjoyed doing my tut
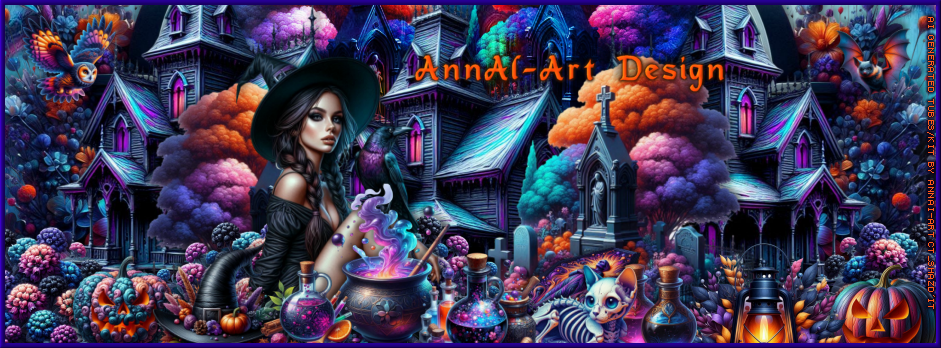
Information for a FB Timeline Banner and Avatar
I am always asked to do a tutorial for FB Timeline Banner
So I will just try to explain it but not write an actual tut.
Open a new image 941 x 348, paste a paper of choice,
before merging your tag, copy and paste
elements from the tag and place how you like on the banner.
elements from the tag and place how you like on the banner.
You will have to resize some as you go along.
Maybe change the blend mode on some of the elements if you want.
Once happy, merge together, add your frame, credits and name.
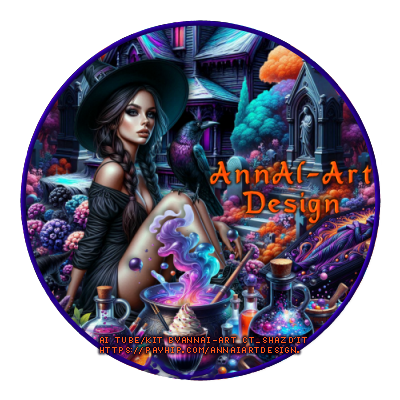
For the Avatar
Open a 400 x 400, draw a circle and fill with elements you want,
add a frame and credits and name.


No comments:
Post a Comment