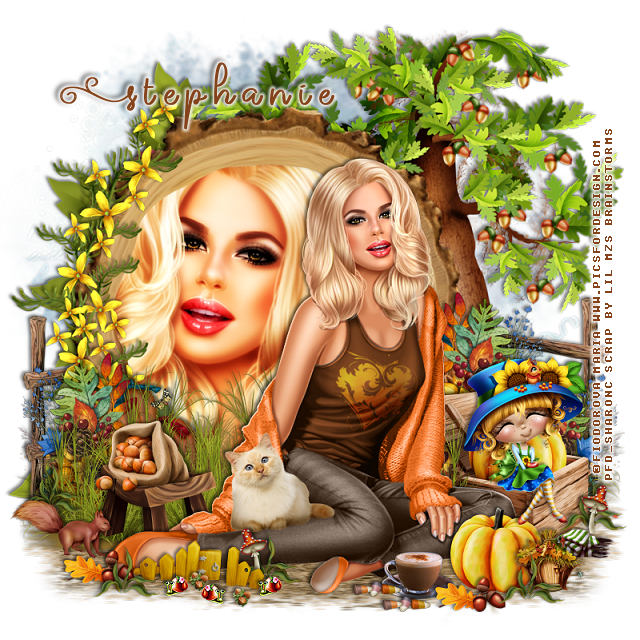
I am using the awesome tube by artist Fiodorova Maria
Tube is called Veronika
Tube is called Veronika
You need a license to use this art, please do not use without a license.
You can get this tube at PFD HERE
Drop shadow is usually V-2 H-2 Black, 50, 5, use what you prefer.
Let's get started
*Remember to add your drop shadow as you go along*
Open a new image 800 x 800
Paste paper 14, apply your mask, delete, merge group.
Paste element 40, resize to 90%, paste to the left, click inside with your
magic wand, expand by 5, paste paper 13, invert, delete, keep selected.
Resize your tube to 65%, paste, delete, select none.
Duplicate the tube, go to Adjust, Blur, Gaussian Blur, number on 4,
change the blend mode to Hard Light or one you prefer, merge down.
Resize your tube to 30%, mirror, paste to the right on the frame.
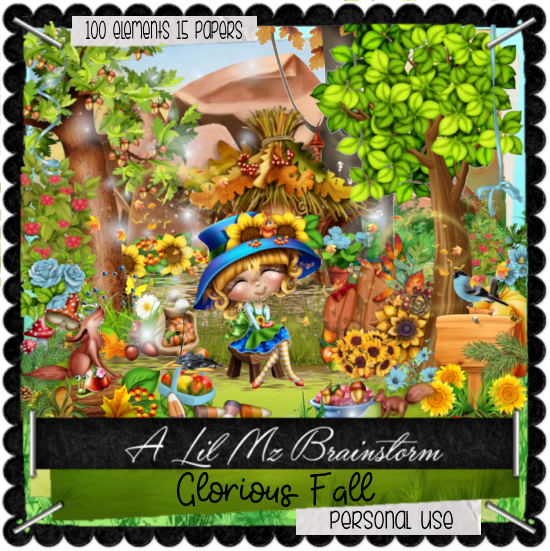
Paste element 99 below the paper layer of the frame on the right.
Paste element 12 at the bottom below the tube to one side, duplicate, mirror.
Resize element 9 to 40%, paste behind the tube on the lower right, duplicate,
move up more on the tree, duplicate again, mirror.
Paste element 92 on the mask layer to the left behind the frame so some
of the leaves shows.
Paste element 21 behind the tree at the lower right, duplicate, mirror, move
above the frame on the left.
Resize element 80 to 35%, paste on the right below the tube.
Resize element 79 to 20%, paste at the lower right above the tube.
Resize element 26 to 75%, mirror, paste on the frame on the left.
Resize element 5 to 35%, paste on the right on the box with the pumpkin.
Resize element 44 to 25%, paste at the lower left below the tube.
Resize element 82 to 20%, mirror, paste on the stool.
Resize element 32 to 15%, paste at the lower left above the tube by her shoe,
duplicate, move to the right by the pumpkin.
Resize element 55 to 20%, paste at the lower right below the pumpkin and over
by the box more.
Resize element 34 to 25%, mirror, paste at the lower left.
Resize element 10 to 10%, paste at the bottom by the cup of the tube, duplicate,
move down a little.
Paste element 42 on the left on the mask layer, duplicate, mirror.
Resize element 86 to 15%, paste at the bottom right by the box, being on the
top layer, duplicate, move by the pumpkin, duplicate, move to the left by
the acorns, duplicate once more, move behind the squirrel.
Resize element 35 to 30%, paste at the bottom above the leg of the tube.
Resize element 98 to 15%, paste at the lower right by the pumpkin.
Resize element 97 to 5%, duplicate two or three times, paste at the bottom by
the little fence.
Resize element 78 to 5%, paste at the bottom by the little snails, duplicate,
move over a little.
Resize element 100 to 10%, paste at the lower right by the small grass,
duplicate, move to the left below the little fence.
Add any other elements you would like, make it your own.
Always remember to adjust the elements before merging to get them like you like.
Once happy with your tag, close off any background, crop your tag to make
sure there are no stray edges, merge visible, resize first.
Add your copyrights and name.
That's it
That's it
Hope you enjoyed doing my tut.


