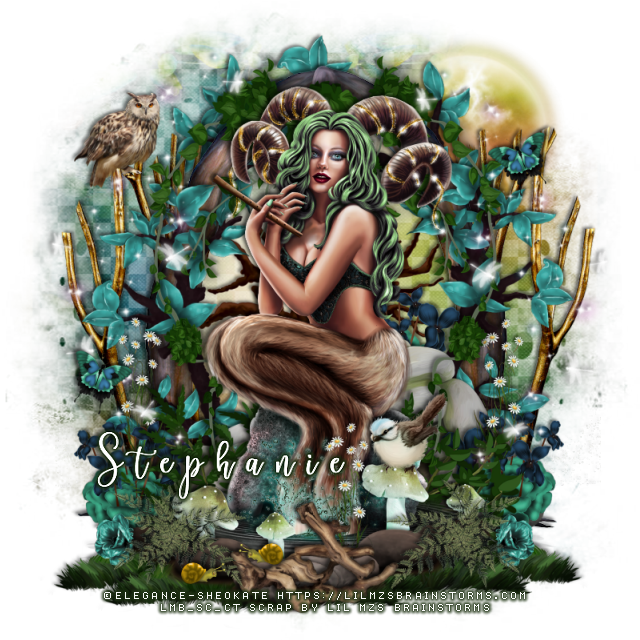
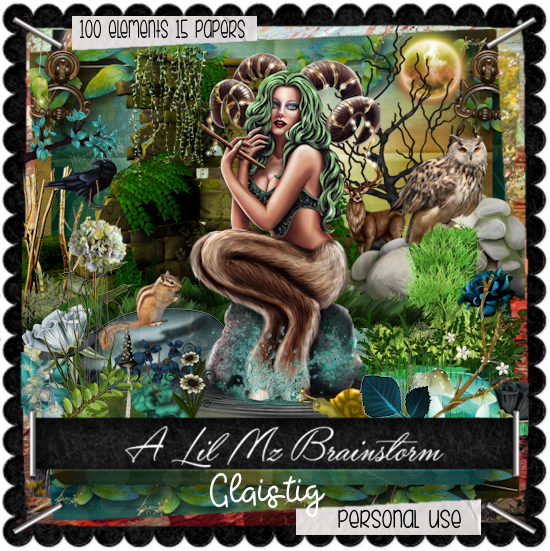
This tut was written Oct 7th, 2019, for those with a basic knowledge of psp.
I am using the awesome tube by artist Elegance-Sheokate
The Tube is INCLUDED for this kit only.
You need a license to use this art, please do not use without a license.
You can get this kit with the tube at one of the stores listed below
Drop shadow is usually V-2 H-2 Black, 50, 5, use what you prefer.
Let's get started
*Remember to add your drop shadow as you go along*
Open a new image 800 x 800
Paste paper 15, apply your mask 417, delete, merge group.
Paste element 88 on the mask layer.
Resize your tube to 18%, paste about center.
Paste element 16 behind the tube.
Paste element 57 on the arch on the right, free rotate to the left at 90 degrees,
duplicate, mirror.
Resize element 25 to 70%, paste at the top behind the arch, duplicate,
free rotate to the right at 90 degrees, move above the arch,
duplicate, mirror.
Paste element 56 behind the tube at the bottom.
Resize element 19 to 30%, paste at the lower right being on the top layer,
duplicate, mirror.
Resize element 23 to 30%, paste on the right below the green leaves bush,
duplicate, move behind the rock and up behind the tube, duplicate, mirror,
move down more on the left behind the green leaves bush.
Resize element 7 to 75%, paste on the mask layer on one side, duplicate, mirror.
Resize element 2 to 65%, paste at the bottom below the ferns on the right,
duplicate, mirror.
Paste element 5 at the upper right on the mask layer, apply WSL_Mask 42
to help get rid of the straight lines, duplicate, merge down.
Resize element 30 to 30%, paste below the brown rocks to the left more,
duplicate, mirror.
Resize element 34 to 75%, free rotate to the left at 25 degrees, paste on the left side,
duplicate, mirror.
Resize element 3 to 35%, paste at the bottom above the rocks.
Resize element 94 to 65%, paste below the arch layer behind the tube.
Resize element 96 to 20%, paste at the upper left on the branches.
Resize element 1 to 20%, paste on the mushroom.
Resize element 80 to 30%, paste below the log at the bottom, then duplicate
twice and move one to each side below some of the other elements to your liking.
Resize element 15 to 10%, paste at the bottom, duplicate, mirror and place
where you like.
Resize element 24 to 15%, paste on the left where you like, duplicate, mirror.
Resize element 48 to 15%, paste at the lower right below the fern, duplicate,
mirror.
Paste element 75 at the bottom below the tube, duplicate twice, move one
to one side and mirror the other one.
Add any other elements you would like, make it your own.
Always remember to adjust the elements before merging to get them like you like.
Once happy with your tag, close off any background, crop your tag to make
sure there are no stray edges, merge visible, resize first.
Add your copyrights and name.
That's it
That's it
Hope you enjoyed doing my tut.


No comments:
Post a Comment