
This tut was written Oct 12th, 2019, for those with a basic knowledge of psp.
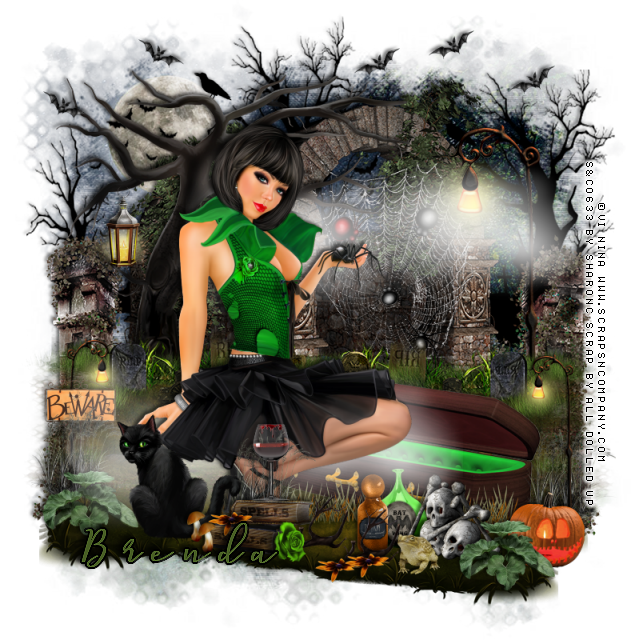
I am using the awesome artwork of Vi Nina
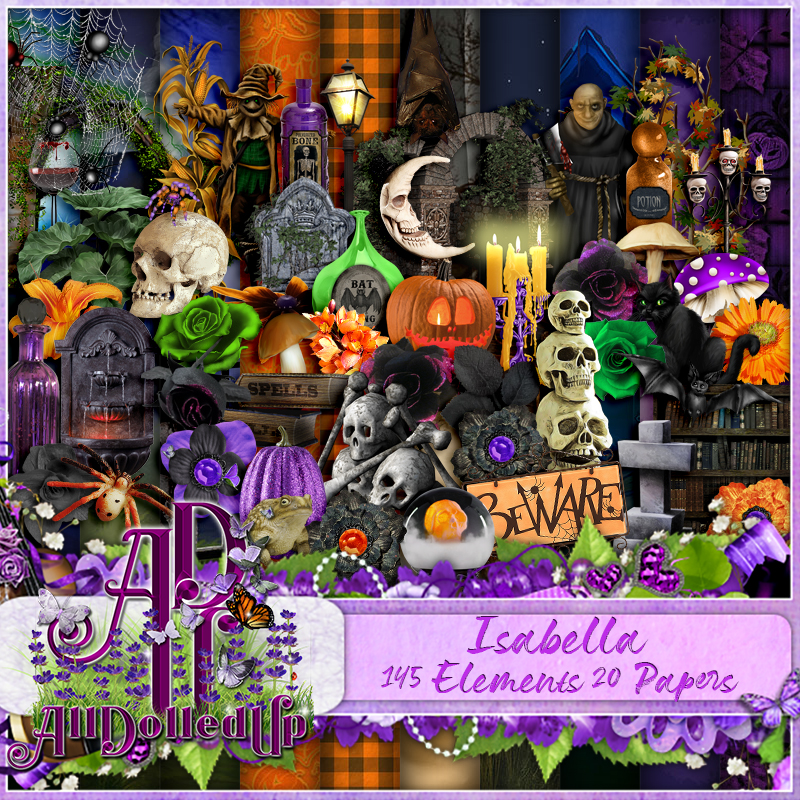
The tube is "Isabella"
You need a license to use this tube, do not use without a license.
I bought mine when she was at S&CO
You can find this tube at her store HERE
Drop shadow is usually V-2 H-2 Black, 45, 10, use what you prefer.
Let's get started
*Remember to add your drop shadow as you go along*
Open a new layer 800 x 800
Paste paper 19, apply your mask, delete, merge group.
Always adjust the mask to fit your tag before you merge.
Resize the tube to 40%, paste.
Paste element 142 at the bottom under the tube, duplicate, mirror, move below
the first one, duplicate mirror, adjust to your liking.
Paste element 34 below the top layer of grass, apply the same mask
you used for the background, delete, merge group, duplicate, mirror,
adjust between the grasses.
Resize element 8 to 40%, paste at the bottom to the left of the tube.
Paste element 25 on the mask layer.
Resize element 6 to 75%, paste below the tube to the right.
Paste element 96 on the left above the brick arch element.
Paste element 119 on the right below the grass with the headstones, mirror,
duplicate, resize to 50%, move down to the right above the coffin,
duplicate, mirror, adjust on the left.
Paste element 30 on the mask layer to one side, duplicate, mirror.
Resize element 147, paste at the lower left, duplicate, move over by the coffin.
Paste element 121 on the mask at the upper left, duplicate, move
back to the right and down, erase the roots part showing past the gate.
Resize element 21 to 25%, paste on the lower right below the greenery.
Resize element 104 to 50%, paste on the brick archway.
Resize element 43 to 25%, paste at the lower right above the coffin.
Resize element 93 to 35%, paste at the bottom above the tube.
Resize element 100 to 20%, paste at the bottom below the skulls.
Resize element 101 to 20%, paste by the other bottle.
Resize element 141 to 12%, mirror, paste at the lower right above the skulls
and bottles.
Resize element 44 to 10%, mirror, paste at the bottom by the books,
being on the top layer.
Resize element 132 to 25%, paste below the books, duplicate, move to the left and
below the greenery, duplicate, mirror.
Resize element 29 to 25%,paste on top of the books.
Resize element 146 to 25%, paste on the left on the tree, erase a bit of the loop.
Resize element 136 to 10%, duplicate, paste both at the bottom above the books.
Resize element 125 to 15%, paste at the bottom below the books, duplicate, move
over to the right a bit.
Resize element 88 to 12%, paste at the bottom above the twigs,
duplicate, move over a bit, duplicate again, move on the books.
Resize element 61 to 20%, paste at the lower left on the little light post.
Paste element 19 below the tube, duplicate move up more.
Resize element 5 to 15%, duplicate as many times as you like
and move around at the top.
Always adjust the mask to fit your tag before you merge.
Resize the tube to 40%, paste.
Paste element 142 at the bottom under the tube, duplicate, mirror, move below
the first one, duplicate mirror, adjust to your liking.
Paste element 34 below the top layer of grass, apply the same mask
you used for the background, delete, merge group, duplicate, mirror,
adjust between the grasses.
Resize element 8 to 40%, paste at the bottom to the left of the tube.
Paste element 25 on the mask layer.
Resize element 6 to 75%, paste below the tube to the right.
Resize element 105 to 25%, paste at the bottom of the coffin, duplicate three
more times and move each one over a bit from the others.
Paste element 119 on the right below the grass with the headstones, mirror,
duplicate, resize to 50%, move down to the right above the coffin,
duplicate, mirror, adjust on the left.
Paste element 30 on the mask layer to one side, duplicate, mirror.
Resize element 147, paste at the lower left, duplicate, move over by the coffin.
Paste element 121 on the mask at the upper left, duplicate, move
back to the right and down, erase the roots part showing past the gate.
Resize element 21 to 25%, paste on the lower right below the greenery.
Resize element 104 to 50%, paste on the brick archway.
Resize element 43 to 25%, paste at the lower right above the coffin.
Resize element 93 to 35%, paste at the bottom above the tube.
Resize element 100 to 20%, paste at the bottom below the skulls.
Resize element 101 to 20%, paste by the other bottle.
Resize element 141 to 12%, mirror, paste at the lower right above the skulls
and bottles.
Resize element 44 to 10%, mirror, paste at the bottom by the books,
being on the top layer.
Resize element 132 to 25%, paste below the books, duplicate, move to the left and
below the greenery, duplicate, mirror.
Resize element 29 to 25%,paste on top of the books.
Resize element 146 to 25%, paste on the left on the tree, erase a bit of the loop.
Resize element 136 to 10%, duplicate, paste both at the bottom above the books.
Resize element 125 to 15%, paste at the bottom below the books, duplicate, move
over to the right a bit.
Resize element 88 to 12%, paste at the bottom above the twigs,
duplicate, move over a bit, duplicate again, move on the books.
Resize element 61 to 20%, paste at the lower left on the little light post.
Paste element 19 below the tube, duplicate move up more.
Resize element 5 to 15%, duplicate as many times as you like
and move around at the top.
Add any other elements that you like, make your own.
Remember to always adjust all the elements how you like on your tag,
then resize your mask if needed before merging your tag.
Once happy, close off any background you had.
Crop your tag to get rid of any stray edges, merge visible.
Resize, sharpen, add your Copyright and name.
That's it
Hope you enjoyed doing my tut.
No comments:
Post a Comment