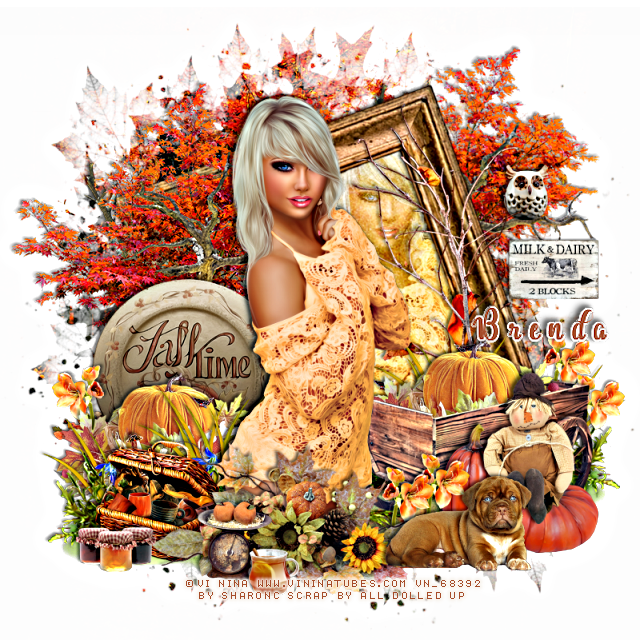
I am using the awesome artwork of Vi Nina
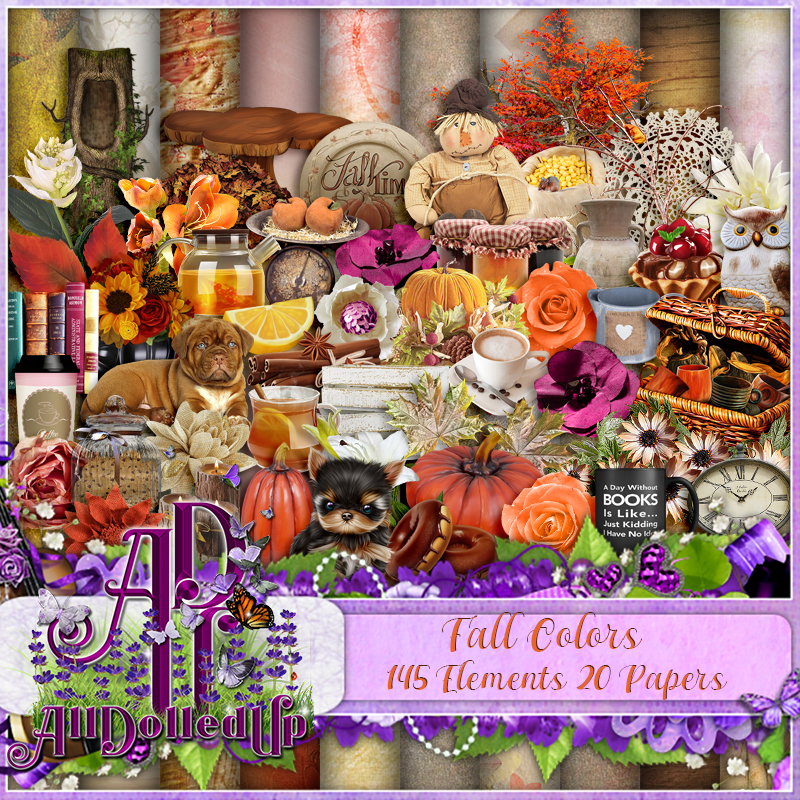
The tube is "Fall Colors"
You need a license to use this tube, do not use without a license.
You can find this tube at her store HERE
Drop shadow is usually V-2 H-2 Black, 45, 10, use what you prefer.
Let's get started
*Remember to add your drop shadow as you go along*
Open a new layer 800 x 800
Paste paper 14, apply your mask, delete, merge group.
Apply the mask again to the same layer, delete, merge group.
Resize element 20 to 85%, free rotate to the left at 20 degrees, paste,
click inside with your magic wand, expand by 5, paste paper 16, move
up so more of the green shows, invert, delete, select none.
Resize your tube to 45%, paste on the frame to the left, duplicate, move
inside the frame to the right, change the blend mode to Overlay or
one you prefer.
Paste element 30 on the mask layer on the right and up, duplicate, mirror,
move above the frame on the left and up.
Go back to the tree on the right, free rotate to the right at 20 degrees, readjust.
Resize element 19 to 25%, paste on the right on the tree branches.
Resize element 11 to 50%, paste on the left below the tube layer.
Resize element 18 to 55%, paste behind the tube on the left.
Resize element 9 to 60%, paste on the right behind the tube.
Go back to the pumpkin, duplicate, move to the wagon, take your free hand,
draw around the bottom part of the pumpkin, delete, make it look like it
is inside the wagon.
Resize element 12 to 75%, paste at the bottom above the tube.
Resize element 7 to 35%, paste on the lower left below the top flower layer.
Resize element 10 to 20%, paste at the bottom being on the top layer.
Resize element 26 to 75%, paste behind the wagon on the right.
Paste element 3 on the left above the basket, duplicate, mirror, move
behind the wagon.
Resize element 41 to 50%, paste at the lower right by the wagon being on the
top layer.
Resize element 34 to 20%, paste at the lower right behind the dog, duplicate,
move over and up a little, duplicate two more times, move behind the wagon,
duplicate one, mirror, move below the pumpkin on the left.
Resize element 78 to 30%, paste behind the flowers.
Resize element 77 to 30%, paste by the first pumpkin.
Resize element 66 to 15%, paste at the bottom by the scale.
Resize element 13 to 40%, paste on the lower right on the pumpkin behind
the dog.
Resize element 84 to 15%, paste on the tree branch on the right.
Resize element 14 to 20%, paste at the lower left above the basket.
Add any other elements that you like, make your own.
Remember to always adjust all the elements how you like on your tag,
then resize your mask if needed before merging your tag.
Apply the xero filter-Clarity once merged.
Apply the xero filter-Clarity once merged.
Once happy, close off any background you had.
Crop your tag to get rid of any stray edges, merge visible.
Resize, sharpen, add your Copyright and name.
That's it
Hope you enjoyed doing my tut.


No comments:
Post a Comment