
This tut was written August 3rd, 2022 for those with a basic knowledge of psp.
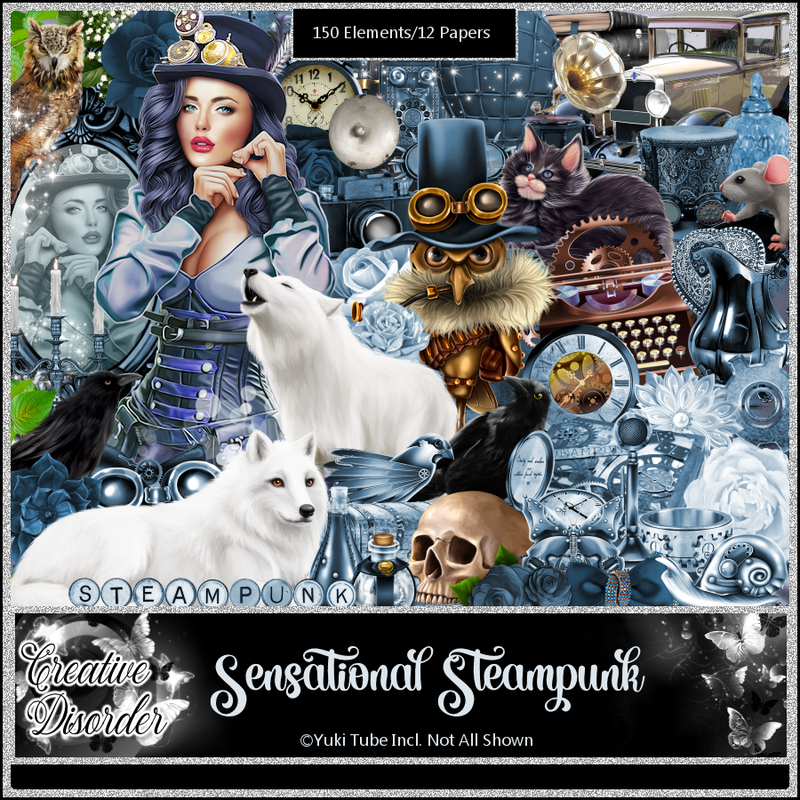
I am using the awesome artwork of Yuki
You need a license to use this tube, do not use without a license.
Tube by Yuki is included in the kit.
I used PSP2020...but any of them should work.
Drop shadow is V -1 H -4, 40, 10, or use what you prefer.
Let's get started
*Remember to add your drop shadow as you go along*
Open the template, hold the shift key and hit the letter d to duplicate,
close the original. Delete the credits.
Go to Image, Canvas size, 800 x 800, all layers checked, resize later.
Resize element 4 to 75%, paste on the bottom layer above the white background.
Select layer 1 of the template, paste element 4, invert, delete, select none.
Delete each layer of the template as you go along and
apply this bevel setting to each layer.
Go to Effects, 3D effects, Inner bevel with these numbers
Shape 2, width 2,
0, 3, 10, 7,
0, 50, 30
Color white.
Select layer 2, paste element 140 into selection, select none.
Select layer 3, paste paper 2, invert, delete, apply the bevel.
Select layer 4, paste paper 5, delete, apply bevel.
Merge layer 6 down with layer 5, select all, paste paper 11, invert, delete,
keep selected, paste your tube on one side, mirror, paste on the other side, delete
both, select none.
Duplicate the tubes, go to Adjust, Blur, Gaussian blur, number on 5,
change the blend mode to Lighter, merge down.
Be sure to check the edges of your tag for any shadows.
Merge layer 8 down with layer 7, change the color to what you like.
I used #8090ac, add noise at 50% or more.
Select layer 9, add paper 9, invert, delete, bevel.
Resize your tube to 60%, paste in the center, erase the bottom half below the
template.
Paste element 12 above the mask paper layer on the upper right, duplicate,
mirror, move down on the upper left so just a little shows, duplicate, move
down more on the left.
Resize element 96 to 25%, mirror, paste at the lower right being on the top layer.
Resize element 29 to 35%, paste on the right below the tube.
Resize element 30 to 30%, paste at the lower right above the tube.
Resize element 47 to 30%, paste at the bottom above the cup.
Resize element 128 to 25%, paste at the bottom.
Resize element 75 to 25%, paste at the lower right above the books, duplicate,
mirror and move up a little.
Resize element 37 to 20%, paste by the flower on the right, duplicate, move
to the left.
Resize element 91 to 35%, paste at the lower left above the tube.
Resize element 80 to 30%, paste at the bottom below the owl.
Resize element 31 to 25%, paste on the lower right by the cup.
Resize element 24 to 20%, paste at the bottom, being on the top layer to the left
of the owl.
Resize element 98 to 20%, paste at the lower left.
Resize element 127 to 25%, paste at the lower left below the glasses.
Resize element 100 to 20%, paste at the lower left.
Resize element 27 to 25%, paste behind the record player, duplicate, move over
and up a little.
Resize element 113 to 20%, paste at the upper left where you like, duplicate,
mirror.
Resize element 143 to 90%, paste where you like.
Resize element 133 to 50%, paste where you like.
Add any other elements that you would like, make it your own.
Always readjust your mask and elements how you like them before you
merge your tag, resize, sharpen.
Crop your tag to be sure no shadows or lines are on the edges.
Then add your copyright and name.
That's it
Hope you enjoyed doing my tut.
No comments:
Post a Comment