


This tut was written October 14th, 2020 for those with a basic knowledge of psp.
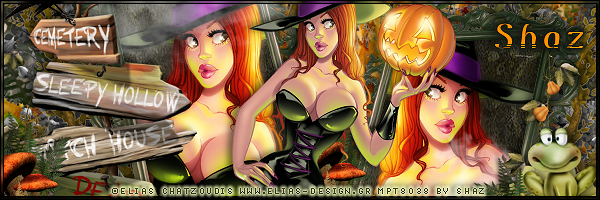
I am using the awesome artwork of Elias Chatzoudis
The tube is called "113-1"
You need a license to use this tube, do not use without a license.
I bought this tube when he was still with MPT, they are closed now.
You can find this tube at CDO store HERE
Font of choice, I used Remo Regular
Drop shadow is V-1 H-4 Black, 50, 10, use what you prefer.
Let's get started
*Remember to add your drop shadow as you go along*
Open a new image 800 x 800 or a size you prefer.
Select all, new layer, paste paper 7 into selection, apply your mask, delete,
merge group.
Resize element 31 to 50%, paste to the right, click inside with your magic
wand, expand by 5, paste paper 2, invert, delete, keep selected,
paste your largest tube in the frame, delete, select none.
Duplicate the tube, go to Adjust. Blur, Gaussian blur, number on 4,
change the blend mode to Overlay or one you prefer.
Merge the frame, tube and paper layer together, duplicate, mirror
move up more on the left.
Paste your tube in the cauldron about center above the frame, adjust the
frames better now.
Resize element 20 to 85%, paste behind the frame on the left, duplicate,
mirror, duplicate once more, move back toward the center.
Resize element 39 to 55%, paste on the right below the branches toward the top,
duplicate, mirror.
Paste element 17 on the mask layer at the lower left, duplicate, mirror.
Paste element 22 on the lower left above the bush you just pasted, duplicate,
mirror.
Resize element 57 to 70%, paste on the left above the frame.
Resize element 79 to 50%, paste behind the tube to the right, duplicate, mirror,
move below the frame layers on the left.
Resize element 81 to 50%, paste on the left below the tube, duplicate, move
to the right below the pumpkin so just the greenery shows.
Resize element 82 to 20%, paste at the lower right being on the top layer.
Paste element 16 at the bottom, move below all the other elements, duplicate,
mirror, adjust.
Resize element 64 to 40%, paste at the bottom below the tube.
Paste element 19 on the mask layer at the top to the right a bit.
Resize element 15 to 35%, paste to the lower left below the cauldron, duplicate,
mirror.
Resize element 65 to 20%, paste at the lower right below the brown branch.
Resize element 72 to 40%, paste at the lower left being on the top layer.
Resize element 71 to 55%, paste on the pumpkin on the right.
Resize element 21 to 40%, paste on the wood signs, duplicate, mirror, move
on the frame edge on the right.
Resize element 35 to 65%, paste above the frame on the left and up,
duplicate, move to the right and down on the frame.
Paste element 76 on the lower left behind the mushroom, duplicate, move
over more toward the center, above the left frame but below the right frame.
Resize element 13 to 25%, being on the top layer now, move to the bottom by
the pumpkin, duplicate a few times and move around on the bottom.
Resize element 55 to 25%, mirror, paste on the sign posts.
Resize element 1 to 30%, mirror, paste at the lower right.
If you want to do a Signature tag, don't merge your tag just yet.
Open a new image 600 x 200
Close off the mask and tube on the tag, copy and paste.
Go back to the tag, open the tube, copy and paste where you like.
Copy any other elements you want, resize a little.
If needed either fill with a color on the bottom layer or duplicate the tag and
move to each side to cover anything that is not covered.
Once happy merge, add your copyright and name.
Avator
Size 180 x 180 or a size you prefer
Paste your tag, resize as needed.
Frame of choice.
I liek using the 3AAA Frames- Foto frame
Name and copyright, merge.
Add any other elements that you would like, make it your own.
Always readjust your mask and elements how you like them before you
merge your tag, sharpen once.
Crop your tag to make sure no shadows or anything on the edges
Crop your tag to make sure no shadows or anything on the edges
Then add your copyright and name.
That's it
Hope you enjoyed doing my tut.
No comments:
Post a Comment