
This tut was written December 21th, 2020 for those with a basic knowledge of psp.
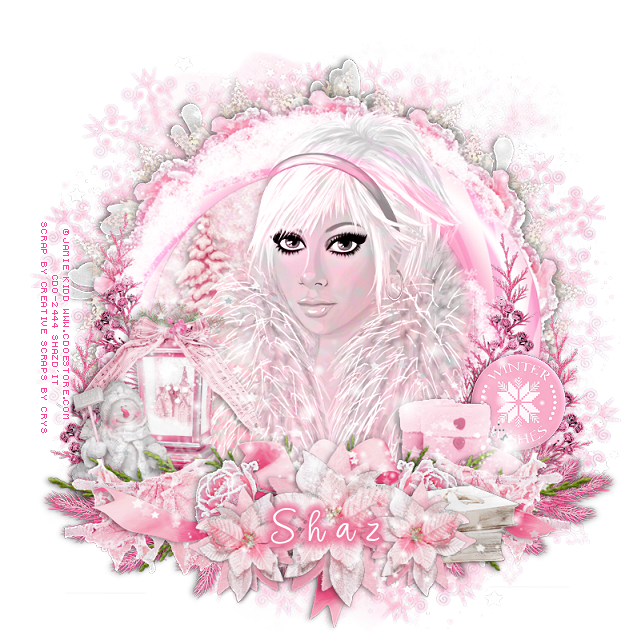
I am using the awesome artwork of Jamie Kidd
The tube is called "58-1 Flossy"
You need a license to use this tube, do not use without a license.
You can find this tube at CDO store HERE
I used PSPX...but any of them should work.
This kit is at Mystical Scraps, you will have to register at the store.
FTU kit The Perfect Winter by Creative Scraps by Crys HERE
Creative Scraps by Crys made this kit FTU in honor of Tonya aka PinkyT
Who passed away Dec 3rd, 2020
She was loved by many in the PSP community and she loved her pink
Mask of choice, I used RD Mask 826 HERE
Check out the rest of the blog HERE
Filters
Mura Meister Copies-Encircle
xero-Clarity
Font of choice, I used Angel Signature
Drop shadow is V-1 H-5 A Pink from the frame, 40, 10, use what you prefer.
Let's get started
*Remember to add your drop shadow as you go along*
Open a new image 800 x 800 or a size you prefer.
I always fill with white and delete the white layer at the end.
Paste paper 11, apply your mask, delete, merge group, duplicate, merge down.
Resize frame 3, to 85%, paste, click inside with your magic wand, expand
by 5, paste paper 2, invert, delete, select none.
I used a shade of pink for my drop shadows on this one.
Paste element 35 below the paper layer of the frame.
Resize element 6 to 40%, apply Mura Meister Copies-Encircle, changing the
first 3 numbers to 14, 55, 55, move below the paper layer of the frame.
I lowered the opacity of the drop shadow to 20% for this one.
Resize element 53 to 25%, apply Mura Meister Copies-Encircle, changing
the first 3 numbers too 14, 57, 57, move below the paper layer of the frame.
Paste your tube below the frame, erase any part showing outside the frame.
Duplicate, move above the frame, erase the parts over the frame.
Change the blend mode on both to Luminance(L).
Apply the xero filter-Clarity to both tubes.
Resize element 88 to 75%, paste on the frame on one side, duplicate, mirror.
Resize element 86 to 60%, paste under the greenery on one side, duplicate, mirror.
Resize element 89 to 50%, paste at the bottom above the frame to the left,
duplicate, mirror.
Paste element 47 on top of the greenery.
Resize element 2 to 60%, paste in the frame to the left below the tubes.
Resize element 64 to 40%, paste at the bottom above the bow.
Resize element 65 to 40%, paste on top of the first flower, merge the flowers,
duplicate, resize to 70%, move to one side, duplicate, mirror.
Resize element 54 to 20%, paste on the left above the ribbon, duplicate, mirror.
Resize element 7 to 50%, paste on the left above the frame.
Resize element 40 to 30%, mirror, paste on the right above the frame.
Resize element 5 to 30%, paste on the left above the lantern.
Resize wordart 2 to 20%, paste on the right below the boots.
Resize element 84 to 50%, paste behind the wordart and move down, duplicate,
move up more, duplicate, mirror, move below the lantern, duplicate, move up more.
Resize element 8 to 25%, paste at the lower right below some of the flowers.
Being on the top layer paste element 93 how you like, duplicate, flip,
move below the tube in the frame.
Add any other elements that you would like, make it your own.
Always readjust your mask and elements how you like them before you
merge your tag, sharpen once.
Crop your tag to make sure no shadows or anything on the edges
Crop your tag to make sure no shadows or anything on the edges
Then add your copyright and name.
That's it
Hope you enjoyed doing my tut.
No comments:
Post a Comment