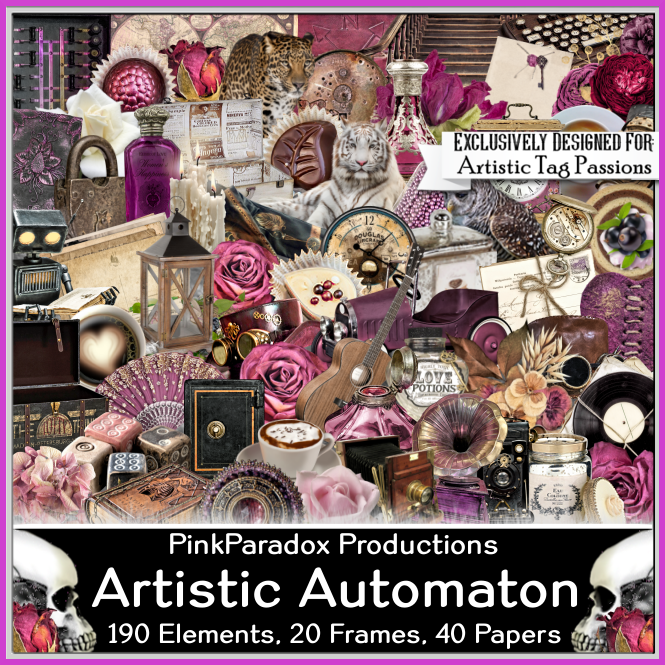
This tut was written May 2nd, 2021 for those with a basic knowledge of psp.
I am using the awesome artwork of Amber
The tube is called "Althea"
You need a license to use this tube, do not use without a license.
You can find this tube at VMA store HERE
I used PSPX6...but any of them should work.
Font of choice, I used Ballerina Script
Drop shadow is V -1 H -5, 50, 10, or use what you prefer.
Let's get started
*Remember to add your drop shadow as you go along*
Open a new image 800 x 800 or a size you prefer, can always resize later.
Select all, add a new layer, paste paper 34 into selection, select none.
Apply your mask, delete, merge group, mirror.
Resize element 190 to 55%, paste on the mask on one side, duplicate, mirror.
Resize element 119 to 65%, paste on the left.
Resize element 120 to 70%, paste on the right, duplicate, mirror, move below
the door on the left.
Resize your tube to 35%, paste to the right of the door.
Resize element 162 to 30%, free rotate to the left at 25 degrees, paste on the
stair rail on the right, erase the stem part.
Duplicate, mirror, move on the rail on the left.
Resize element 147 to 25%, paste on the right below the tube layer, duplicate,
move up behind the head of the tube, flip, duplicate, mirror.
Resize element 10 to 25%, paste behind the flower on the right, duplicate, move
down more, duplicate again move to the top below the flower, duplicate, mirror.
Duplicate again, resize smaller to 75%, move more to the center,
duplicate, mirror.
Resize element 146 to 25%, paste on the right below all the other flowers.
Resize elements 32, 49 and 60 to 20%, paste at the bottom above the tube.
Resize element 28 to 20%, paste at the bottom below the bottles.
Resize element 51 to 30%, paste at the lower right below the bottles.
Resize element 59 to 25%, paste between the bottles at the bottom.
Resize element 99 to 25%, paste on the lower right below the flowers
and berries.
Resize element 34 to 30%, paste on the right below the lantern.
Resize element 137 to 35%, paste on the door below the tube.
Resize element 50 to 40%, paste at the lower left.
Resize element 174 to 25%, paste at the lower left behind the record player.
Resize element 95 to 25%, paste at the lower left above the mask layer.
Resize element 46 to 25%, paste above the record player at the bottom.
Resize element 108 to 25%, paste below the tube to the left.
Resize element 110 to 20%, paste above the element you just pasted.
Resize element 66 to 30%, paste above the letter.
Resize element 88 to 20%, paste at the lower left below the urn.
Resize element 136 to 15%, paste at the bottom being on the top layer,
duplicate, move to the left below the player.
Resize element 144 to 25%, paste above the tube at the bottom.
Resize element 13 to 10%, paste at the bottom being on the top layer, duplicate,
move down a little.
Resize element 8 to 12%, paste at the lower left.
Paste element 193 on the mask layer so some of the sparkles shows thru the
door window at the top, duplicate, mirror.
You might want to fill with a dark color behind to make sure the sparkles are to
far out, if so just erase them.
Add any other elements that you would like, make it your own.
Always readjust your mask and elements how you like them before you
merge your tag, resize, sharpen.
Then add your copyright and name.
That's it
Hope you enjoyed doing my tut.


No comments:
Post a Comment